MODA BLOCKHEADS 2: BLOCK 2-Buckeye Beauty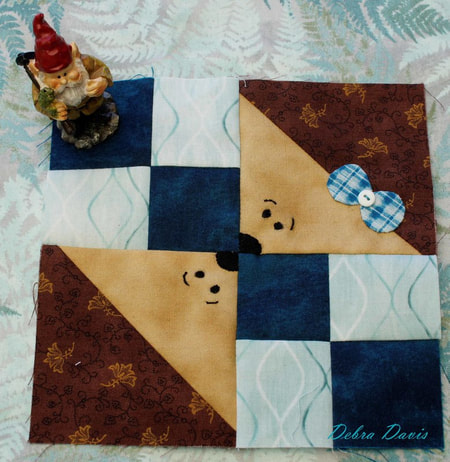
Block 2 was designed by Barbara Groves and Mary Jacobson of Me and My Sister Designs. To get your copy of the pattern visit their blog: www.meandmysisterdesigns.com
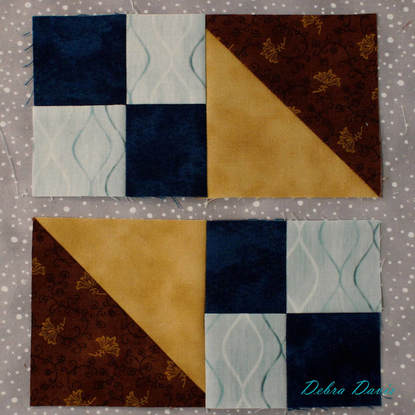
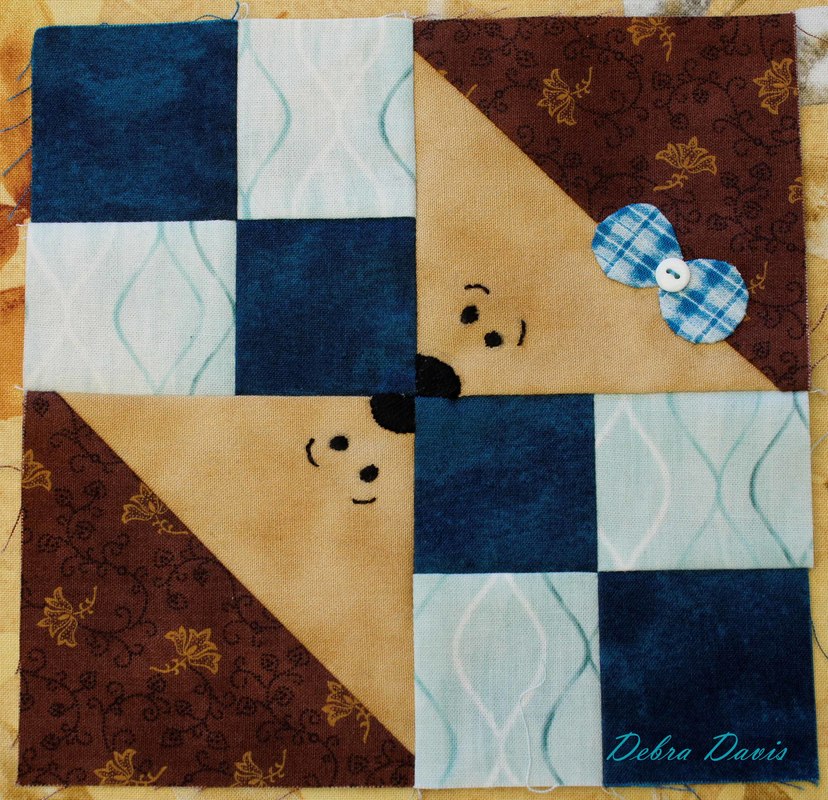
This was a very easy block and of course I found a way to add my hedgehogs to it.. I think there may very well be a Hedghog BOM in my future. Here are the two blocks I have made so far: 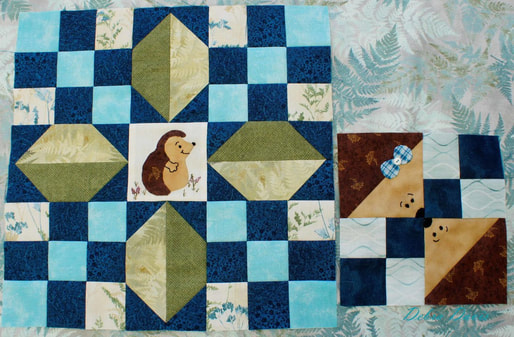
I settled on the Alternative Colorway for this block as it worked best for the hedgehogs I wanted to add. My light A squares are also a different fabric from my light B square as I needed the face of my hedgehog to stand out. The fun thing about these blocks is you can mix it up with your fabrics however you like. The main thing to pay attention to when choosing your fabrics for this block is to have contrast so a light and dark farbic work well.
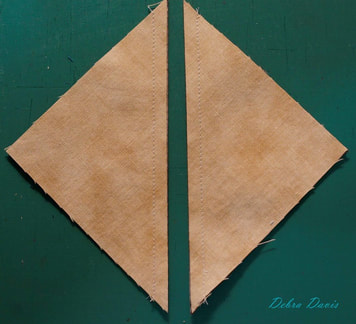
NOTE: I did cut my B squares a little larger than the directions call for. I prefer to have a little extra to trim the unit to size so I cut mine 4 1/8" x 4 1/8" 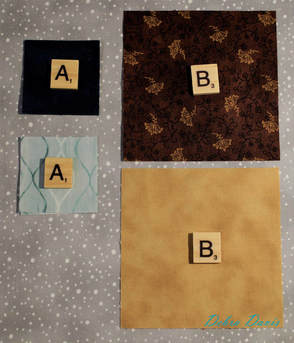
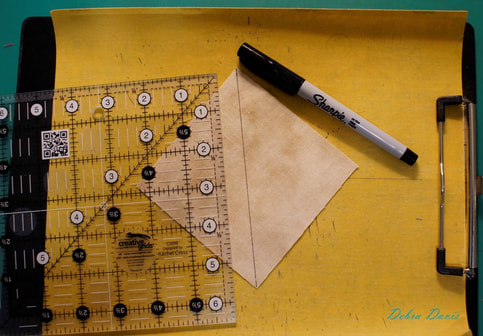
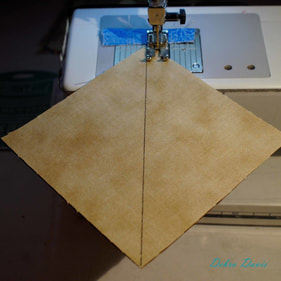
We will start by making the Half-square Triangles (HST's) To do this mark a diagonal line on the back of the light B square. I like to use a very fine piece of sandpaper that I have attached to a clipboard to do this. I am also using a fine tipped Sharpie-it gives me a line that I can easily see and this line will not show up in HST's made this way.
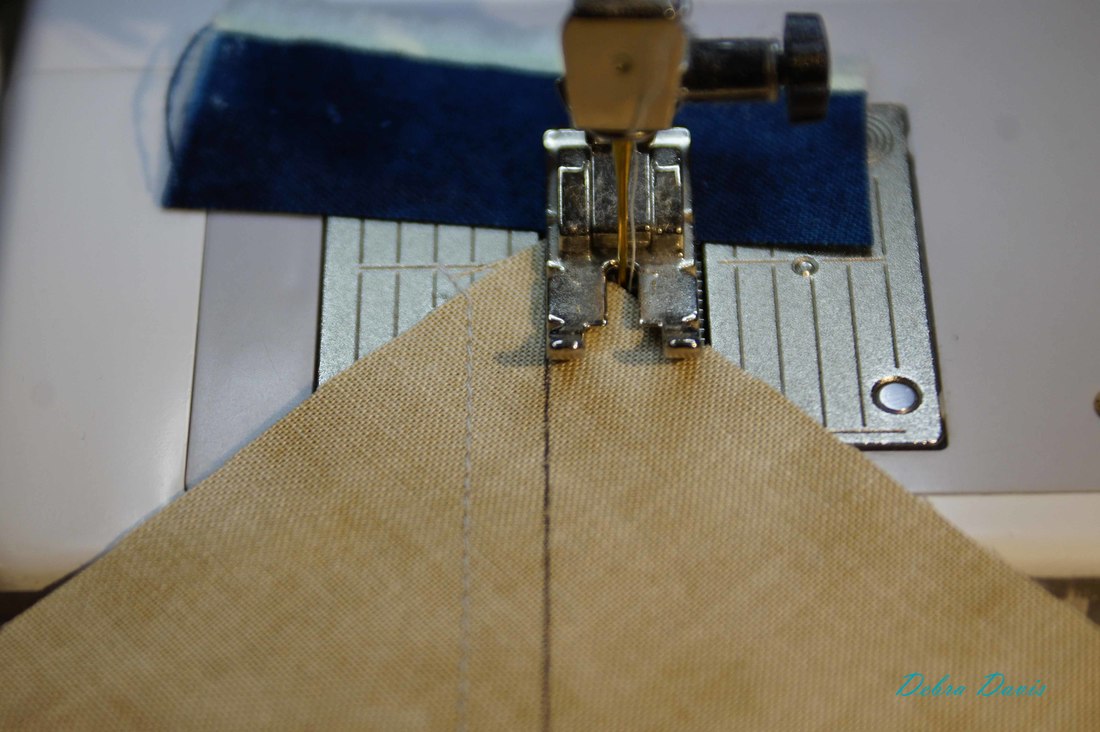
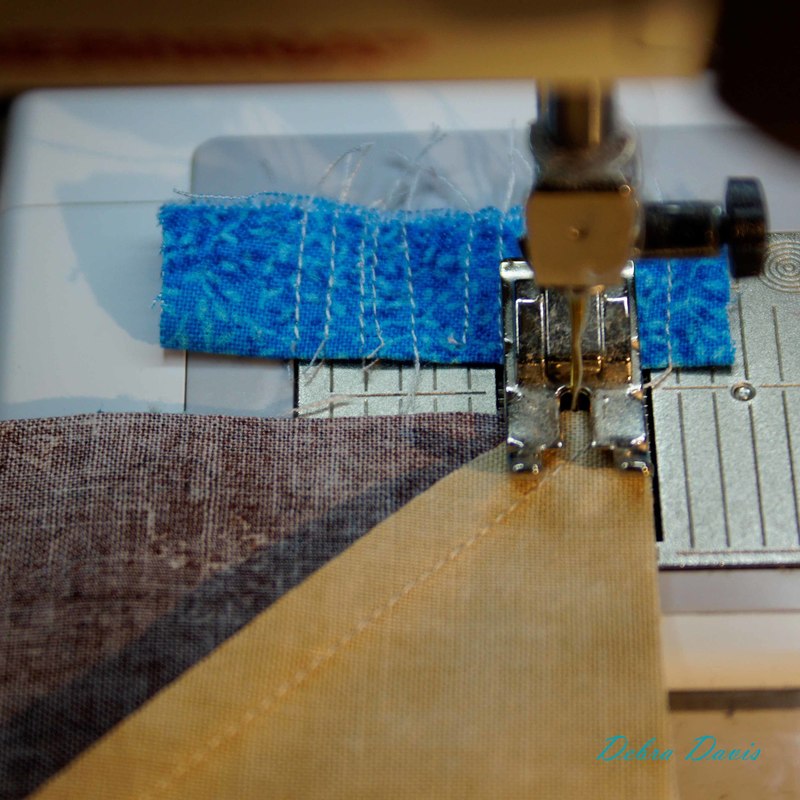
Place the light B square right sides together on top of the dark B square and sew 1/4 inch from each side of the drawn line. I always start with a scrap of fabric as a leader as you can see here. I also lift my presser foot each time I add a new piece and lay the fabric pieces so that they are right up to the needle, then I lower my presser foot and sew.
Using a ruler and rotary cutter, cut apart on the line and press towards the dark side.
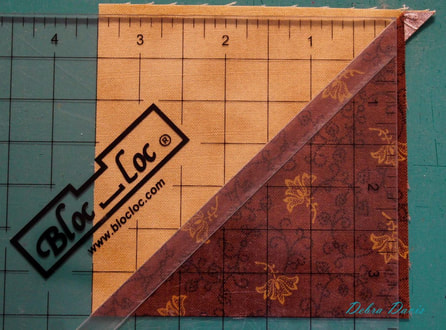
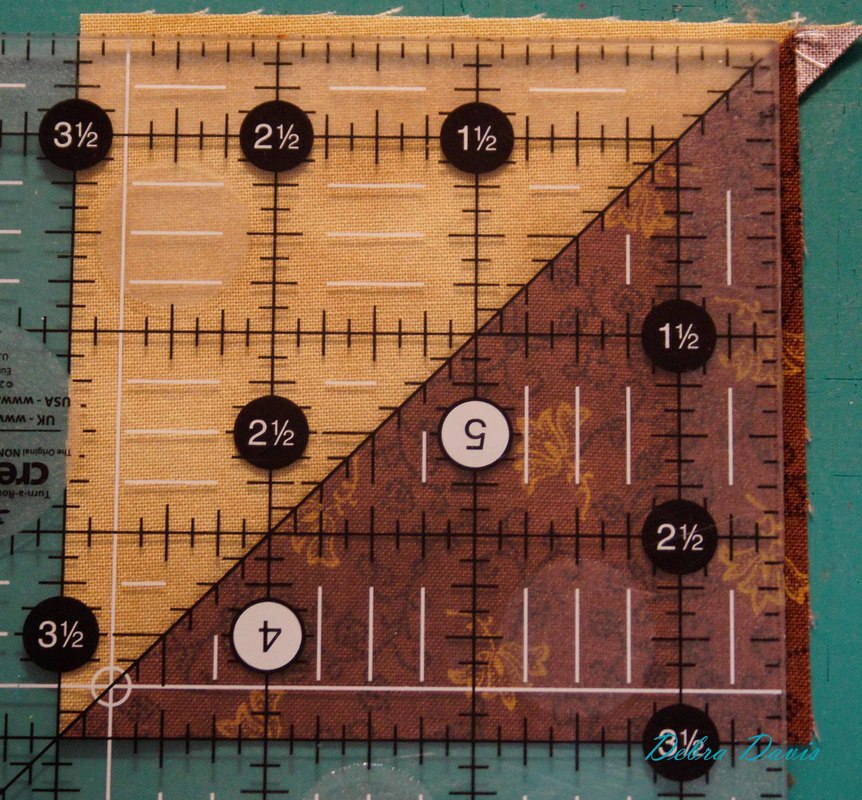
Now we need to trim these to the correct size. Any time you need to trim HST's be sure to line up the diagonal line of your ruler with the seam line. Trim the first two sides and rotate your block to trim the remaining two sides. In this case we are trimming the units to 3 1/2" squares, so line up the diagonal line as before and then make sure that the 3 1/2" inch lines of your ruler line up with the sides you just trimmed.
My favorite ruler for this happens to be the Bloc Loc. These rulers have a groove in them that locks into place on the seam giving a very accurate cut. When using a regular ruler (as shown above) I highly recommend the rulers by Creative Grids as they have a bit of grip to them and are less likely to slip while you are cutting. You still need to apply some pressure-but they are much better than the others I have used in the past.
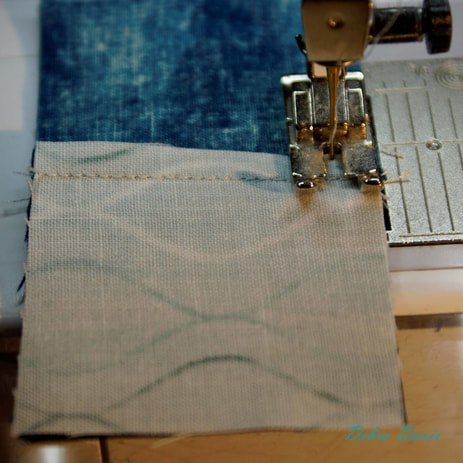
With the HST's finished we move on to making the four-patch units. Join the dark and light A squares together into pairs. I like to chain-piece these. Press towards the dark side.
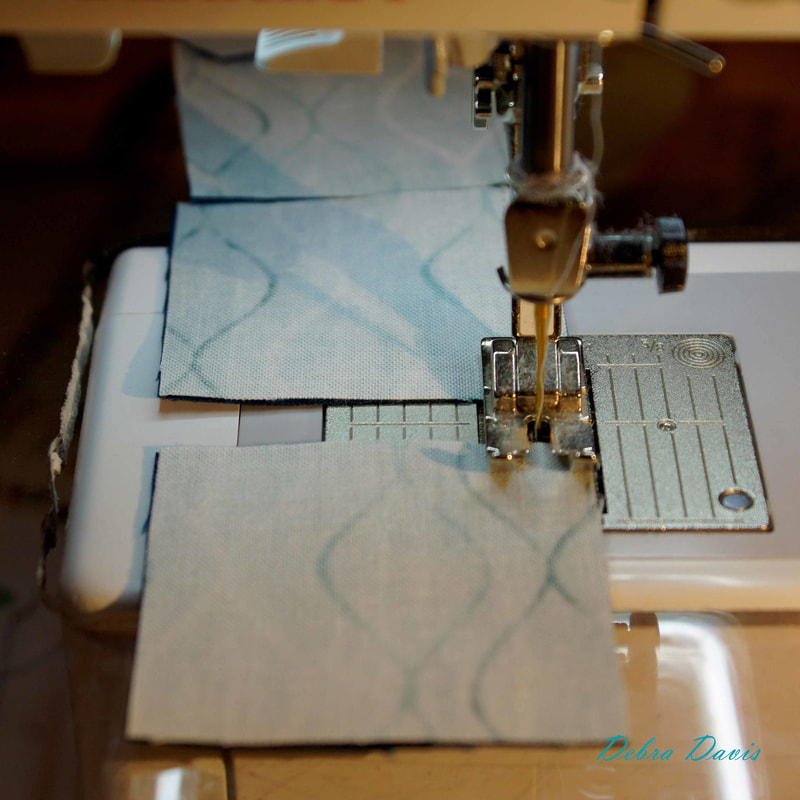
Next we need to join these pairs together to make our Four-patches. The seams will face opposite directions and lock together nicely for sewing the pairs together.
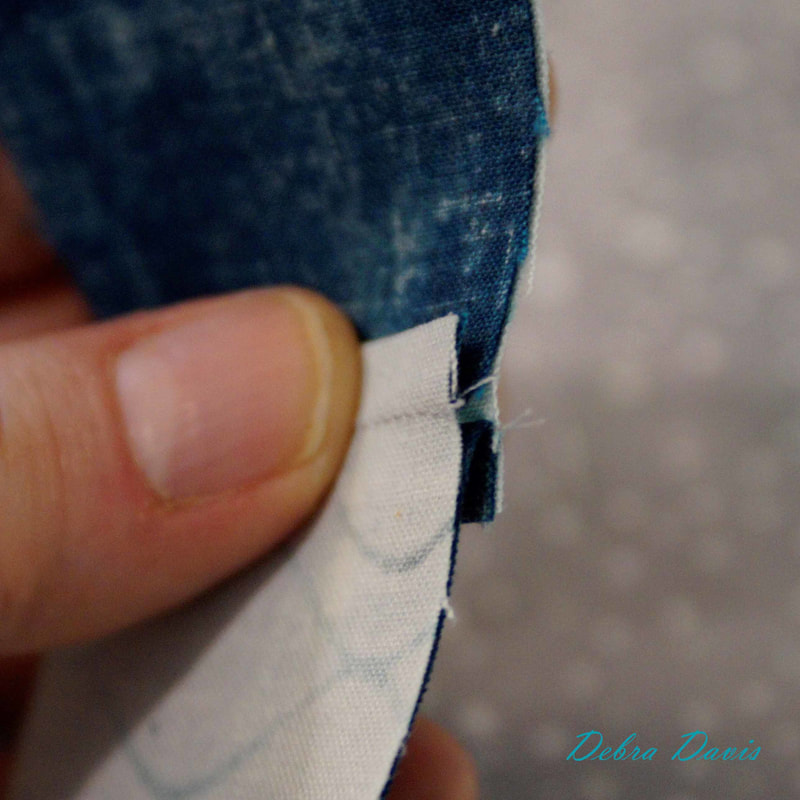
Since the seam is facing towards my needle as I sew I did not find it necessary to use a pin. If my seam were facing the other way (towards me) then I would pin it as it can get pushed away from the seam I am trying to butt it up against.
To press these I fanned the seams open-open up that intersecting seam so that one side lays one direction and the other side lays the opposite way.
This will help the Four-patch unit to lay flat. 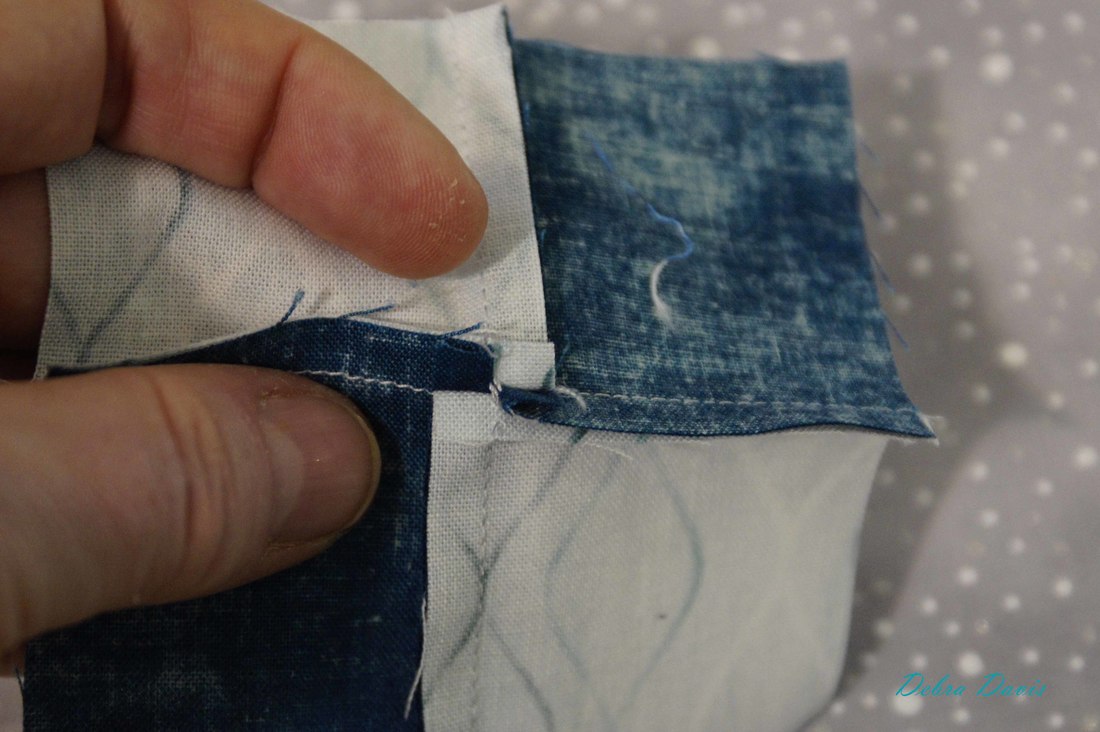
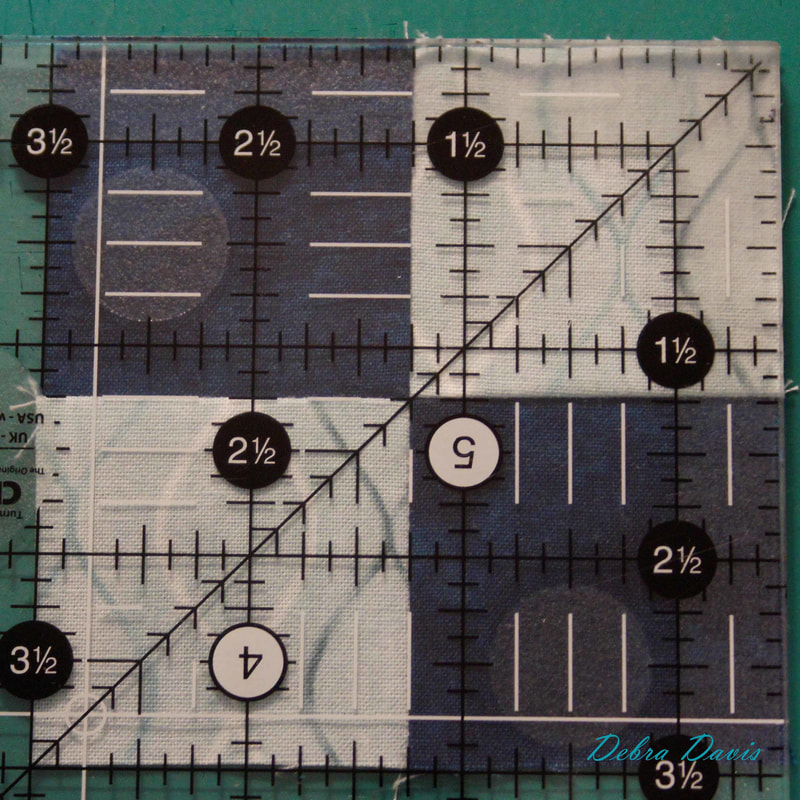
Check to make sure these units measure 3 1/2" square. If you find they need any trimming be sure to line up the 1 3/4" marks on your ruler with the seam lines-this will ensure that all of the squares are the same size.
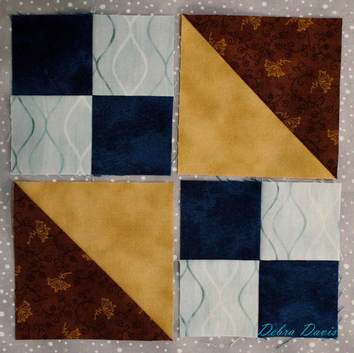
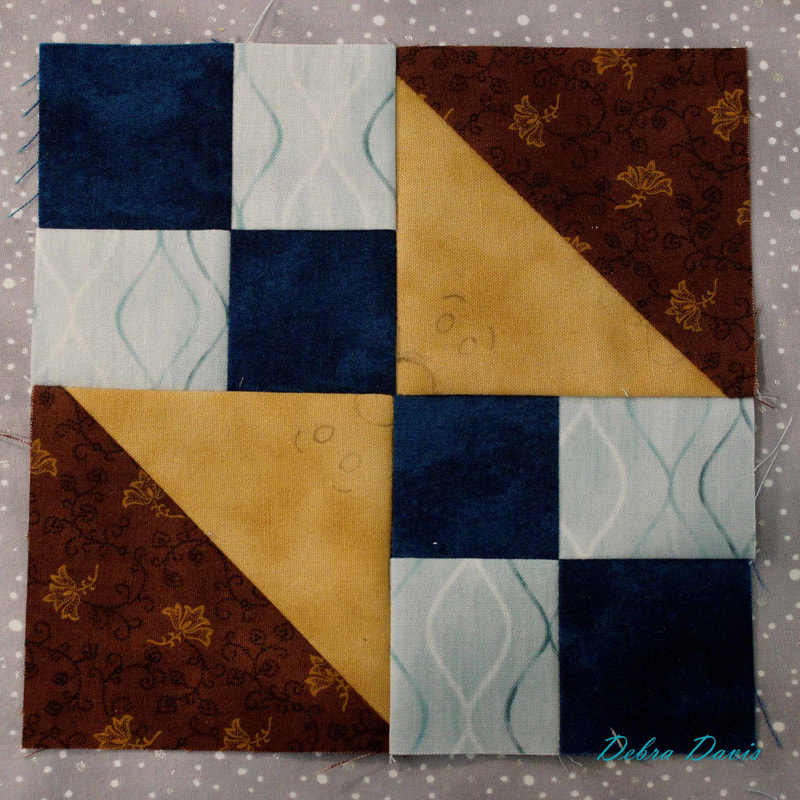
Now it is time to lay out all our units to make the block and as you can see it is basically another Four-patch. Join the top and bottom units into rows pressing towards the four-patch units.
Join the rows together to complete the block. Once again I did not find a pin necessary at the seam, but I did slow down as I came to it. I just find that if I go slowly over those seams I am more accurate.
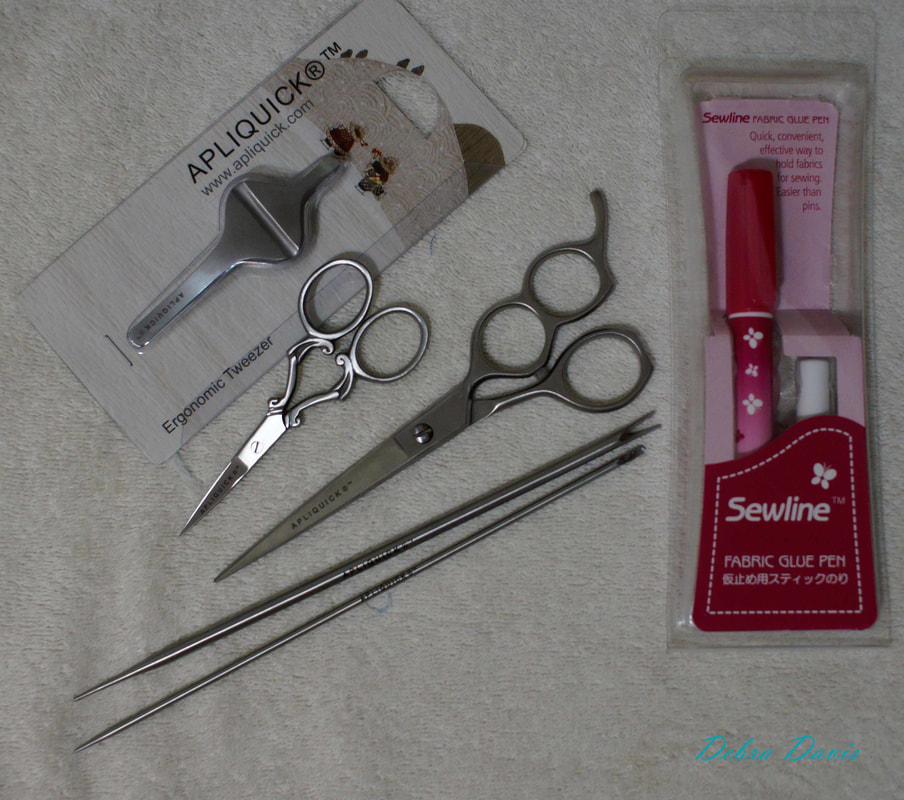
I fanned the seams open so that the block lays flatter. And that is all there is to this block. Here I have drawn on the details I am going to embroider. I have been hearing about Apliquick tools for some time now and decided to try them out to prepare the appliques pieces. I had been hesitant to pay the pirce but got a great deal on them and my initial impression is that I they really work well when preparing these small pieces for this quilt.
So here is my version of Block 2 all finished. If you would like to see the Apliquick tools demonstrated click on the video and Rosa Rojas who developed them shows how to use them in this segment of The Quilt Show. I suspect we will be doing some applique with some of our blocks-I will wait and see whether I use this method or my tried and true machine applique.
Be sure to join in the fun on the Facebook page for Moda Blockheads-there is so much inspiration being shared there every day as other quilters make their blocks and it is always a treat to connect with quilting friends, new and old.
Until next week, Happy Quilting! 
Diane
6/15/2018 05:48:34 am
Very, very cute block. Love hedge hogs.
Debra
6/15/2018 03:15:09 pm
Thank you, Diane! They are pretty adorable subjects.
Kathy Travis
7/2/2018 02:35:43 pm
Is there a tutorial for BH2 block 4 and how to do the
Debra
7/2/2018 11:46:23 pm
Kathy, I am just getting back from a trip and should have it ready later this week. Comments are closed.
|

Welcome to the site of Debra Davis-a woman who loves the Lord and loves to quilt.
My other blog where I share about my walk of faith:
Sitting at His Feet 
|


 RSS Feed