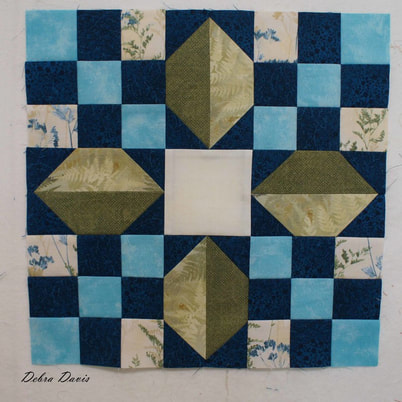
Moda Blockheads 2: block 1-Stellar Star
I am so excited to be starting Round 2 of Moda Blockheads. I made so many quilting friends during Blockheads 1 and look forward to sewing with some of them again this time around as well as meeting new people who are joining in the fun. I am not associated with Moda or the designers in any way, I just enjoy making the blocks and taking you along on my journey.
So without further ado-Block 1 is by Lynne Hagmeier of Kansas Troubles Quilters. You can get the pattern from her blog which is found here: http://kansastroublesquilters-lynne.blogspot.com/2018/06/blockheads-ii-begins-today.html
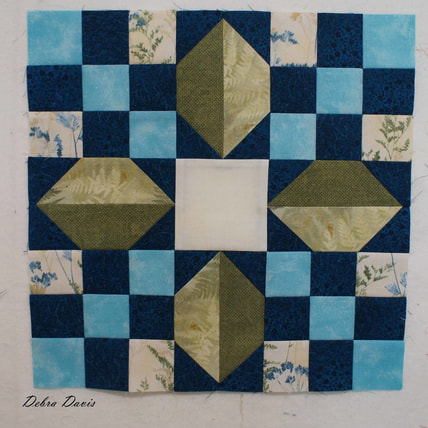
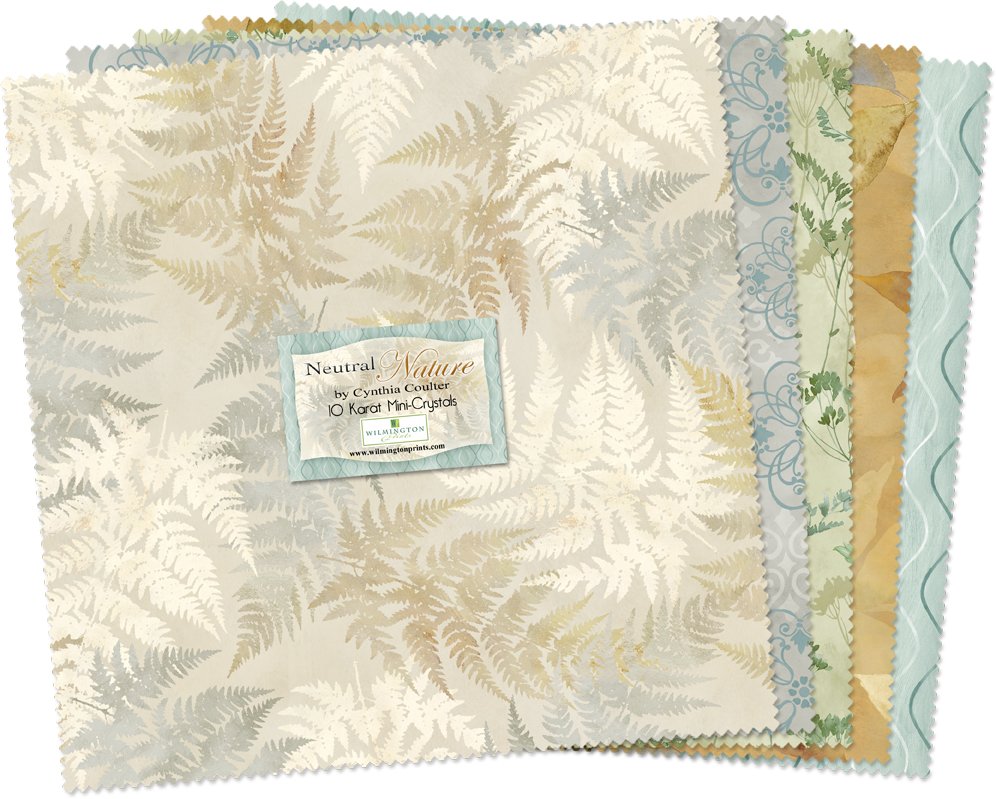
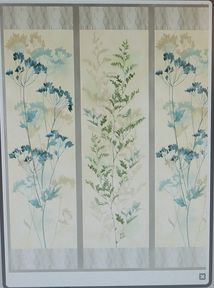
For my blocks I am using a line called Neutral Nature by Cynthia Coulter-I came across this fabric last year during the Row by Row shop hop and fell in love with the color combination of teal, green, golden browns and grays as well as the botanical prints. These fabrics have been waiting for just the right project and this is it. I have also added several fabrics from my stash to give me more choices and depth of color from light to dark and am using a Moda Marble for my background fabric.
I really like to start with prewashed fabric that has been starched in preparation for cutting.
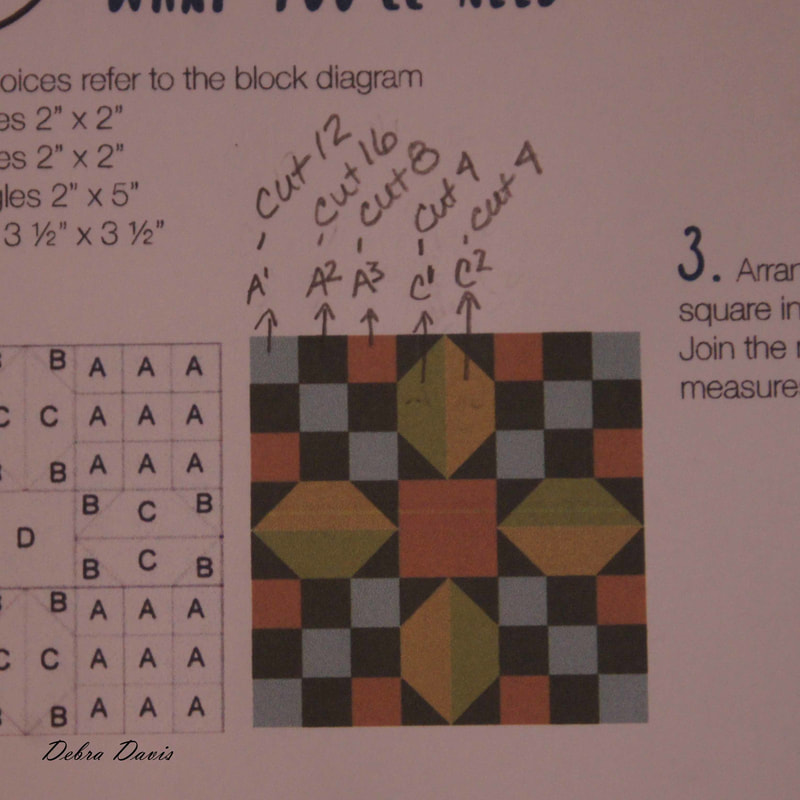
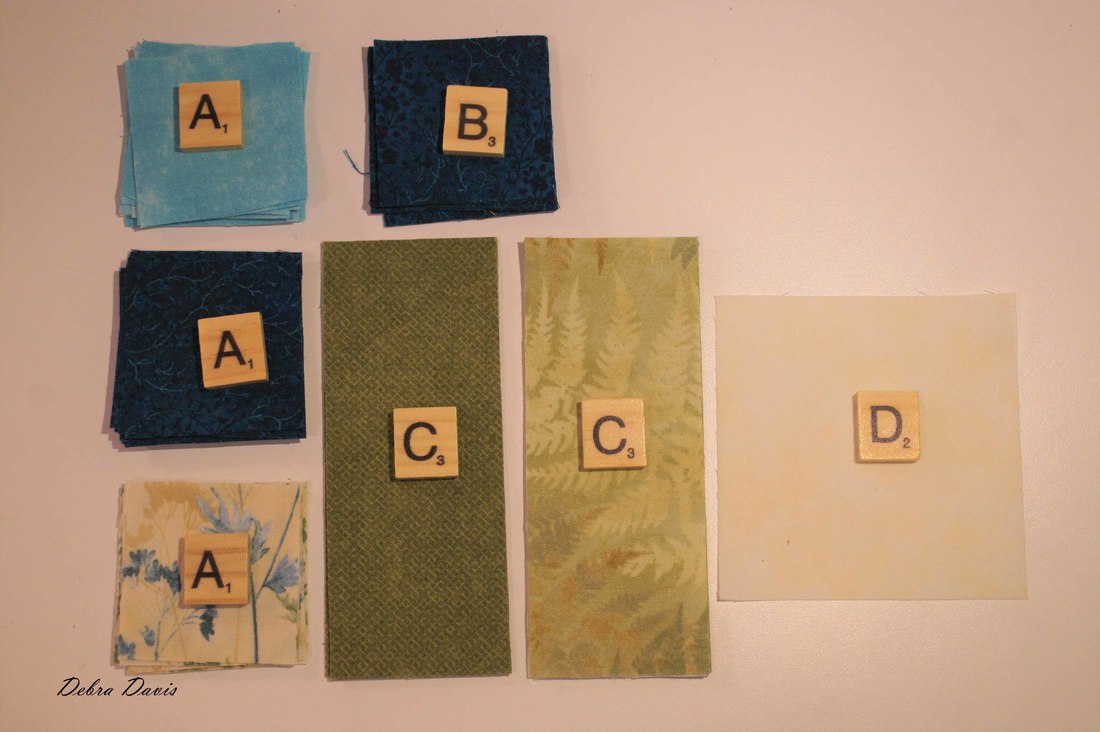
Lynn's pattern has all of those A's listed which I broke down in order to know how much of each color to cut. So I have A1-cut 12; A2-cut 16; and A3 cut 8. I did the same for the C rectangles cutting 4 from each of my two C fabrics.
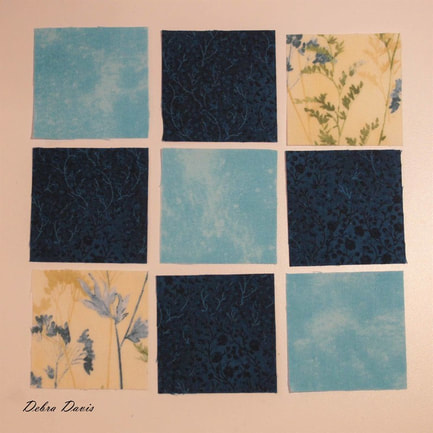
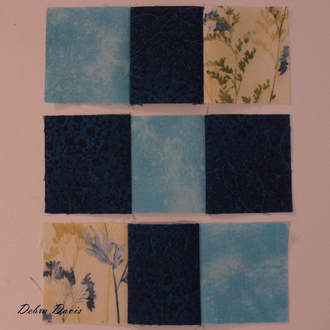
I start by laying out my A squares according to the pattern to make the Nine Patch units. Since I am using a directional fabric for some of my squares I am going to lay my sets out one at a time, but if you do not have that issue you could just stack them and make all four of these corner nine-patch units at the same time. To begin we will be joining the squares together in pairs to start making three rows.
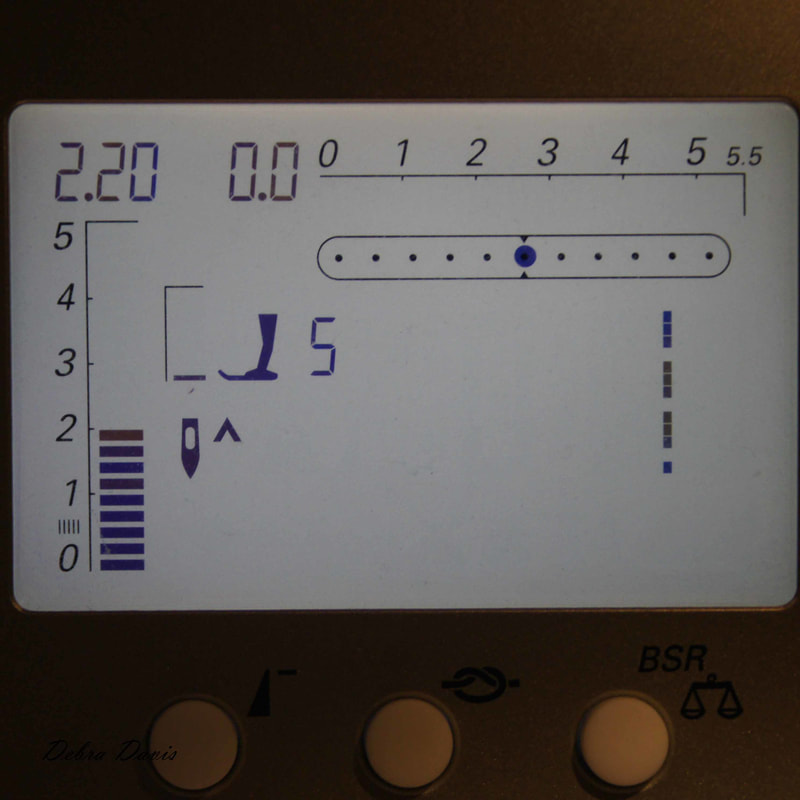
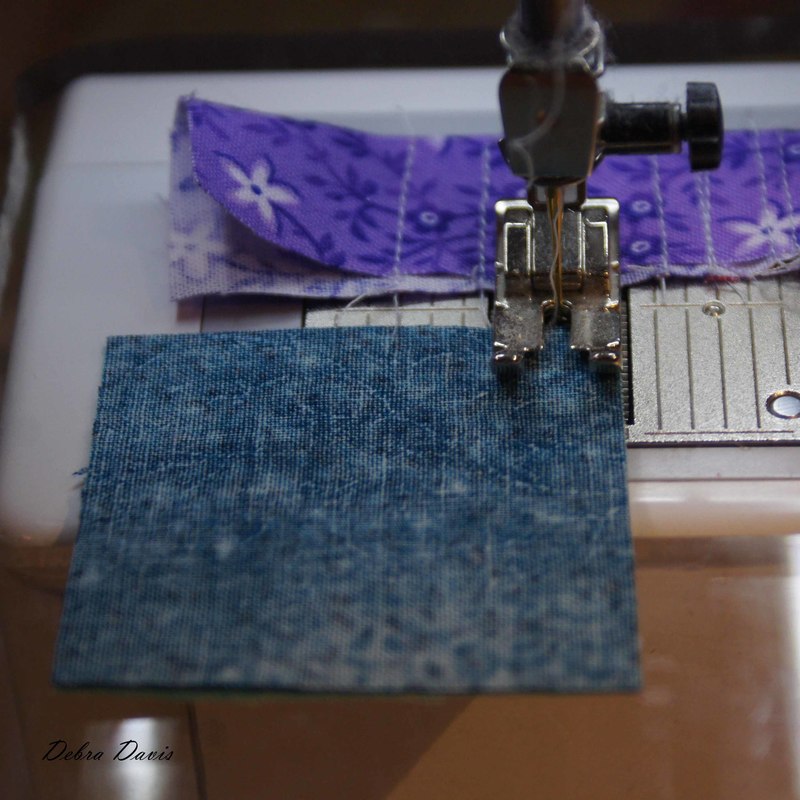
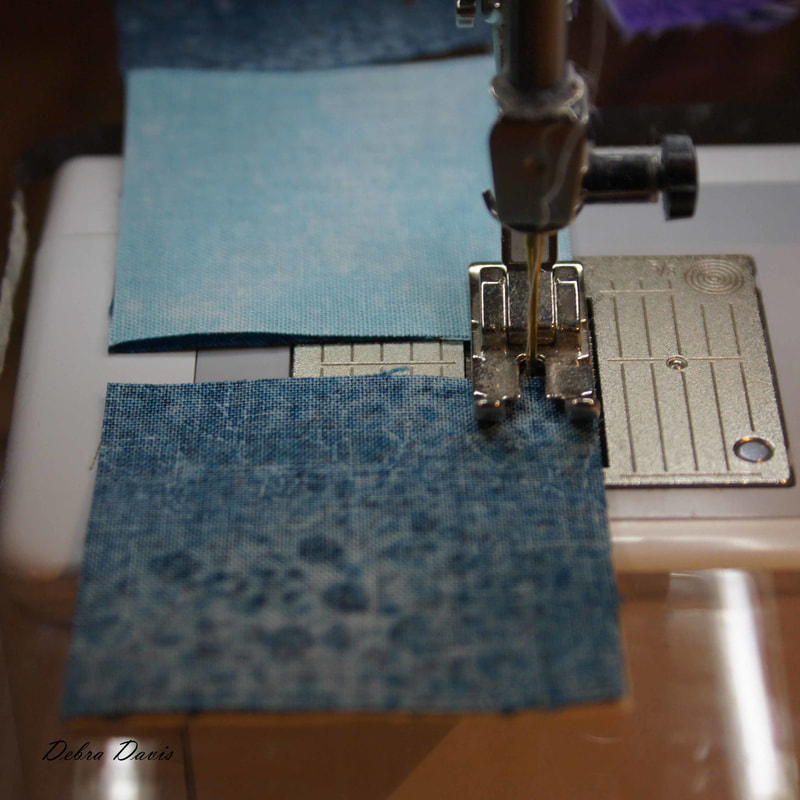
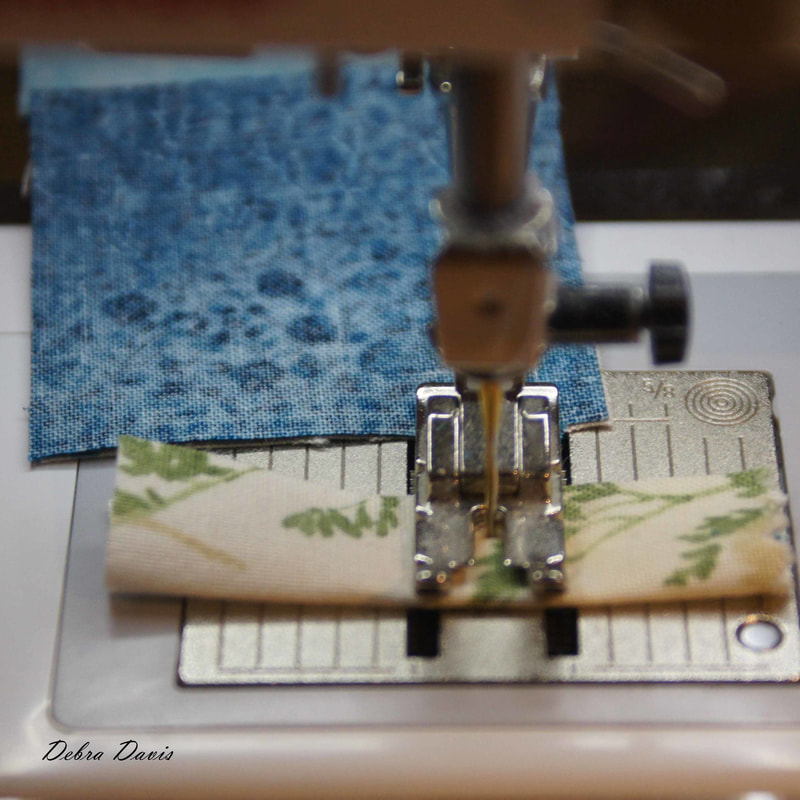
I like to set my stitch length a little shorter than normal using a 2.20 on my machine and I will use the needle down position as well. Chain-piecing is a very efficient way to sew these units together, so I start with a scrap of fabric to get things started, sew across it and right off the end, then I place my first fabric pair right sides together and sew a 1/4 inch seam.
I continue adding my fabric pairs-sewing right off of one, taking a few stitches with nothing under my needle, and adding the next pair. My needle is in the down position whenever I stop so that when I add the next pair to be sewn I butt them right up next to my needle. I find that my threads never get messy or tangled when I use this method of chain-piecing and it eliminates the puckering of fabric that can happen when we are just starting a seam. Once I have sewn all of my pairs I sew onto another scrap of fabric and leave this under my needle. This will be the starter scrap when I come back to my maching.
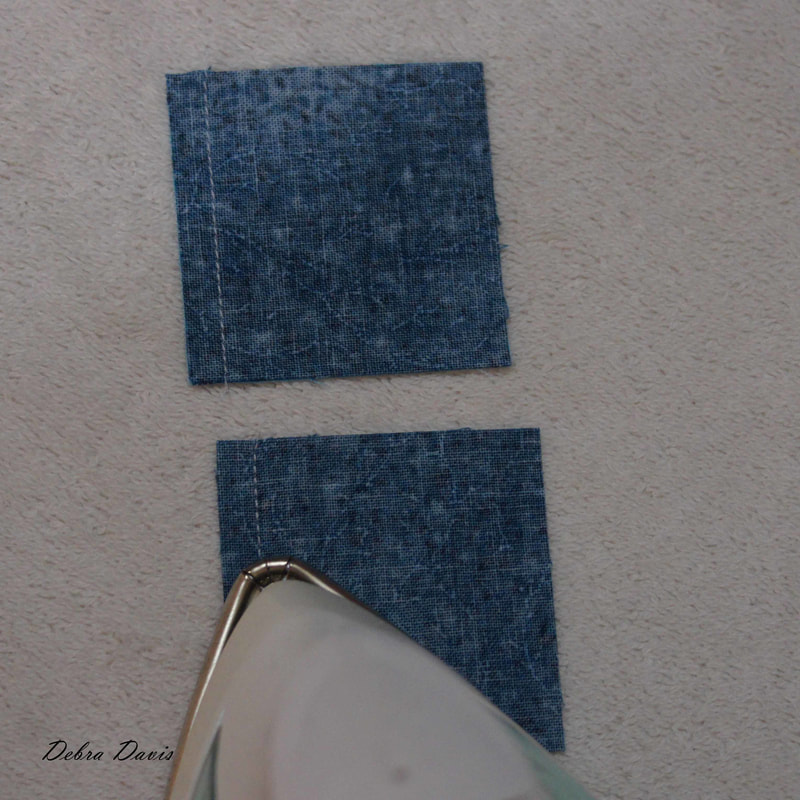
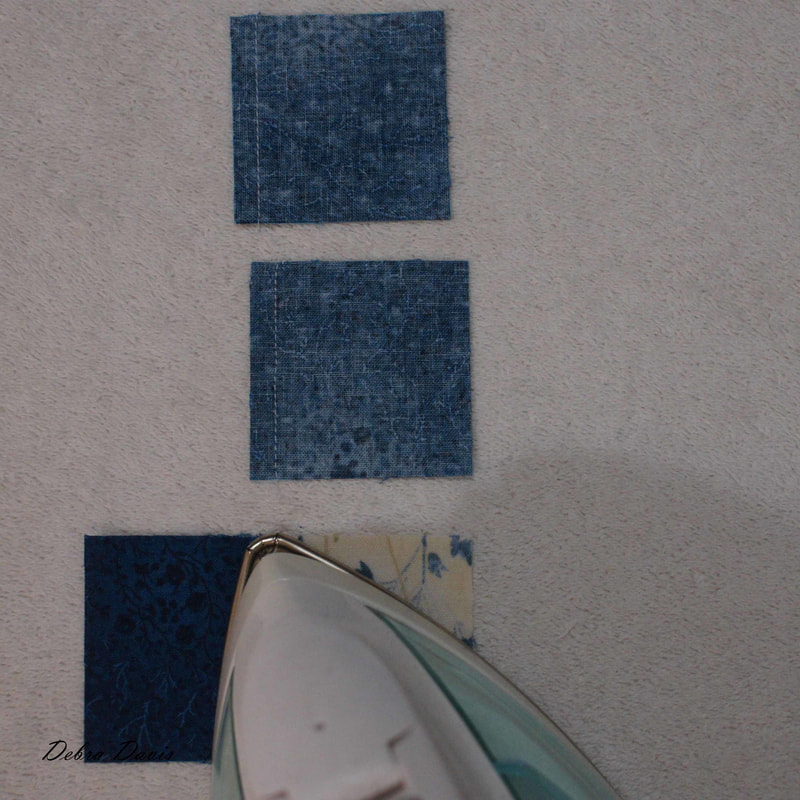
I press towards the dark side-setting my iron on top of the closed units at first to set the seam-I let my iron sit there for 2 or 3 seconds. Then I open up the unit and again set my iron on top of it-I try not to move the iron back and forth (that is ironing not pressing) instead I want to just use motions that lift the iron up and set it back down to press.
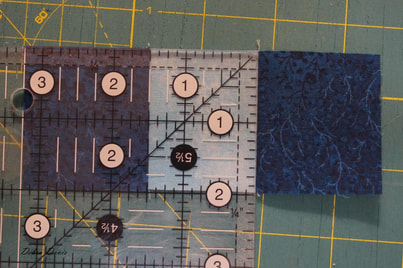
Next I add the last square to each row and press towards the dark side. Now is a good time to check to make sure I am sewing an accurate 1/4 inch seam. By laying my ruler on to the row I see that my middle square is now 1 1/2" across...perfect! (We started with 2 inch squares and then subtract 1/4 inch from each side to give us the 1 1/2" measurement.)
With my rows sewn together I lay them out in the oder they go and can begin joining them.
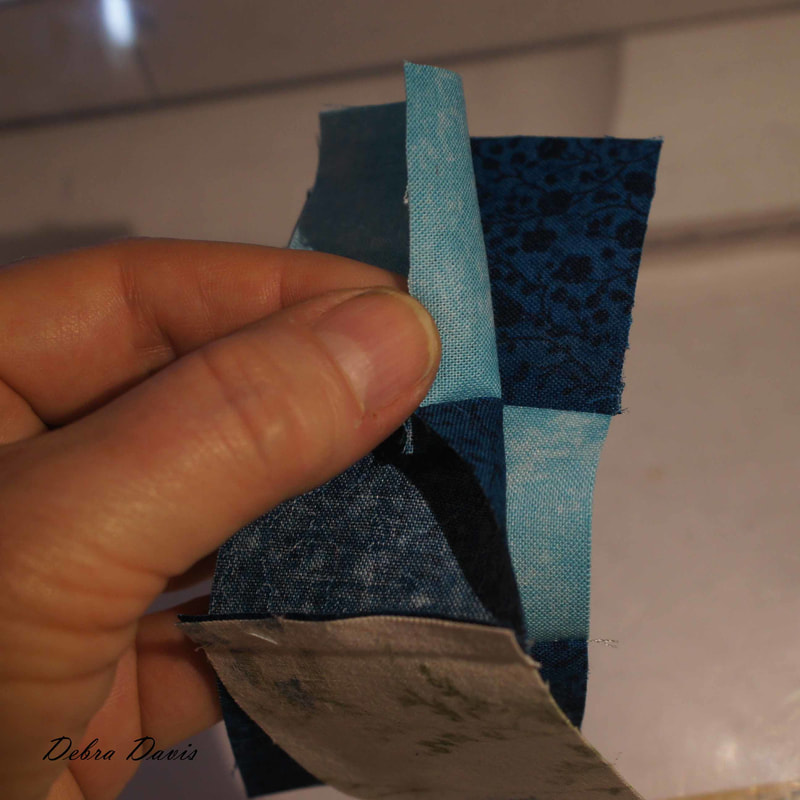
To put the rows together we need to match the seams. Since we pressed them in opposite directions they will lock together into place.
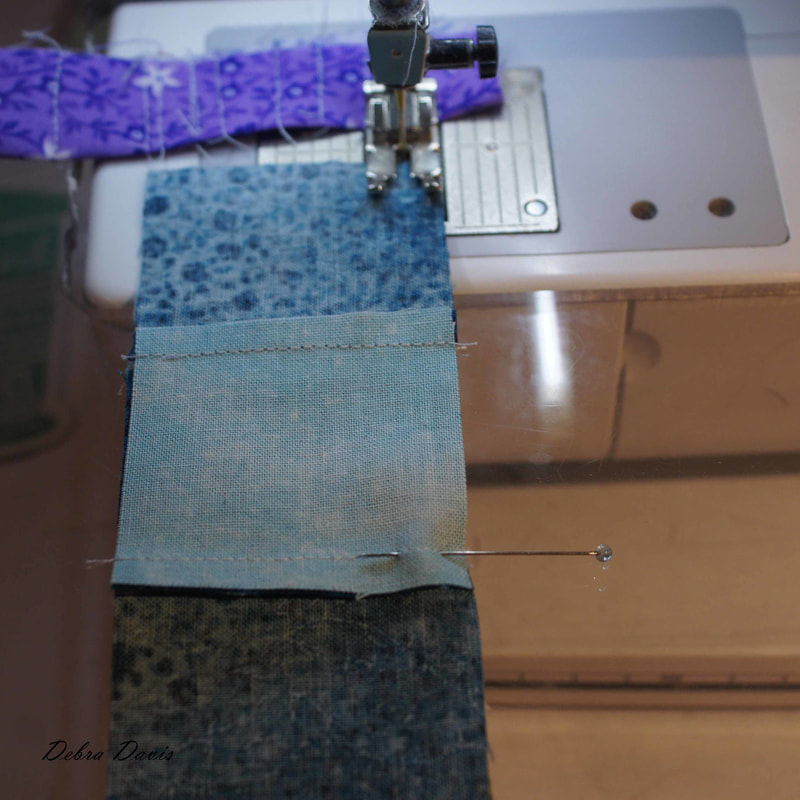
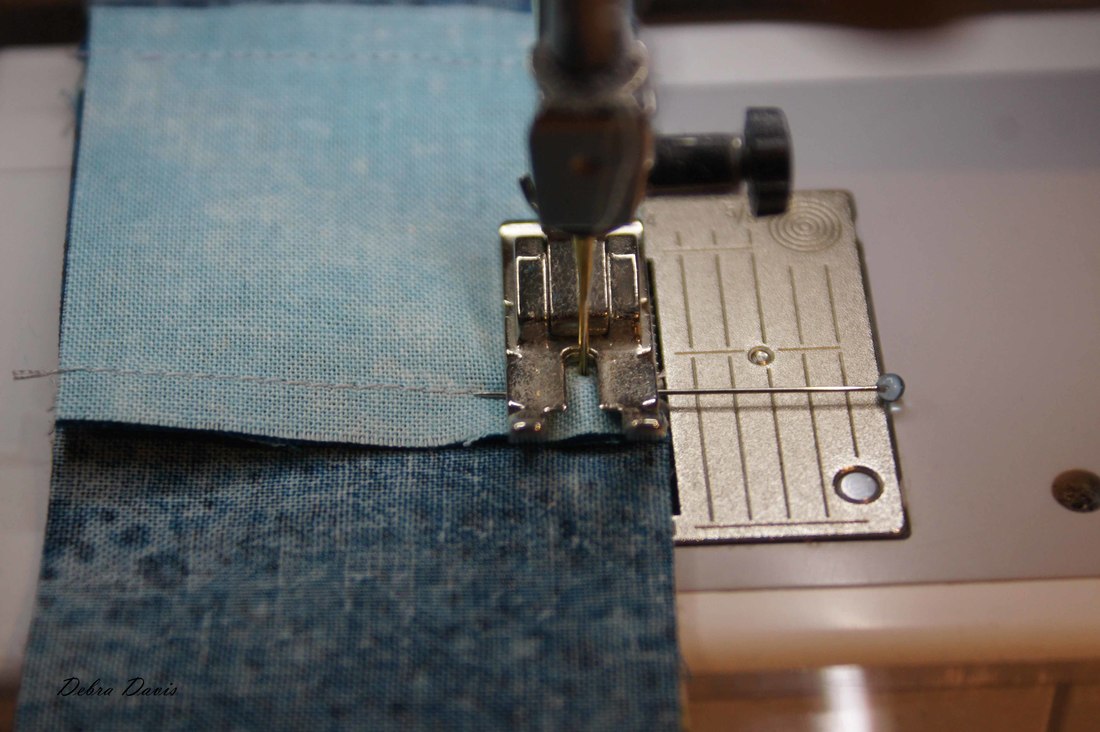
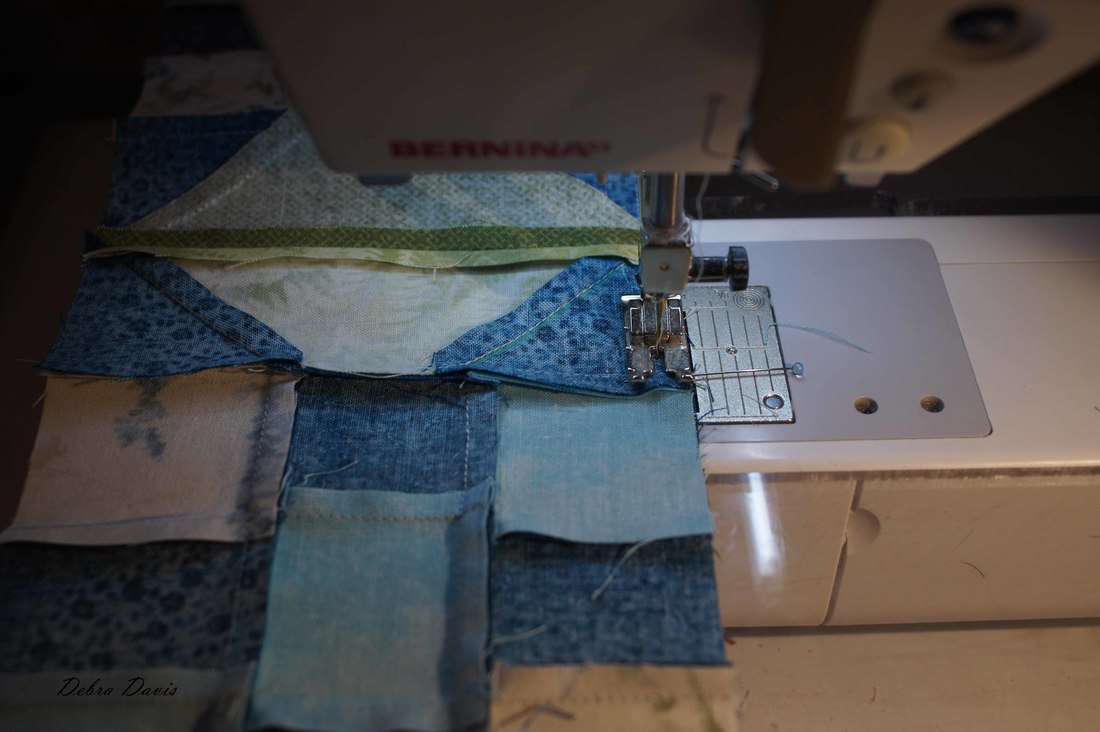
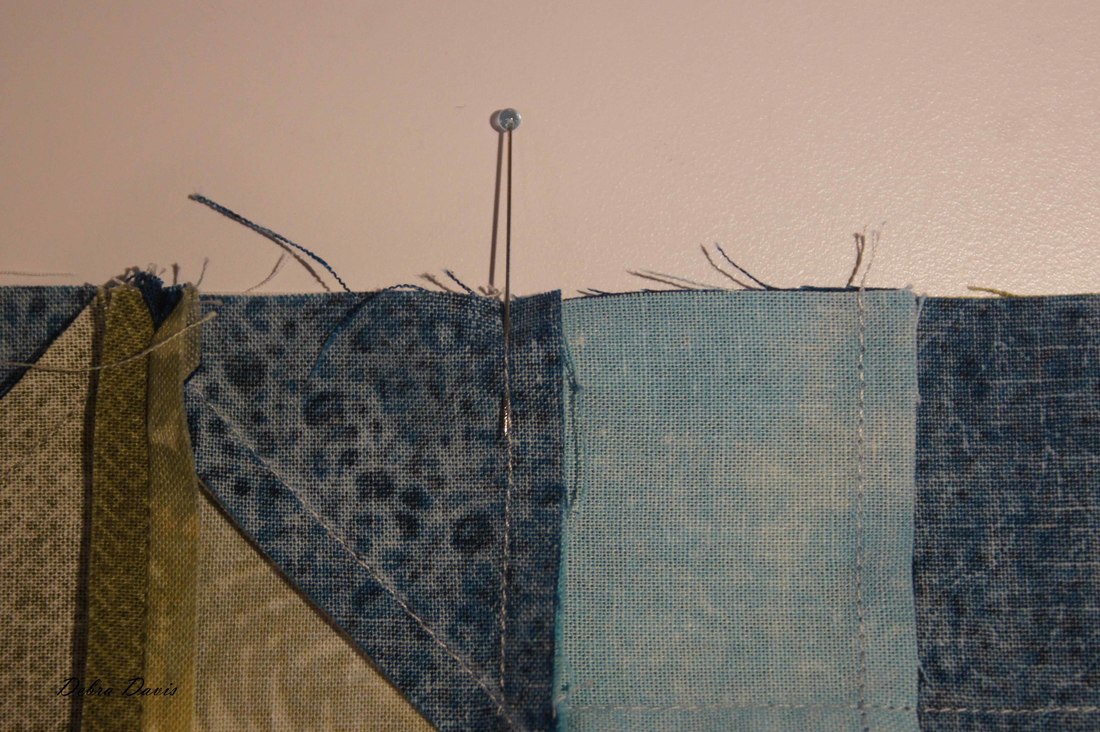
You can pin these seams if you like, I tend to pin the seams that are facing towards me and not the ones that are pointing up towards the needle. These seem to naturally get pushed against the other seam , whearas when the seam that is pointing towards me is on top it can be pushed away from the seam I want it to be snug against.
A pin just helps to keep these seams from shifting. When I am using pins, I sew right up to the pin, but not over it. I remove the pin when I come to it and then continue sewing. Another tip for accuracy-slow down when you sew, especially as you come to places where the seams are meeting. Press seam towards the middle row.
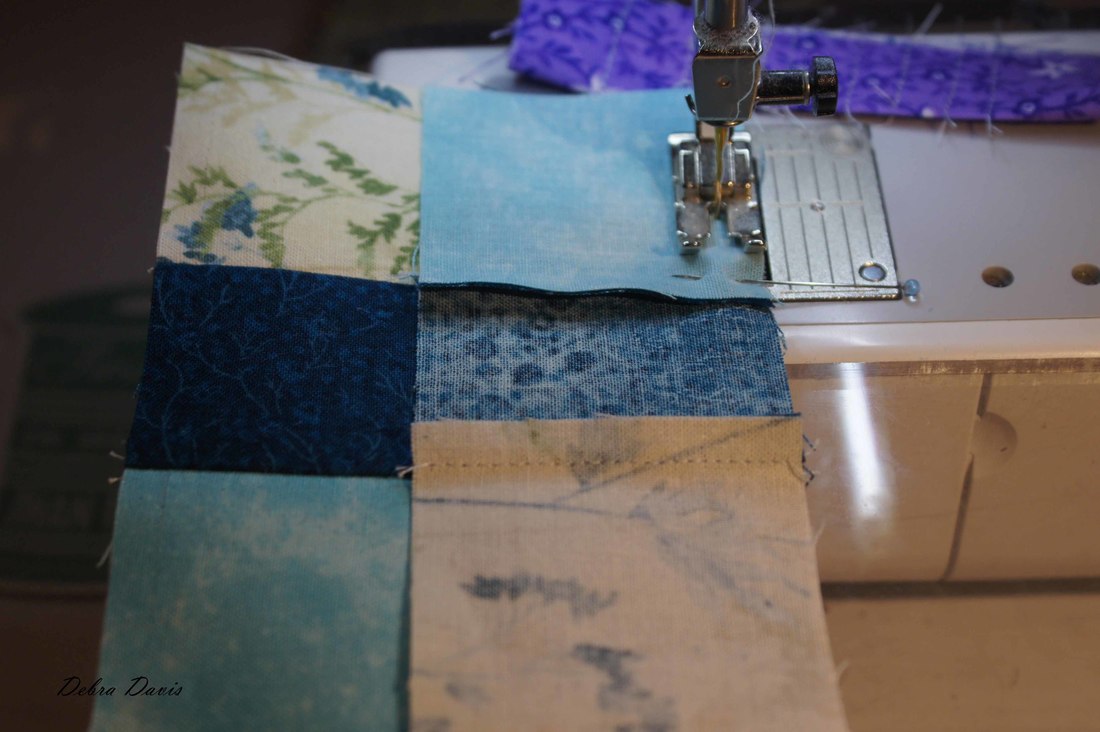
Now when I add the then next row that first seam is the one pointing towards me so I have pinned it to make sur it plays nice with my block. Notice even here I am using scraps of fabric to start and stop my sewing. Press towards the bottom row.
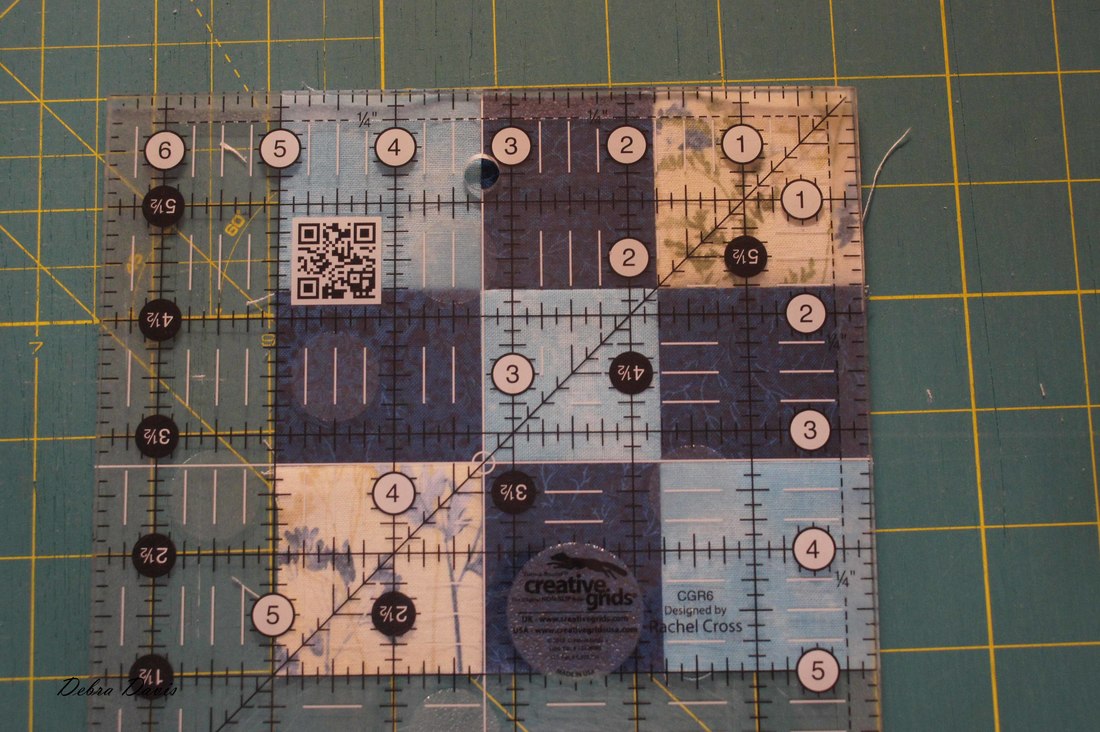
With my four Nine-patch units all sewn together I check to make sure that each measures
5" x 5 "
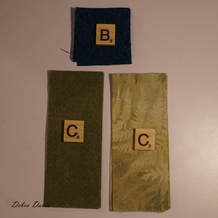
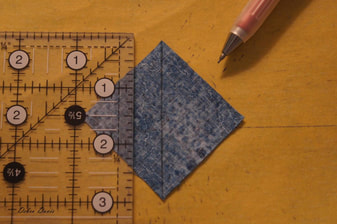
Now I move on to the next step using the B squares and C rectangles. I need to draw a diagonal line on the back of all of the B squares. I use a mechanical pencil for this. You do not want to use something that will show through your fabric. I like the Sewline mechanical pencil for this as the leads come in several different colors and I can choose the one that shows up the best for whatever fabric I am using. I also have a piece of very fine sandpaper that is attached to a clipboard that I use when I need to draw lines on my fabric pieces-the fabric does not slip or wiggle out of place when I use the sandpaper.
Now that I have my lines drawn I can place my B squares on the darker C rectangle (this will be the left side of the unit.) Make sure that the diagonal line is going in the correct direction.
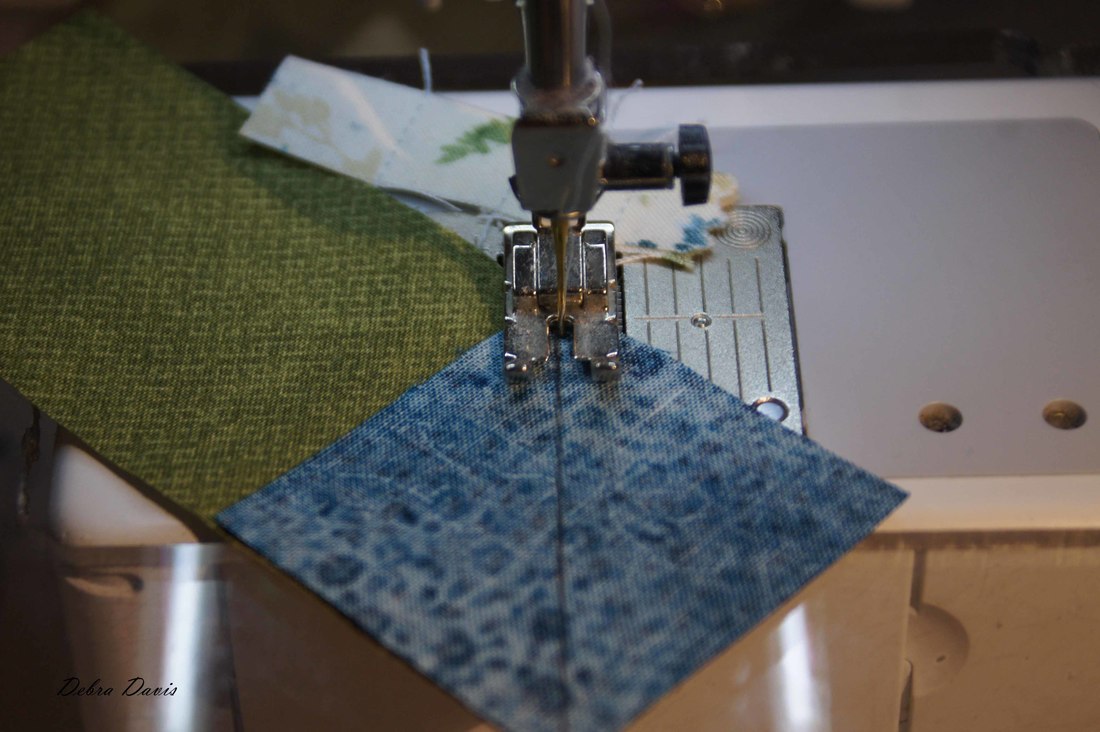
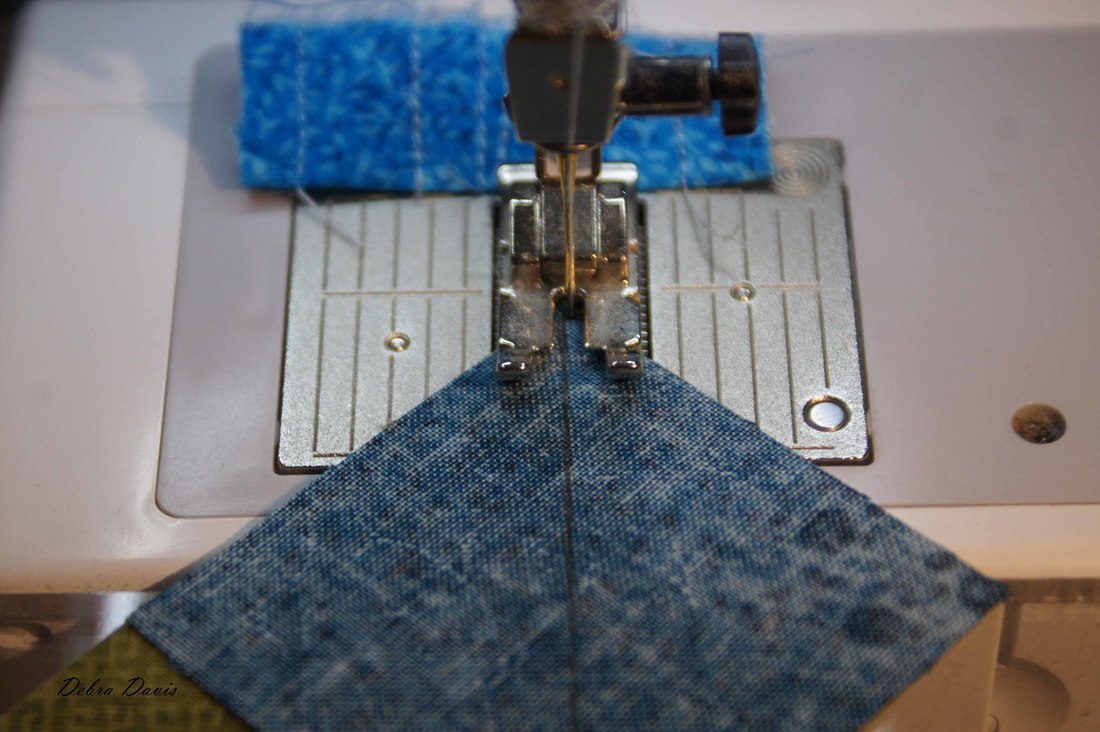
To sew these I do NOT want to sew on the line, instead I place my needle just to the outside of the drawn line, sewing right next to it.
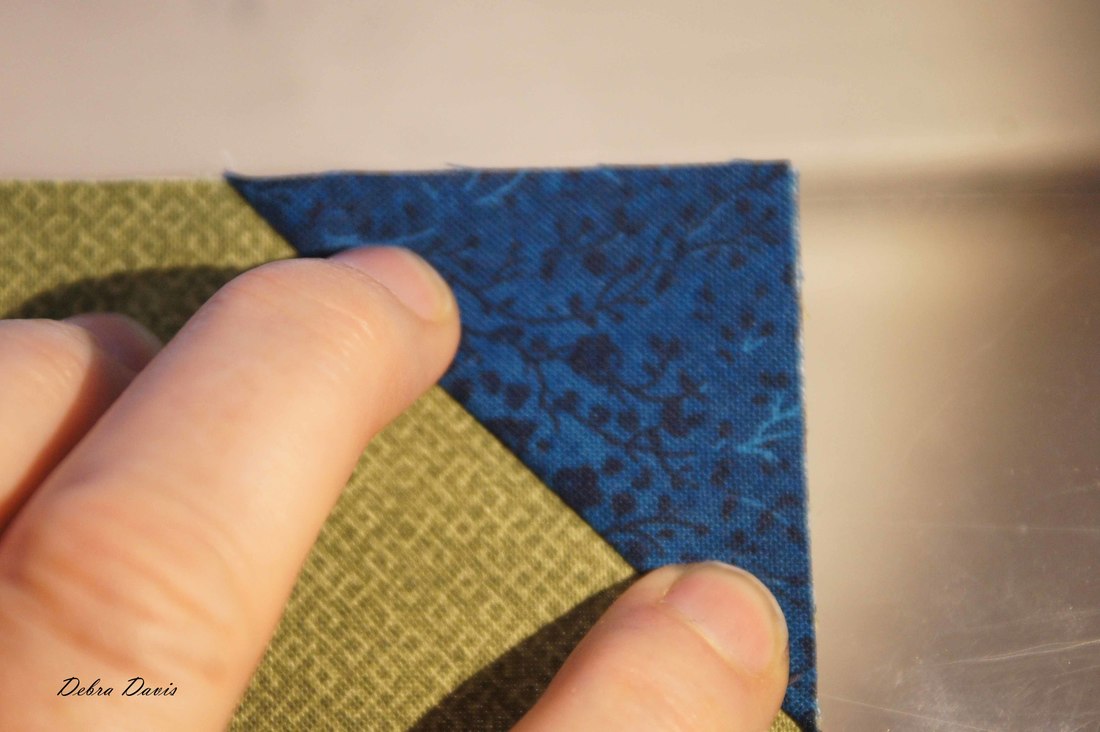
Next, flip over the triangle created to make sure that it completely covers the C rectangle underneath. The edges should line up pretty closely.
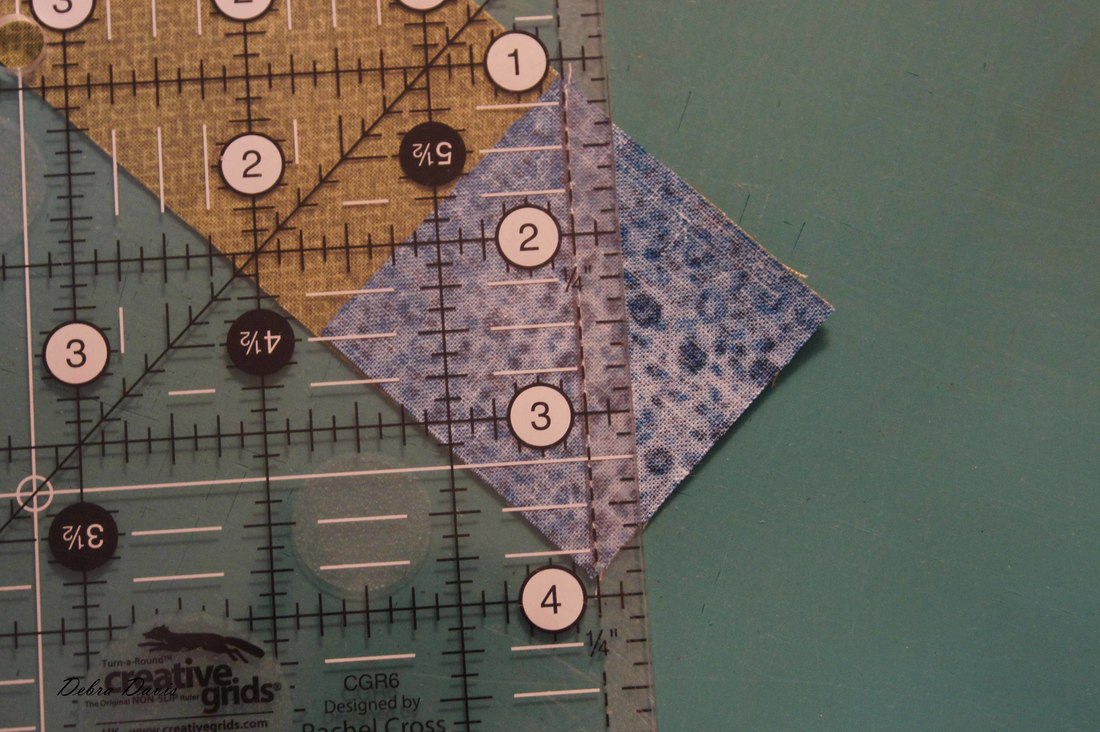
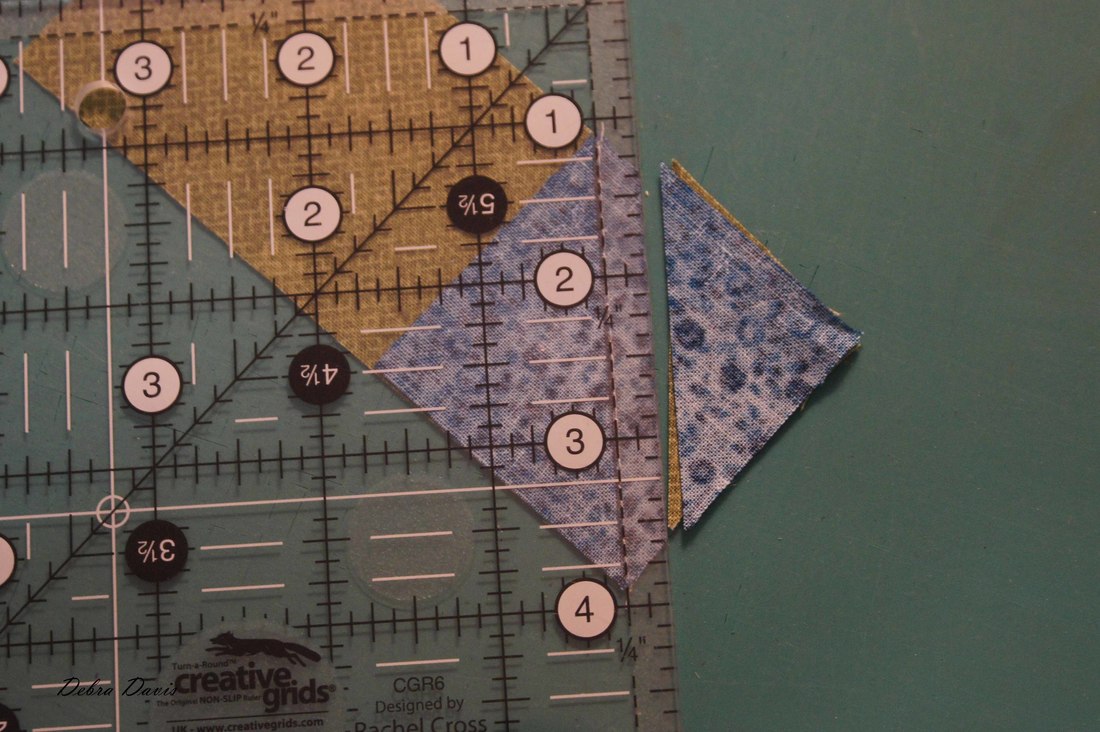
Using a ruler and rotary cutter trim 1/4 inch from the seam line. I am saving those little triangles for another project.
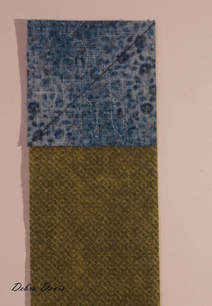
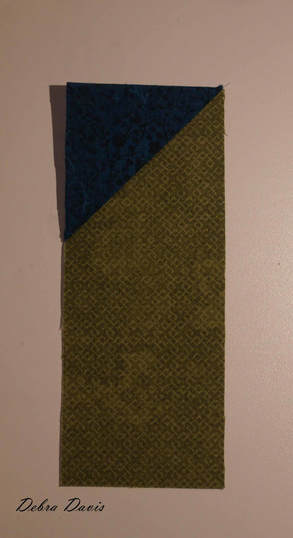
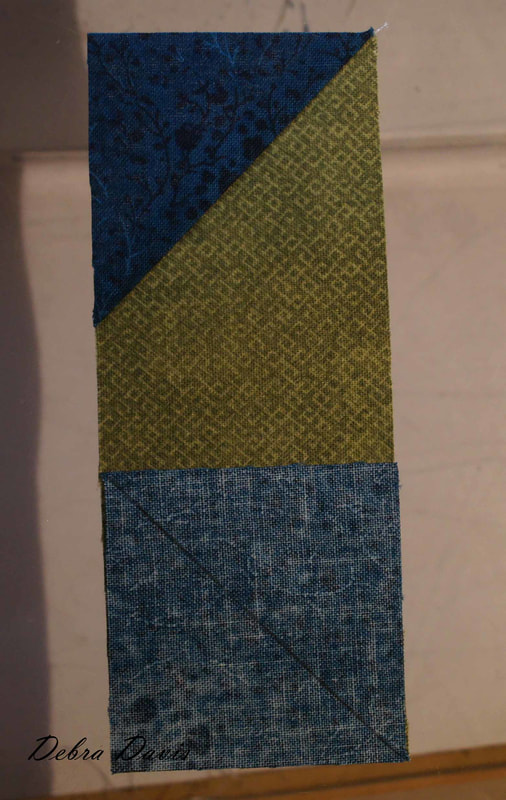
I pressed these towards the triangle. Next I add another B square to the bottom, again making sure that the diagonal line is going the correct way.
I sew these just like before, being sure that my needle is just to the outside of the line. Press towards the triangle.
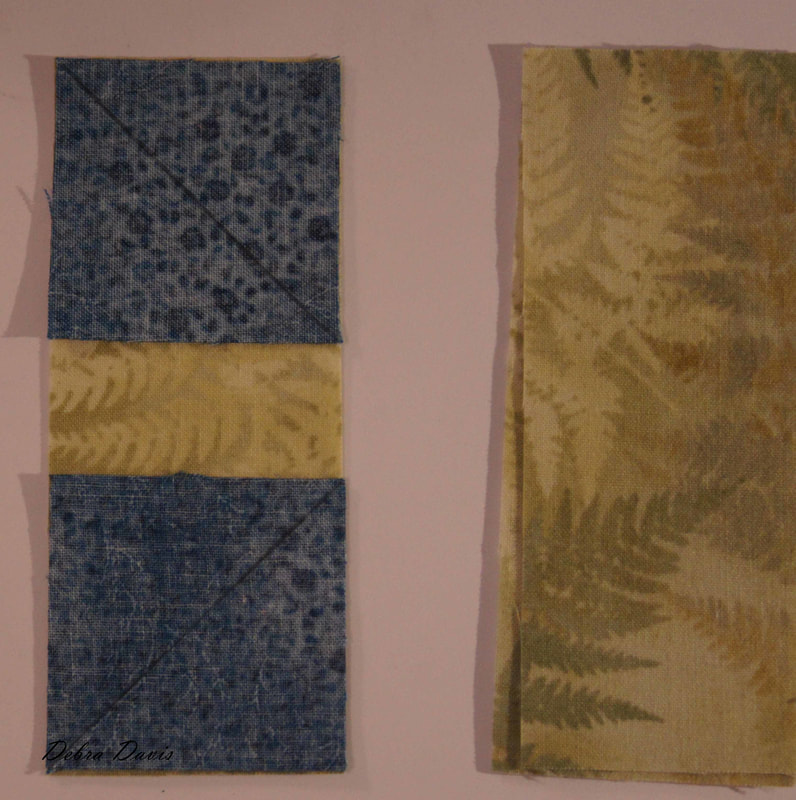
I need to repeat this process with the remaing C rectangles.
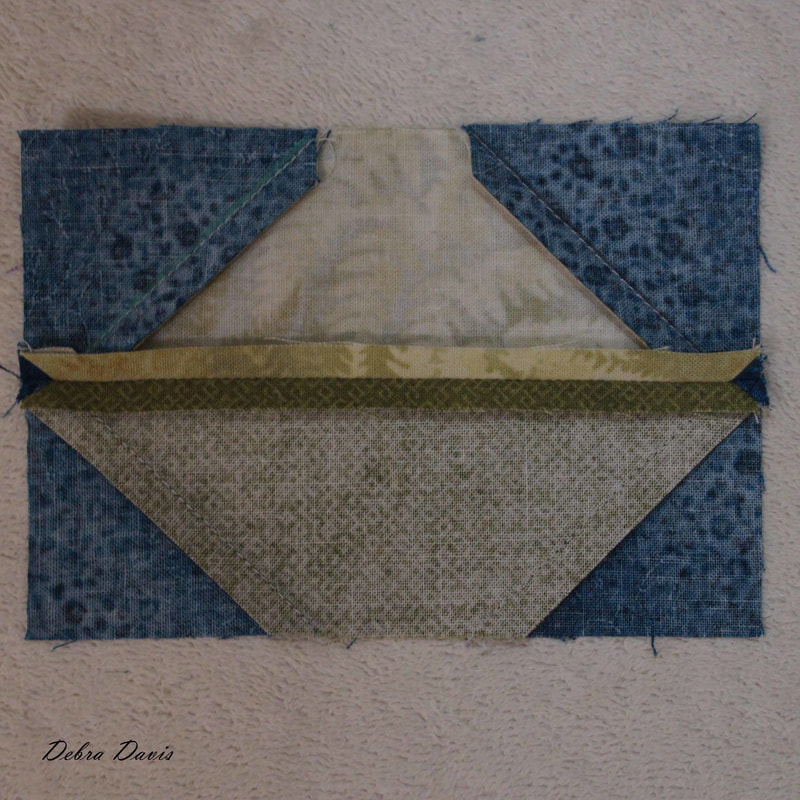
Notice the diagonal lines are going a different way now. I press these towards the C rectangles, which is important for the next step.
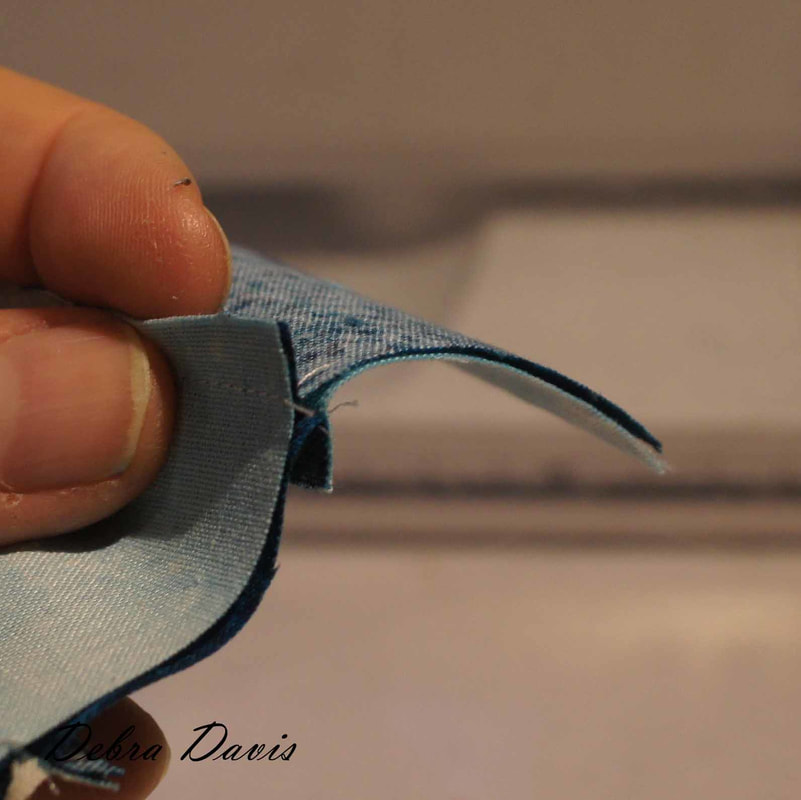
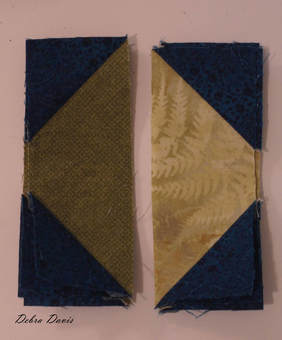
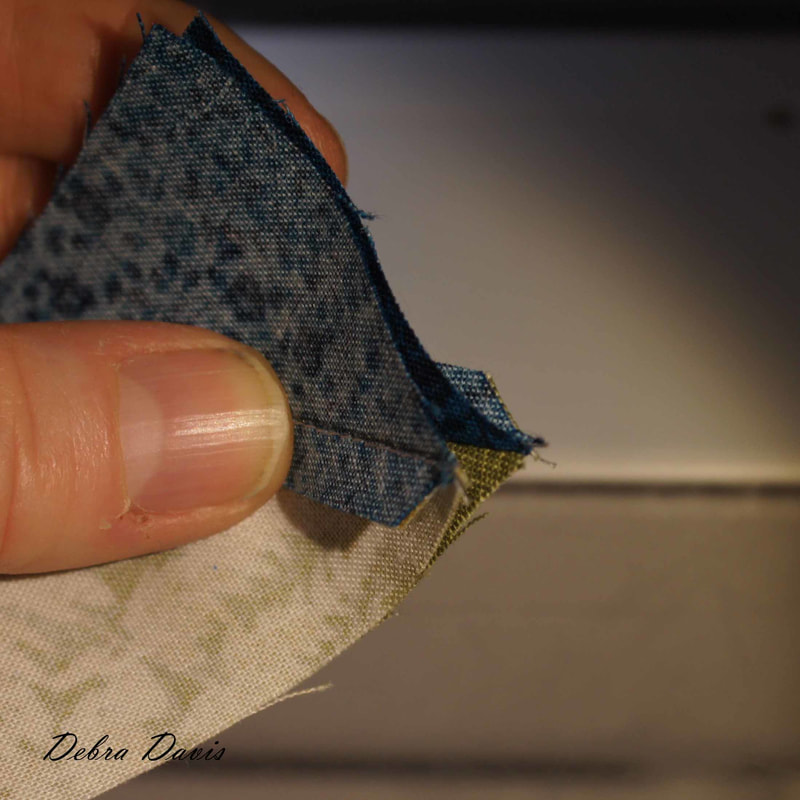
Because we have pressed these seams in opposite directions they will lock into place for sewing these units together. It is rather awkward to pin diagonal seams and I find that with the way I have pressed these pins are not needed.
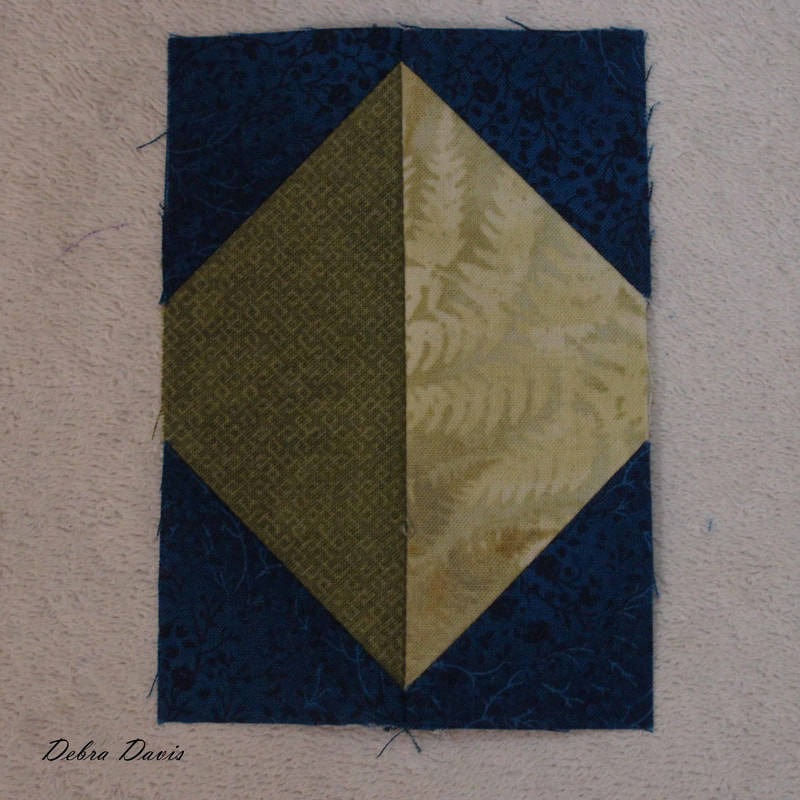
After joining the two units, press the seam open. This is not something we do very often when piecing our quilts, but there are times when it really helps to get those bulky seams to lay nicely. I finger press the seam open first then use my iron to set the seam and finally, press from the front side.
I wish the colors were showing better here-I love the dark teal with the greens.
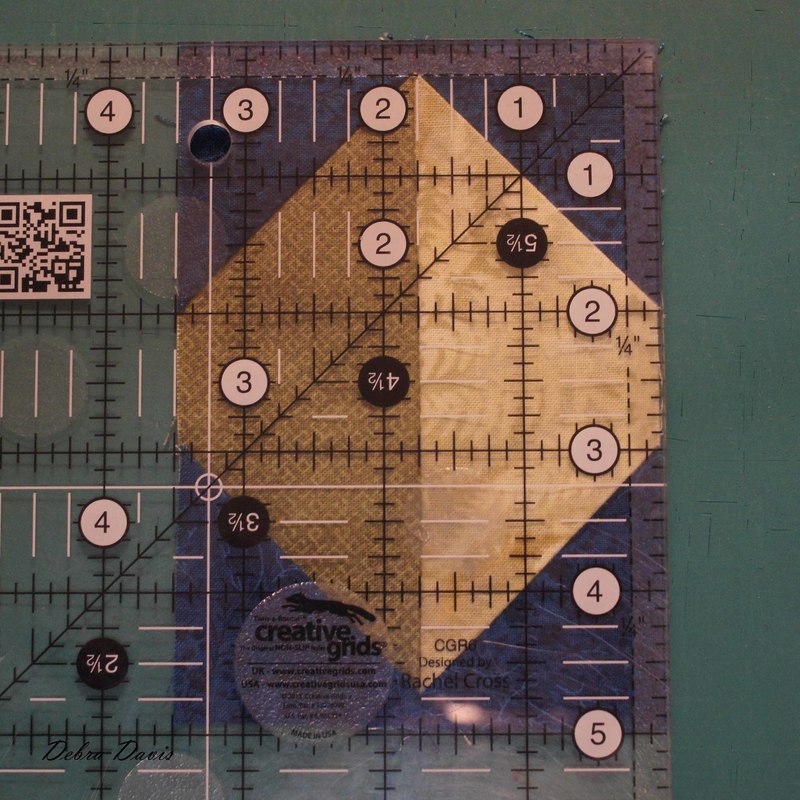
It is good to get into the habit of checking your measurements when you finish these various sections. These units should measure 3 1/2" x 5"
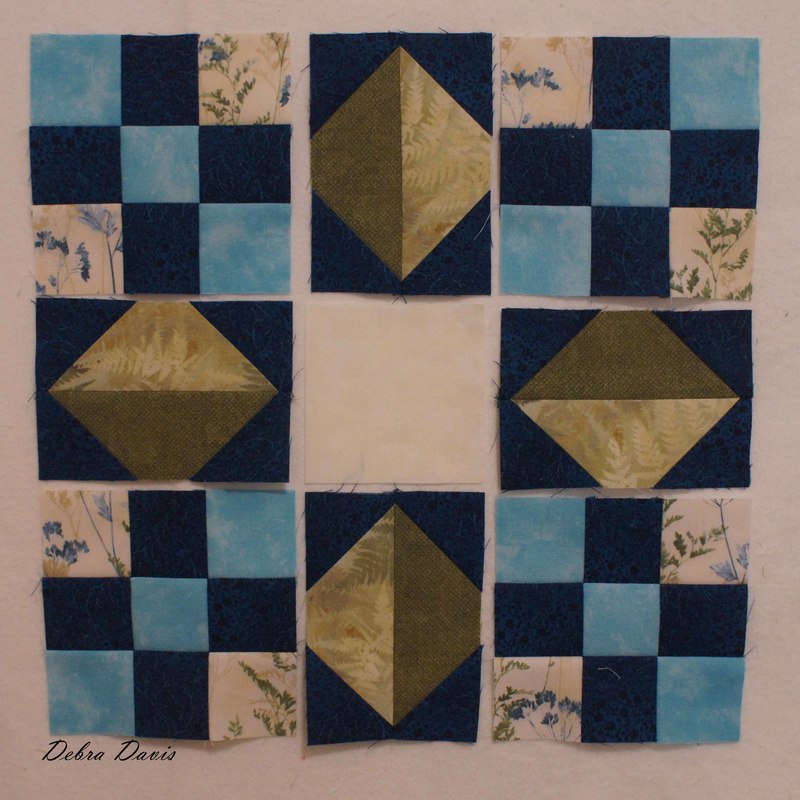
It is time to lay out all of our units-together with the D square. In essence we have another nine-patch to sew together. We approach it just the same. When I first prepared my fabrics for this block I was going to use the botanical for the D square, which I really liked-but then I came up with a different plan so replaced it with my background fabric. I do wish that dark teal did not come across as almost black-it really is a lovely color.
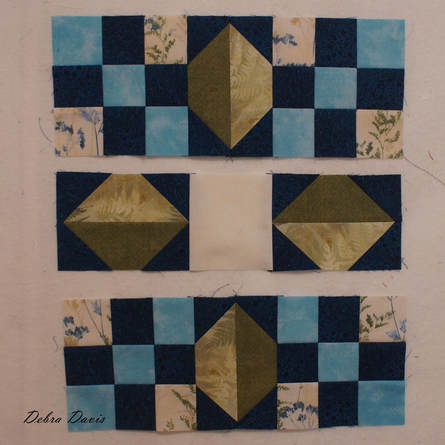
Just like before we join our pieces into rows. Press the top and bottom rows towards the little nin-patch corners and the middle row towards the D square.
Join the rows together placing pins as needed.
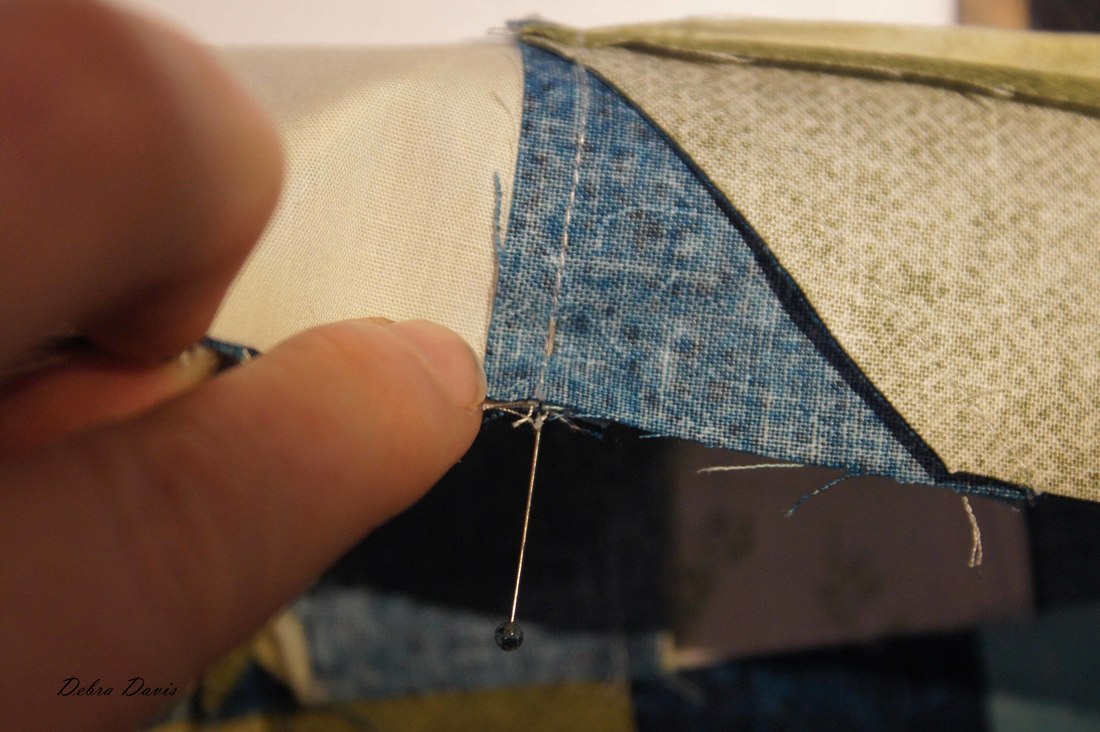
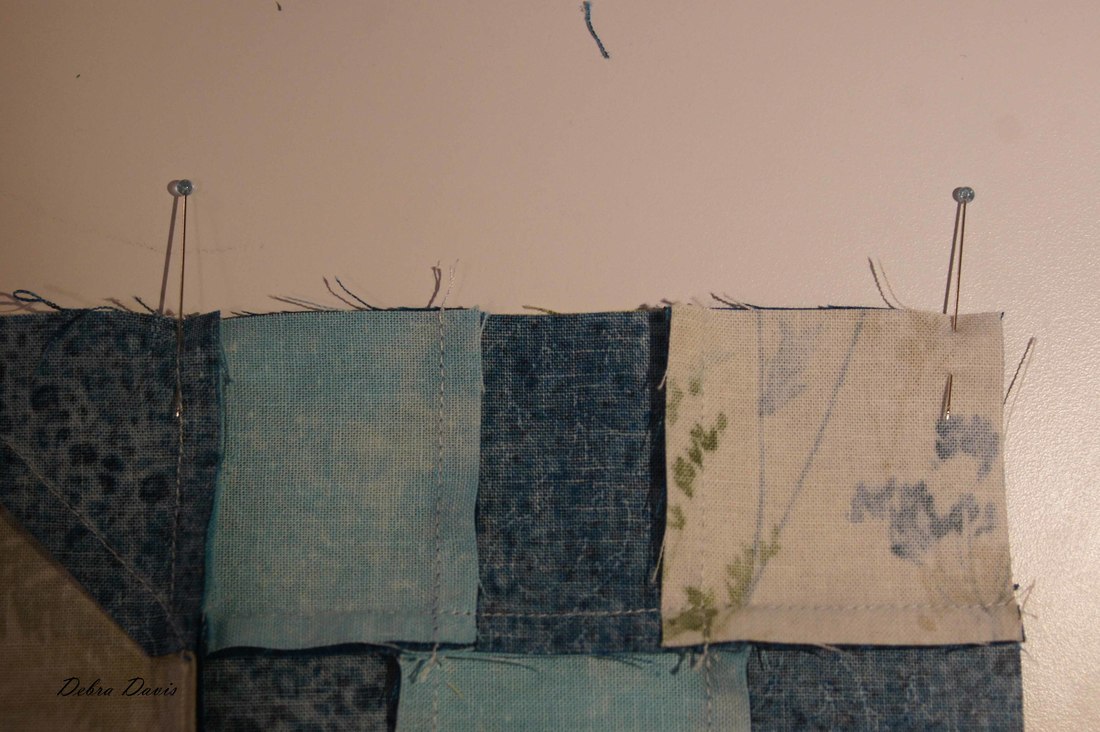
If you are having trouble getting your seams to match be sure that the pin is on the seam both on the top side and when you flip it over to the bottom side. I am amazed how many times I place a pin that looks good from the top only to find that I am not on the seam on the back side of the piece.
Another thing that can help is to place a second pin at the end of the rows you are joining.
I found the seams did best if I pressed towards the middle row.
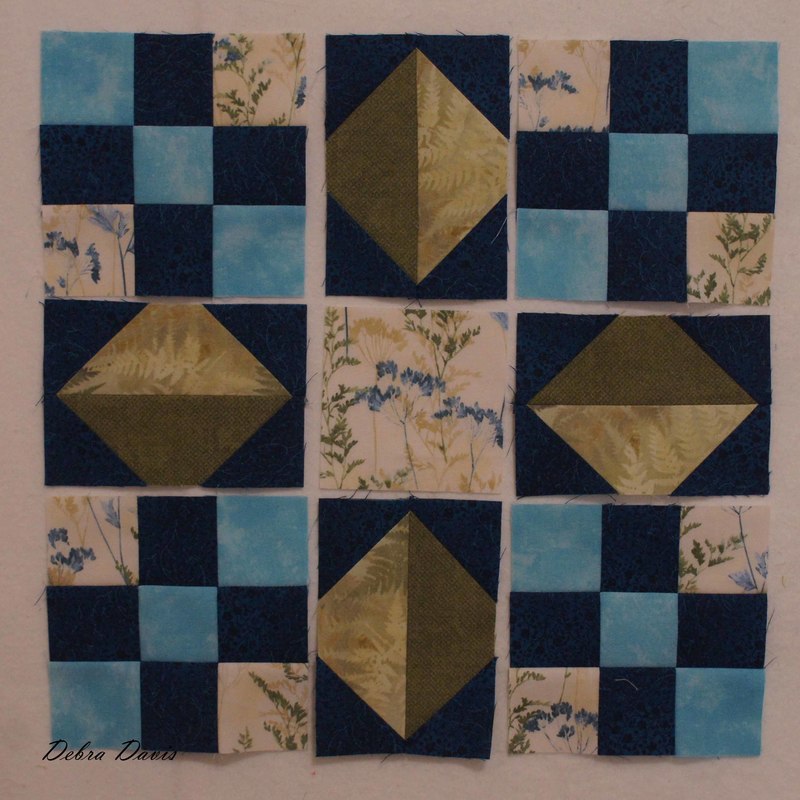
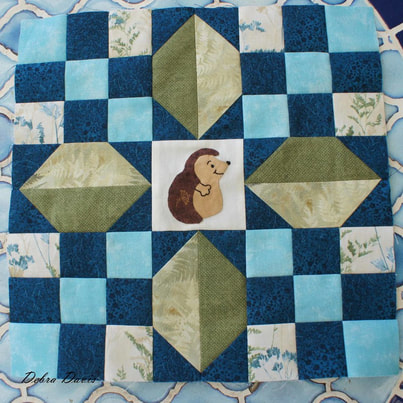
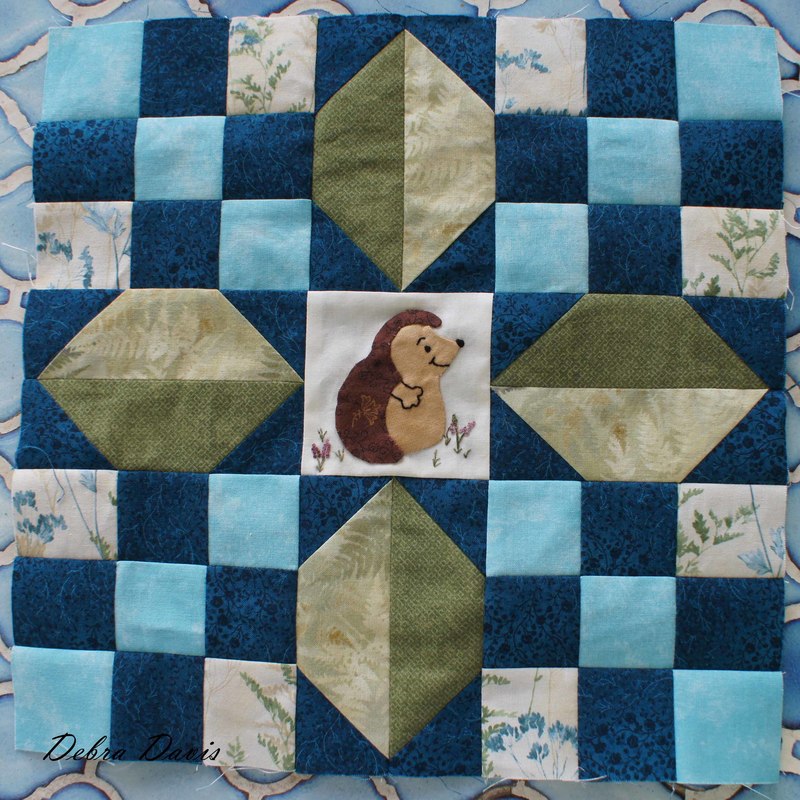
And here is why I decided to switch out my D fabric. I used my new Apliquick tools to prepare this little hedgehog applique. Not sure what to name him just yet so for now he is Hedgie. I think I might even add some grasses and maybe a flower or two....yes, that's better.
This has been such a fun block to make-I hope you enjoy making yours as well.
Happy Quilting!
For a pdf version of this tutorial click below.
Jennifer
6/7/2018 10:33:41 pm
Amazing post!! Thank you for taking the time to explain things in such detail. I never thought of nesting the seams for the angled pieces. Great tip about sewing inside and not on the line!!! I will have to wait for your post before I do the next block.
Debra
6/10/2018 06:31:38 pm
Thanks Jennifer-I am so glad to hear you found my tips helpful! It usually takes me a day or two to put together a tutorial but I hope to do one for each block.
Kathy Travis
6/8/2018 08:15:28 am
This blog was so helpful to me. I hope you continue this with each block.
Kathy Travis
6/8/2018 03:39:34 pm
I tried to print the pdf at the bottom of your post but it didn’t print.
Debra
6/10/2018 06:32:49 pm
Hi Kathy, I am very glad to hear that-yes I intend to do each block-it takes me a day or two to put the post together. Glad you found it helpful!
Debra
6/10/2018 06:35:12 pm
Kathy, wish I knew what to tell you, it worked fine for me when I just checked it. Not sure if it makes a difference whether you are using a computer or ipad, but that is the only thing that comes to mind off the top-to try it on a computer.
Valerie Taylor
7/5/2018 02:52:48 pm
Thank you Debra for your great tutorials. I always check to see if you have done the block because I found it immensely helpful.
Debra
7/10/2018 08:23:44 am
Thank you, Valerie-so glad to hear they help! Comments are closed.
|
Welcome to the site of Debra Davis-a woman who loves the Lord and loves to quilt.
My other blog where I share about my walk of faith:
Sitting at His Feet This website uses marketing and tracking technologies. Opting out of this will opt you out of all cookies, except for those needed to run the website. Note that some products may not work as well without tracking cookies. Opt Out of Cookies |



 RSS Feed