|
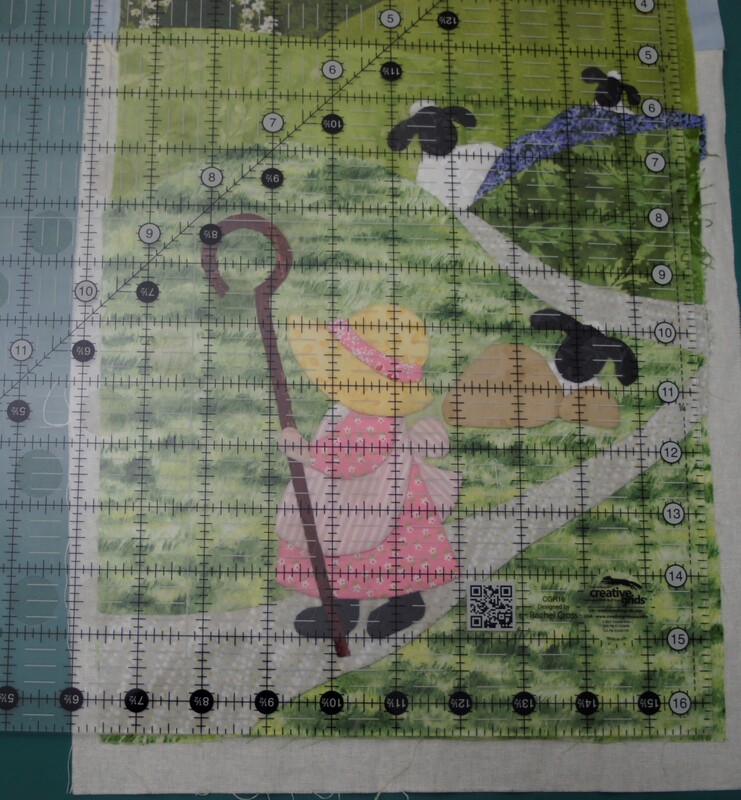
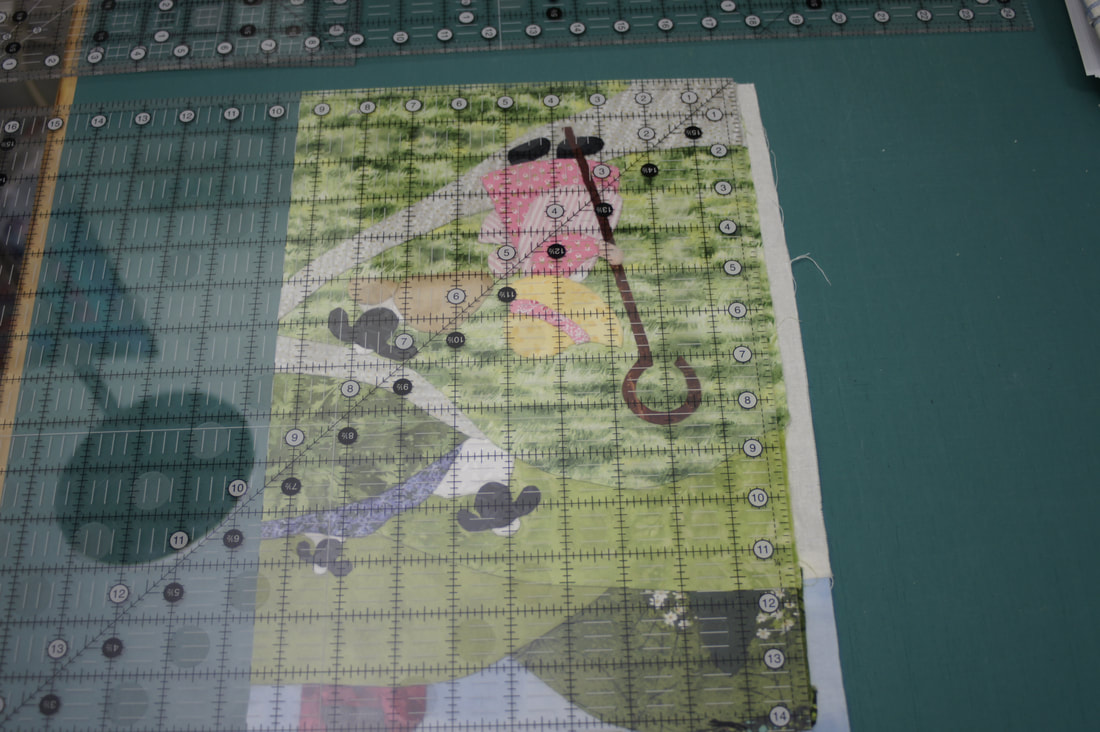
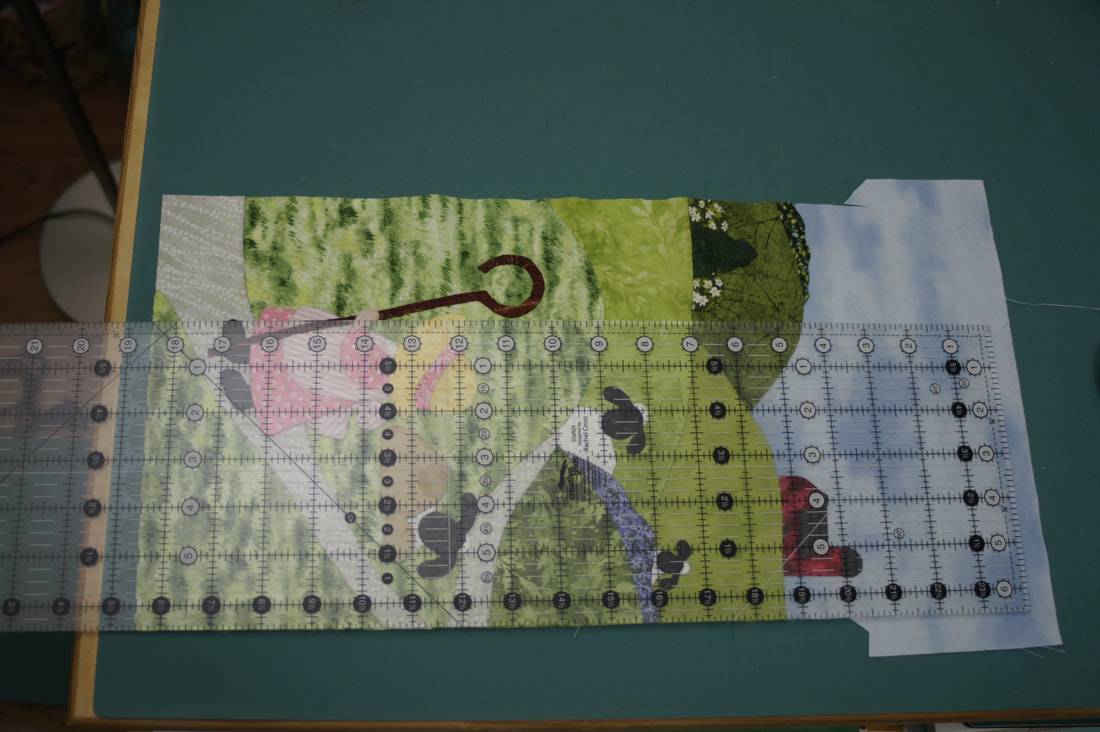
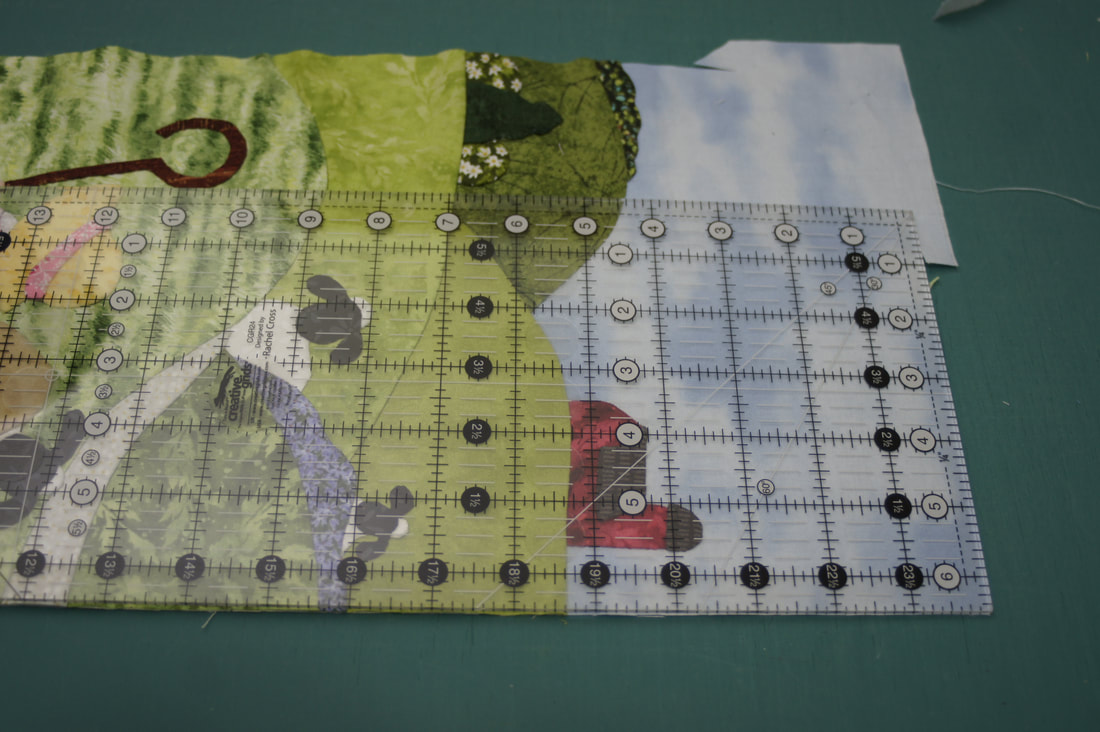
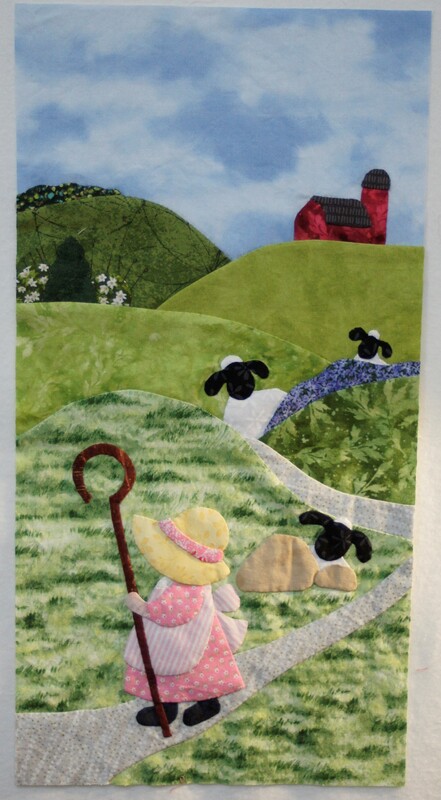
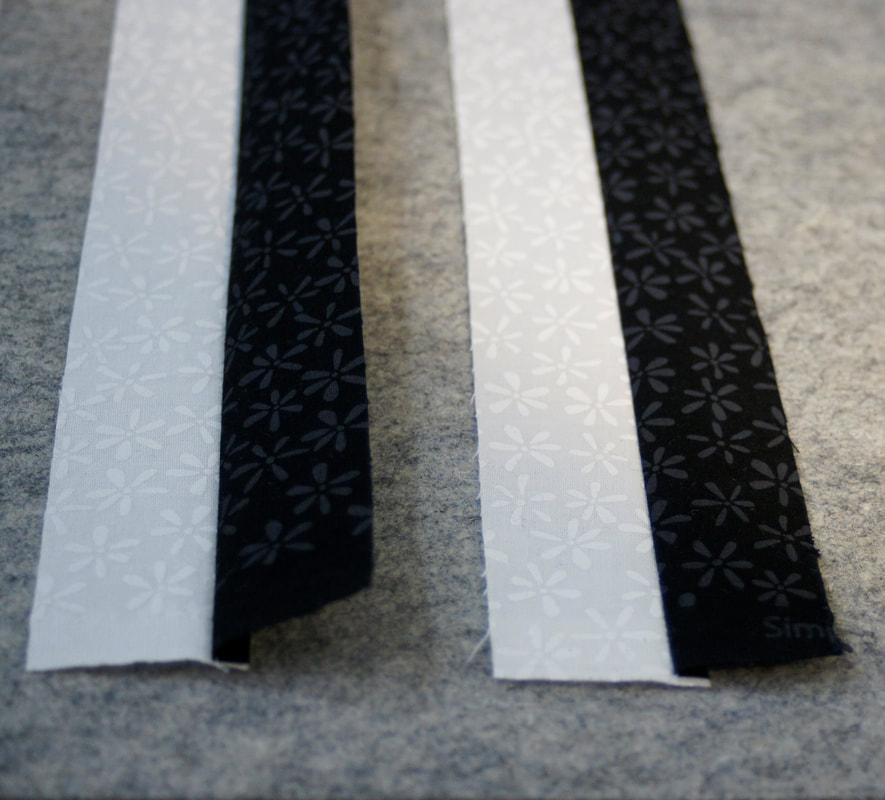
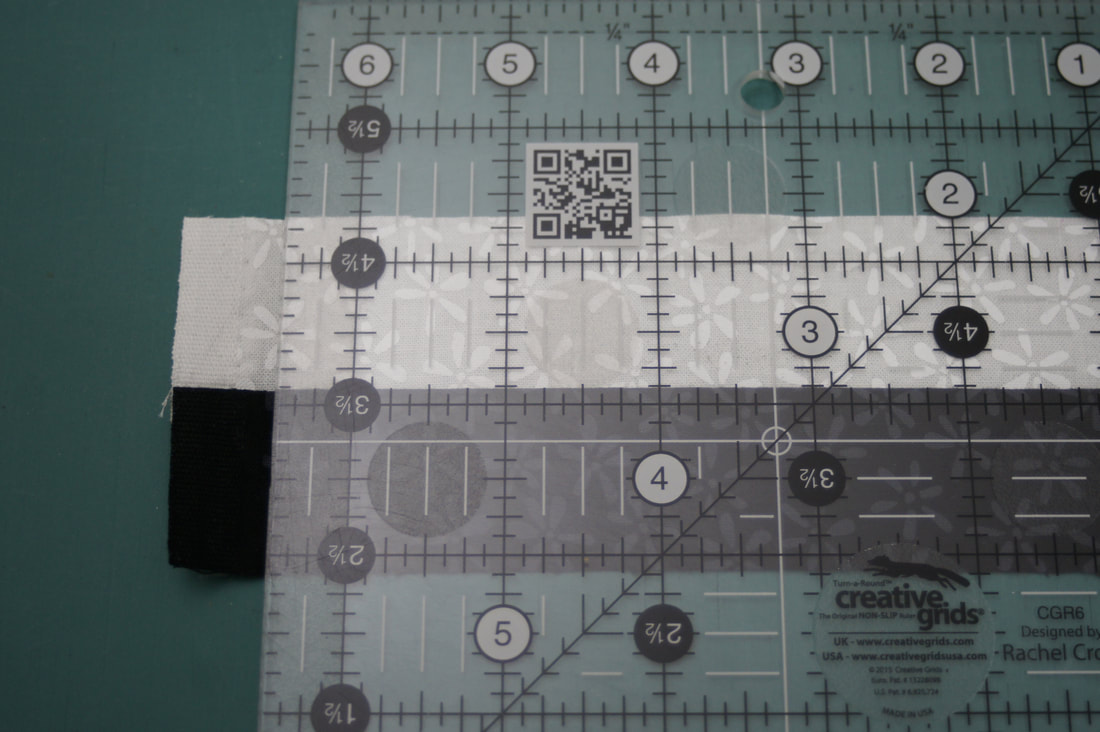
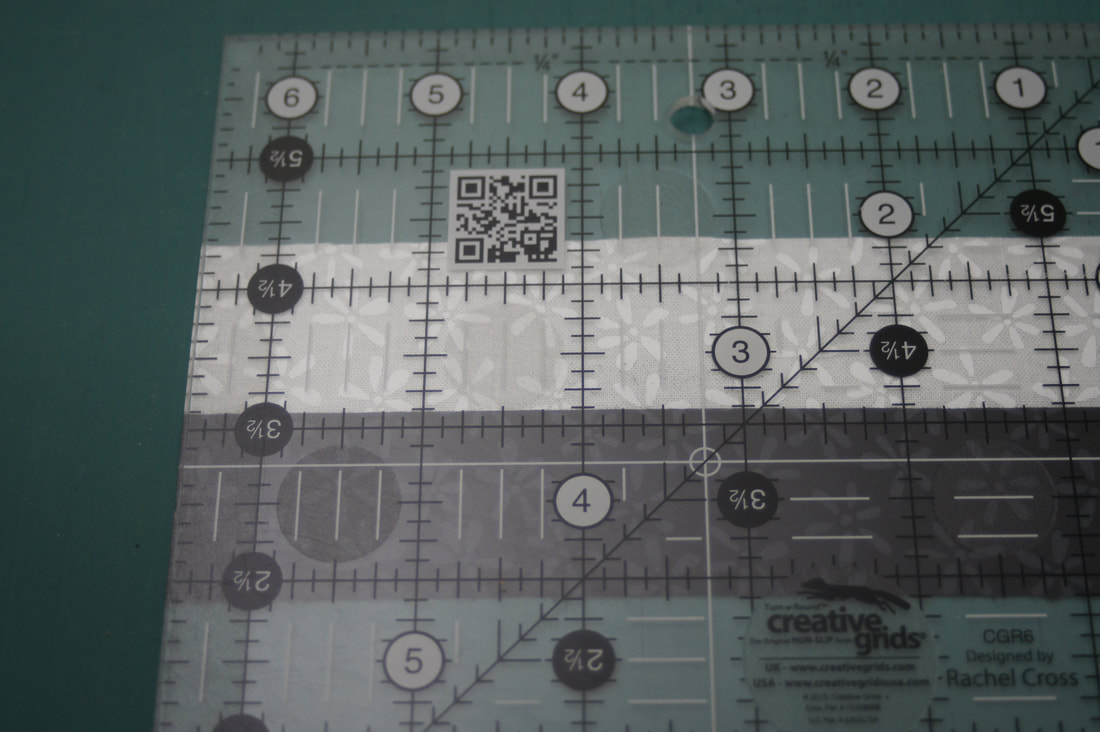
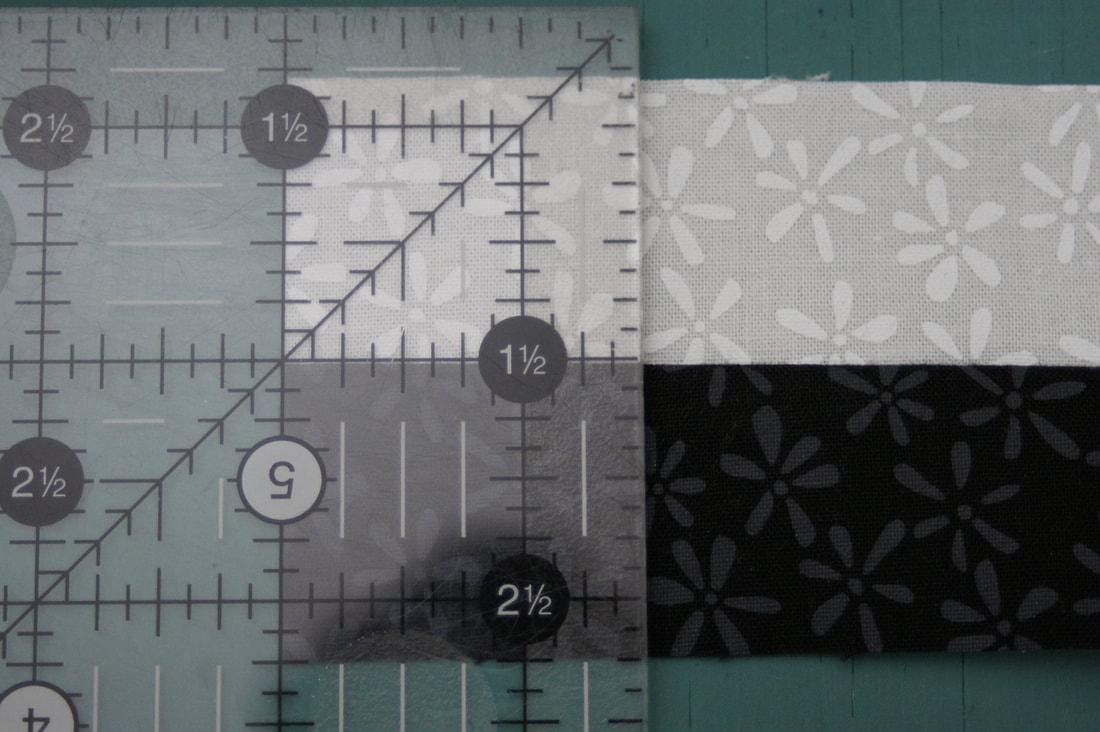
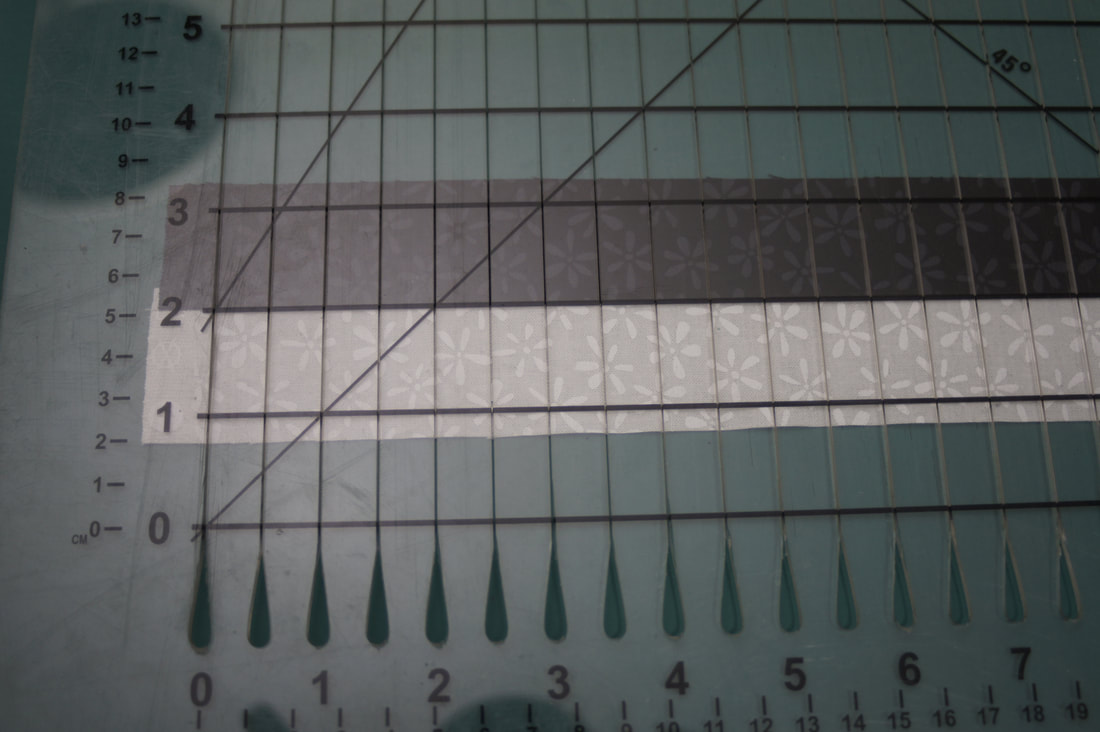
Life can get interesting. Sometimes it really catches us by surprise; like the time the weather looked good so we took the Mini Copper to Colorado in the wintertime. Unexpected snowstorms are all part of our adventure. I don't know about you, but it seems life gets pretty crazy and unpredicatable this time of year. This week has been no exception. It is nice to be able to find some time to do a little sewing. This week's winner of the Superior Thread giveaway is Edith C. Congratulations. I will be in touch via email about getting your prize to you. It is time to trim the applique block and add our first border this week. Be sure and trim to the exact size given in the pattern so that the checkerboard border fits as it should. An important factor in trimming is to make sure that the corners are square. I start by laying my ruler to trim the bottom and right side of my block. As you can see my ruler is not long enough to trim the whole length of the side but that is okay. 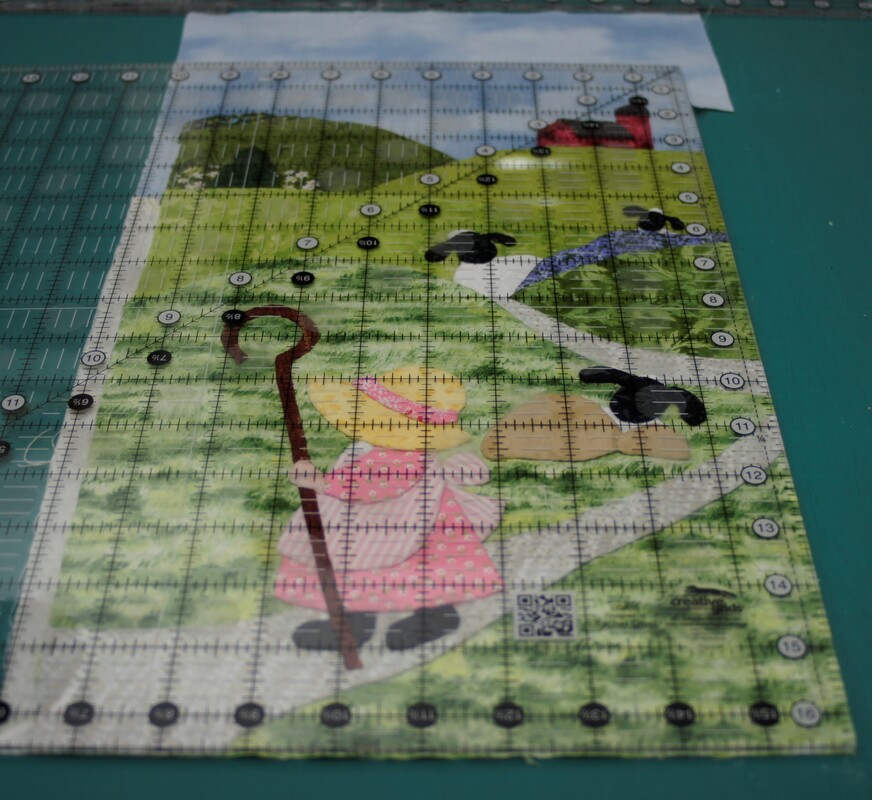 Working off of the trimmed bottom edge I lay my ruler to the correct width on the other side of the block and trim that side as well. Now I just need to trim the top section. For this I line up my ruler along the trimmed edge, since I have such a long bit already trimmed I will get a nice squared corner by doing this. The I just do the same thing to trim the remaining bit. With my piece trimmed to size I am ready to make the checkerboard border. To make the border we start with strip sets as shown. I am taking a moment here to share how well the wool pressing mat I purchased over the summer works. The stip on the left was pressed without the mat and the strip on the right was pressed using the mat. See how much flatter the strip is laying that was pressed with the wool mat? I conitnue to be surprised by this. To trim these strip sets to size I line up my ruler along the seam line. This helps keep everything nice and square. Begin by squaring up the edge of the strip set. Now just work your way along the trimming to the size called for in the pattern, always lining up the seam line. Occasionally you may find you need to square things up again so just repeat the first step and begin again. After I had cut over half of my pieces I remembered a handy ruler that was hanging in my closet to speed this process along. This is June Tailor's Shape Cut ruler which I have had for years. It comes in handy when you you need to trim several strips or units the same width (in 1/2" intervals) It has laser cut slots every 1/2" and you just place your ruler in the slot and trim without moving the ruler or the fabric underneath. The tough part is doing the math in your head so that you put the ruler in the correct slot as your work your way along. I need to tell you at this point I discovered a correction that needs to be made to the pattern. On page 18 step 5 it states to make a second strip set the same as before. You actually need to flip the orientation of the second set so that a black square is in the top left rather than the bottom left. I made a video showing how I place the borders onto the block to finish off this week's assignment.  I hope you have fun with your block this week. With the holidays coming up I am waiting until after the New Year to do the remaining Giveaways. Still some great things coming including a pair of my favorite scissors and a fabric bundle. Happy Quilting! Debra
Eileen Conklin
12/15/2019 07:10:26 am
I just happened upon your sew along and will put this on my bucket list for 2020. Love the Sunbonnet Sues. Thank you.
Debra
12/15/2019 01:26:18 pm
Hello Eileen, I am so glad you stumbled upon it. Happy Quilting! Comments are closed.
|
Welcome to the site of Debra Davis-a woman who loves the Lord and loves to quilt.
My other blog where I share about my walk of faith:
Sitting at His Feet This website uses marketing and tracking technologies. Opting out of this will opt you out of all cookies, except for those needed to run the website. Note that some products may not work as well without tracking cookies. Opt Out of Cookies |
Tuning My Heart Quilts by Debra Davis is licensed under a Creative Commons Attribution-NonCommercial-NoDerivs 3.0 Unported License.
Based on a work at www.tuning-my-heart.com.
Copyright 2010-2022 by Tuning My Heart Quilts, LLC. No part of this website can be reproduced without written permission from the author. All rights reserved.
Proudly powered by Weebly



 RSS Feed