|
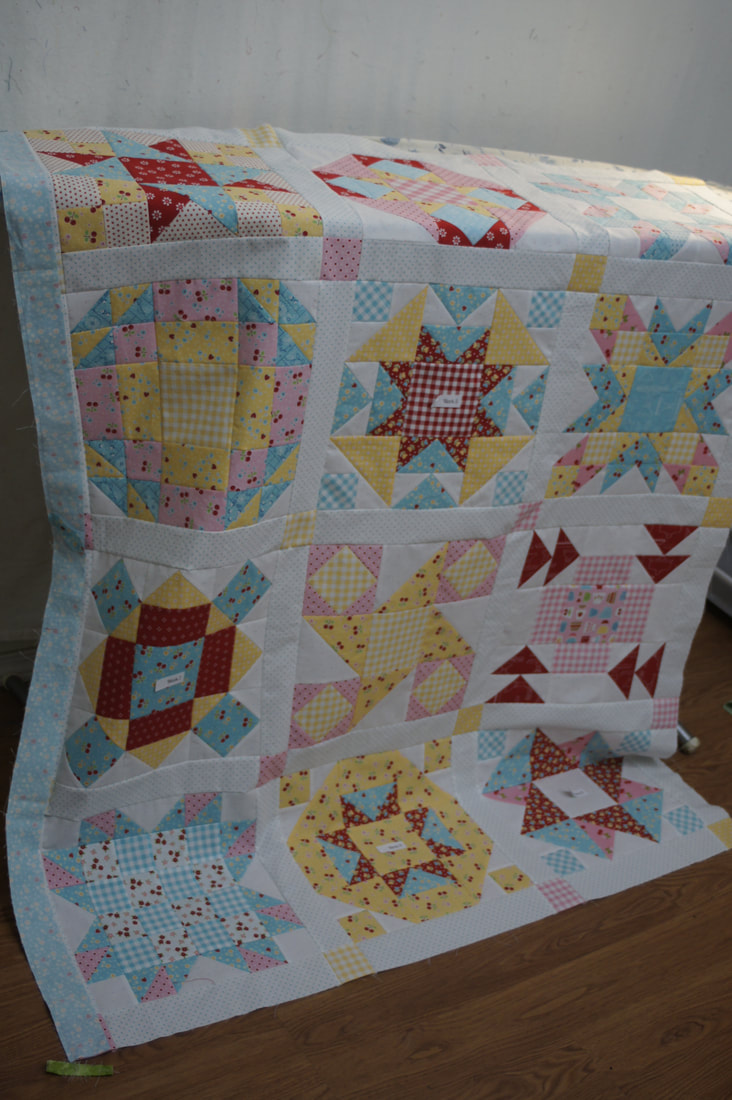
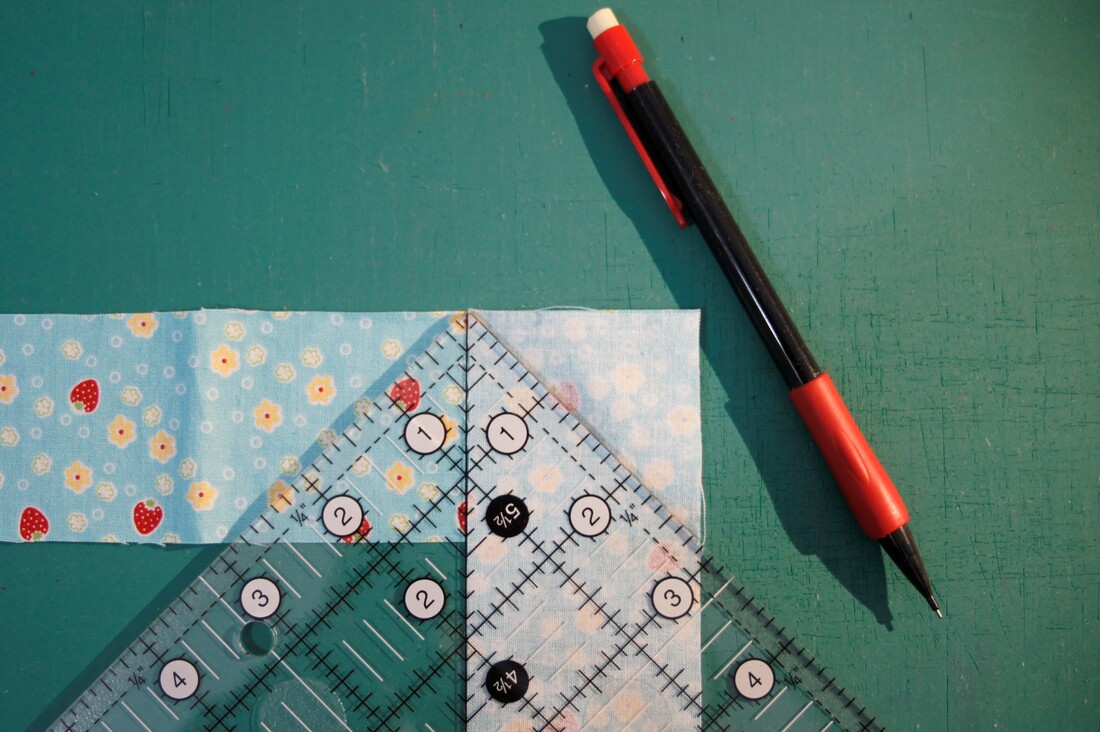
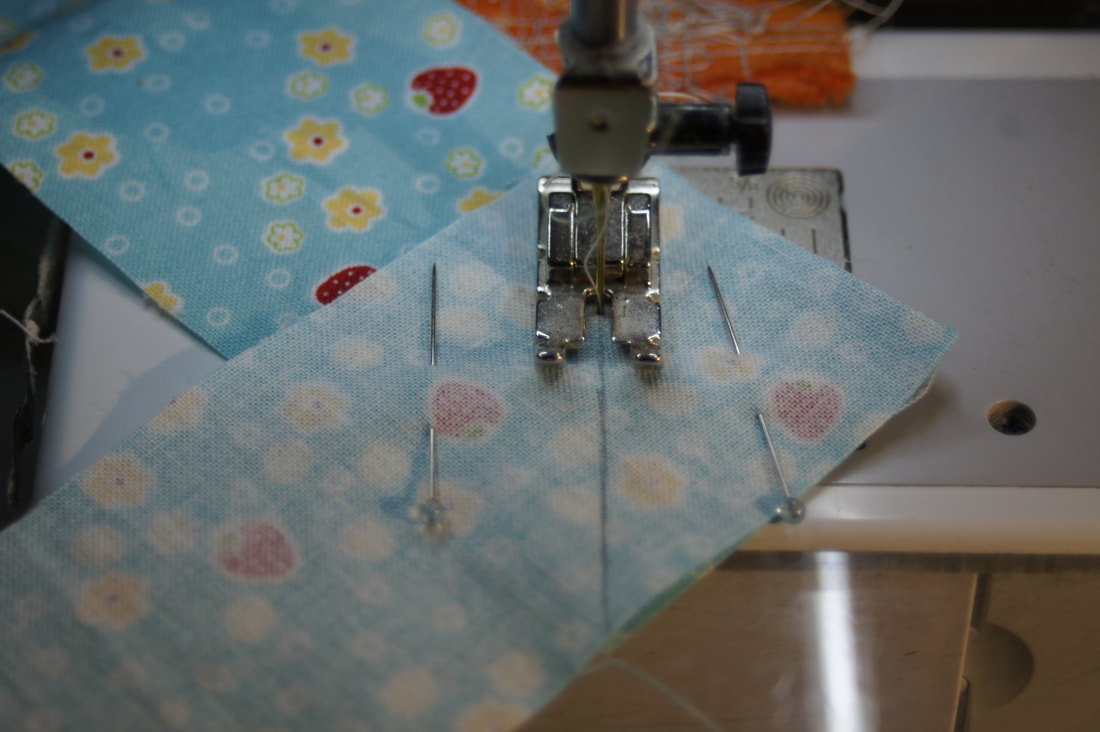
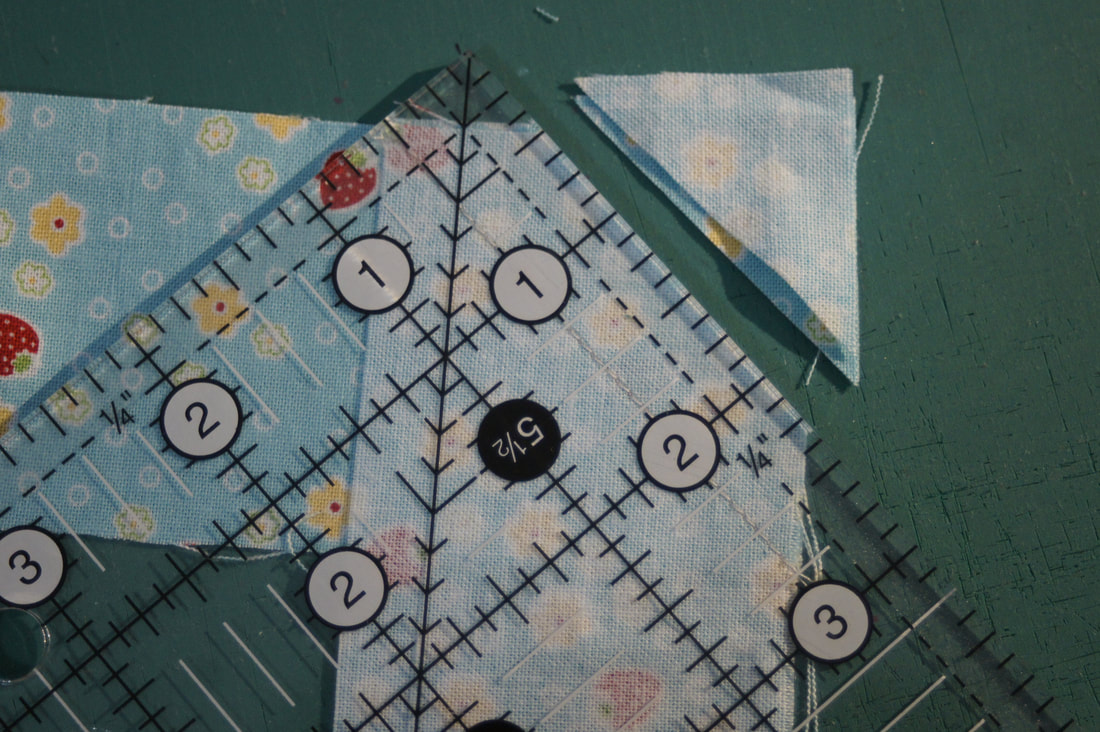
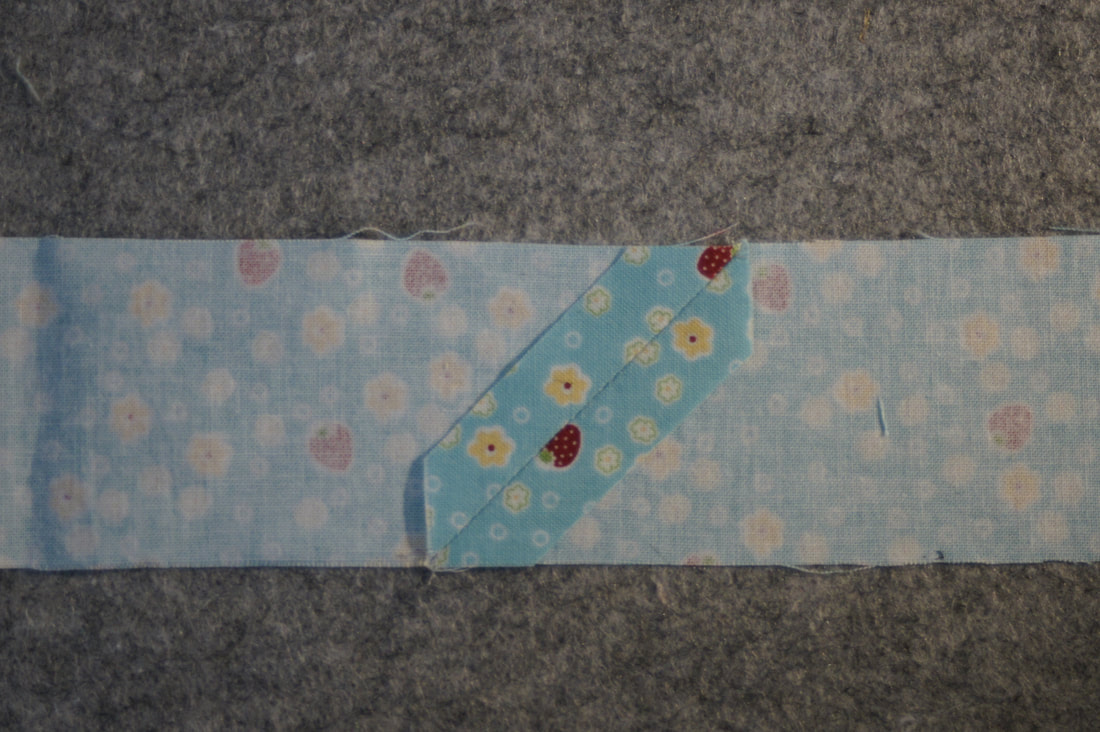
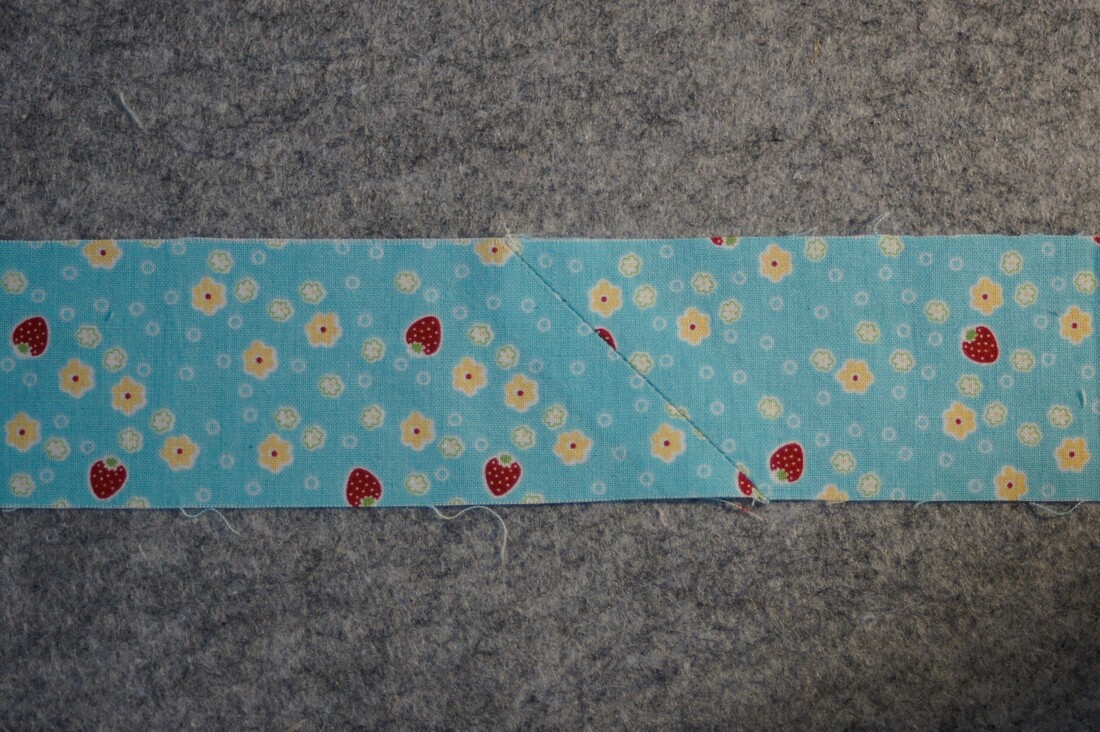
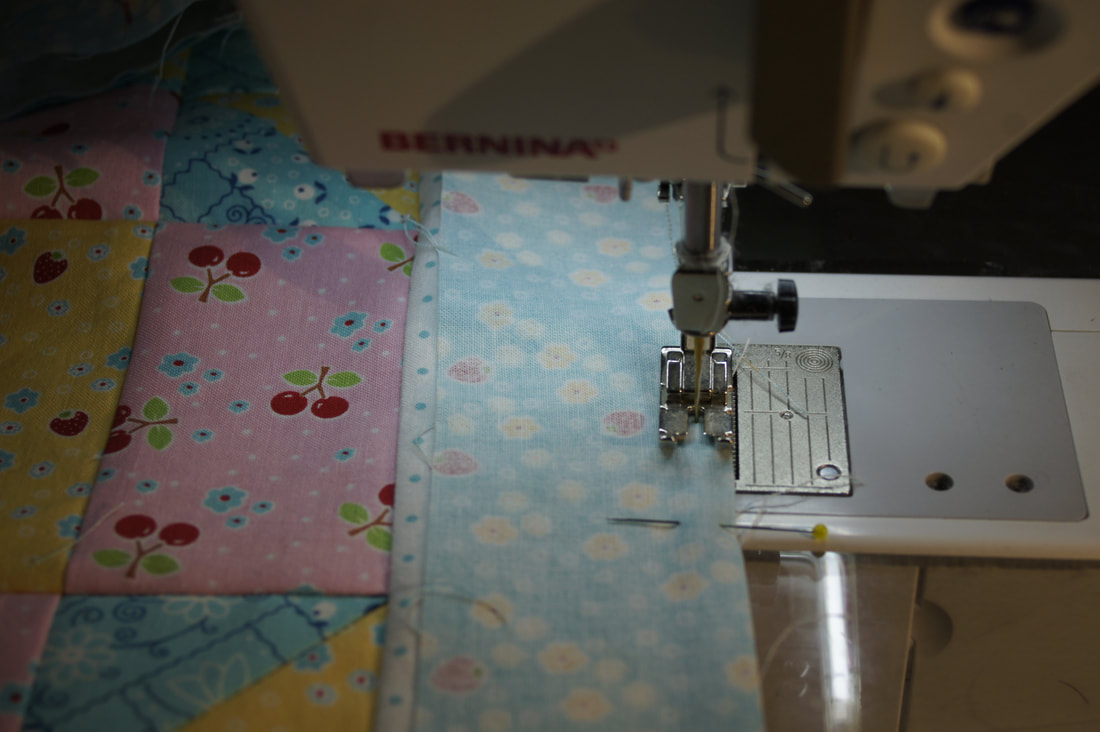
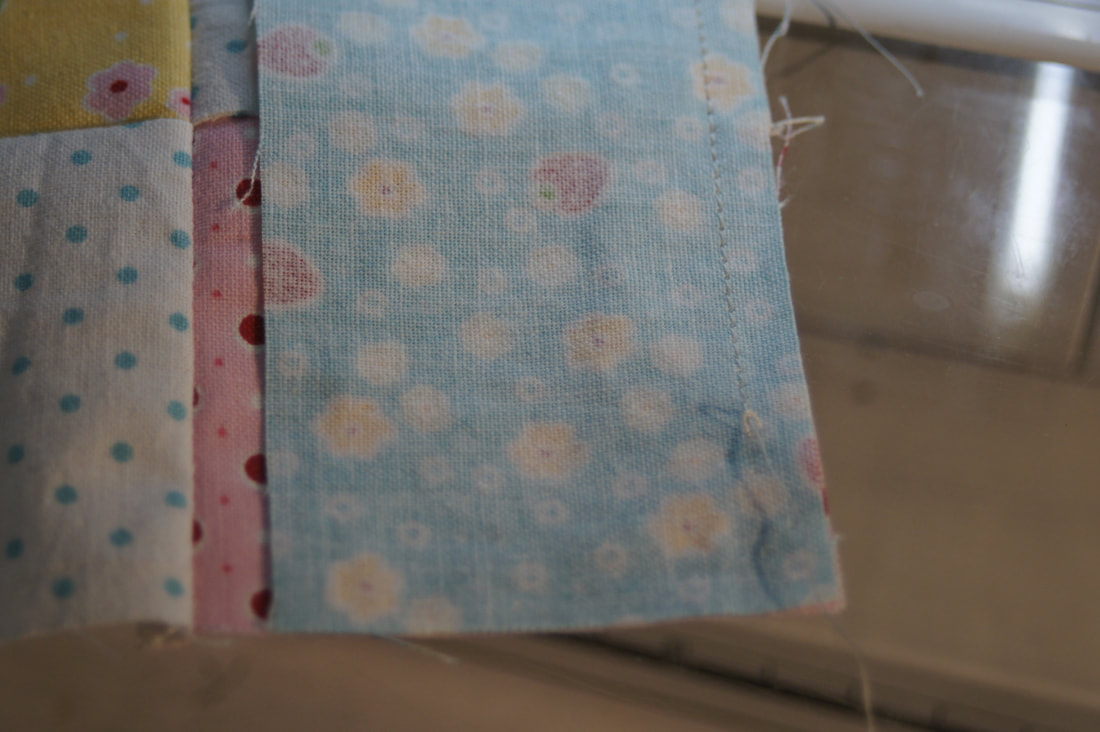
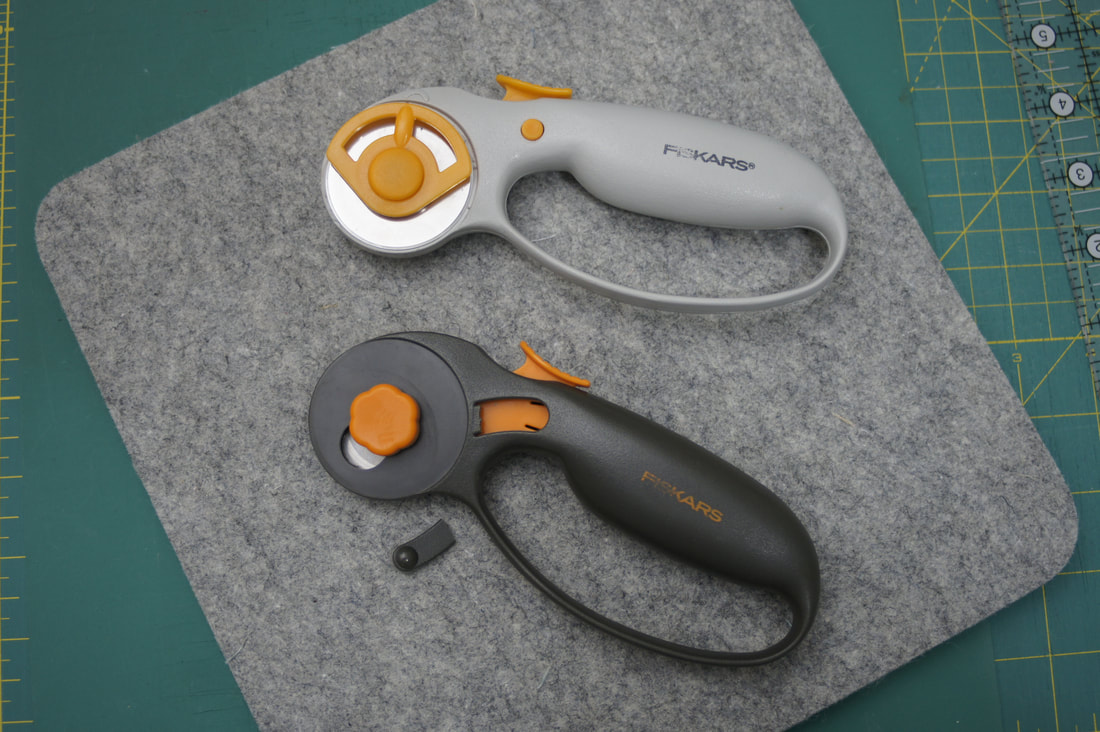
I have been having interesting times in my quilting studio. My rotary cutter broke while using it the other day. I had an old one I pulled out that I dno't like as well, but it was getting the job done...until this morning when it also broke. They are both Fiskars brand so I intend to see if they are covered by that lifetime warranty they offer. They replaced my husbands shovel a few years ago when he managed to break it and I was really impressed. All I had to send was a photo of the broken one and they covered shipping and all on the new one. In the meantime I may just have to break down and get one of the pretty new colors they now offer since I purchased my old gray ones. I don't know how many rotary cutters my husband will be okay with me owning, lol, but they are rather a necessity. So wouldn't that count as a need and not a want? We have these kind of discussions all the time. But back to our quilt on hand. I recommend that you read through the entire instructions so that you understand my approach to adding the sashing and cornerstones. It may be different from what you have done in the past and it helps to see the whole picture before beginning. When it comes to the borders I prepared this video during my Little Bo Peep Sew Along. If you have ever had issues with border strips that come out rather wonky when you cut them I recommend you watch my video. It also eplains why I wait to cut the length of my border strips until I am ready to add them to the quilt. Since I have cut my border strips on the crossgrain rather than the length of grain of my fabric I need to do some piecing so they are long enough for my quilt top. I like to use a diagonal seam to join the strips. That means I start by laying the two strips right sides together and draw a line using my ruler which will serve as my sewing line to join the strips. I find it helpful to place a couple of pins to keep things from shifting as I move to my machine and start sewing. I vary in how much to trim this seam allowance, but I like it to be wider than the usual 1/4 inch we use when piecing. This time I am cutting it 1/2 inch from the seam line. Next I press the seam open. And finish it off with a little press on the front side as well. I always pin my border strips to my quilt top starting with a pin on each end. I place several more pins along the way making sure the border lays evenly across the entire side of the quilt. Off I go to the sewing machine. And just because it has been that kind of day...I ran out of bobbin thread just before I reached the end. Some days you just have to smile and move on. For your copy of the pdf file for the finishing instructions click on the link for my Free Patterns page. I hope you have a beautiful day! Happy Quilting!!
Rebecca
2/22/2020 06:17:54 am
Terrific. BTW Fiskars has never charged me shipping on my scissors, or mats Comments are closed.
|
Welcome to the site of Debra Davis-a woman who loves the Lord and loves to quilt.
My other blog where I share about my walk of faith:
Sitting at His Feet This website uses marketing and tracking technologies. Opting out of this will opt you out of all cookies, except for those needed to run the website. Note that some products may not work as well without tracking cookies. Opt Out of Cookies |
Tuning My Heart Quilts by Debra Davis is licensed under a Creative Commons Attribution-NonCommercial-NoDerivs 3.0 Unported License.
Based on a work at www.tuning-my-heart.com.
Copyright 2010-2022 by Tuning My Heart Quilts, LLC. No part of this website can be reproduced without written permission from the author. All rights reserved.
Proudly powered by Weebly


 RSS Feed