|
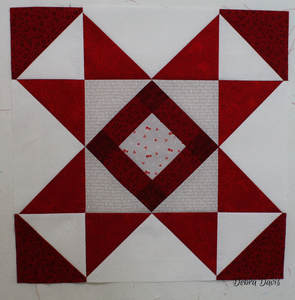
Here we are at the last block of my very first Sew-Along. Block 9-Star Finale. I have more in the works so stay tuned for news about that in the coming weeks.
When I started working with Block 9 it became evident that I was going to have to change the middle of it. That little hourglass I had planned on did not make for nice math (the lines needed to trim them do not exist on our rulers) and so I reploced it with a plain square. PDF Pattern Click Here
Well, let's get started...
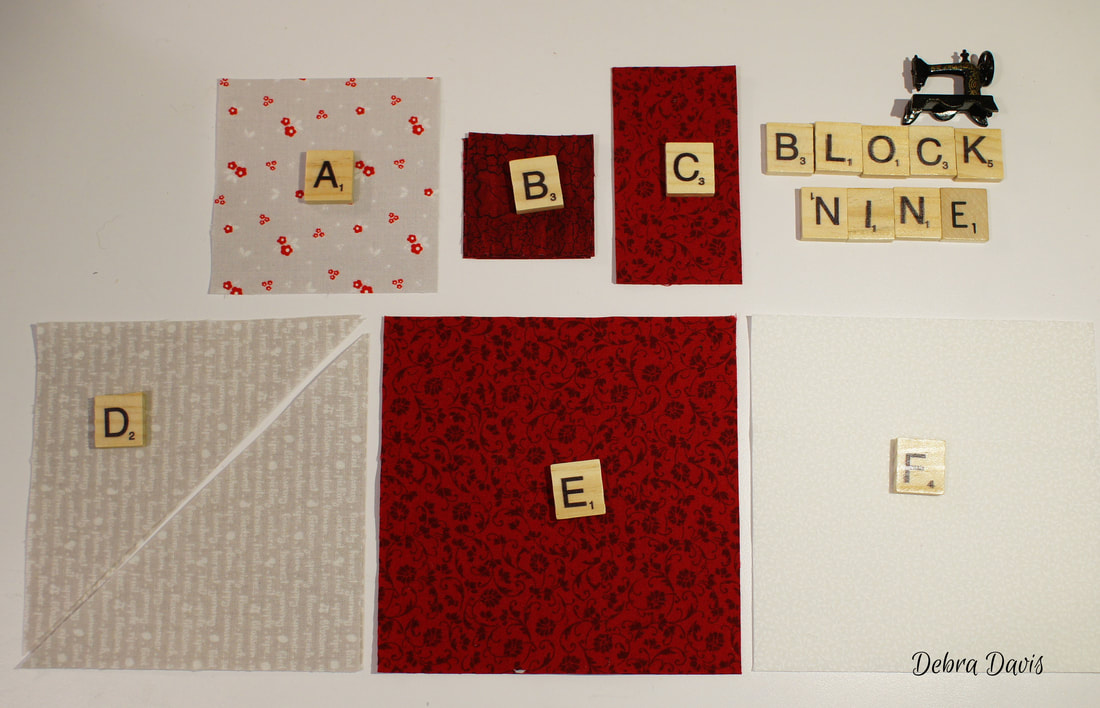
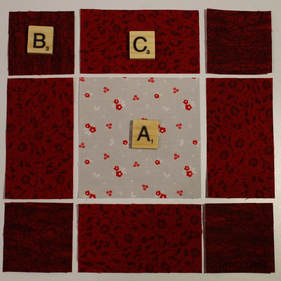
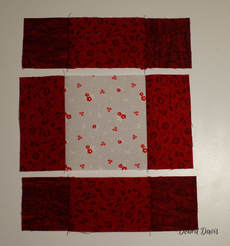
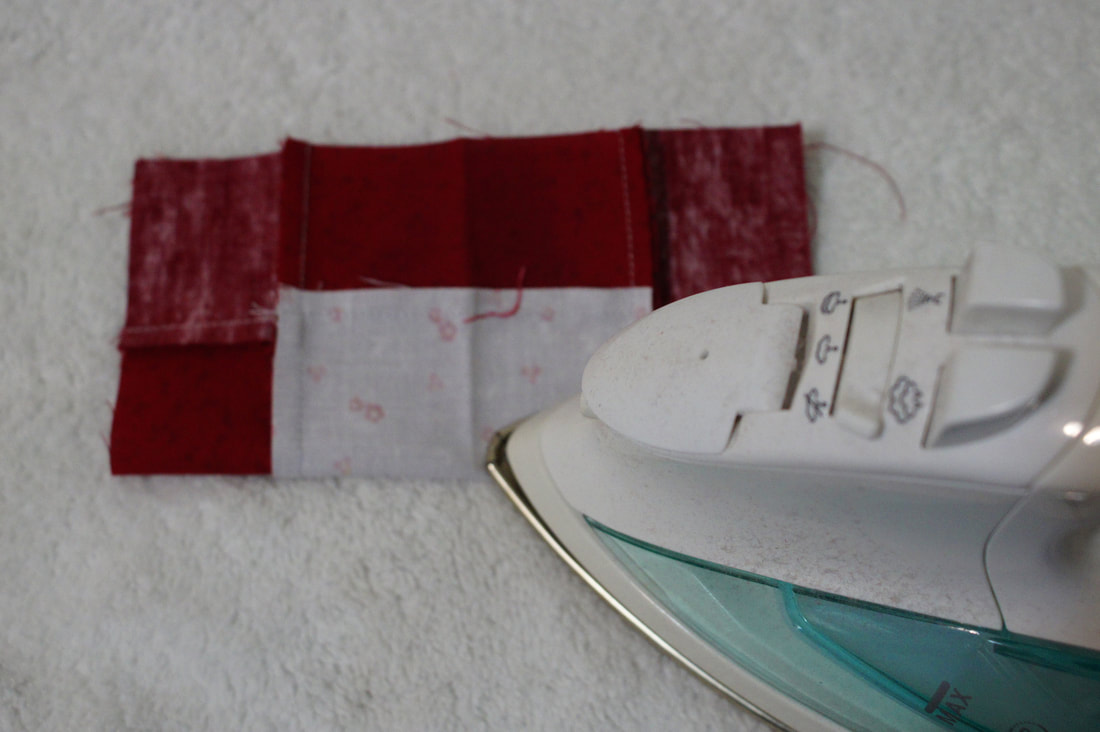
Putting together the center unit is just like sewing a nine-patch block. Begin by joining together into rows, presing towards the C rectangles.
Before joining the rows I made a quick check to make sure my seam allowance was good. The middle sections of the rows needs to measure 2 7/8" This is an important step in achieving the accuracy needed for the rest of the block.
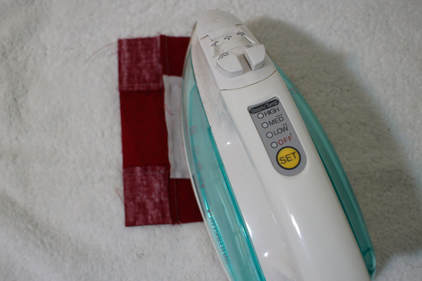
Next, sew the rows together, pinning if desired where the seams meet. Press towards the top and bottom rows. A little tip I picked up when doing the Moda Blockheads BOW was to press on a towel. I now keep one on my ironing board and find that it helps the pressed unit lay flatter. When my towel gets flattened from use I replace it with a fresh, fluffy one. It is also nice to use the towel when I am starching as I can just toss it in the wash when I am finished and my ironing surface does not get a starch build-up.
Okay, back to our little center unit-this should now measure 6 1/8"
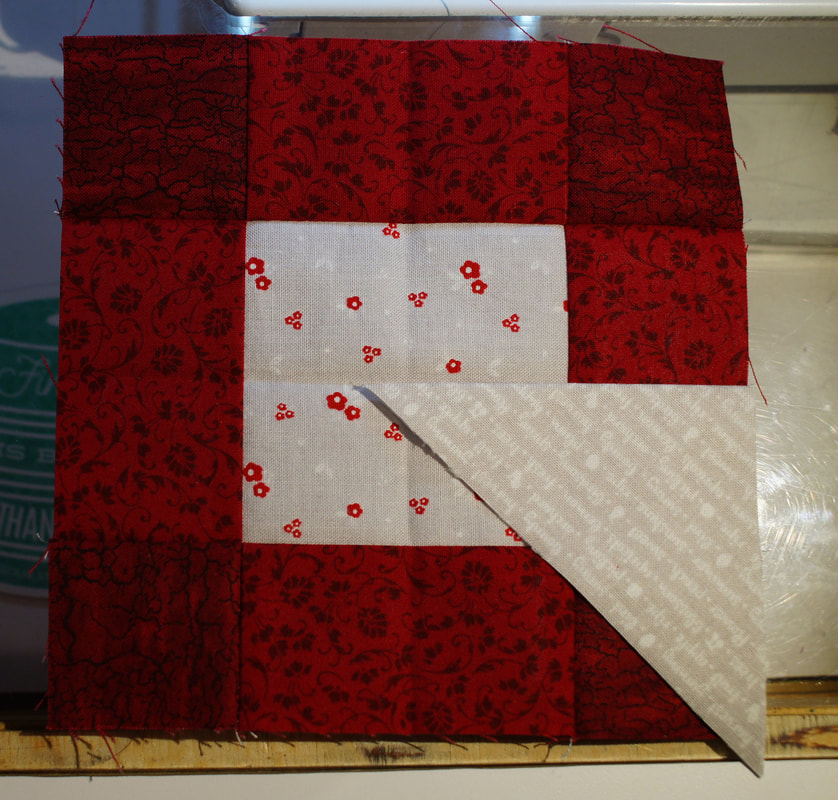
We need to add setting triangles to our center unit. This is good practice for those times when you may want to set your blocks on point when it comes time to put your quilt together.
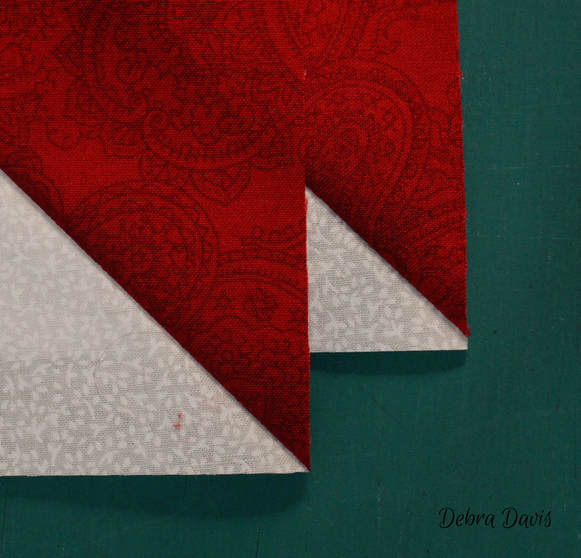
I start by folding my square in half, using my iron to press in the fold-line. I do this with the square right sides together. I fold and press the other direction as well being careful not to press out the previous fold line.
I also pressed the D triangles, only I pressed them with wrong sides together.
See how nicely those those fold lines line everything up on my square?
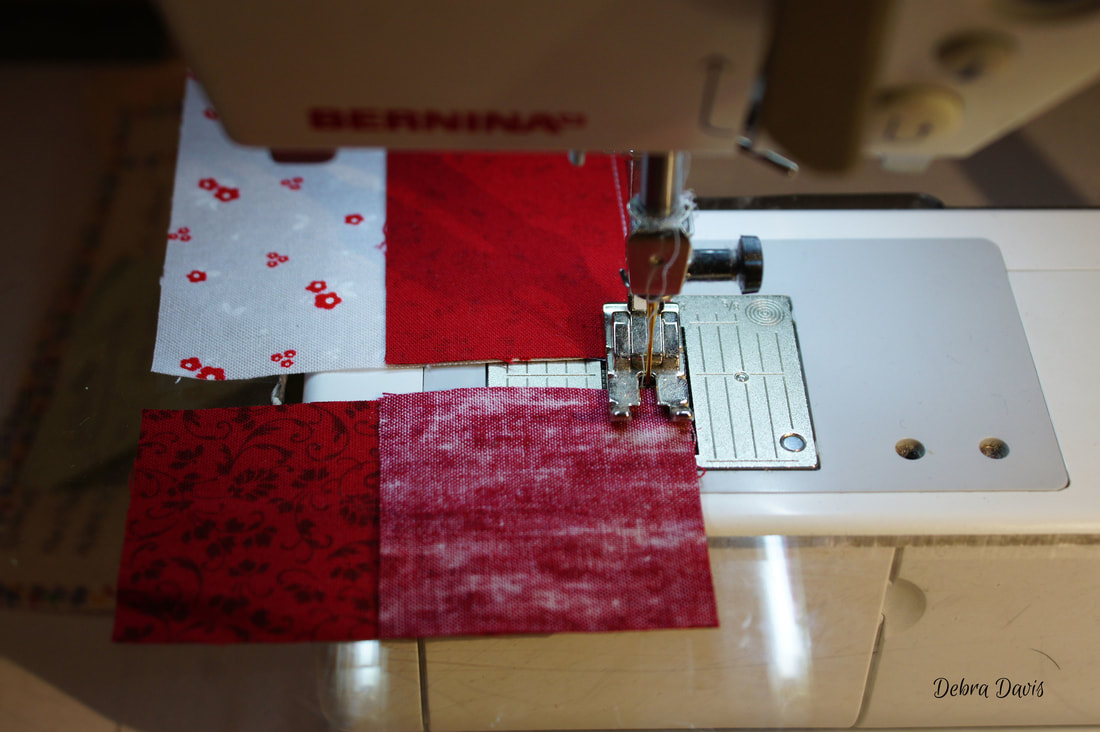
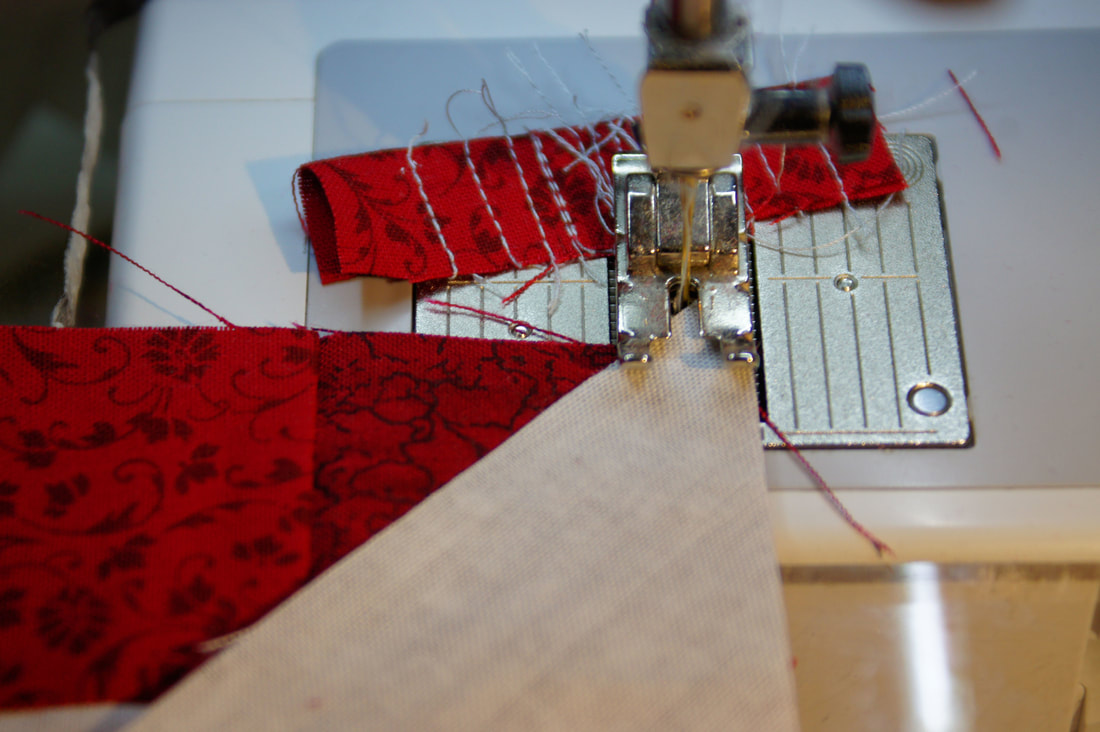
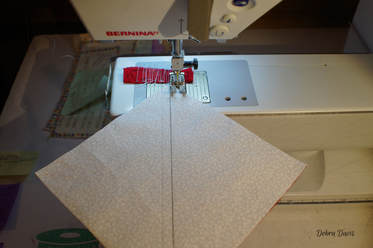
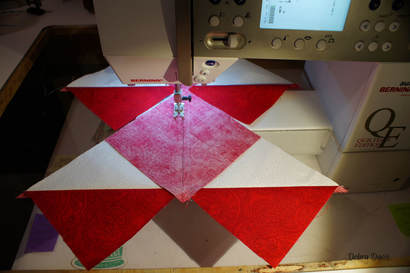
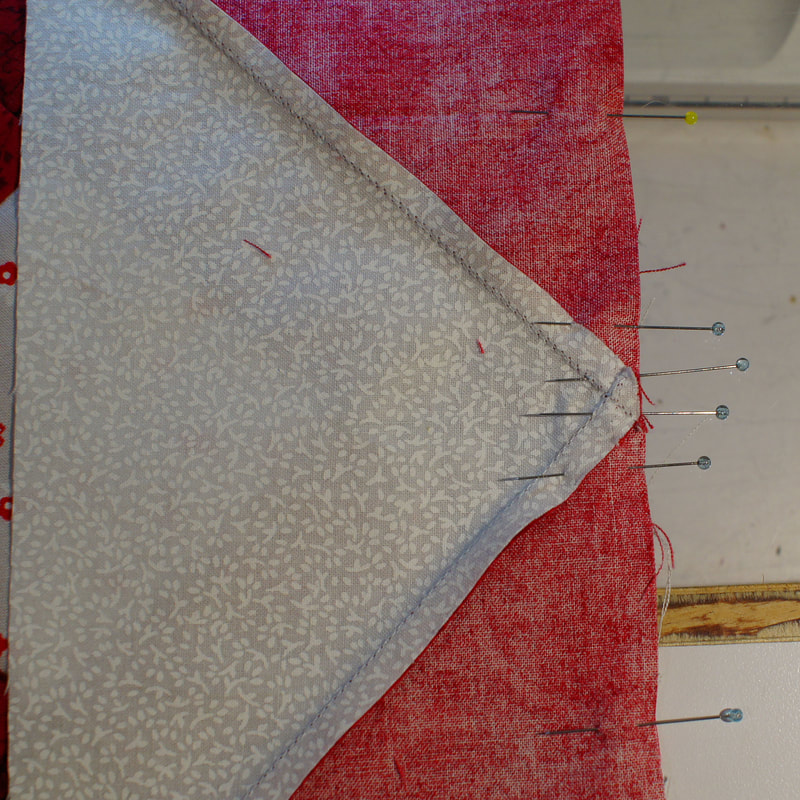
I place my fabric right up to th needle, being careful not to move anything out of place. Sewing on a bias edge like this can be a bit tricky as it stretches. I never force it as I sew, but going very slowly just allow it to lay in place where in needs to be. If I tug on it as I go it will stretch out of shape. I just keep my hand gently on top to guide th fabric through.
After pressing the first triangle I do the one on the opposite side of the square next,
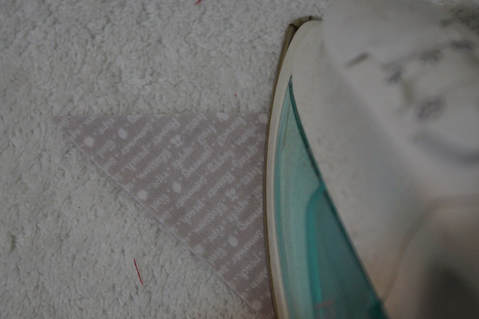
For the same reason you need to be careful as you sew these, pressing is equally important, you do not want to stretch that triangle out of place, so be gentle as you go. I always use a dry iron when pressing and will spritz with a water bottle I keep handy when I need to get a crisper finish.
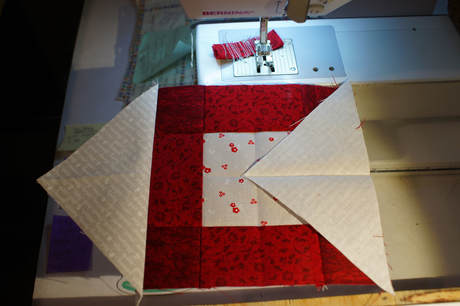
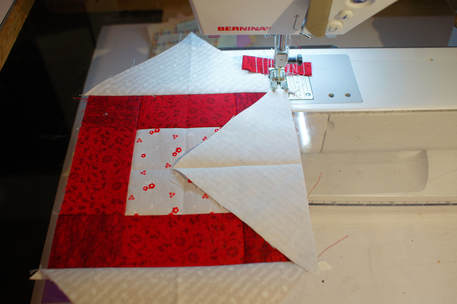
I repeat the process on the last two sides.
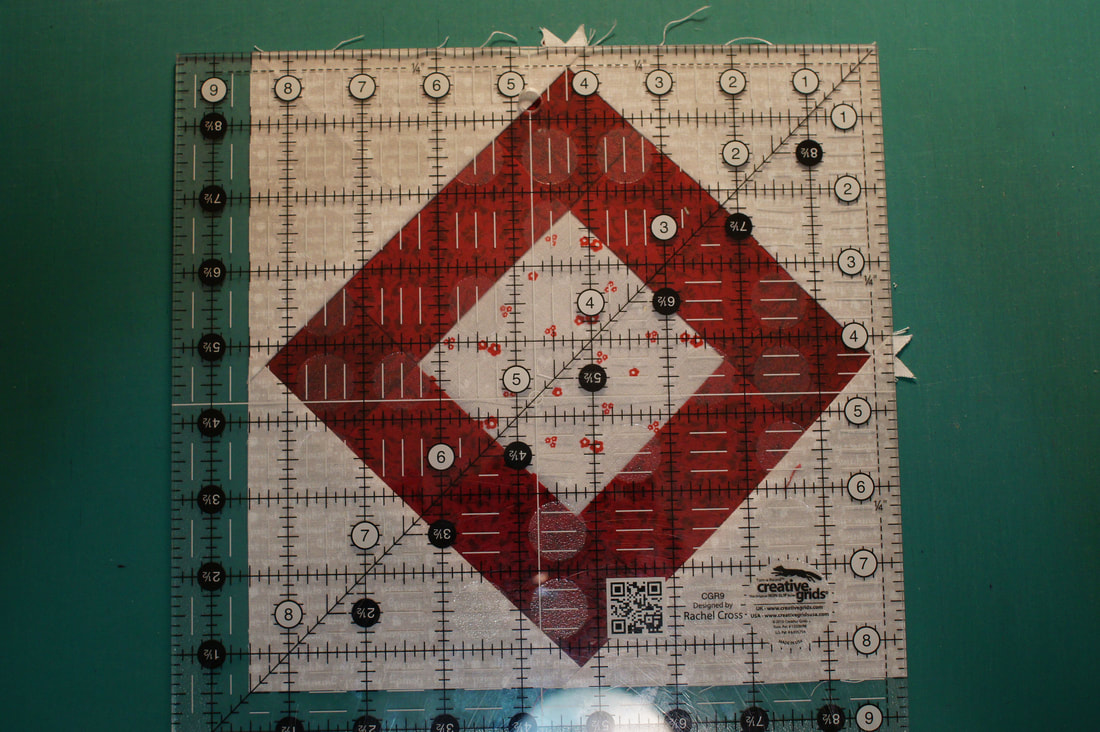
A check to make sure the center section measures 8 1/2" square
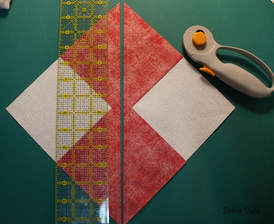
and time to trim off those little bunny ears. This is a process that just takes practice to get right-you might want to try it out on some scraps first to get comfortable with the process and to make sure you are going to end up with the correct finished size for this unit.
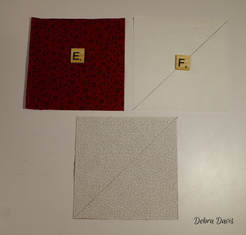
Let's move on to those corner Half-square Triangles (HST). Draw a diagonal line on the wrong side of the the F squares. Place the E squares and F squares right sides together.
Sew 1/4 inch from each side of the drawn line, cut apart on the line,
and press towards the dark side.
Trim these units to 4 1/2" squares, making sure to line up the diagonal line on your ruler with the diagonal seam line of the HST.
(As I have shared before a Bloc-Loc ruler is my favorite tool for trimming these HST's)
The last units we need to make before putting the block together are the Flying Geese. I ma using the No-Waste Method for these, which means we are using some pretty large pieces.
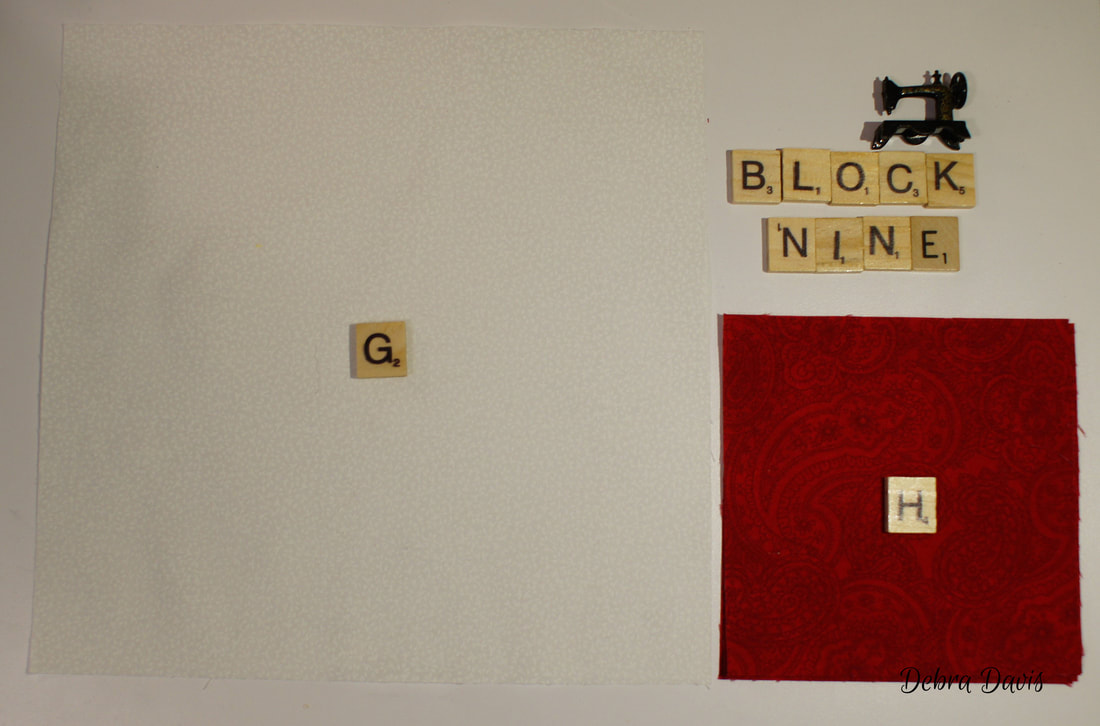
After placing two of the H squares on top of the G square, right sides together, mark a diagonal line down the middle.
Sew 1/4 inch from each side of the drawn line and cut apart on the line.
Press towards the dark triangles. Place another H square on top of the unit and draw a diagonal unit and draw a line down the middle just like before.
Sew 1/4 inch from each side of the drawn line, cut apart, and press towards the dark triangles/
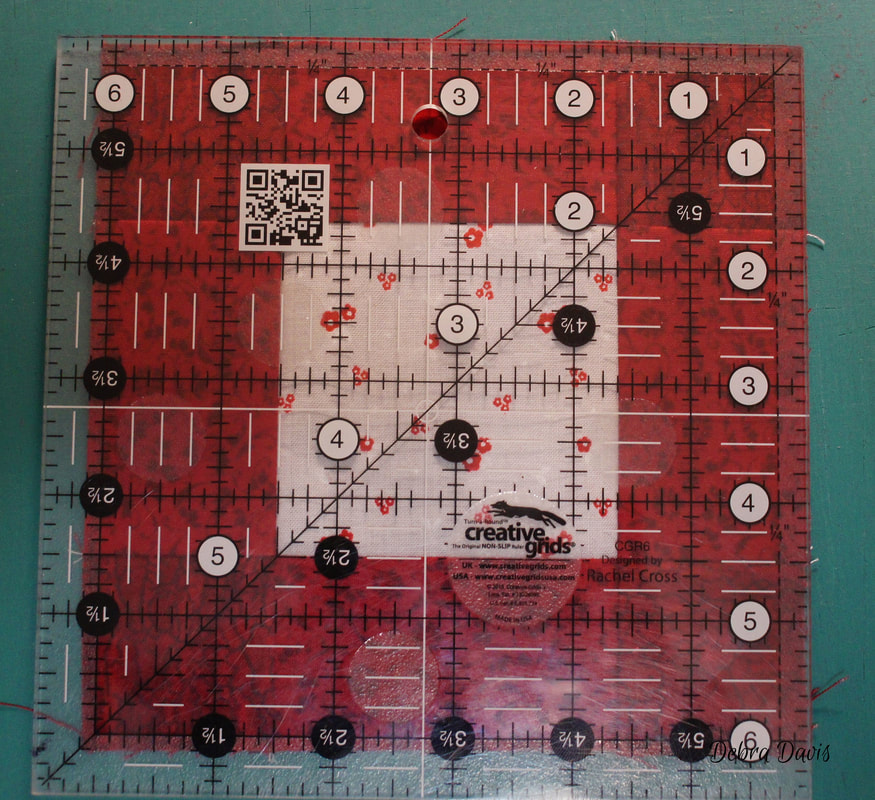
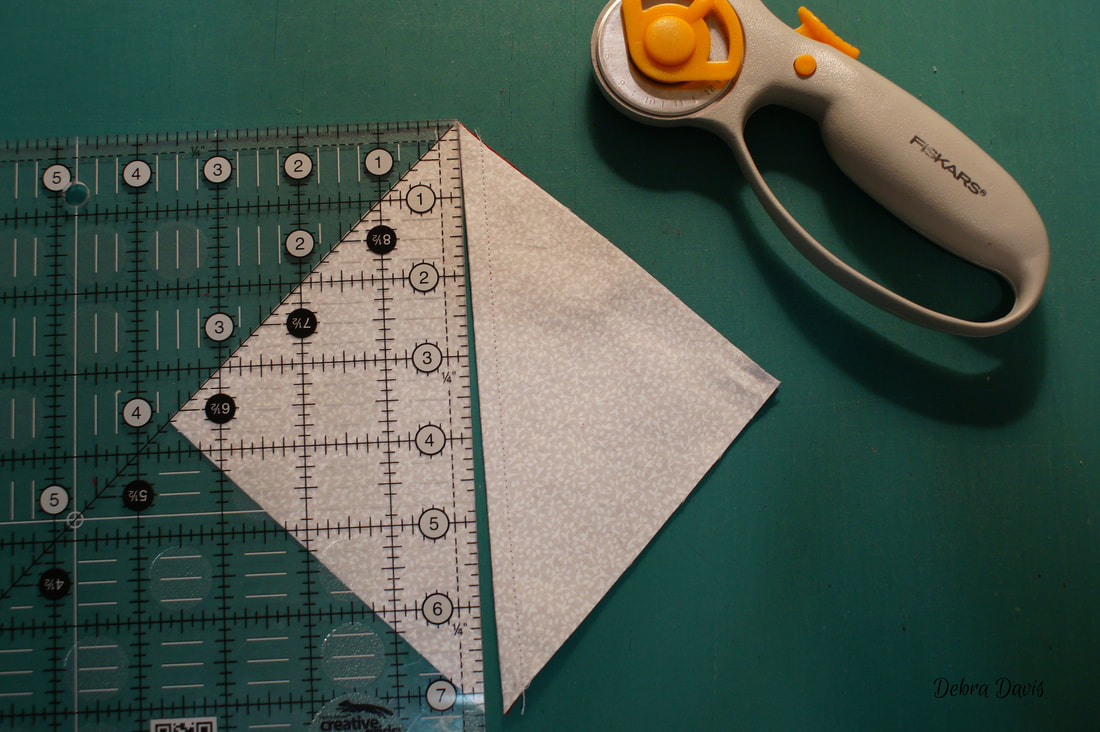
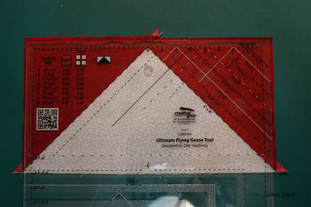
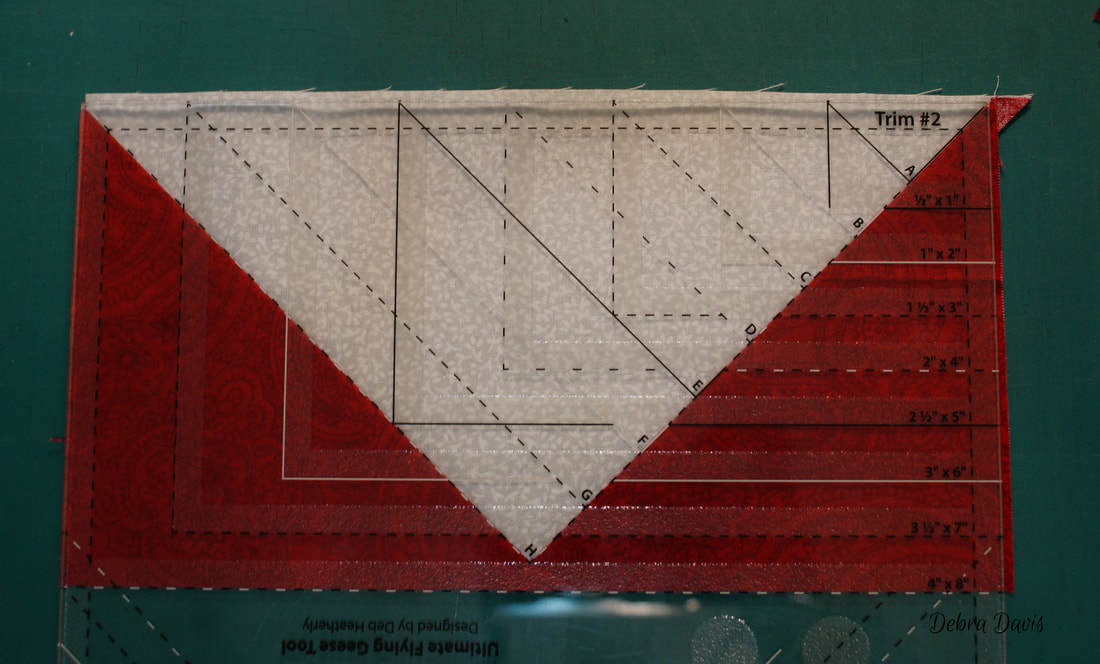
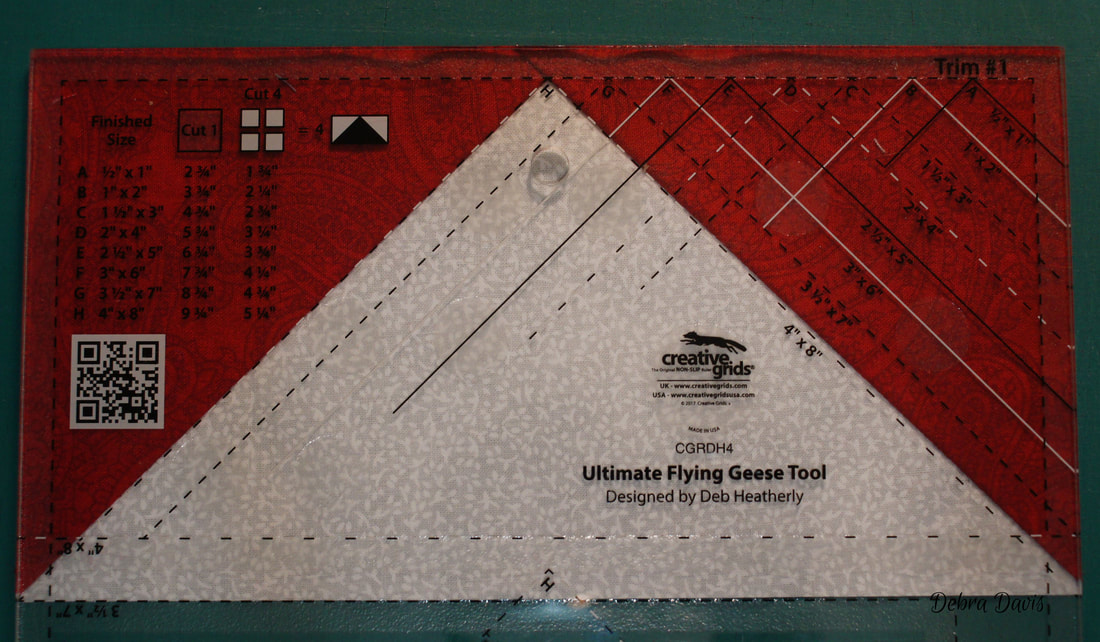
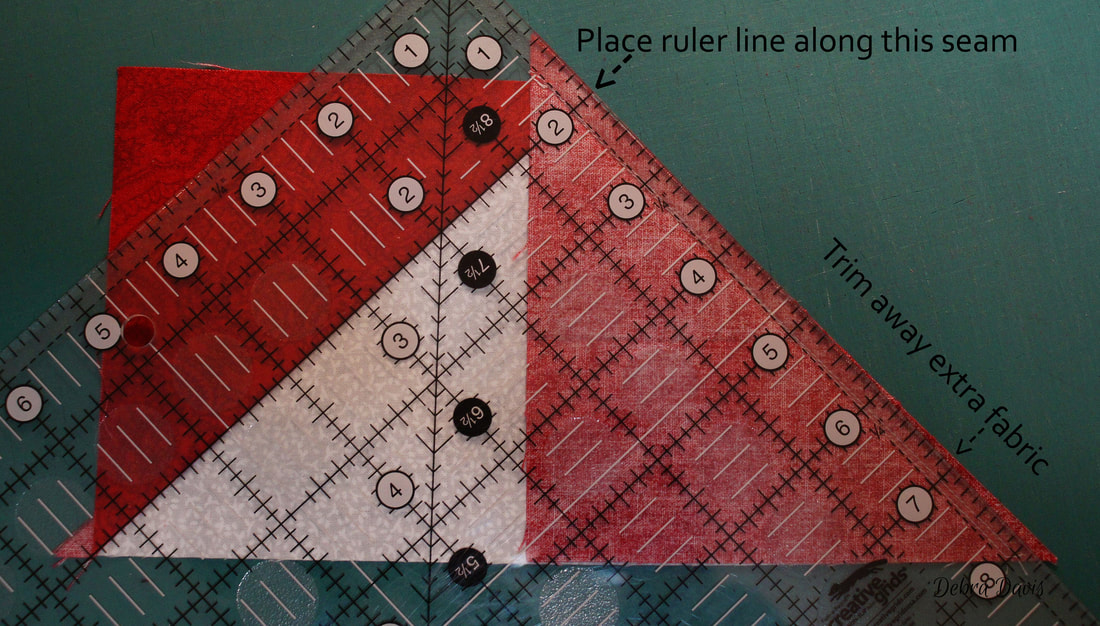
This Creative Grids Ruler has bceome a favorite and this is the largest size it can trim...
oh so easy.
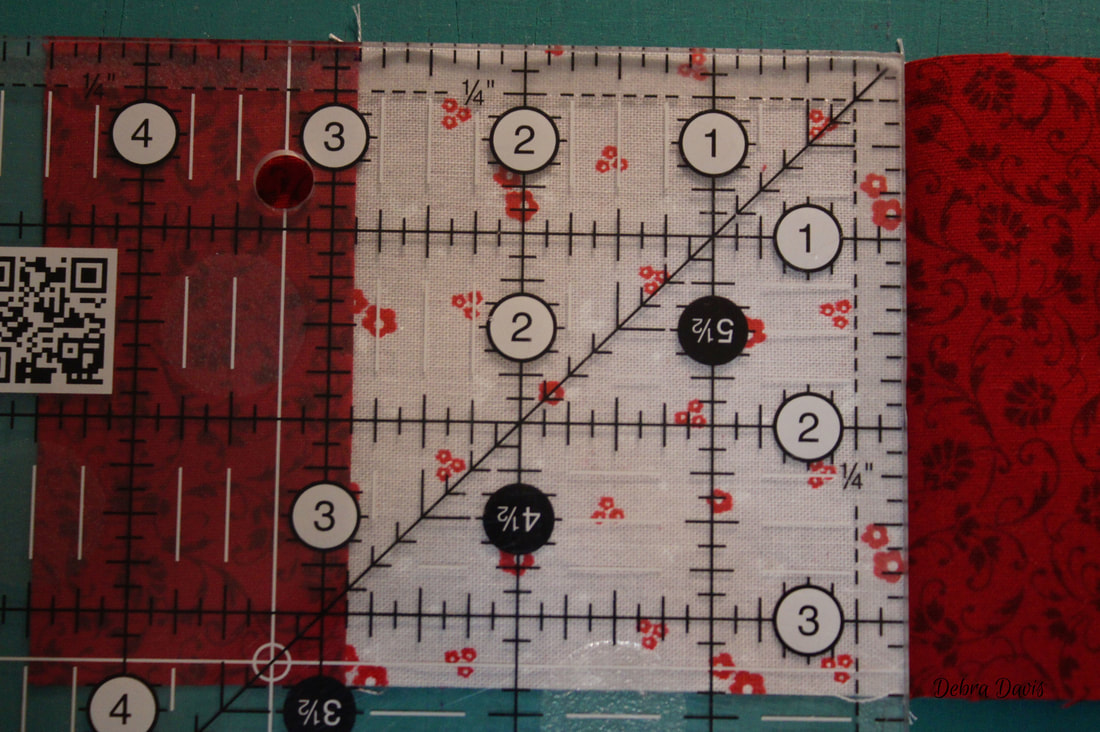
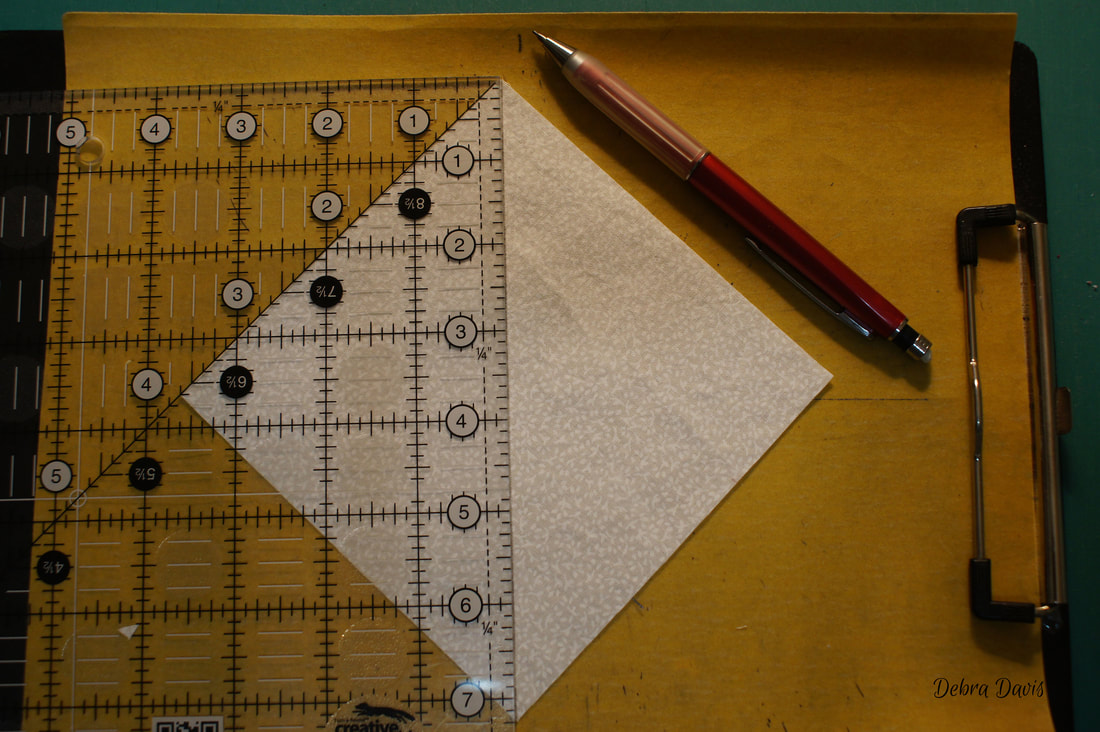
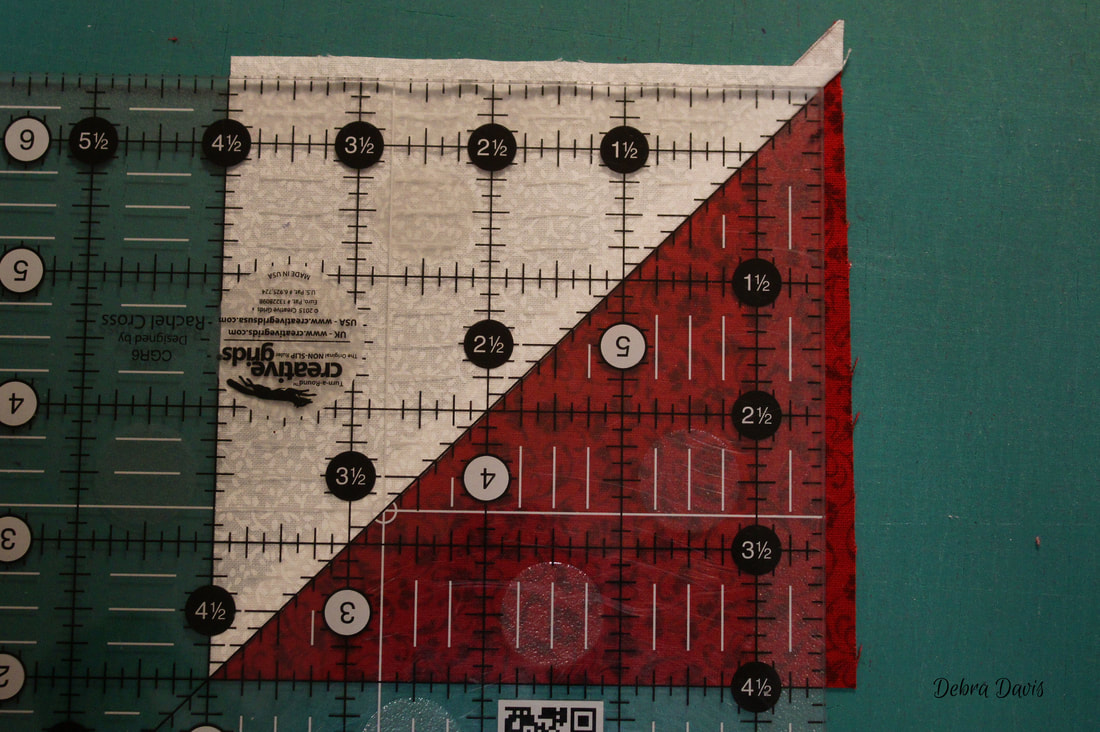
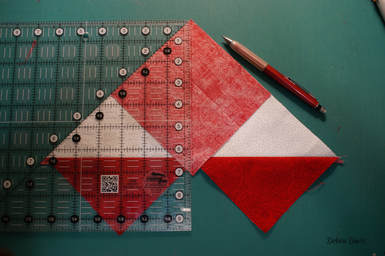
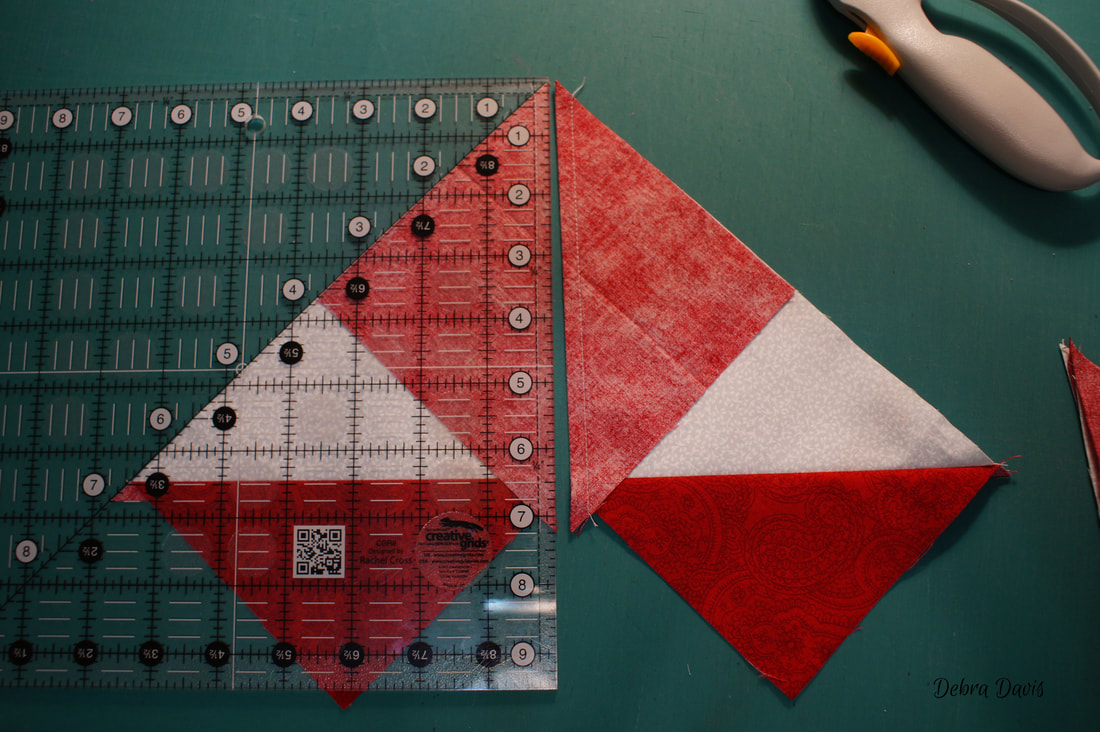
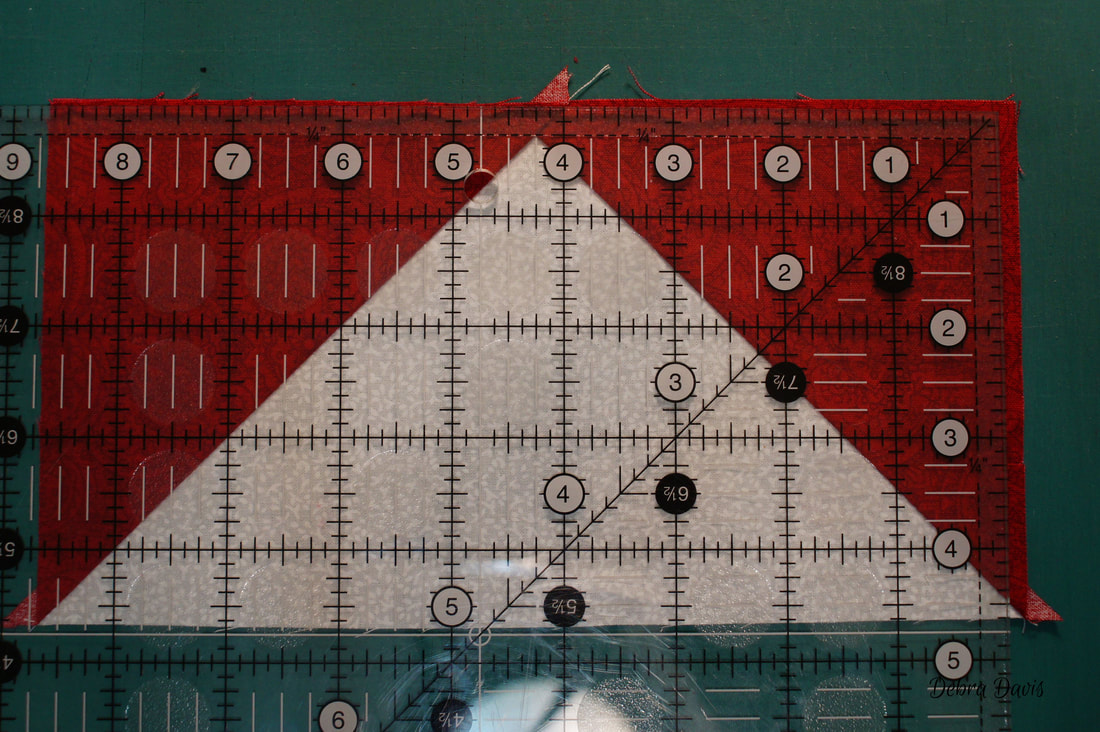
With a regular ruler you will need to place the 4 1/4" mark at the tip of the white triangle- this is your midpoint measure for the size we need. Make sure you have 1/4" seam allowance above that point. At the bottom of the white triangle you want to line up the 4 1/2" line and the 8 1/2" line with the point where the two colors come together along the diagonal seams.
(This is seen most clearly in the bottom right of the photo where you can see the 4 1/2" dash line at the seamline.) Trim the first two sides.
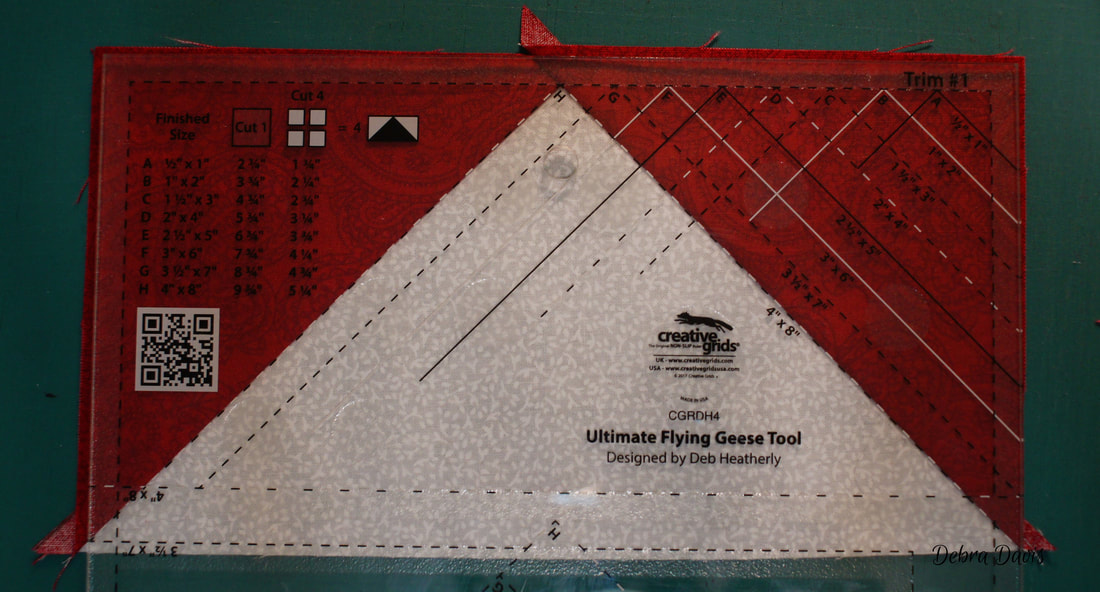
Rotate the unit and place the 4 1/4" mark at the tip of the white triangle again. Line up the 4 1/2" and 8 1/2" lines of the ruler with the trimmed sides of the unit, The diagaonl line on your ruler should be laying right at the seam line now. Trim the last two sides.
(And that is why I love my "Ultimate Flying Geese Tool" so much!)
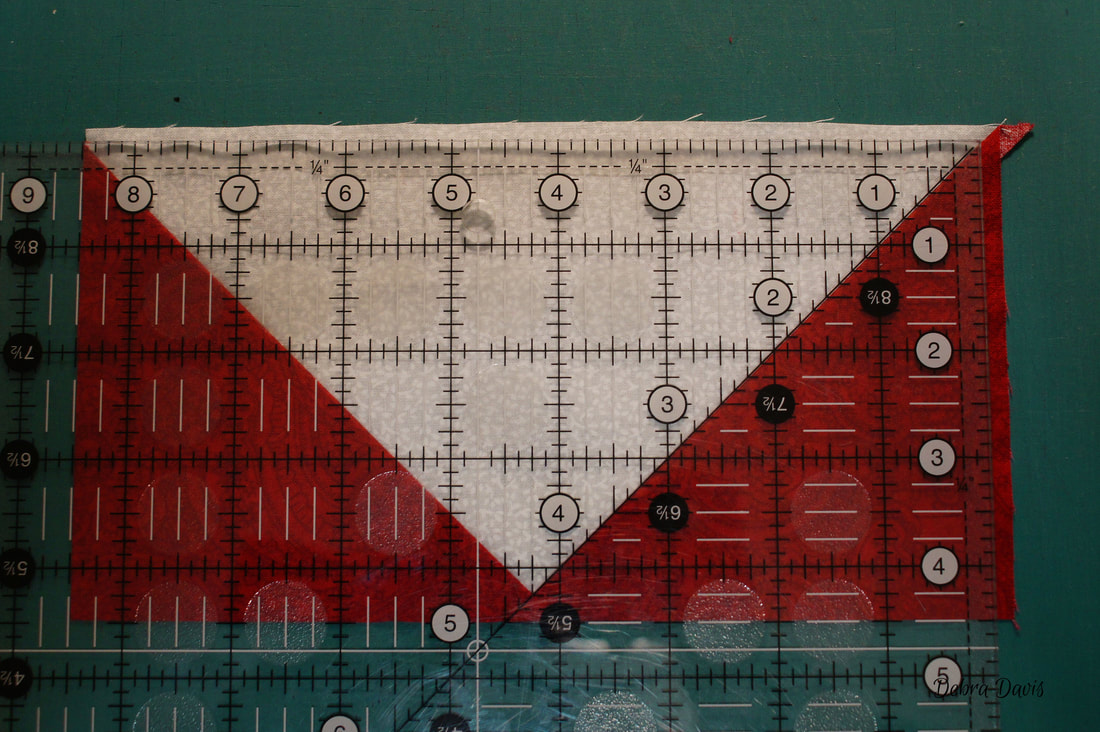
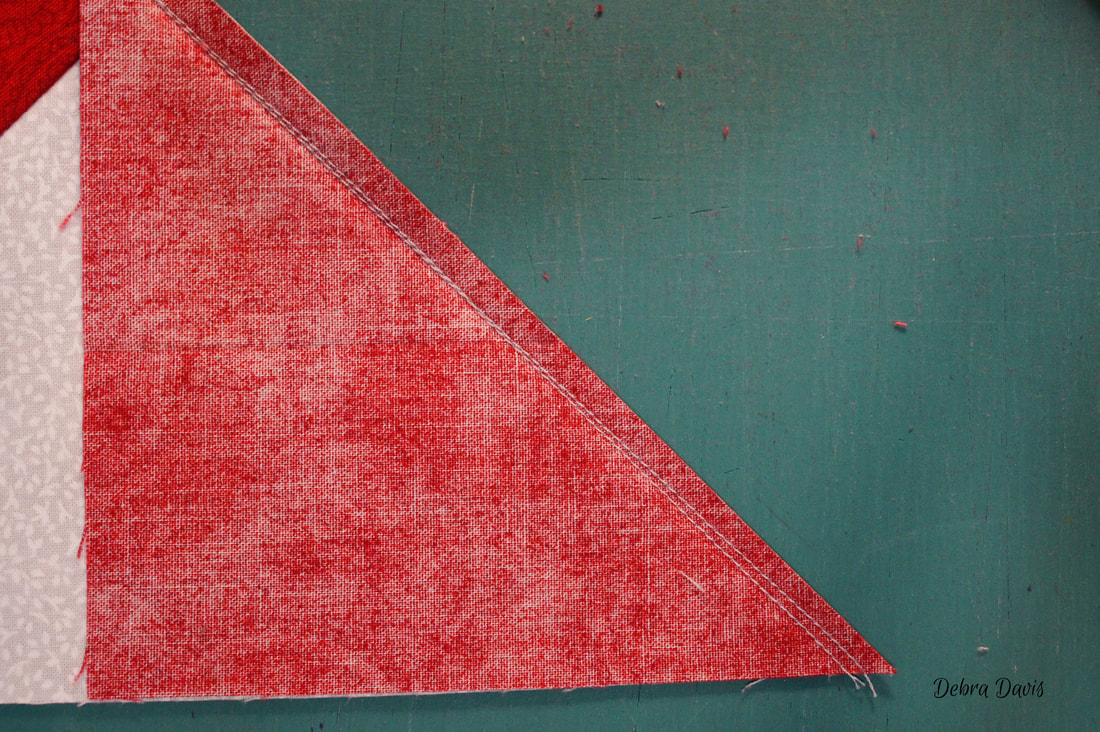
I want to show you again what I do for those times when my geese do not come out perfect. As you can see in the bottom right of the photo the diagonal line on the ruler is not lining up with my seam line. Here is what I do...
I fold that triangle back down. Lay my ruler on top lining up one of the straight lines with the diagonal seam line. This gives me the right angle I need and I will trim off the bit of fabric extending past the ruler along the edge I need to resew. (I do not remove the previous stitching)
Then I resew 1/4" from the edge of the fabric.
And I now have another perfect Flying Geese Unit to trim.
If I had trimmed that unit without correcting the problem I would have lost my sharp corner points-the one in front here is the corrected unit and the one in back is one that I went ahead and trimmed even though it was not perfect so that you could see the difference. It may not look like much, and I never use to bother with them, but when I want sharp points in my project these little details matter.
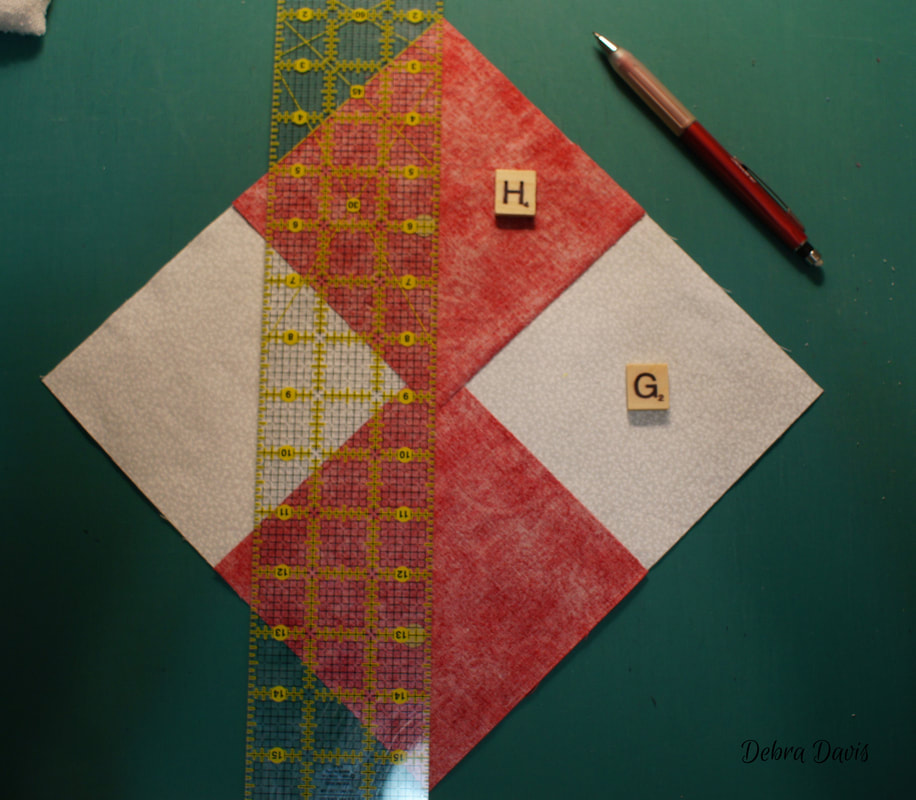
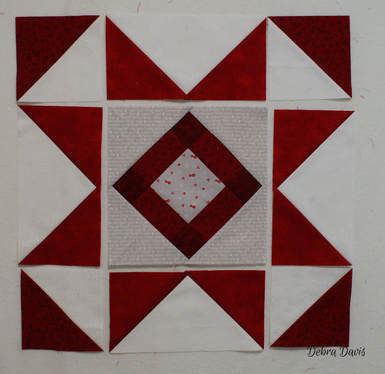
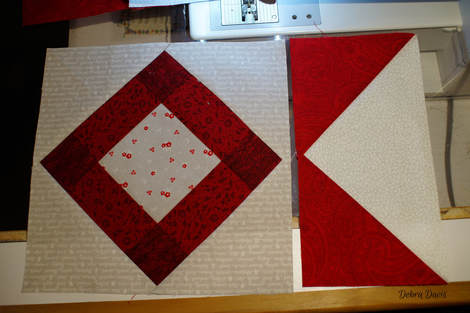
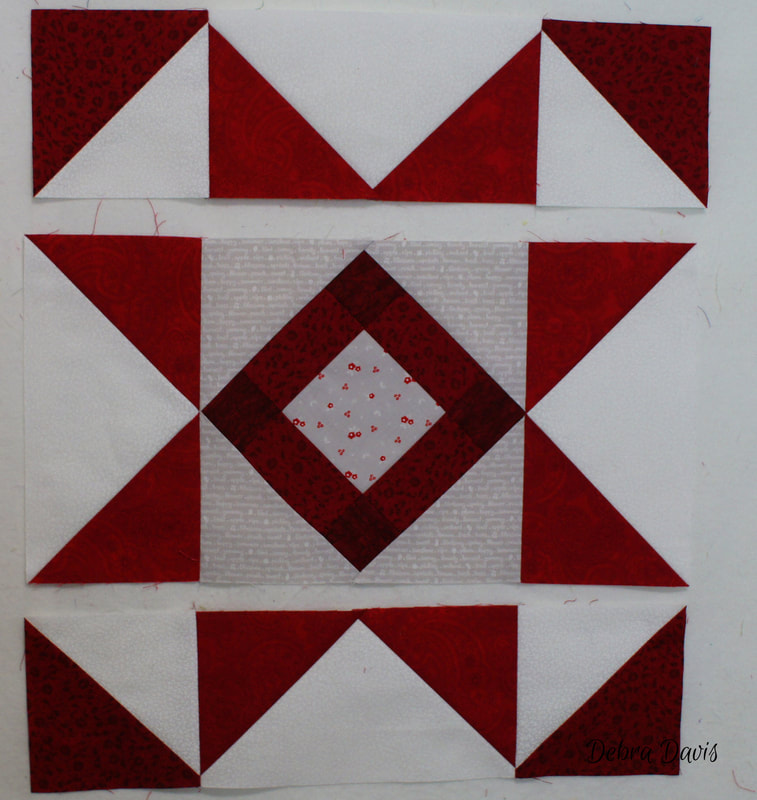
All of the sections we need to make our block are now ready so I lay them out in the order they go. I do not know how many times I have sewn a Flying Geese unit or Half-square Triangle on facing the wrong way so I always try to step back and catch these things before I sew. Still sometimes I do not notice until I have taken a photo and look at in in my camera. If you find yourself doing the same thing, perhaps taking a quick photo with your phone and checking the layout might be the answer.
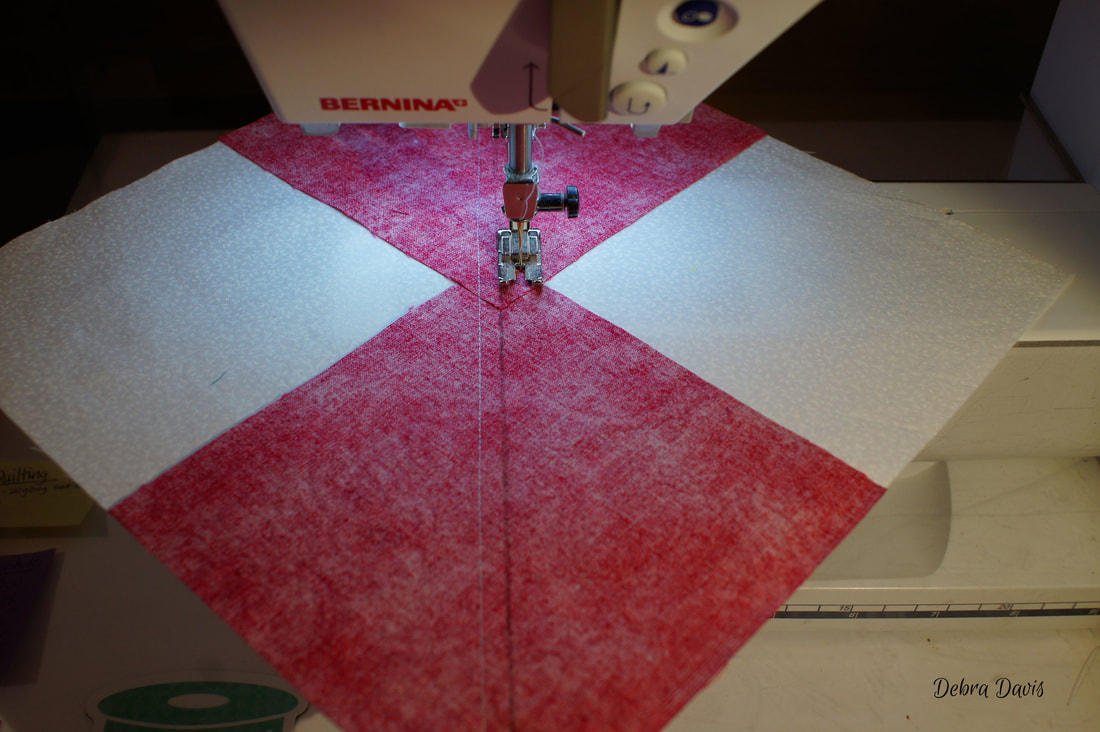
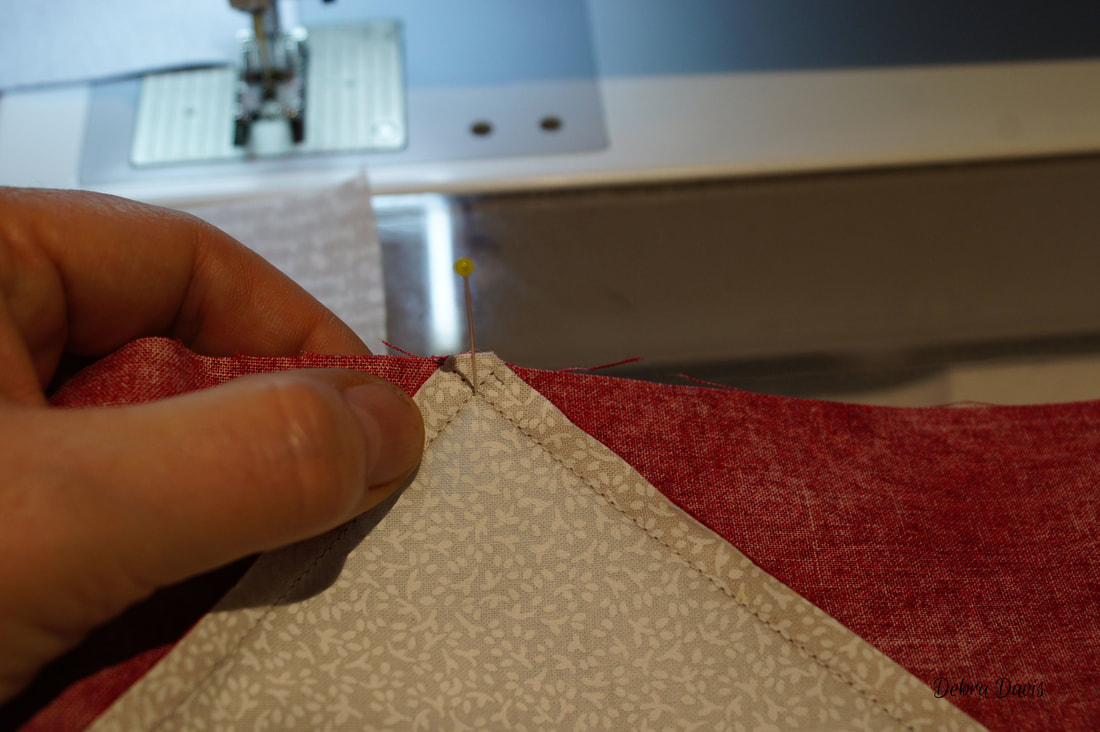
As we join the units into rows there are some pretty bulky seams to deal with on this center section. I found the best way to deal with them was to use a positioning pin.
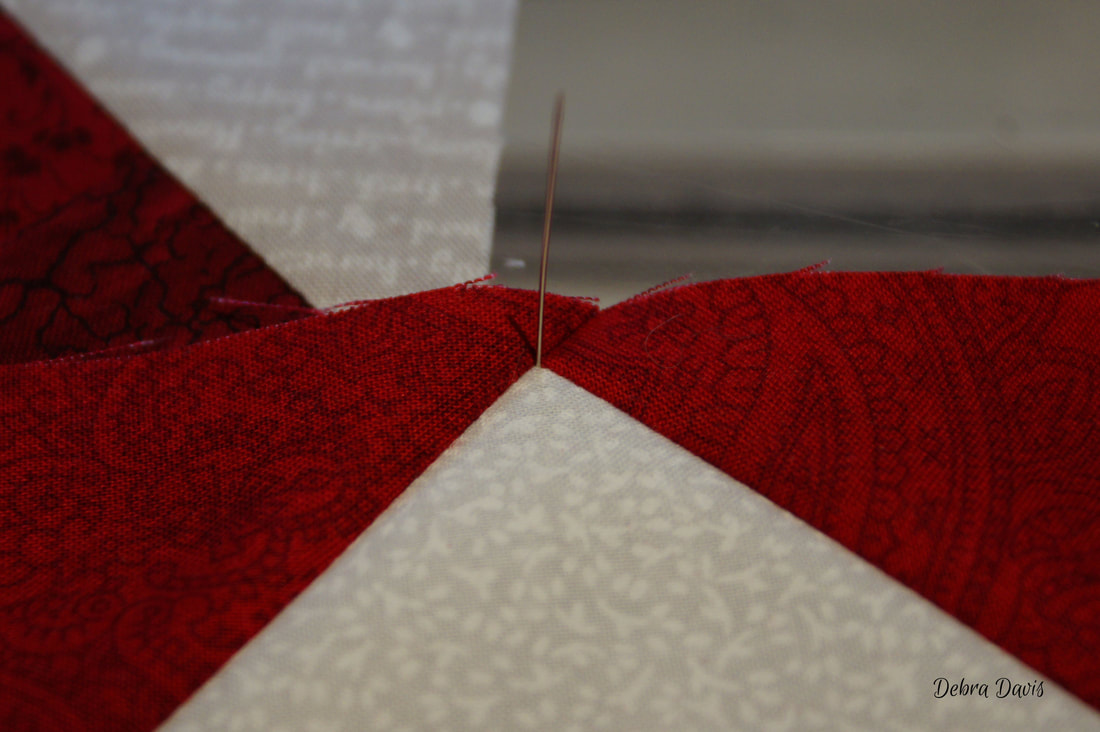
I put the pin through the very tip of the triangle and then check to make sure it comes out the other side at the tip as well.
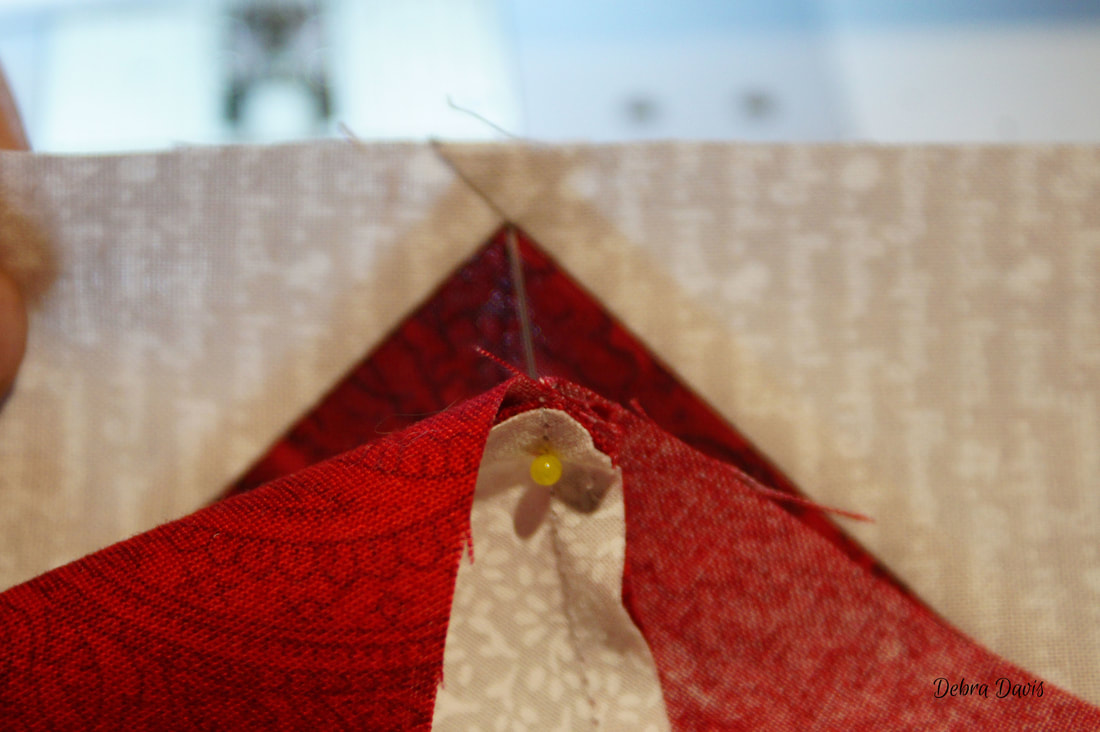
Next I run the pin through the next piece,
again going through the very tip of the triangle there as well.
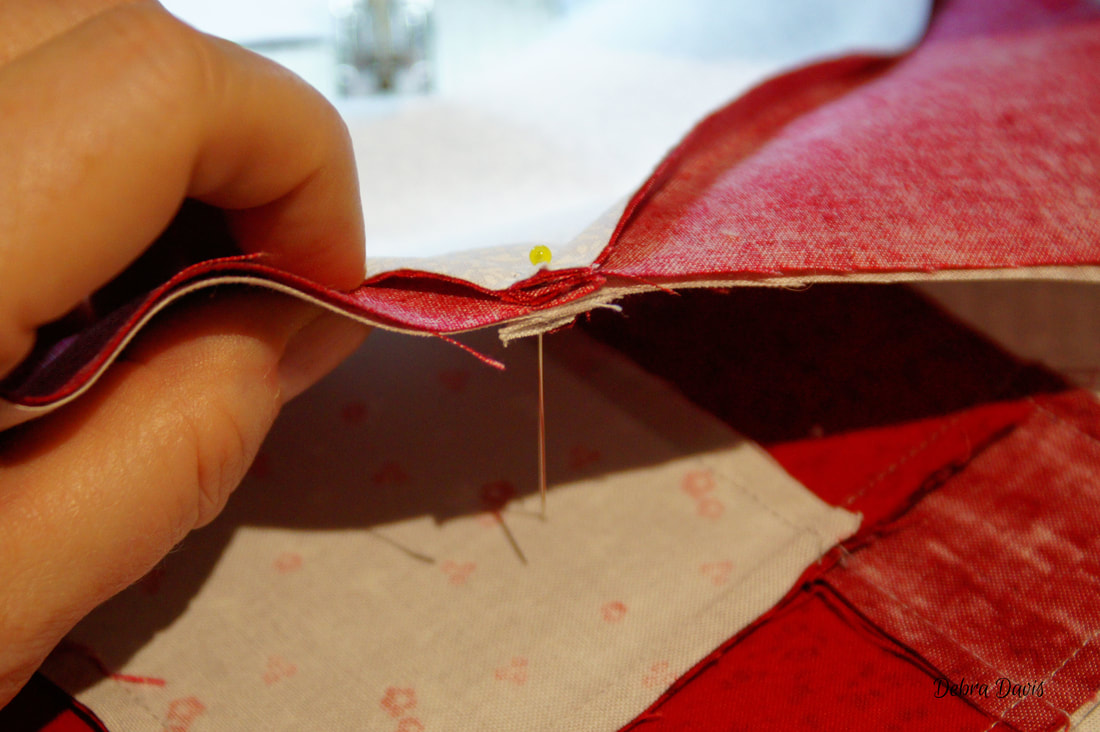
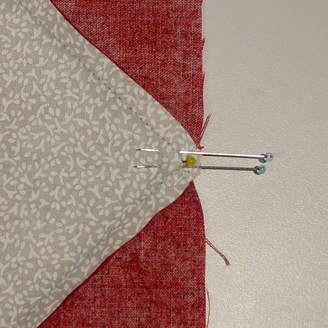
With the positioning pin in place I pin on each side of it, very close to the original pin.
Because these are such bulky seams even with it pinned as above the two still wanted to move on me when I sewed them-so I added two more pins close by and also pinned along the edge about halfway to the top and bottome of the block. I then sewed VERY SLOWLY across those seams.
Even so, these bulky seams did not come out to perfect points, which is always a dissapointment-but I am happy anyway-this is truly one of those times where finished is better than perfect. Now I join the rows together-pinning in the same way.
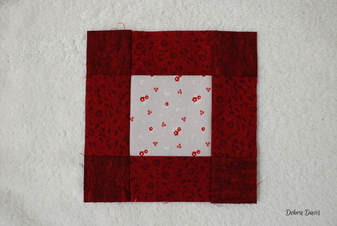
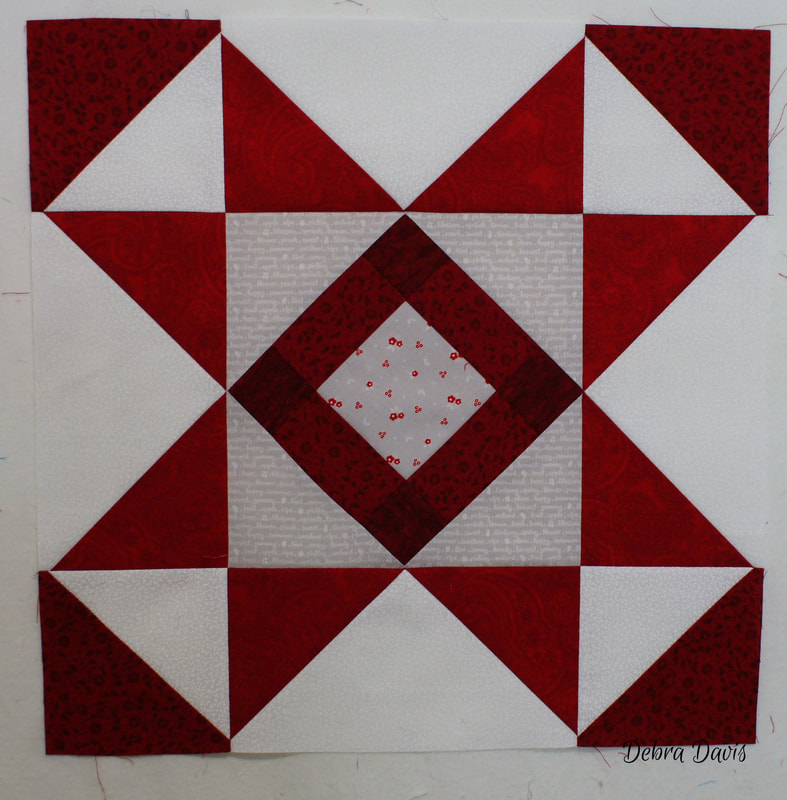
And Block 9 is finished-Star Finale!
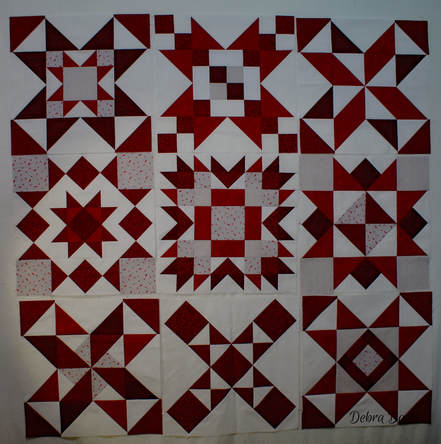
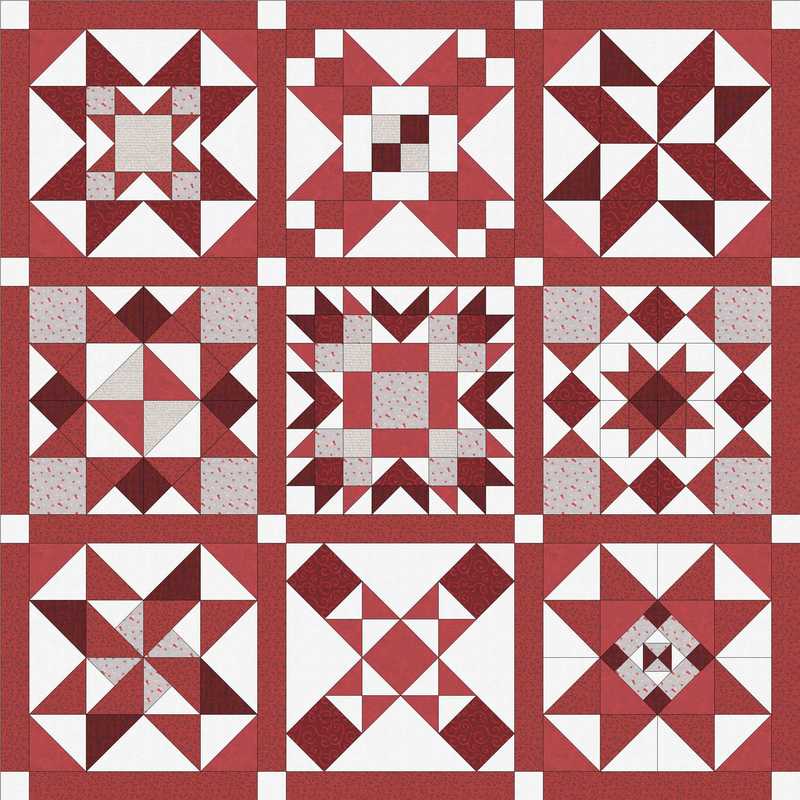
On to planning which setting I am going to use for this one. I am using up my stash for these two quilts so that will be a determinging factor in which setting I use. I am leaning towards the basic setting for my red, grey, and white version and maybe adding an extra border or two.
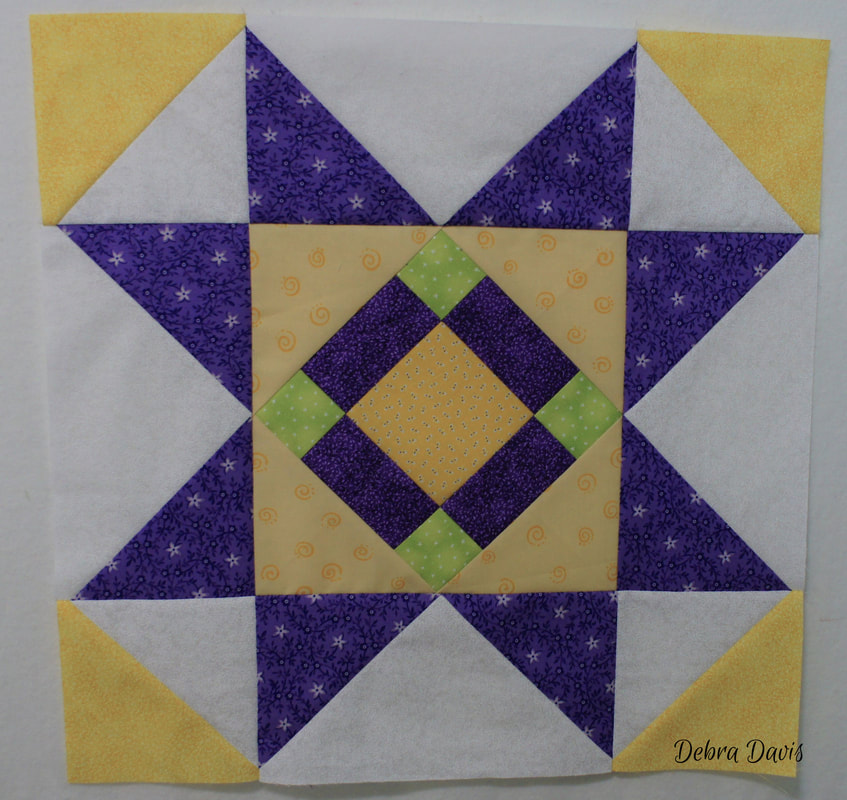
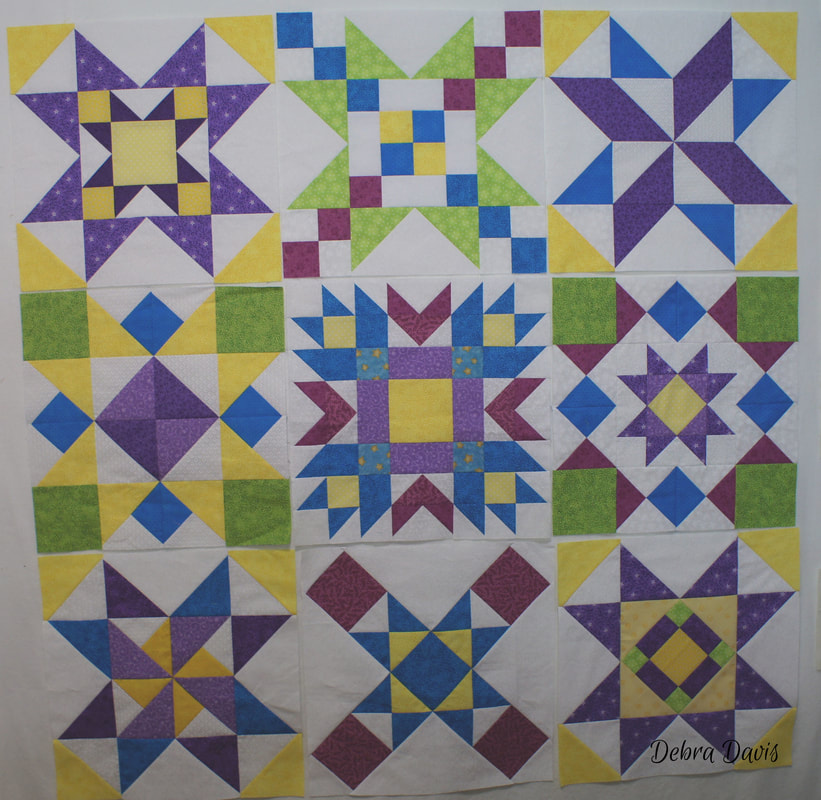
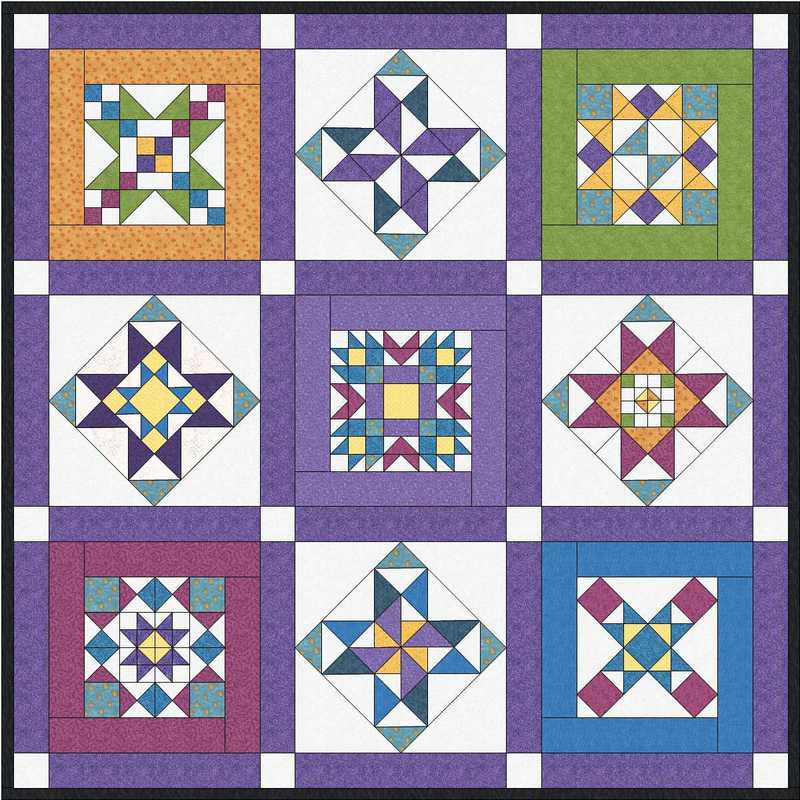
And I am leaning towards the Option 2 setting for my jewel tone version.
I will be sharing that process with you in the weeks to come.
Have you decided how you want to set your blocks for your quilt? I hope you will share you plans. I hope to be back next week with a look at what I am doing with mine. In the meantime...
Happy Quilting!!! Comments are closed.
|
Welcome to the site of Debra Davis-a woman who loves the Lord and loves to quilt.
My other blog where I share about my walk of faith:
Sitting at His Feet This website uses marketing and tracking technologies. Opting out of this will opt you out of all cookies, except for those needed to run the website. Note that some products may not work as well without tracking cookies. Opt Out of Cookies |
Tuning My Heart Quilts by Debra Davis is licensed under a Creative Commons Attribution-NonCommercial-NoDerivs 3.0 Unported License.
Based on a work at www.tuning-my-heart.com.
Copyright 2010-2022 by Tuning My Heart Quilts, LLC. No part of this website can be reproduced without written permission from the author. All rights reserved.
Proudly powered by Weebly


 RSS Feed