|
Well, it's not Monday yet, but here is our latest block.
My professor and I begin our Spring Break this weekend, and celebrate 34 years of marriage too! So you get the block early!!
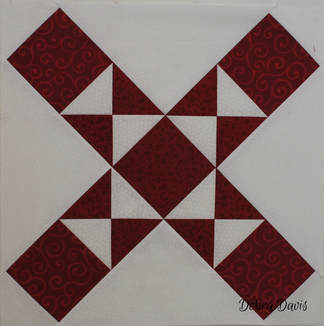
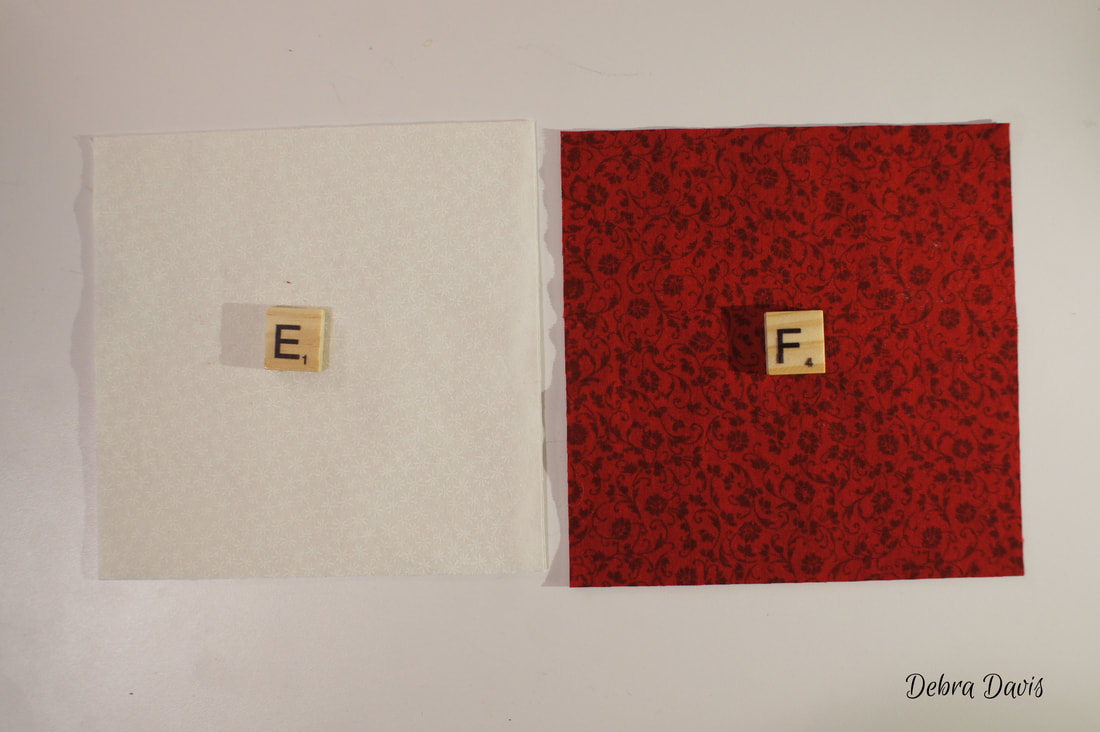
Block 8 of our sew-along is called Cats and Mice, I couldn't find any reason for the name which I would have been interested to know. This block is pieced in a very different way from all of the others. Hopefully you will learn something new about working with triangles...really big triangles. The fun thing is it makes the block go together pretty quickly and with only two seams to match. I am still having trouble getting my reds to photograph well, they often come out much darker than in real life. There is actually a difference in the two fabrics I used but you cannot tell from this photo. Oh well...maybe someday some new lighting in my little studio is in order. So without further ado let's get started with sewing the block together.
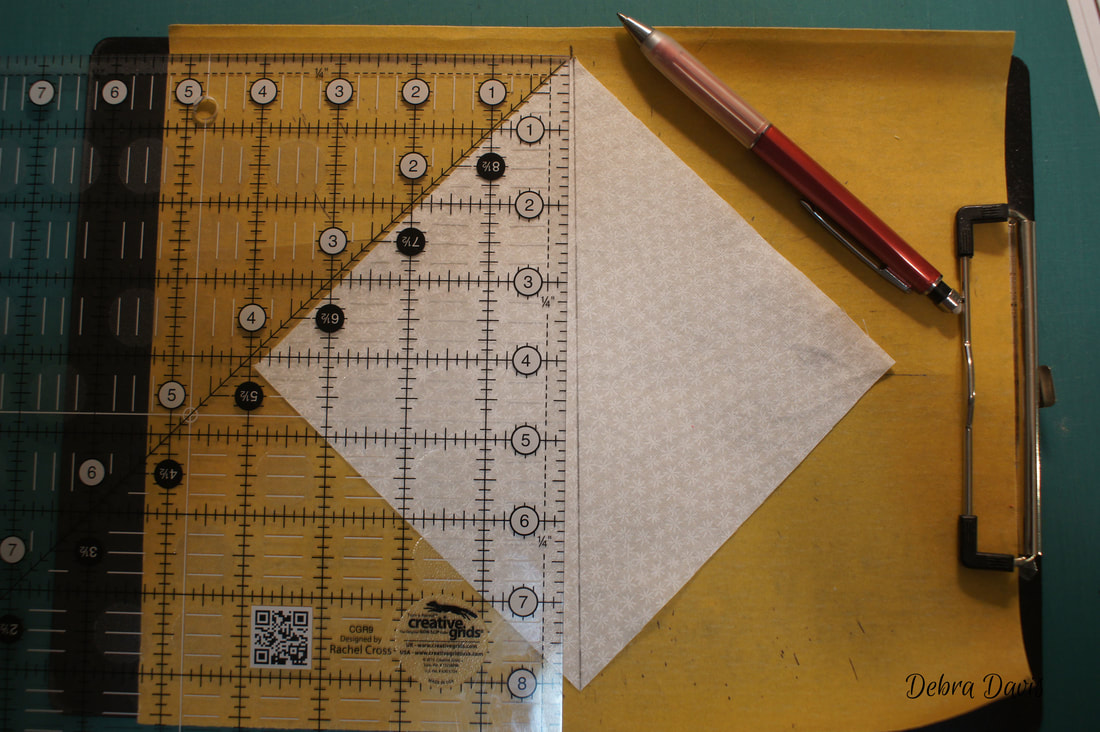
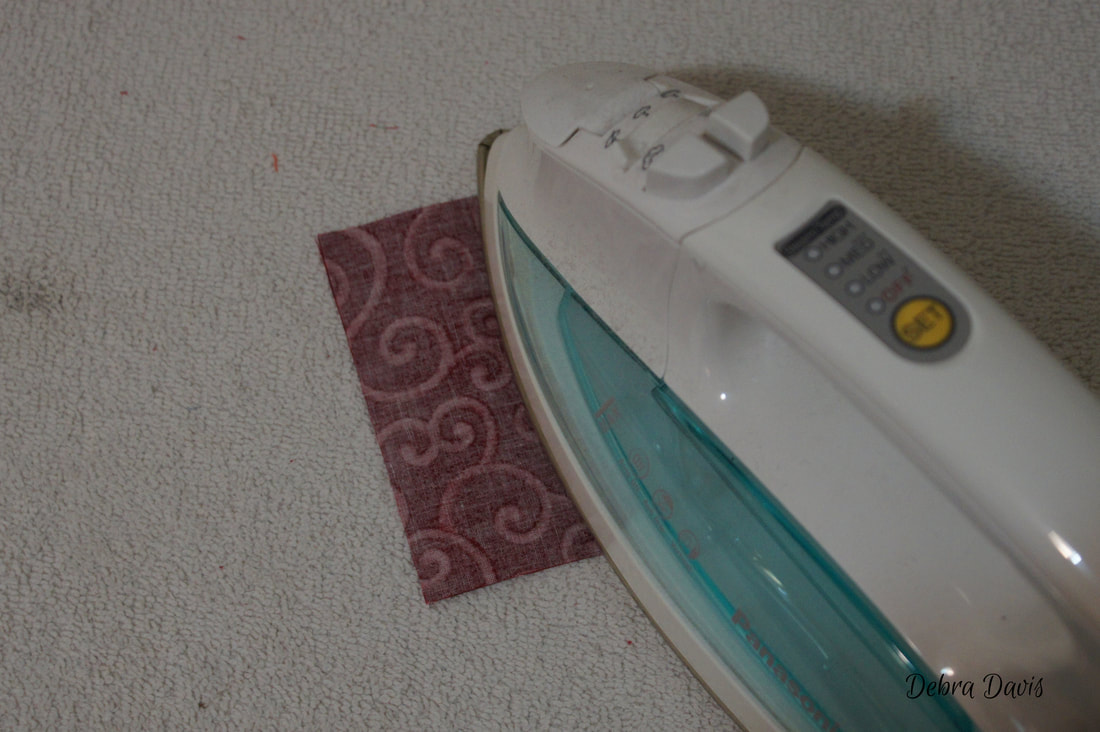
You can see here I have cut all of my pieces out. I recommend either a rotating cutting mat or a small mat for cutting the triangles so that you do not have to move them when it is time to cut the other direction (we make two cuts in the B squares.)
Click here to download the pattern for Block 8 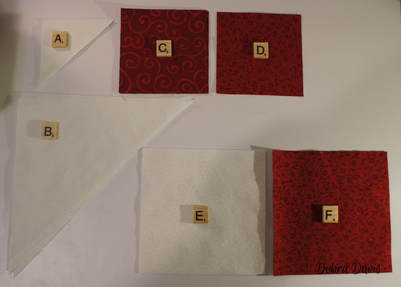
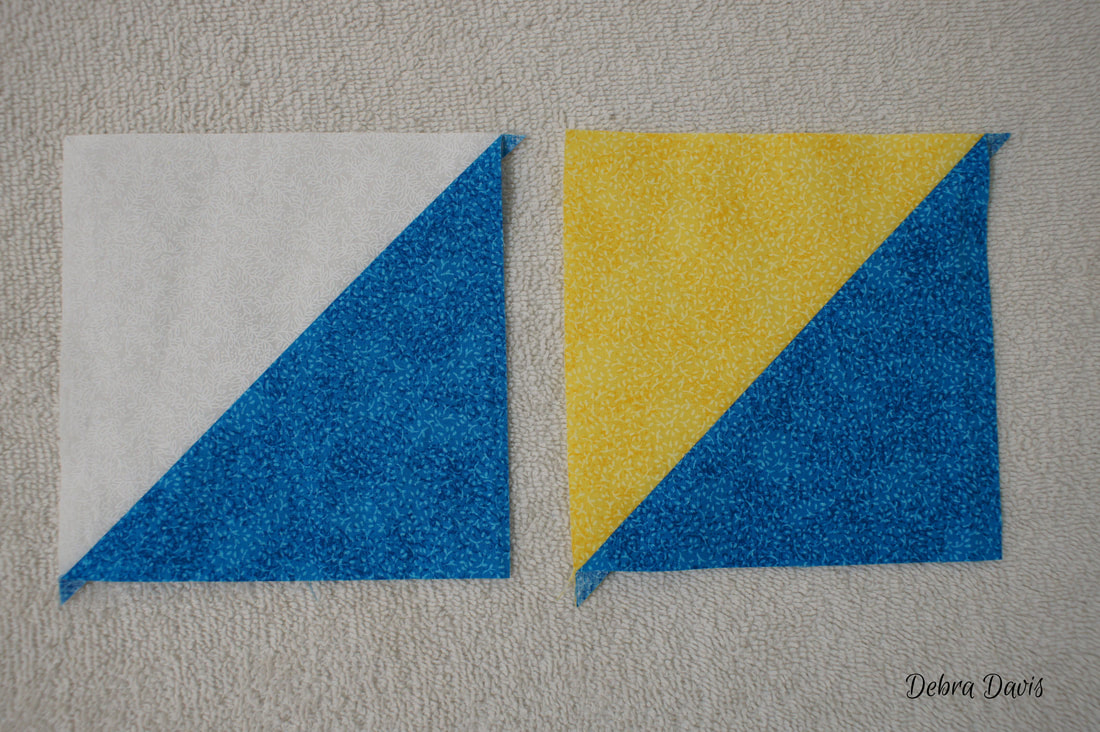
I started with the E and F squares to make the Hourglass units. Draw a diagonal line on the back of the E squares.
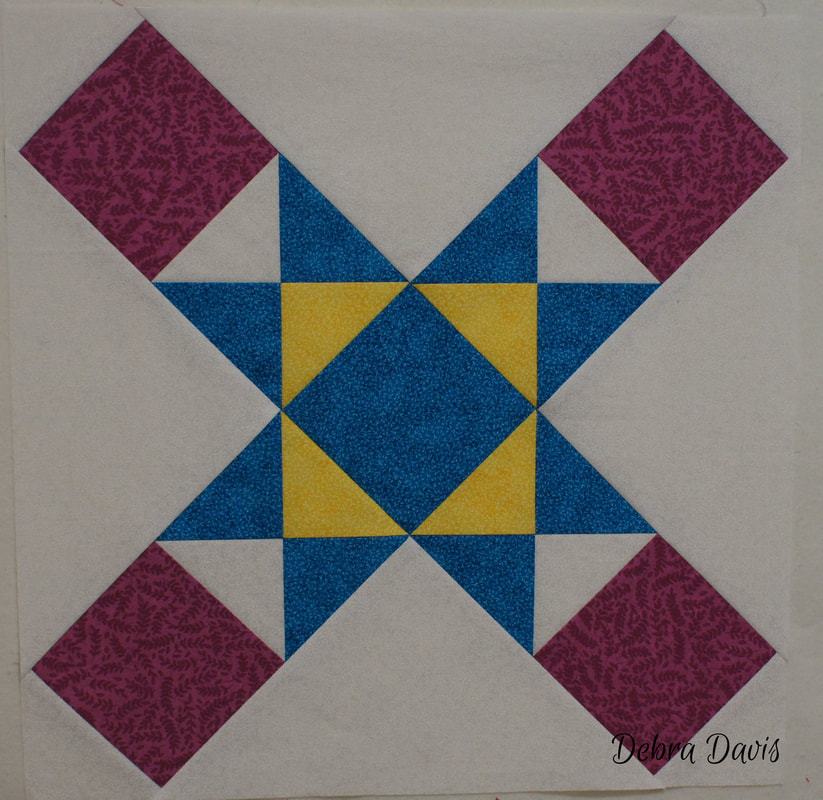
NOTE: For the color version you will be using the E, F, and G squares and draw the diagonal line on the back of the F squares.
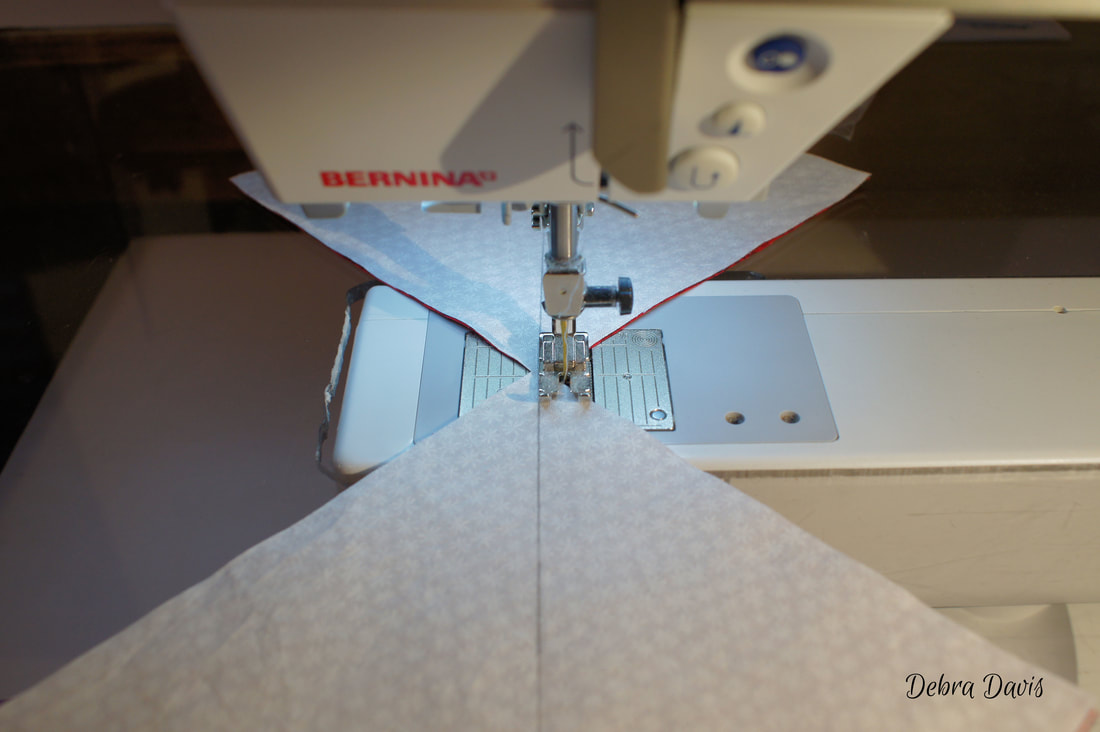
With right sides together place the E squares on the F squares and sew 1/4 inch from each side of the drawn line.
Color Version place the F squares on the E and G square and sew in the same way.
Cut apart on the drawn line and press towards F for both versions. This is what my color version with the E,F, and G squares look like after sewing together.
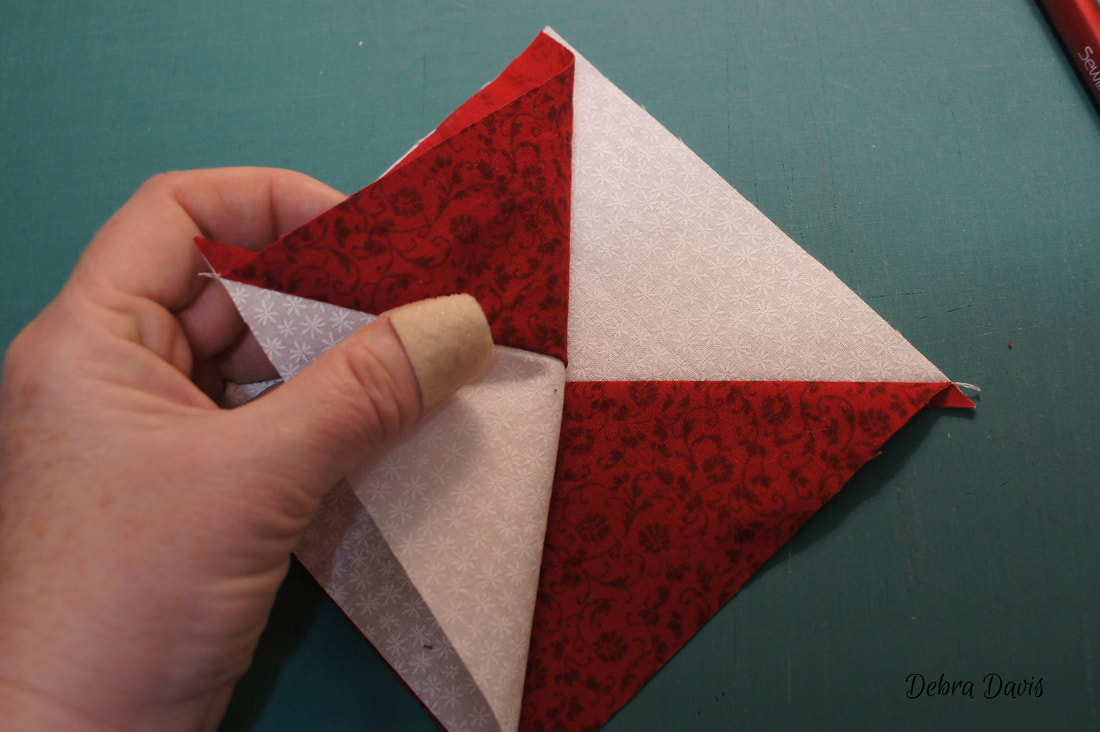
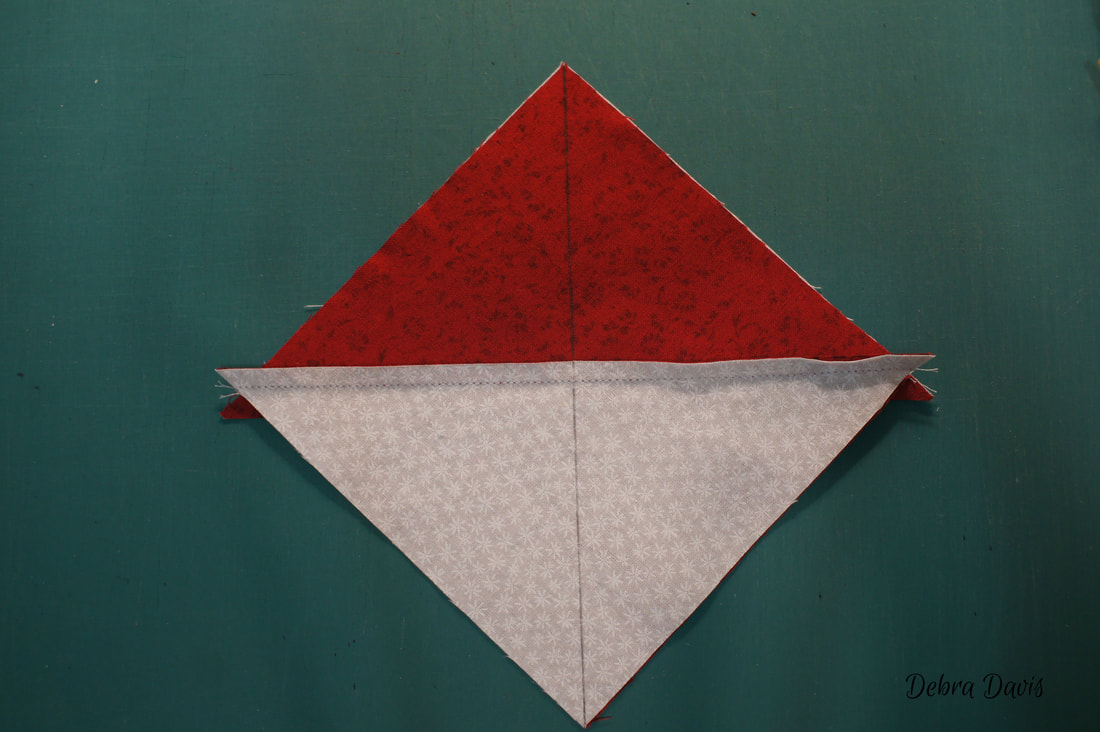
After pressing place them right sides together with the F triangles on opposite sides of each other and draw a line right down the middle.
Sew 1/4 inch from each side of the drawn line and press to one side.
Here is my color version too.
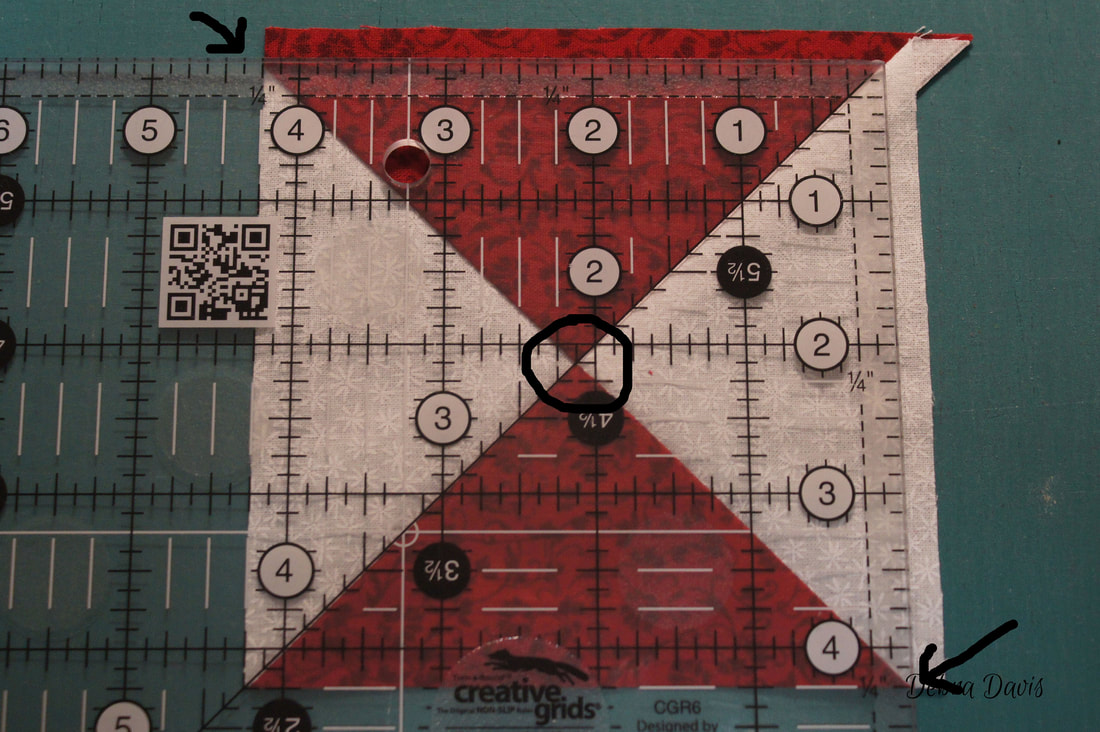
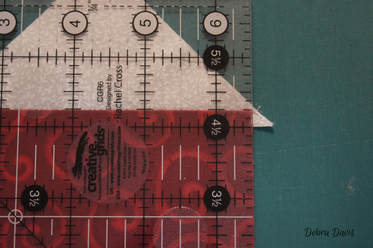
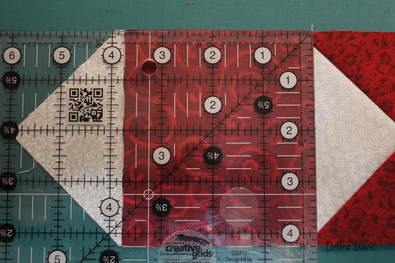
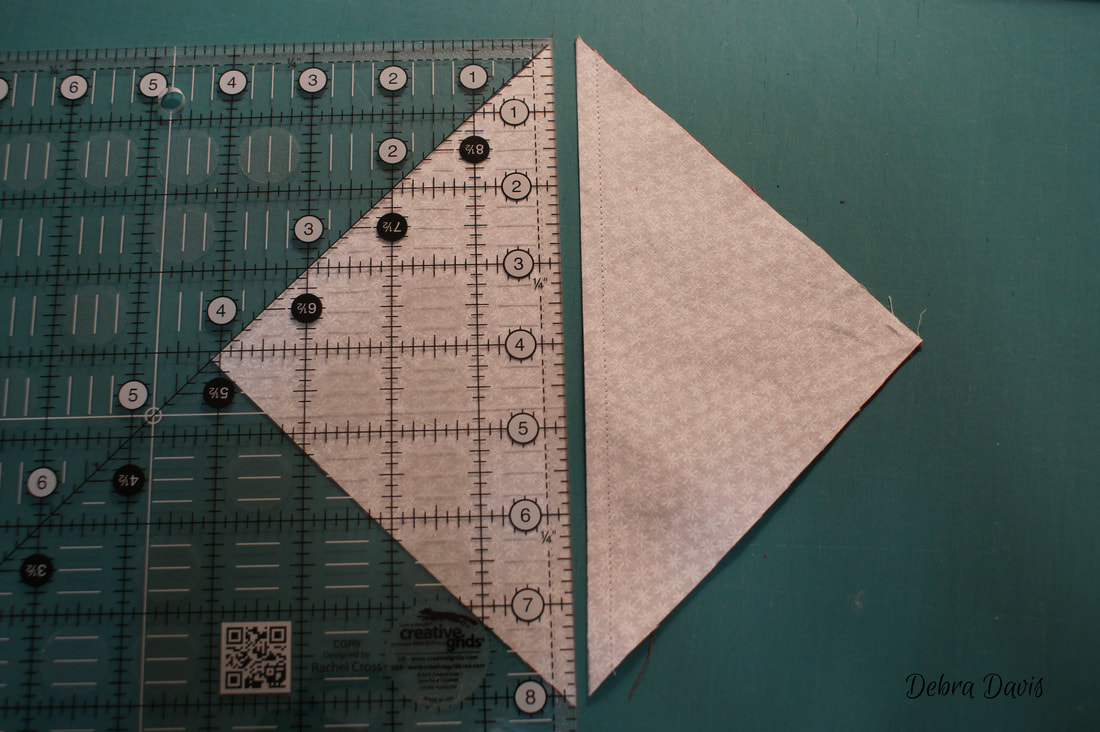
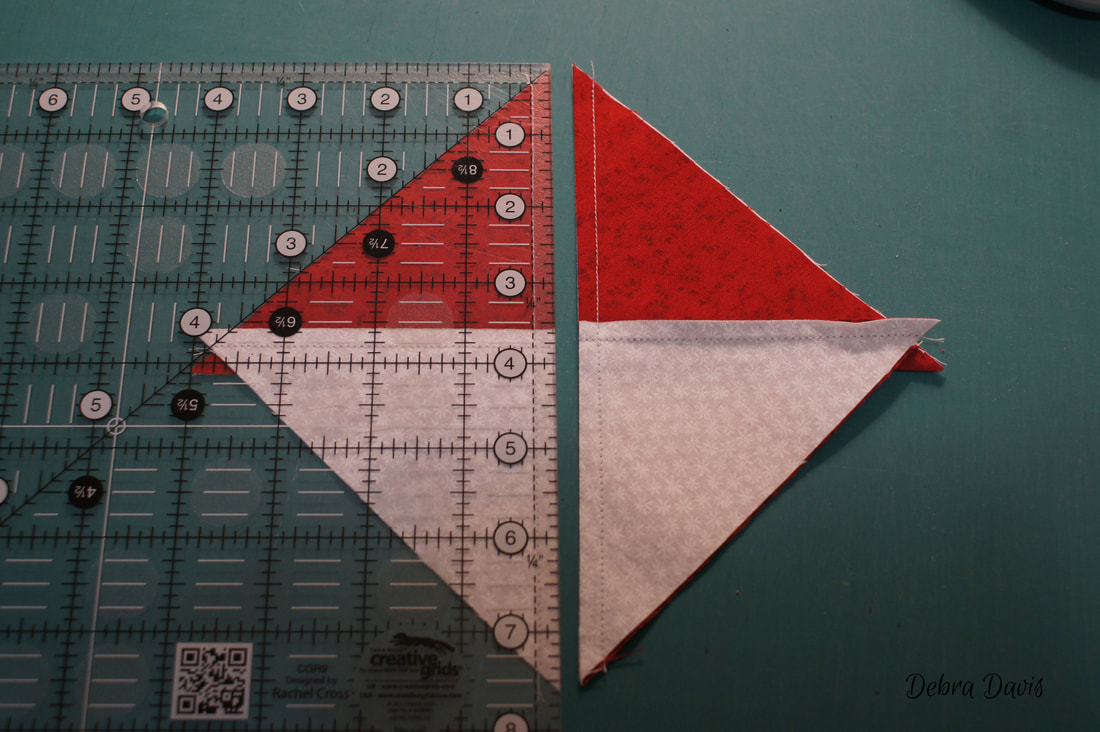
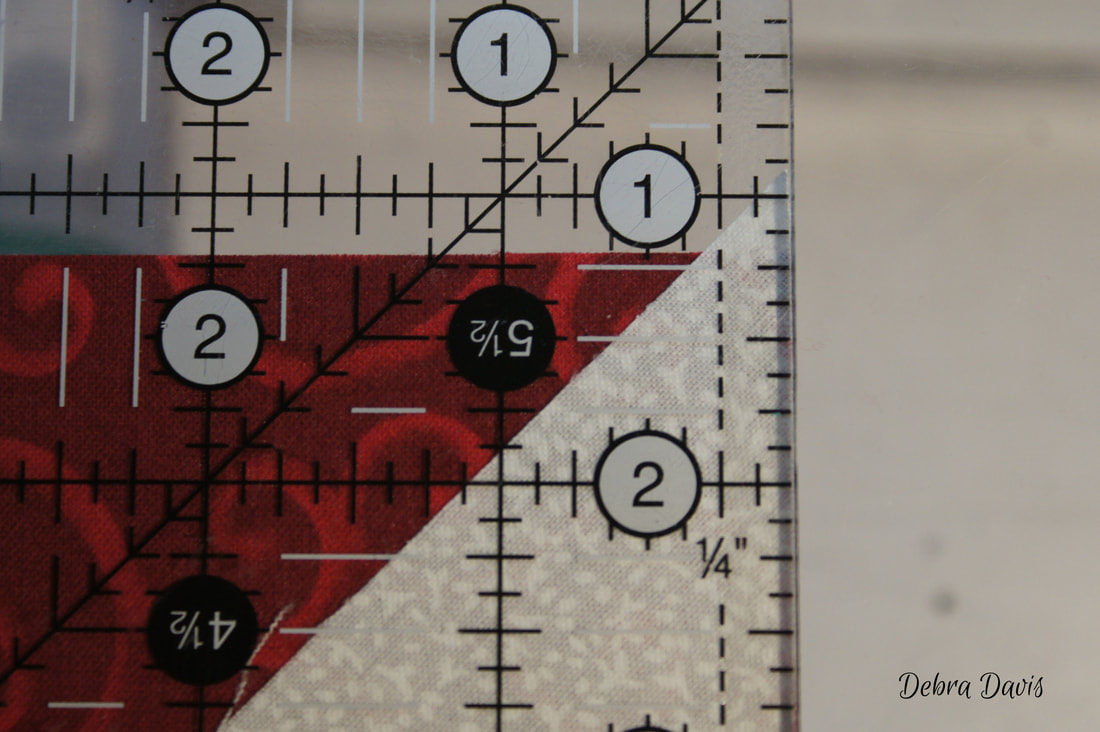
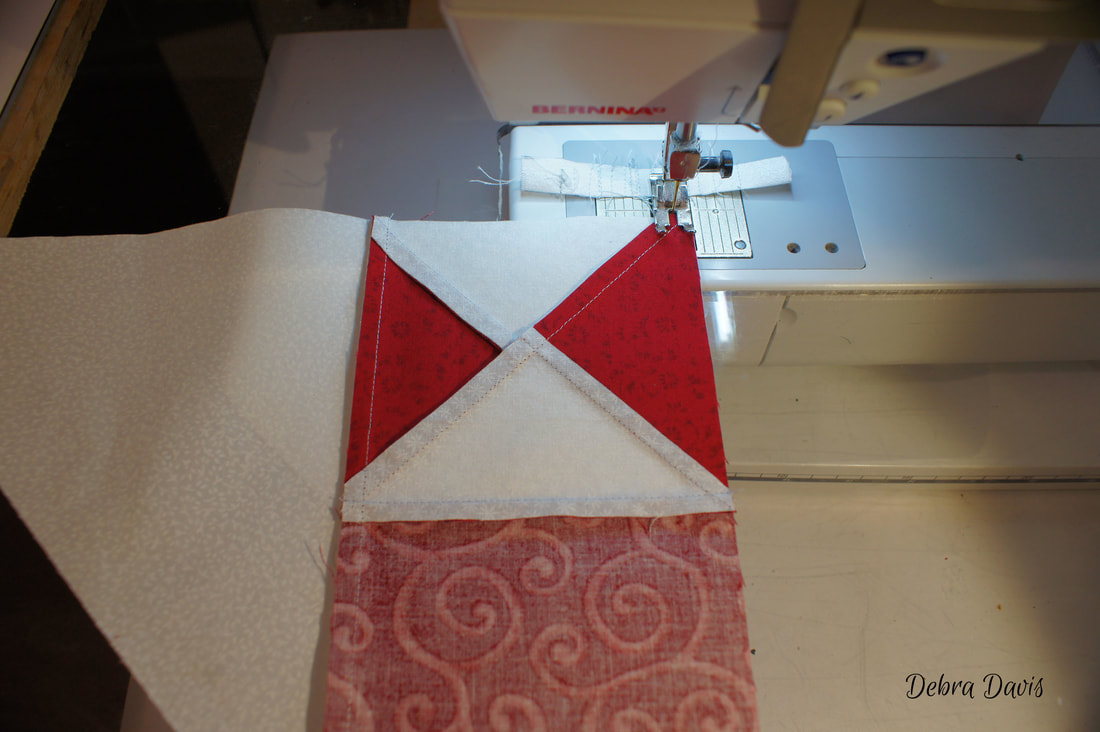
We need to trim these to 4 1/4" To do that line up the diagonal line of the ruler with the diagonal seam line. Place the 2 1/8" mark at the intersection of the diagonal seams which is circled in the photo. The outer corners are where you want the 4 1/4" marks to meet at the seam line as I point out with the arrows.
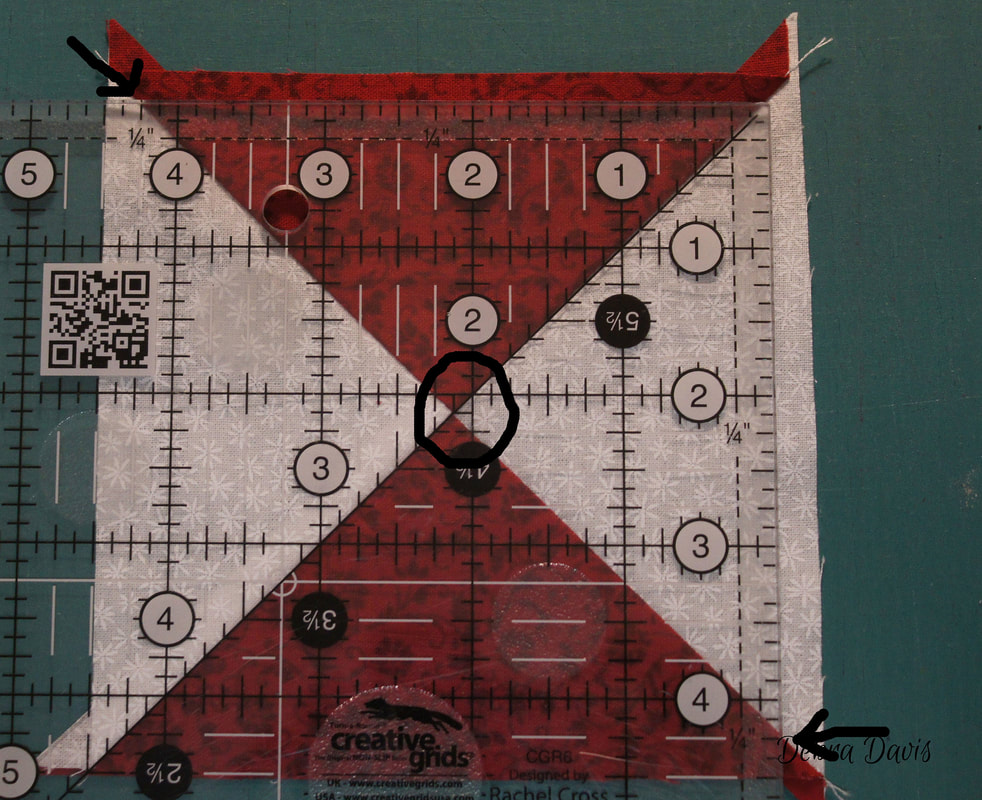
Rotate the block and line up the same marks again to trim the other two sides.
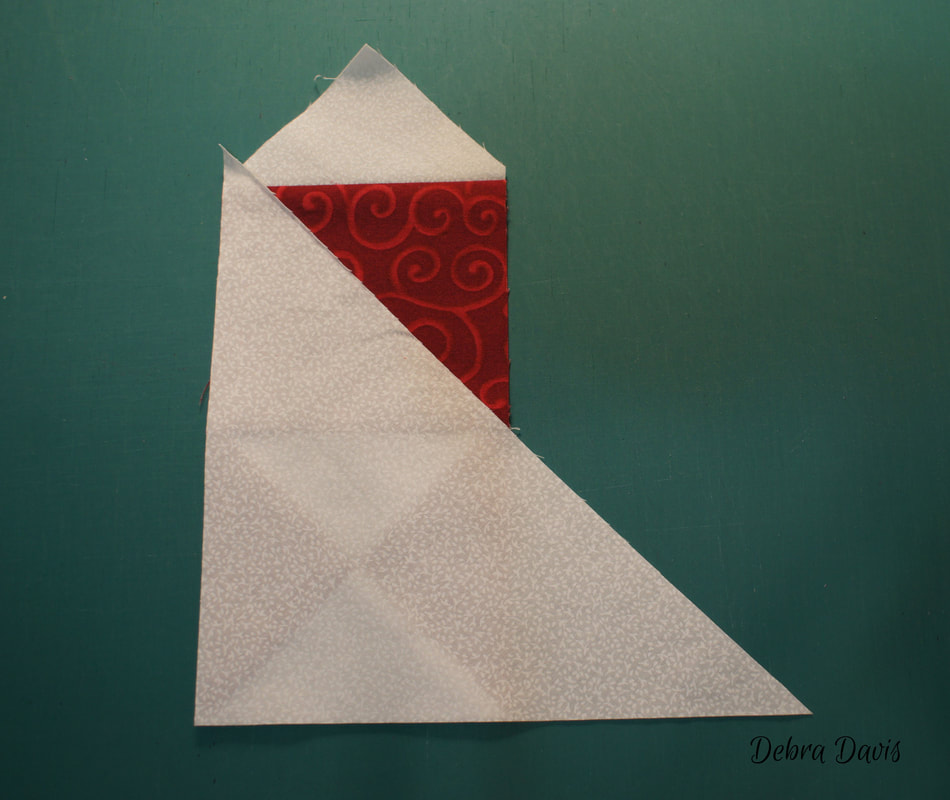
We will set the hourglass units aside for now and work with the A triangles and C squares. I start by pressing the C squares in half to mark the center of the square.
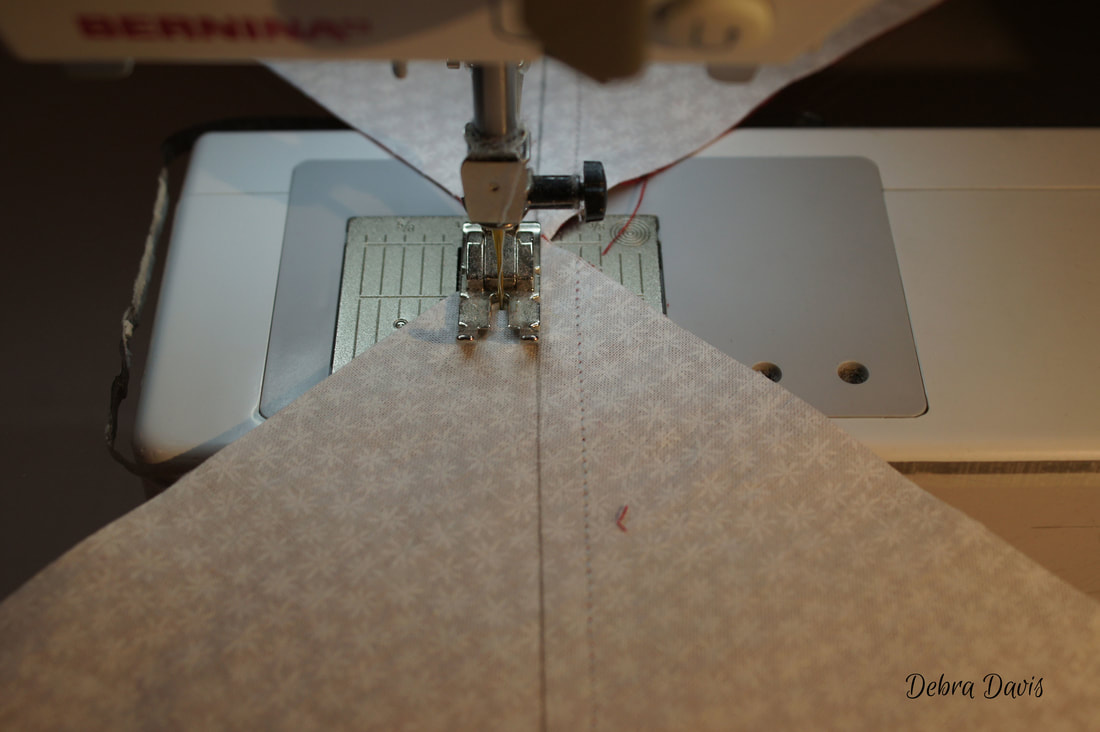
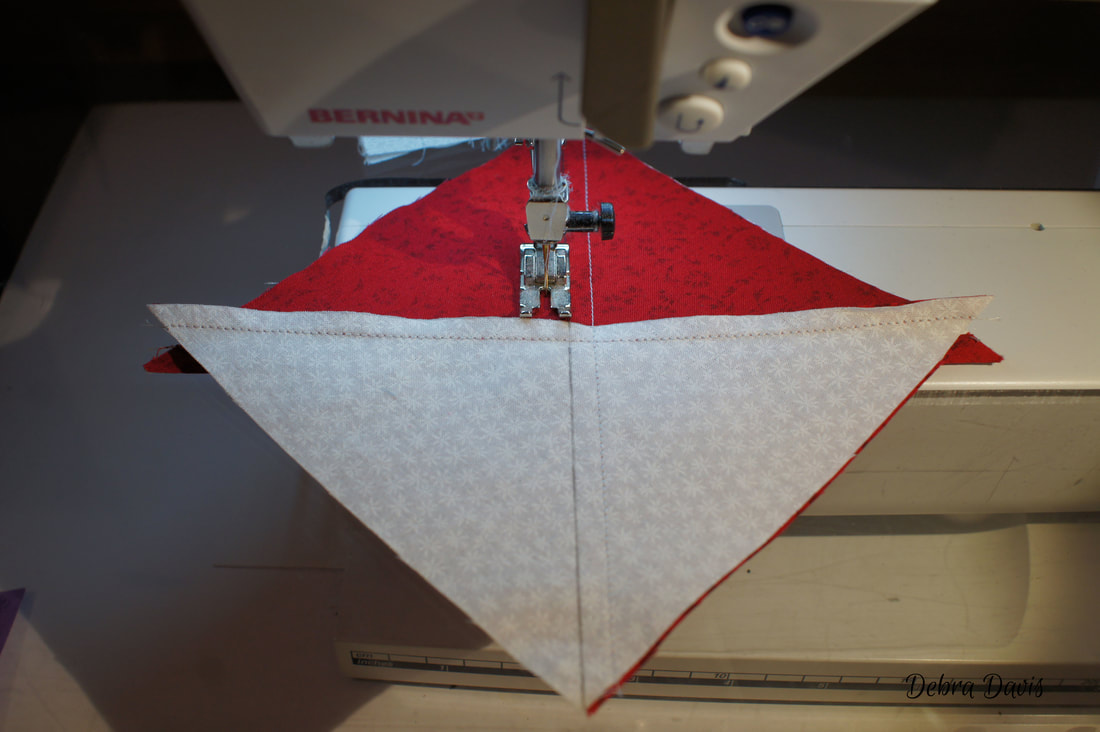
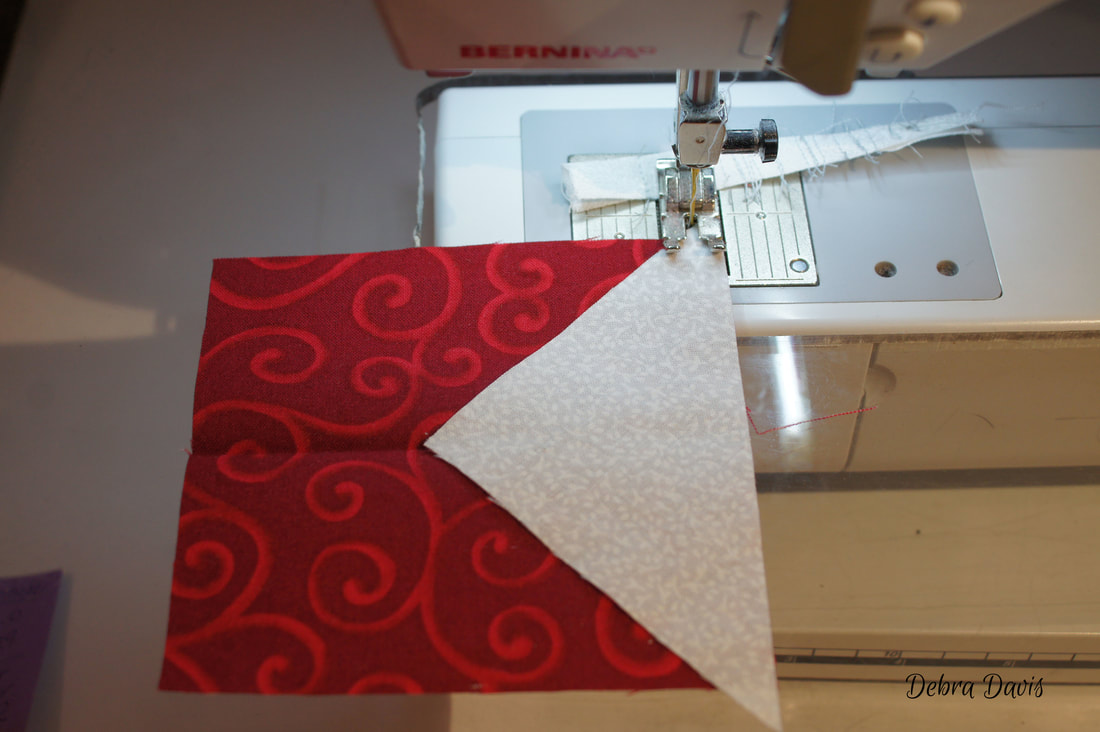
When I lay my A triangle in place I line up the point of the triangle with the pressed line that marks the center of my C square.
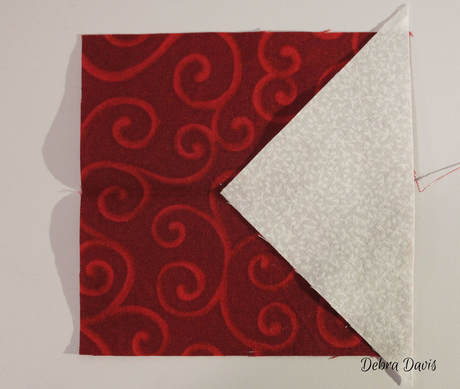
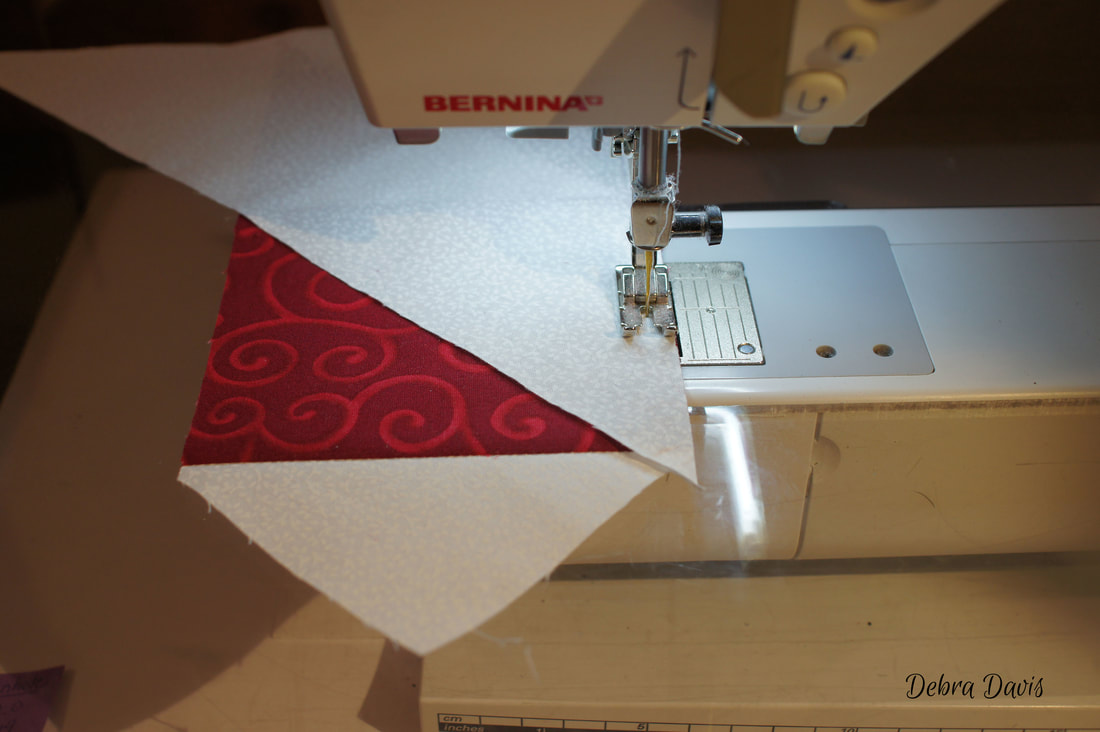
Then just carefully stitch along the edge. I placed my ruler along the edge to show that the 1/4 inch seam line is not at the point where the two fabrics meet. Be sure you sew 1/4 inch from the edge. After sewing press towards the C square.
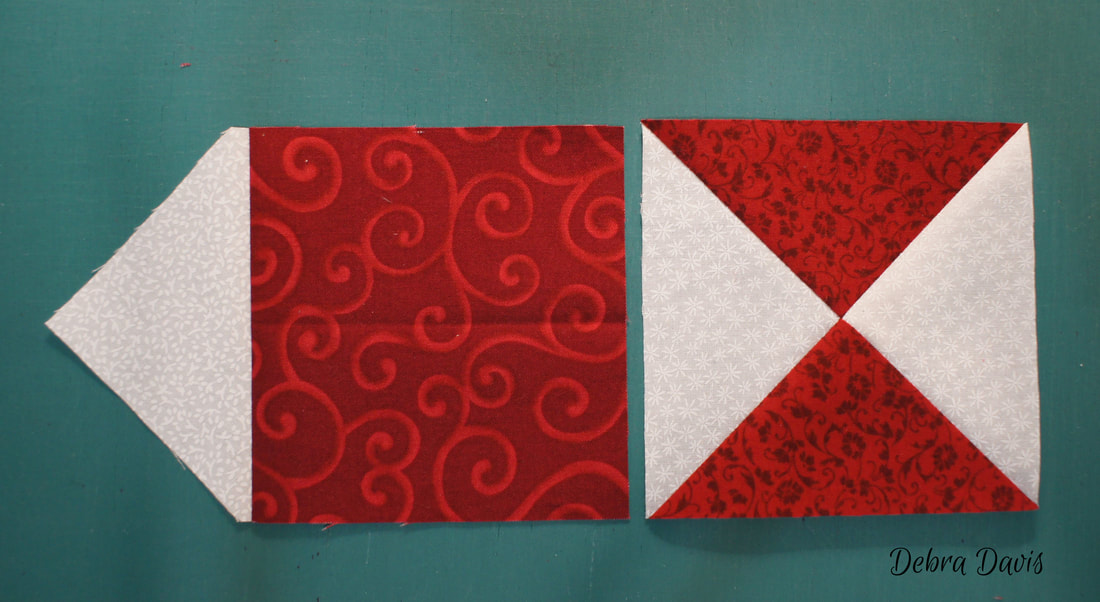
I like to trim off the little triangles along the edge.
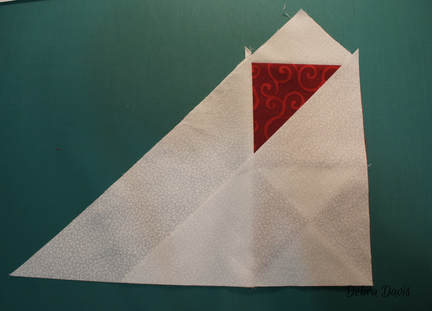
Next add the hourglass units to the opposite side of the C square. Make sure to turn the hourglass unit as shown for either the red and white version or the color version. The G triangle in the color version needs to be opposite the C square.
Sew and press towards the C squares.
I did a quick double check for accuracy. The C square should now measure 3 3/4" across.
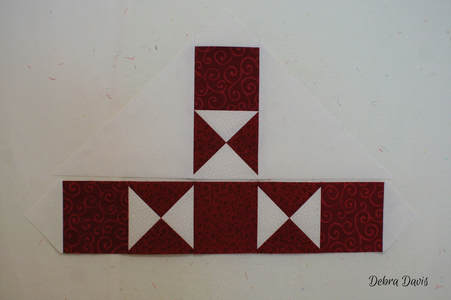
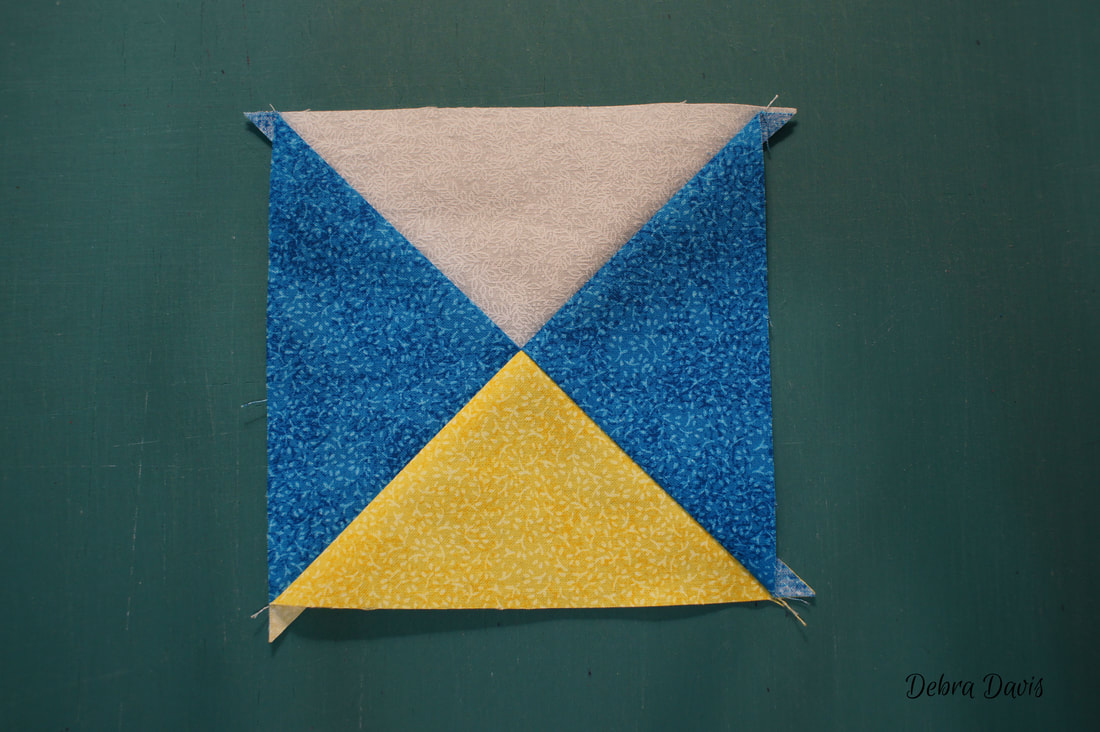
Time to lay out the Unit 1 sections with the B Triangles and the D square.
First I join two Unit 1's to each side of the D square and press towards the D square.

Next I am going to attach the B triangle to the remaining Unit 1's. I like to sew starting at the top of the right angle.
Sometimes that means I flip everything over so I can start at the top of that corner rather than the tip of the large triangel piece.
I press towards the B triangles and then do the same thing on the other side
with the remaining triangles. Again starting my stitching at the top corner.
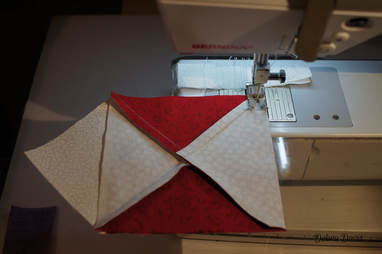
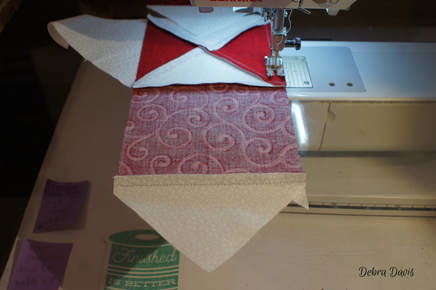
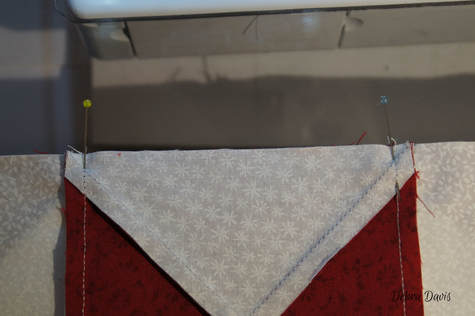
Now I just need to sew these sections together.
I placed a couple of pins where the seams join.
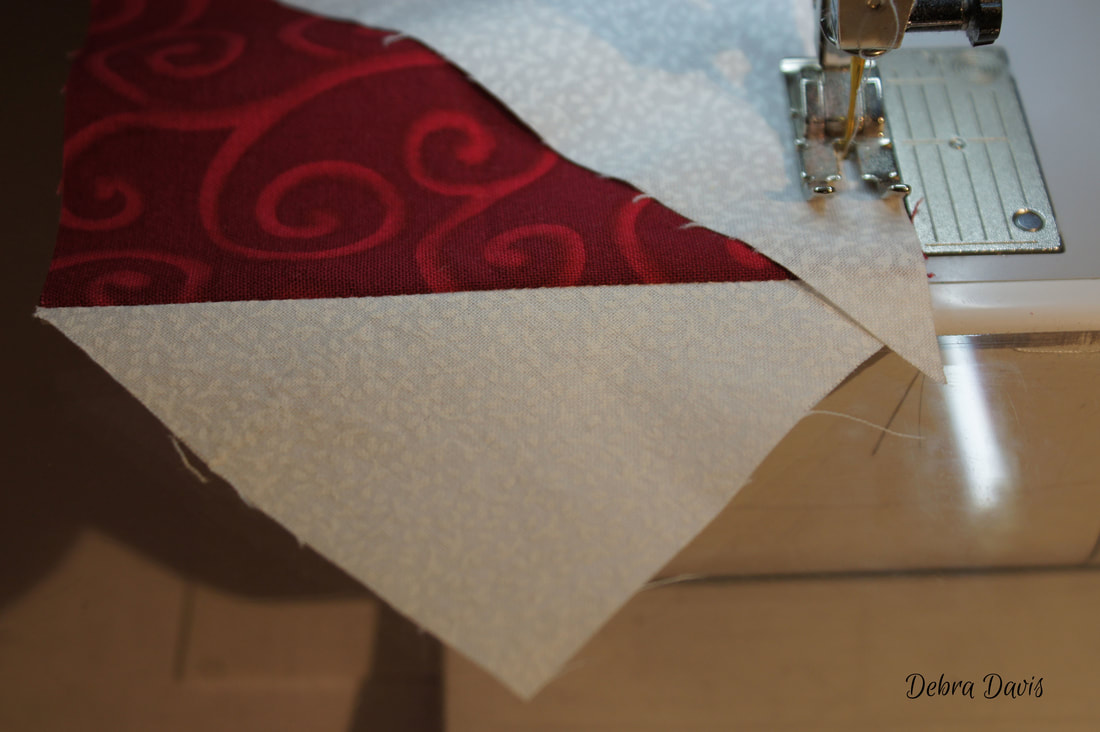
As I sew this triangle in place I need to be careful not to stretch it but just allow it to lay in place.
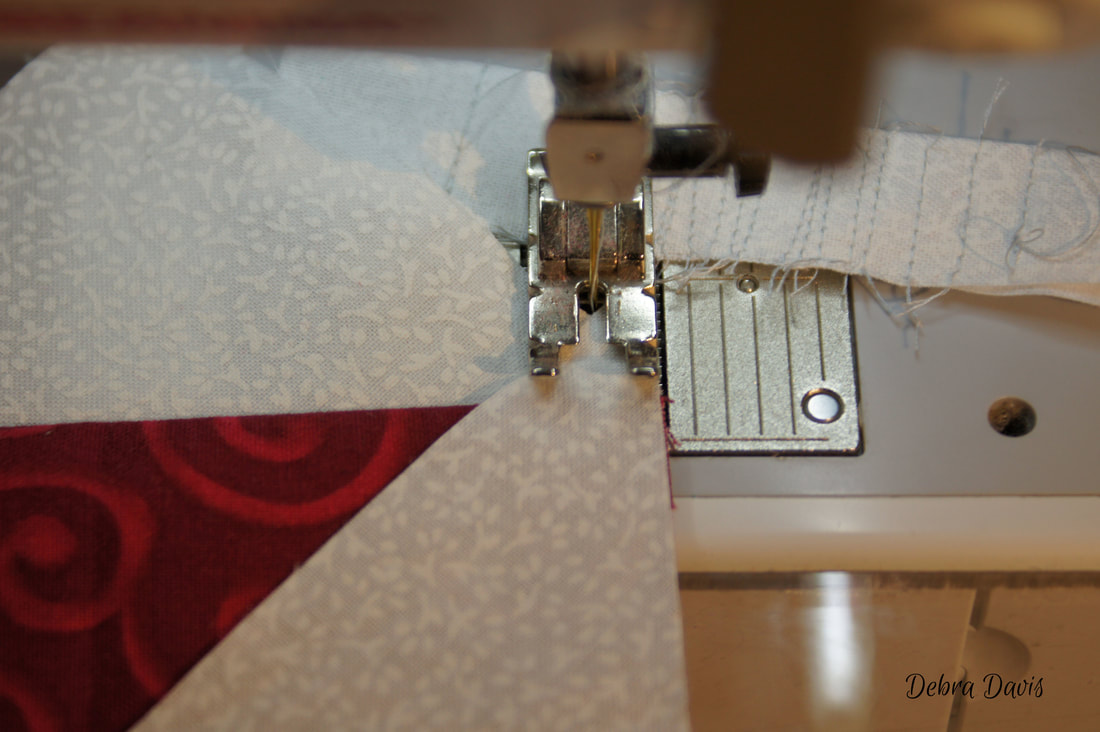
I also make sure that when I go over this seam it stays folded the way I pressed it. Sometimes a seam like this will push the wrong direction as I sew over it.
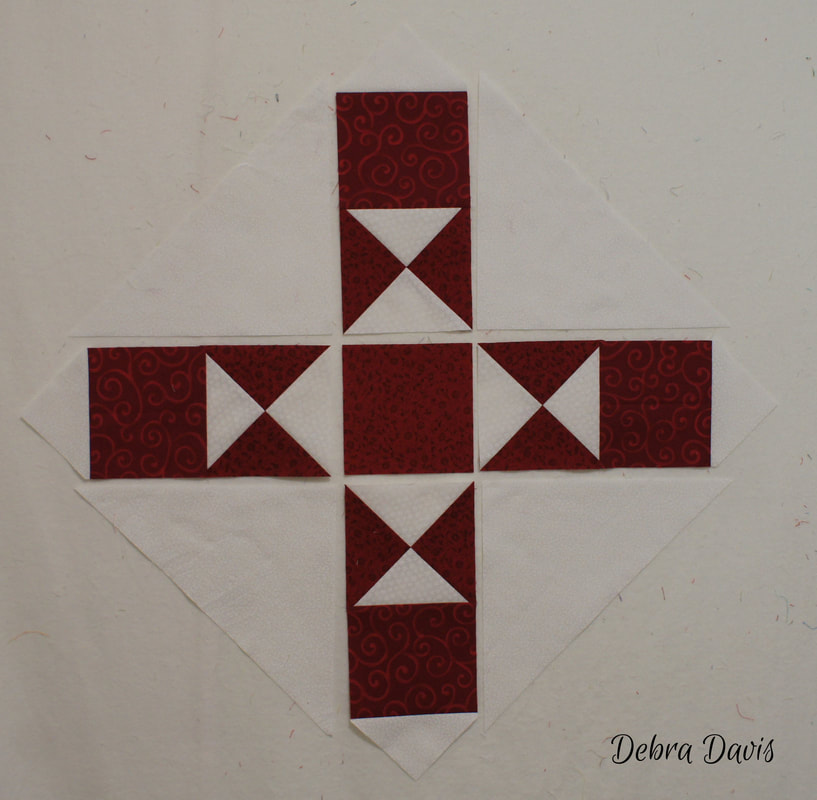
I pressed towards the triangles to complete my block.
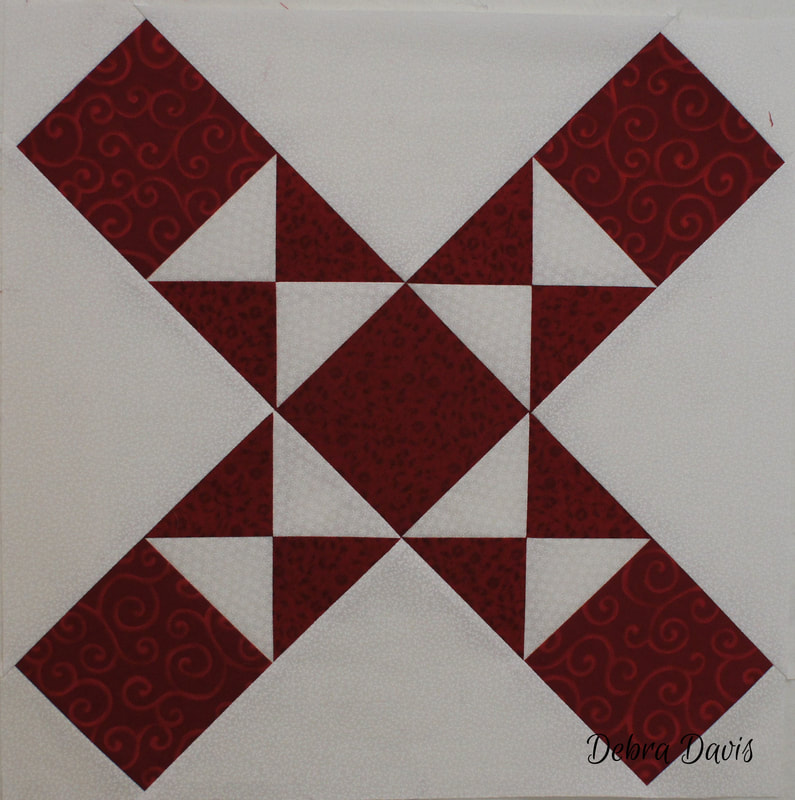
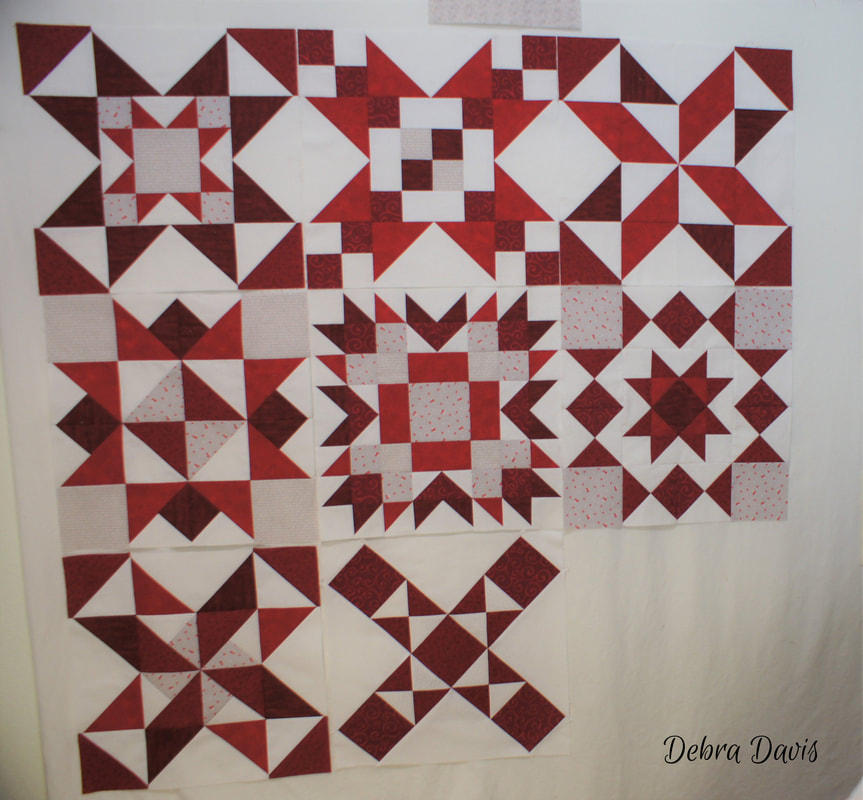
Oh my, I can't believe we are almost finished with the blocks for this quilt.
You will have an extra week to work on blocks this time as Block 9 will not be ready until April 9th. There are sure some lovely blocks being shared on my Facebook Sew Along page. I have thoroughly enjoyed all of the inspiration quilters of all skill levels are sharing.
And in case you need any previous blocks they can be downloaded here: Under the Stars downloads So until next time... Happy Quilting 
|

Welcome to the site of Debra Davis-a woman who loves the Lord and loves to quilt.
My other blog where I share about my walk of faith:
Sitting at His Feet 
|


 RSS Feed