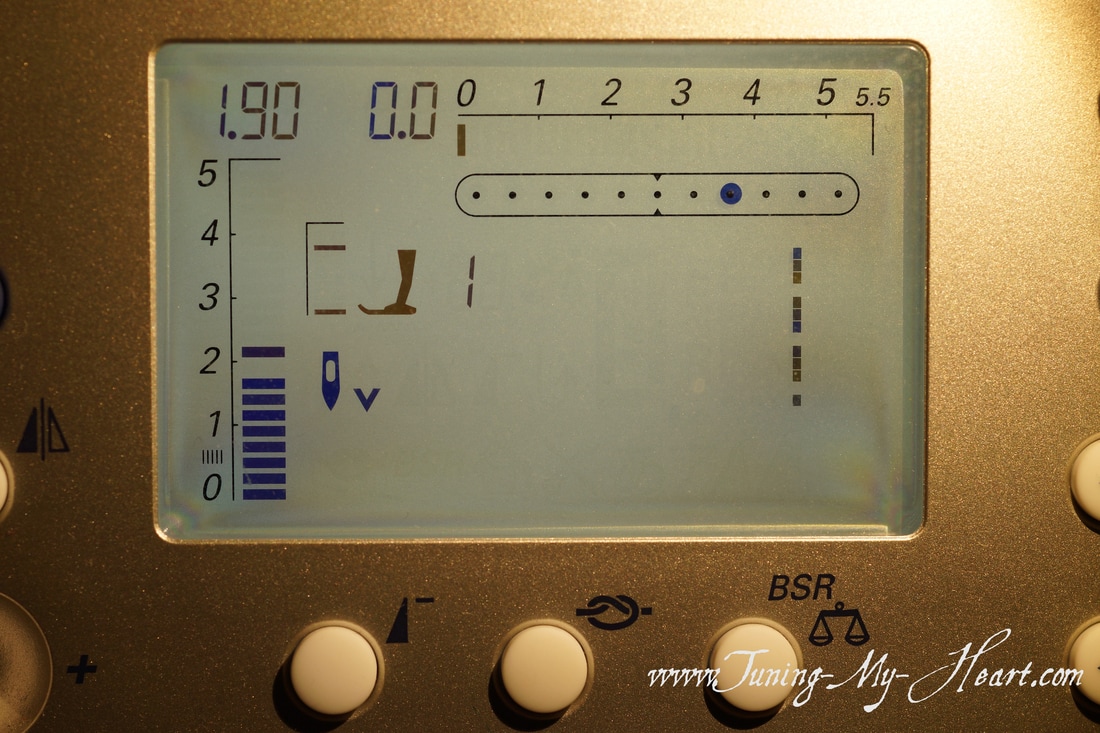
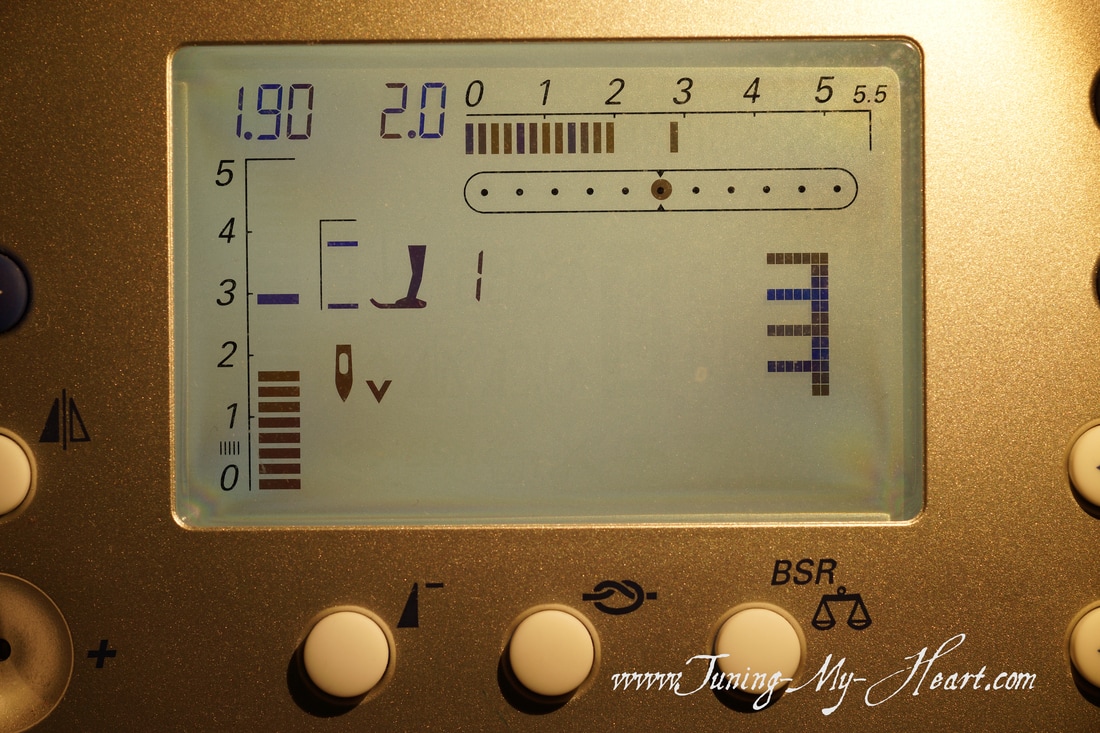
 We continue to have snow off and on here in Southern Oregon. I am one of the odd ducks who loves it, but then it is my first winter since we lived in Michigan that I have been able to really enjoy a snowy winter. It was not hard for me to decide to do a snowman version of the National Quilters Circle 9-week challenge, especially with a name like Snowy Day.  The view from my window When I saw the pattern for Block Two yesterday it looked like a window for a snowman to peer through. 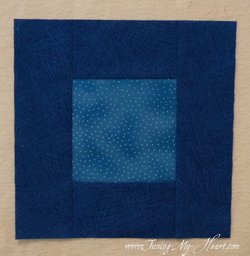 With the block stitched together it is time to get to work on the snowman I am going to add. 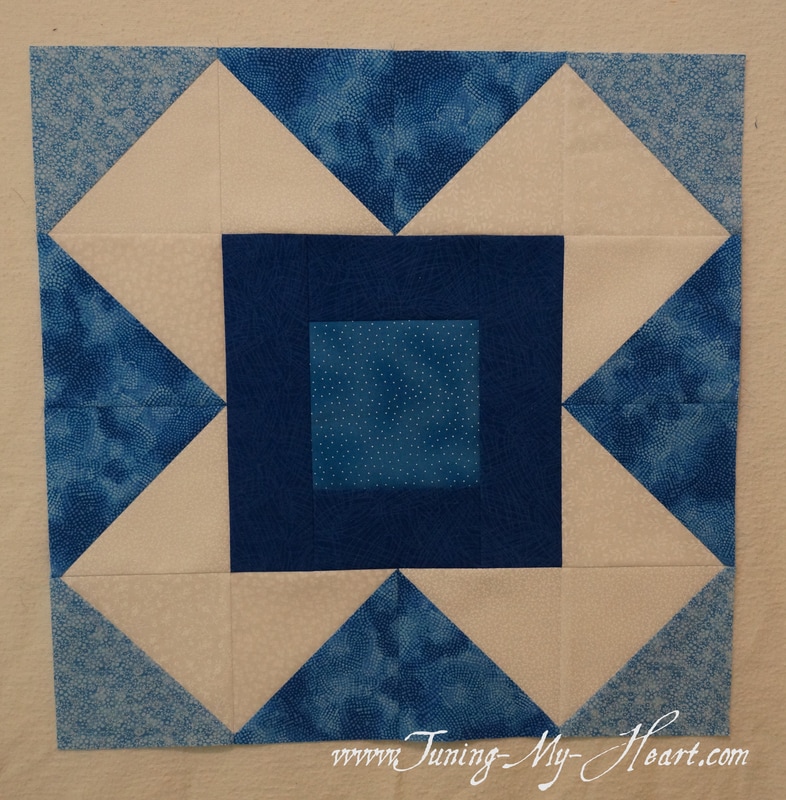 I have drawn a 4" square on a piece of paper and sketched out what I want the snowman to look like 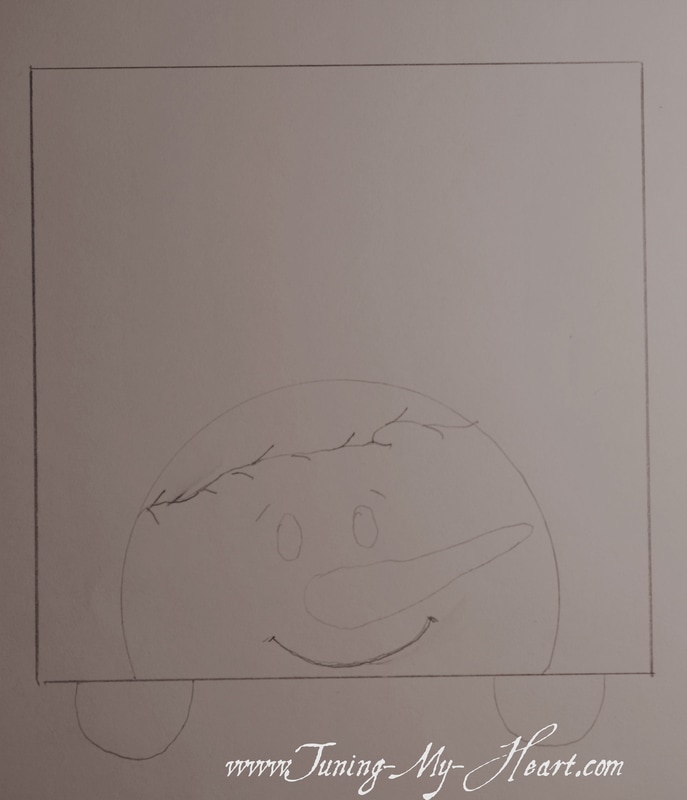 SInce I am using a fusible applique technique I need to reverse the pattern pieces which is easily achieved by flipping my paper over and tracing using a lightbox  The design needs to be traced onto the paper side of the fusible. My favorite is Heat N Bond Light. The fusible pattern pieces are then ironed on to my chosen fabric. 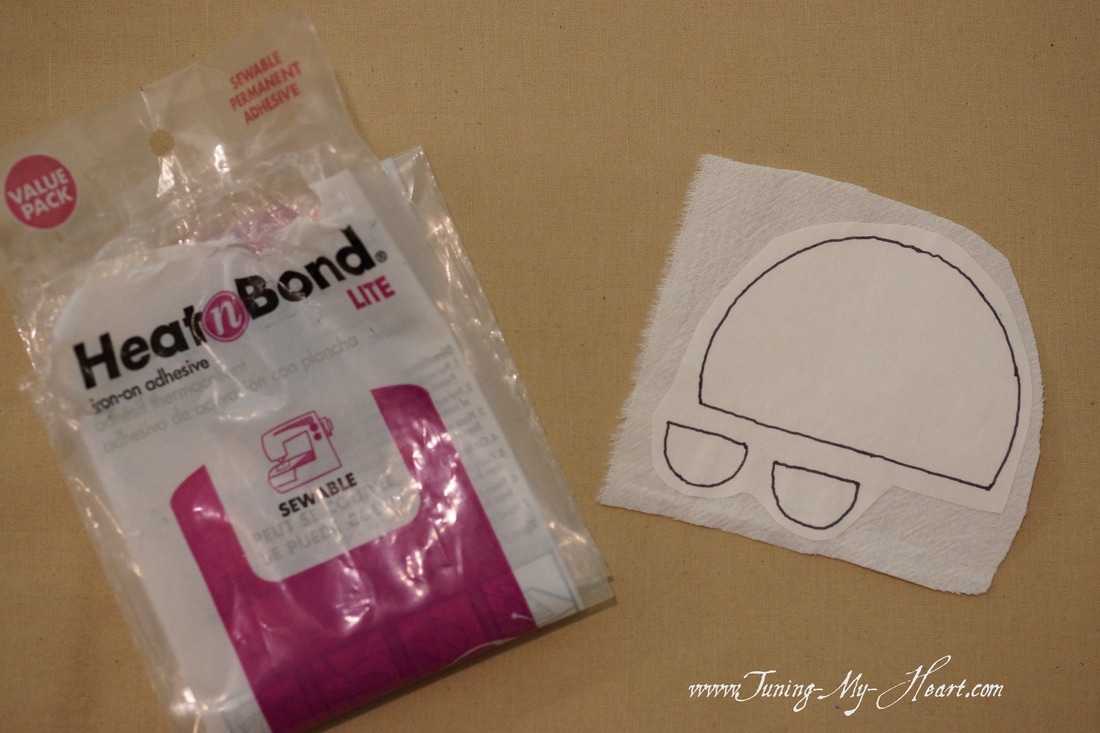 Once the pieces are cut out they are ready to be ironed onto my block. 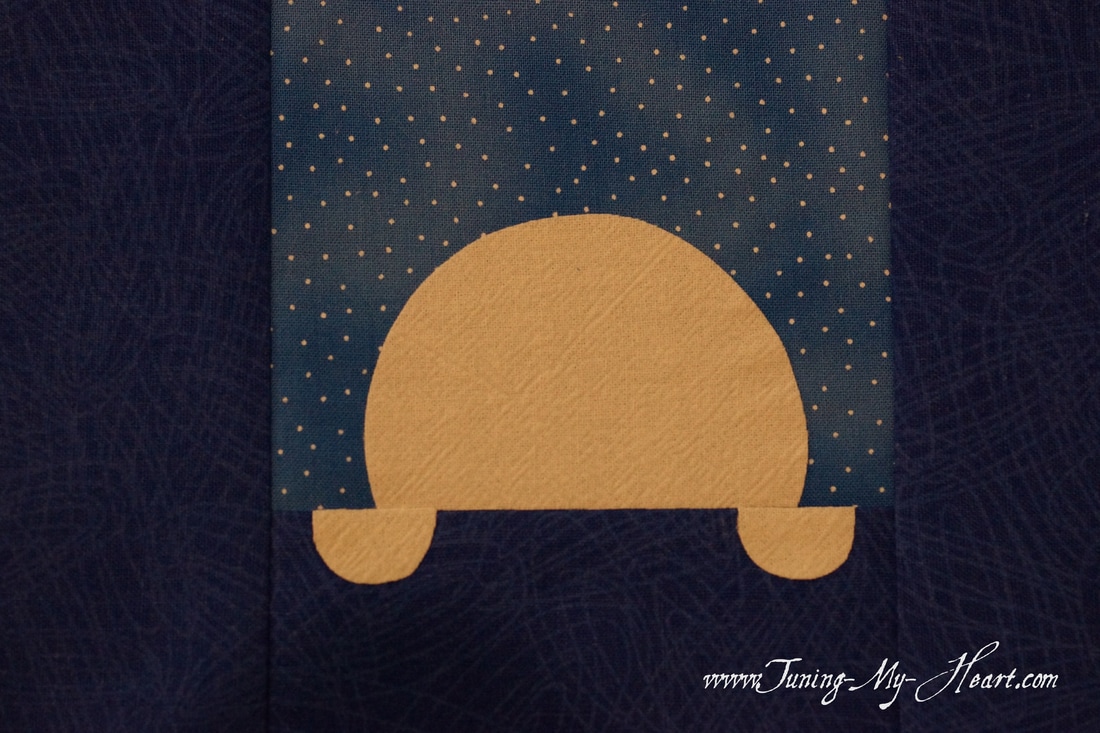 I have learned it is important for even, smooth stitches to attach a piece of stabilizer onto the back. This is a stabilizer that washes out over time. 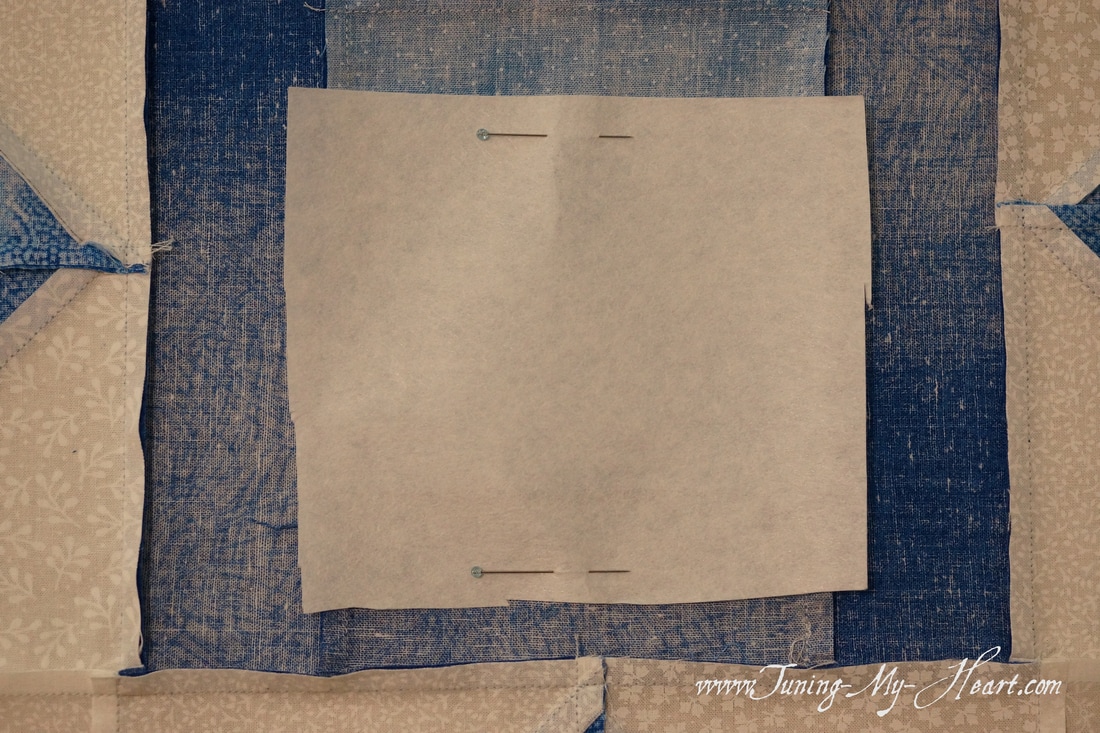 Since this is a quilt that will most likely need to be washed I am going to stitch the pieces down with my sewing machine. I use a combination of stitches for this process. A straight stitch of length 1.90 that has the needle position moved over two spaces to the right. I use the straight stitch to finish off my stitching which I will describe later. The main stitch I will use is the buttonhole stitch. It also has a stitch length of 1.90 and a width of 2.00. Once again I am using the needle down position on my machine which makes going around curves and corners very easy and accurate.
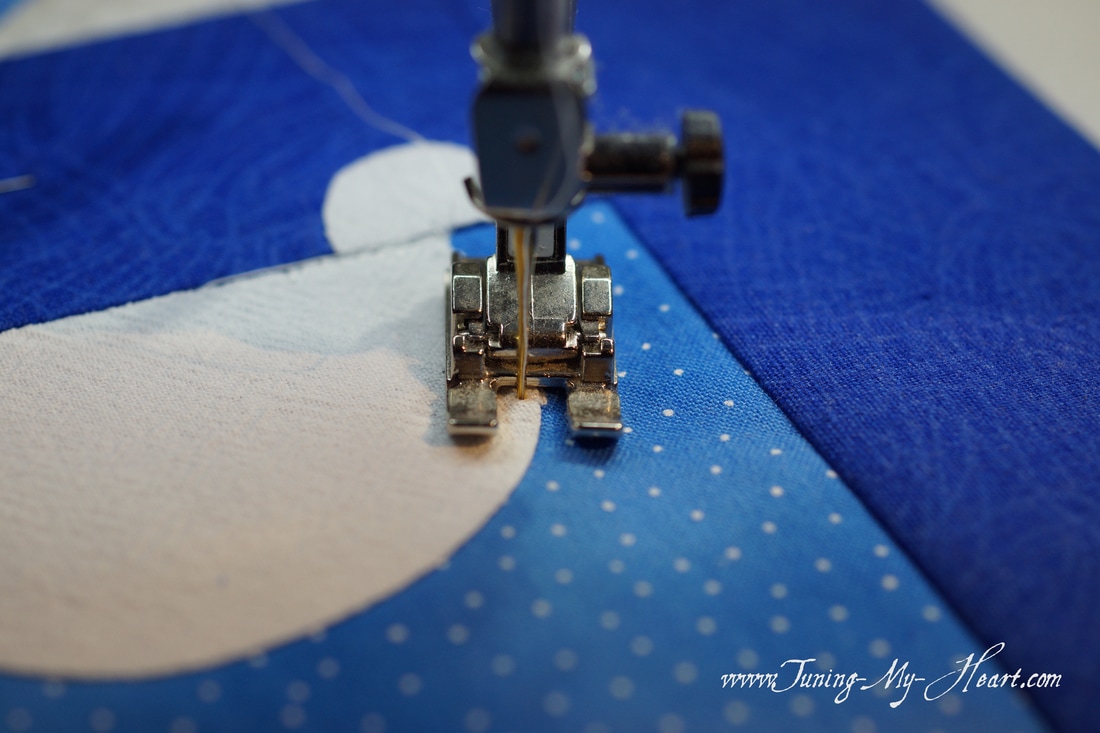
I prefer to use an open toe foot for doing machine embroidery. It helps me to see the edge of my fabric as I stitch. The needle needs to come down right along the outside edge of my applique pieces during the straight stitch part of the buttonhole stitch.
I found this little LED light at Ikea a couple of years ago and I love the way it provides extra light to my work. Really helps to see those tiny stitches 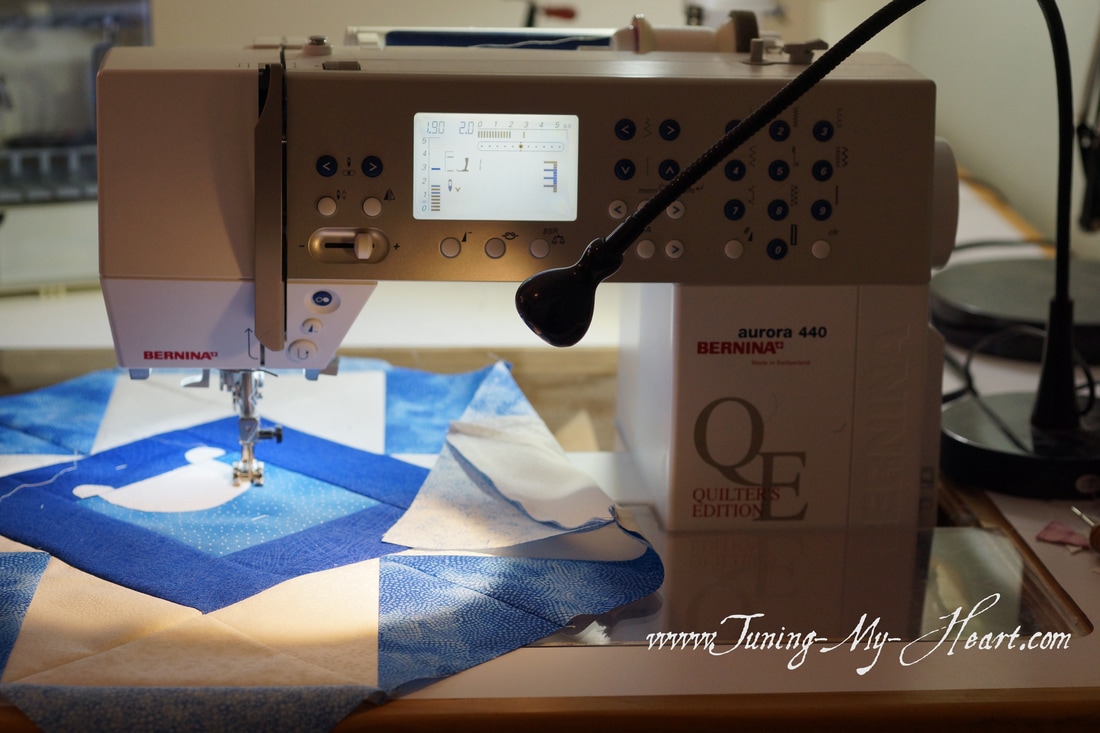 Now for the trick of the straight stitch... As I come up to the start of the buttonhole stitches I switch to the straight stitch and take four or five stitches right along the straight edge of the previous buttonhole stitches and end using the lockstitch feature. 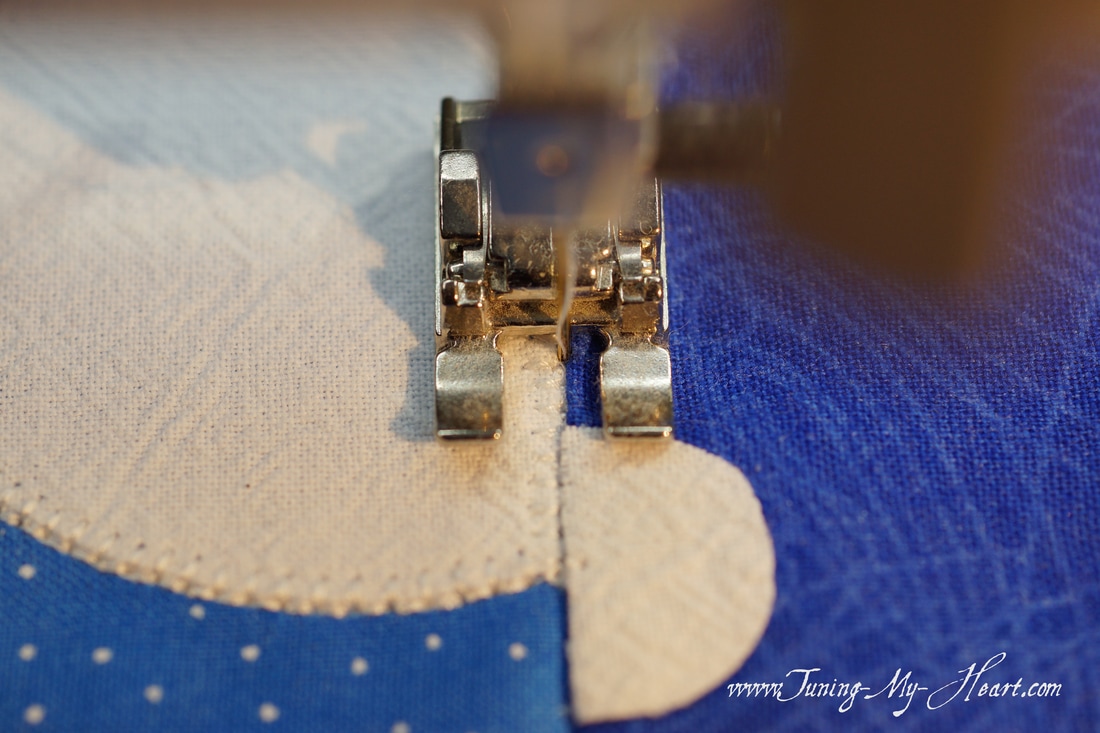 Time to get out my embroidery hoop and do some hand embroidery to add the details. 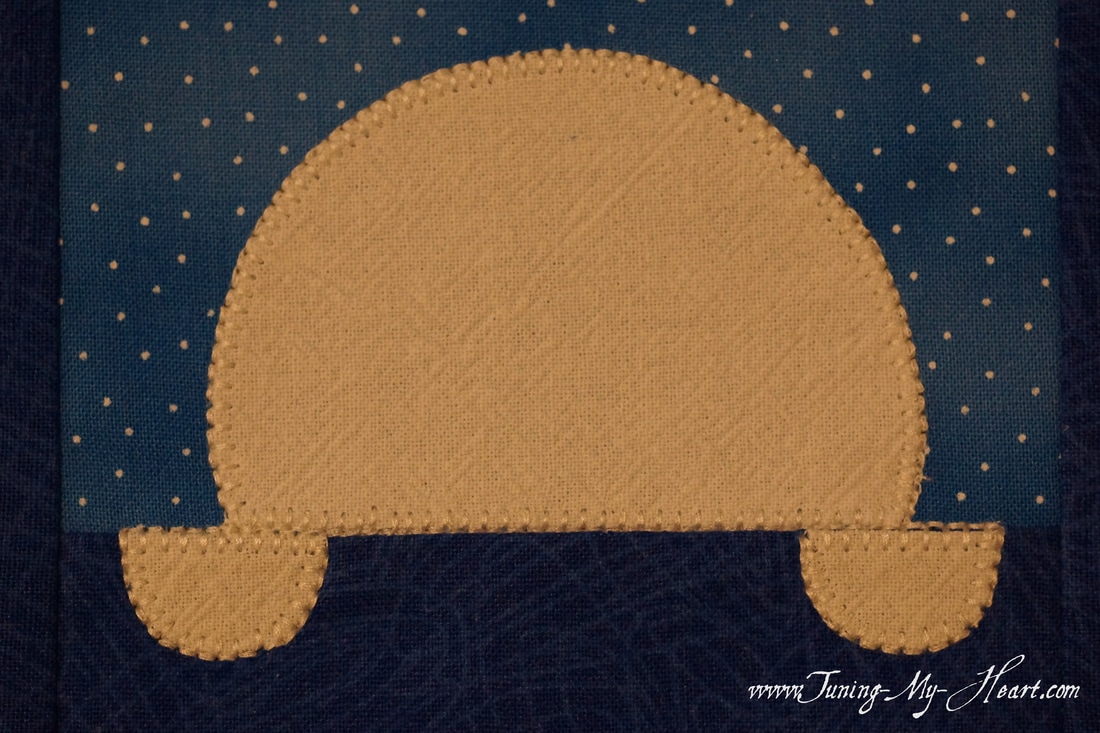 With some satin stitch, backstitch, and a few French knots, this one is ready to join Block 1. 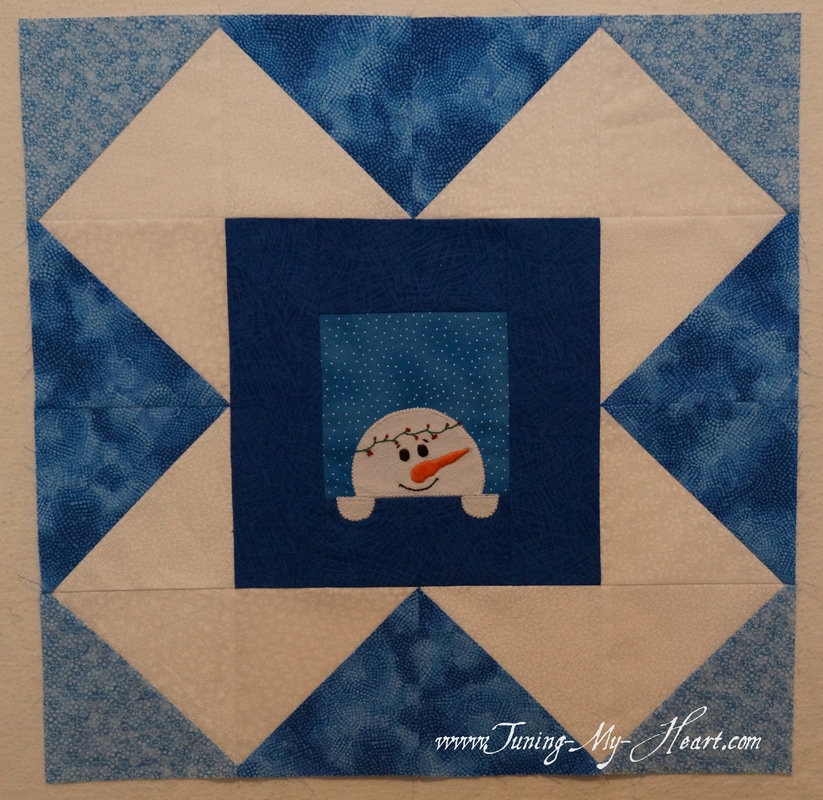 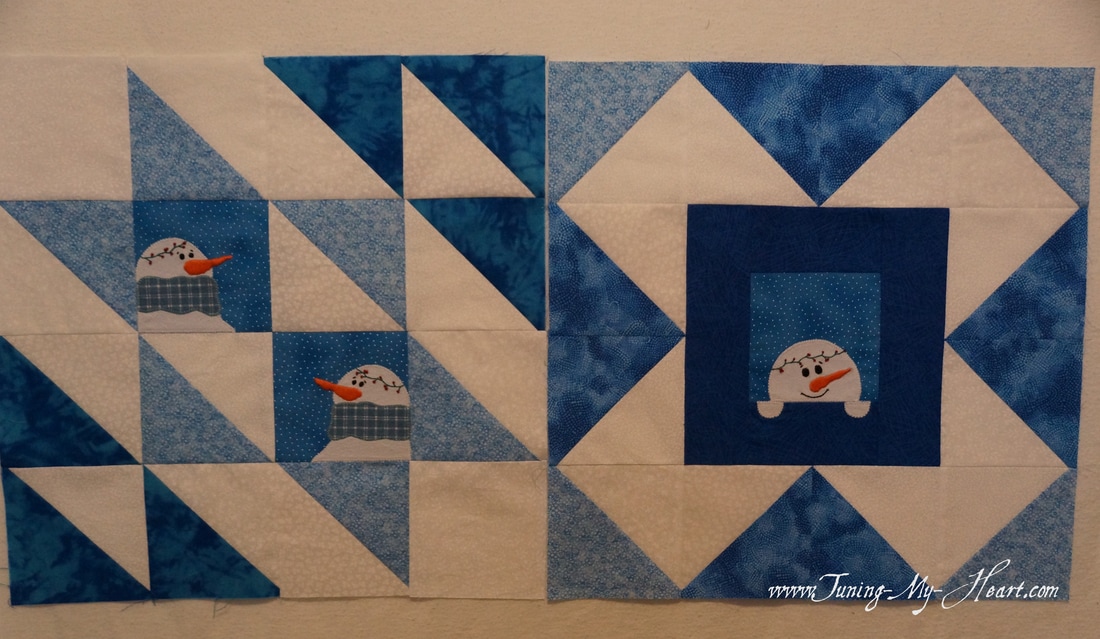 Blocks 1 and 2 are complete Happy Quilting!
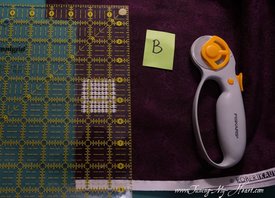
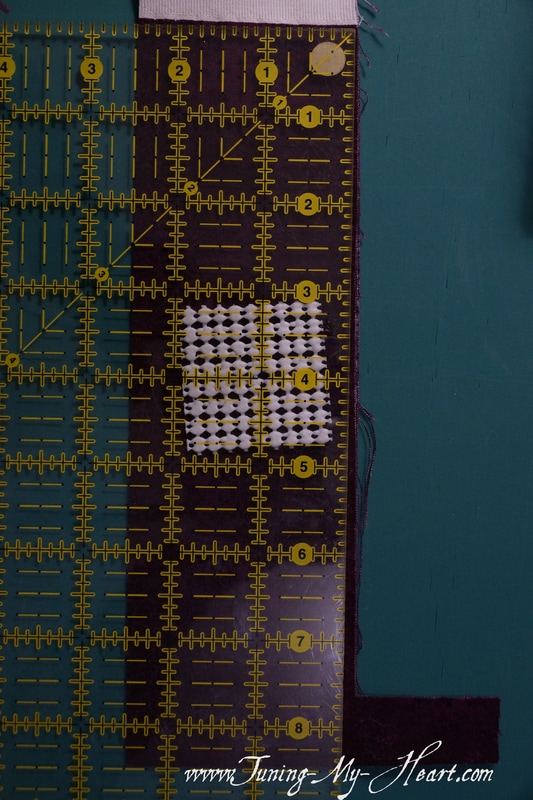
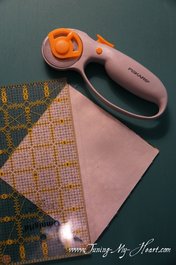
Debra Block 2 of Andrea Smith's Snowy Day Quilt Sampler was released this morning. Yay! Looking over the pattern, this will be easier than last week as there are fewer seems to match up. We still get to play with Half-Square Triangles (HST's) too. I had several people ask about how to cut out the pieces for this quilt. For this quilt I am only cutting what I need for each block. I do prewash my fabrics, and every time I come home with new fabrics I spend an afternoon regretting that as I iron and iron and iron. However, since my stash has all been washed I am not going to change that habit anytime soon. With my fabric folded in half I trim to the size called for in the pattern trying to be as frugal with my material as possible. I am trying out the shelf liner idea to keep my ruler from slipping and I have to say it does work-no slippage at all. Cutting my 2.5x8.5 strips...First a rough cut is made then turn fabric and cut to exact size.
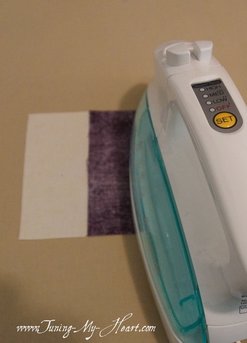
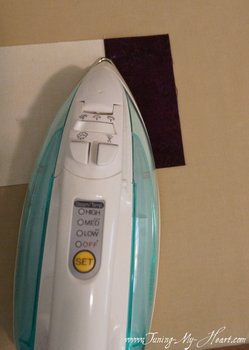
I do like to starch my fabrics before beginning to sew. My ironing table is a drafting table covered with a layer of batting and a layer of muslin.  Okay, now for the fun part. The first step in making block 2 is to sew the strips onto the center square. Start with the two shorter ends.  Once again, I am using a light gray thread for my piecing as it blends nicely with all of the fabric. My machine is set to a stitch length of 2.10 and I have my needle in the down position. Anytime I am going to sew I start with a little leader-a small fabric scrap that I stitch before beginning any piecing, then just continue sewing right off of it for a few stitches before beginning on my quilt pieces. It is a little fuzzy, but I but my pieces right up to the needle, and since I am using my 1/4 inch foot, lining the edge of my fabric with the edge of the foot. Here we go... 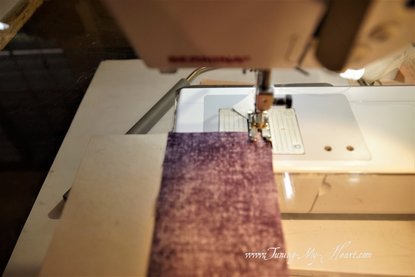 Over at the pressing table, remember to press and not iron. No sliding that iron around as you can distort your pieces that way, just a nice easy lift and set in place is what I am striving for. First to set the seam and then to press it open.
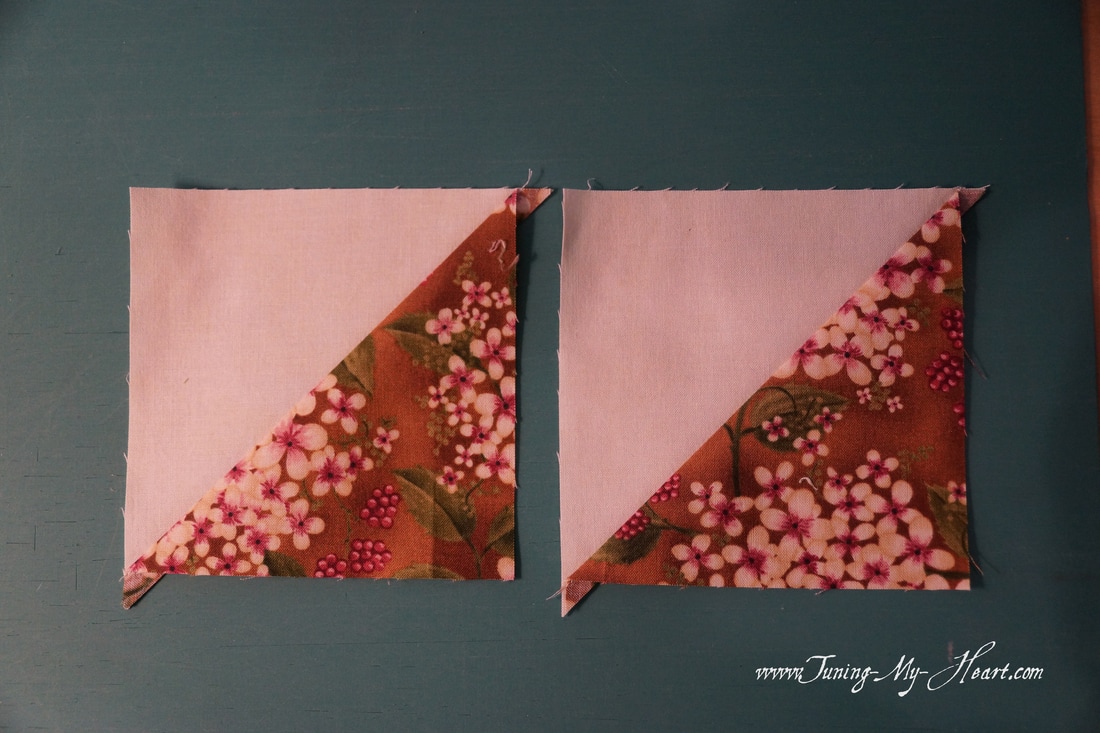
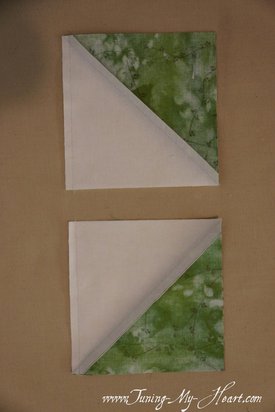
After pressing I check to see that I have the correct finished size of my units. The strips should measure 2 1/4" and the center block should be 4". 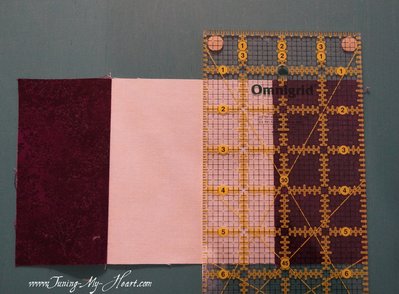 Time to sew on the longer strips the sides.  Center block is finished and checked for accuracy. 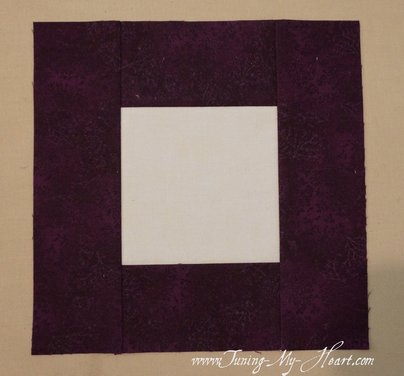 Onto those Half Square Triangles. With the wrong side of the fabric facing up I use the ruler to make a diagonal line. My sandpaper board is great for keeping the fabric from shifting. 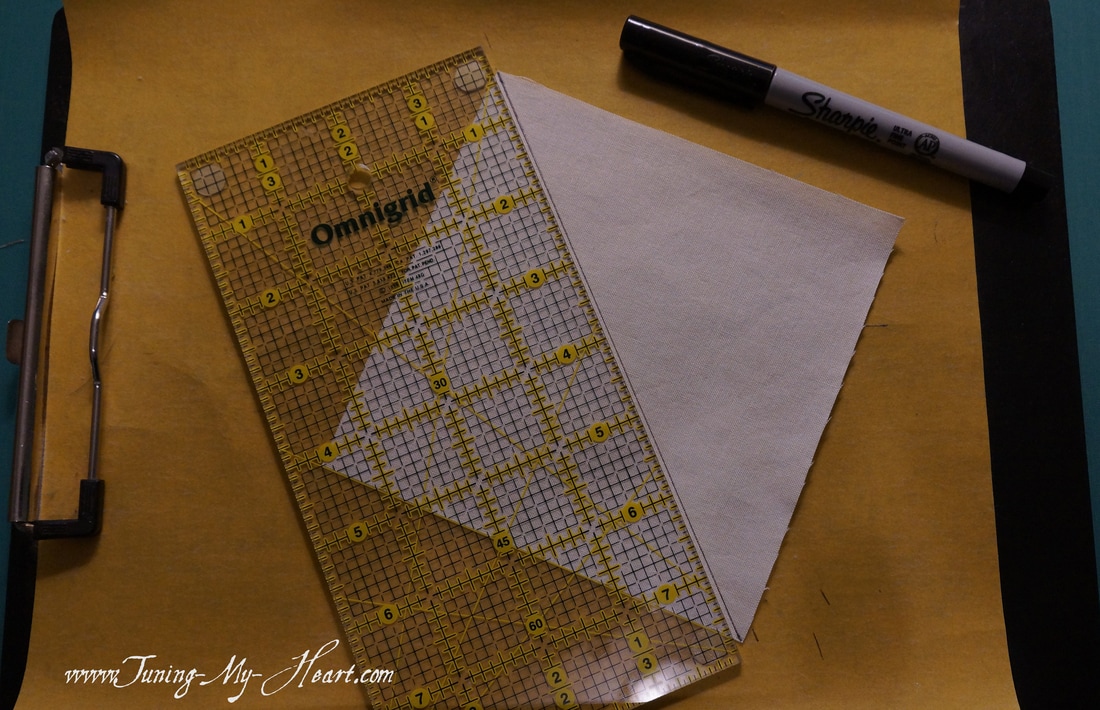 Using the chain-piecing method I butt each new square up to my needle and sew down the right side of the marked diagonal line. 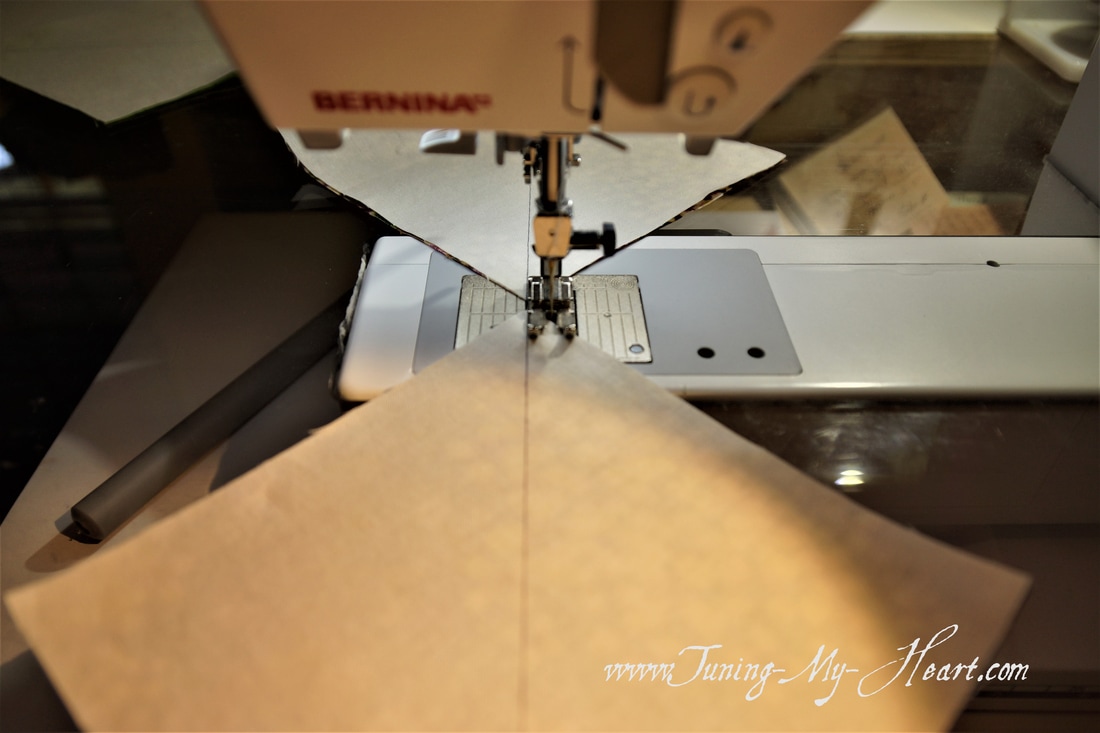 Turning the chain pieces around I sew down the other side of the diagonal line. You can see my little leader scrap here too. 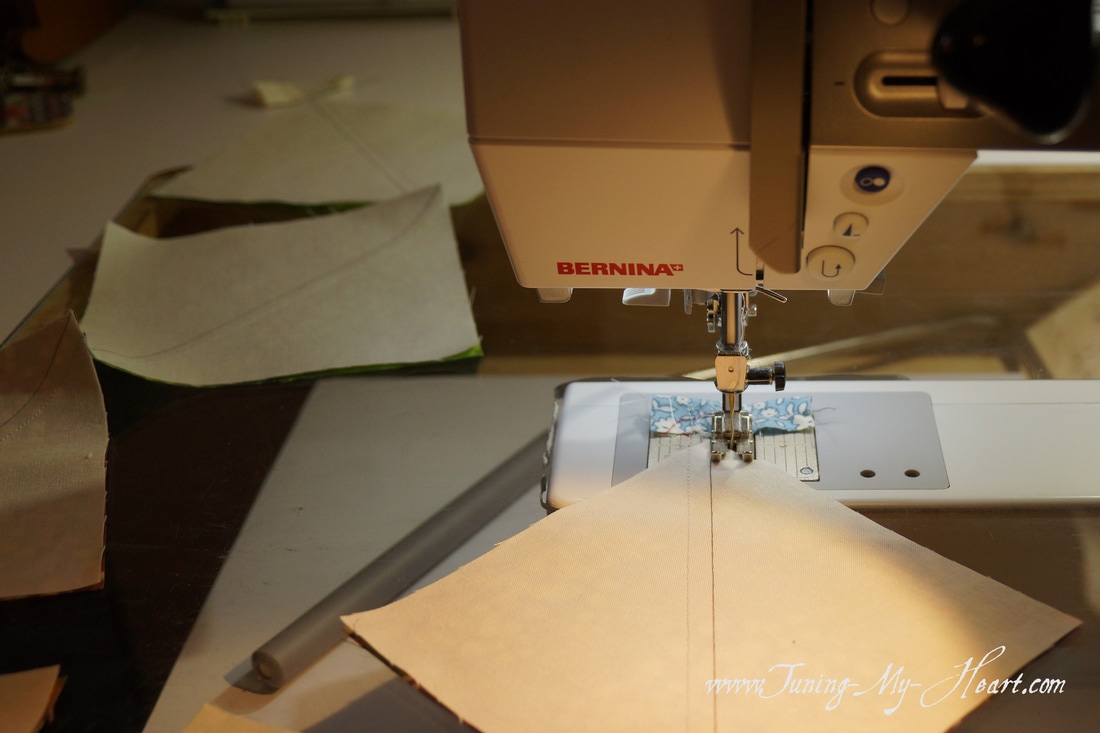 Once all of the half square triangles are sewn I cut them apart on the diagonal line that was drawn preciously. This yields two half square triangles.
Time to trim those HST's to their finished size of 4.5" By using the 45 degree line on ruler and placing it directly on the seam I can get a perfect HST. Trim just the right side and top. 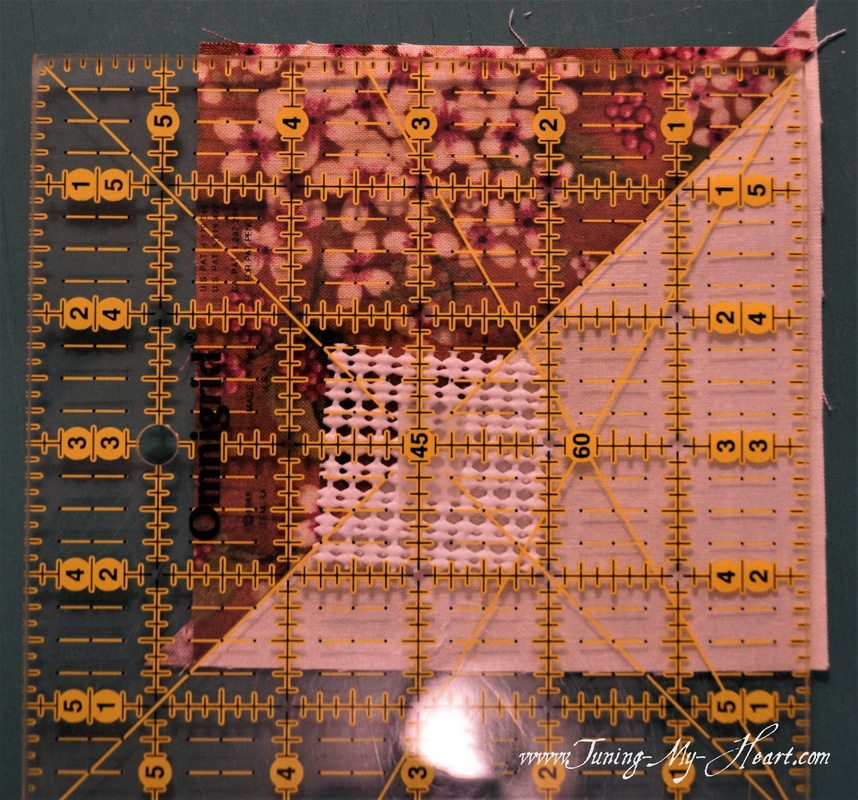 After rotating the block I once again line up that 45 degree line on my seam while also lining up the 4.5" marks with the edges of my HST and trim away the other two sides. 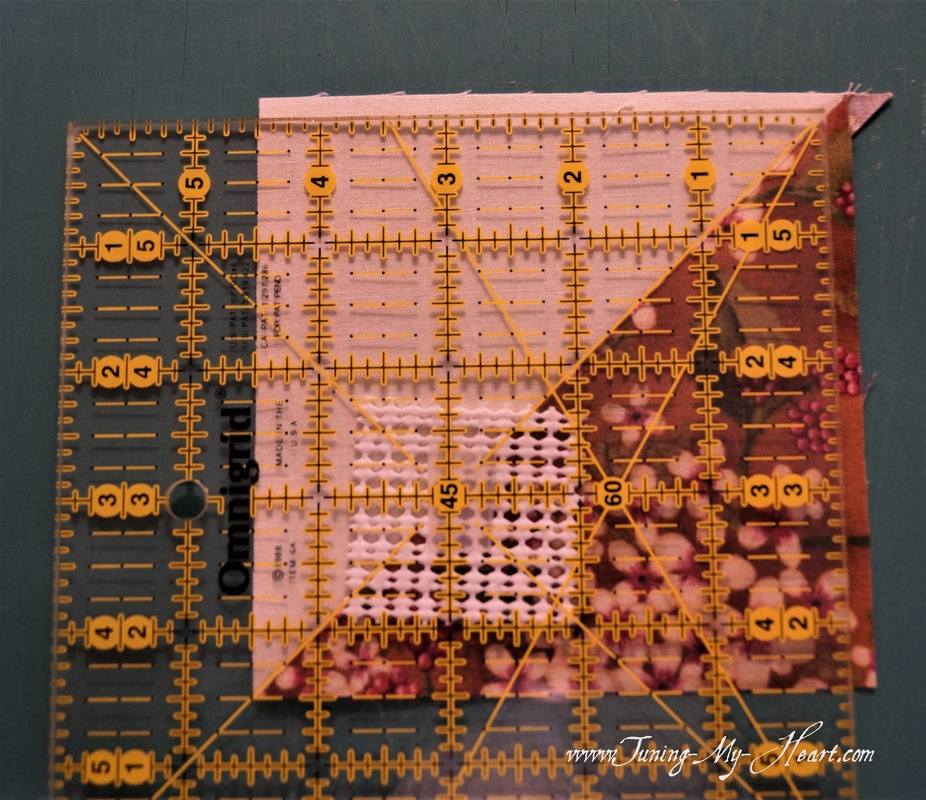 This leaves me with a perfect Half Square Triangle. (Notice the corners are showing equal amounts of both fabrics coming to perfect points.) 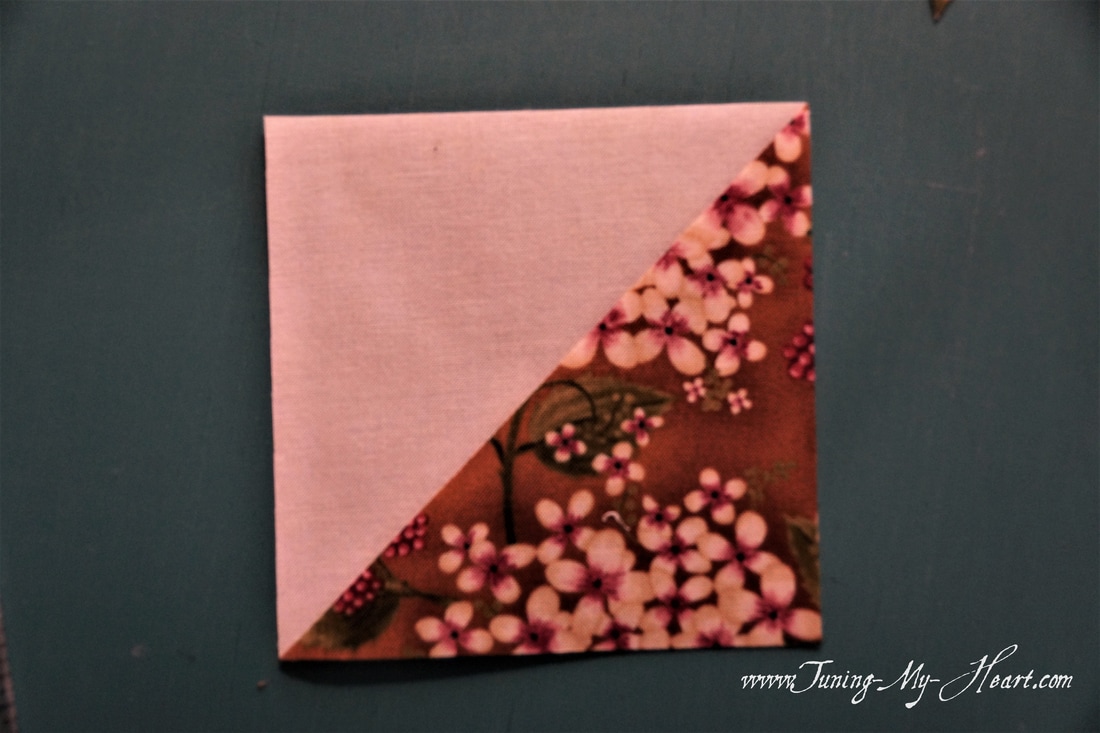 Time to lay out all of my pieces. My magenta looks very dark here, it is actually much closer to the color in the floral print...oh well. 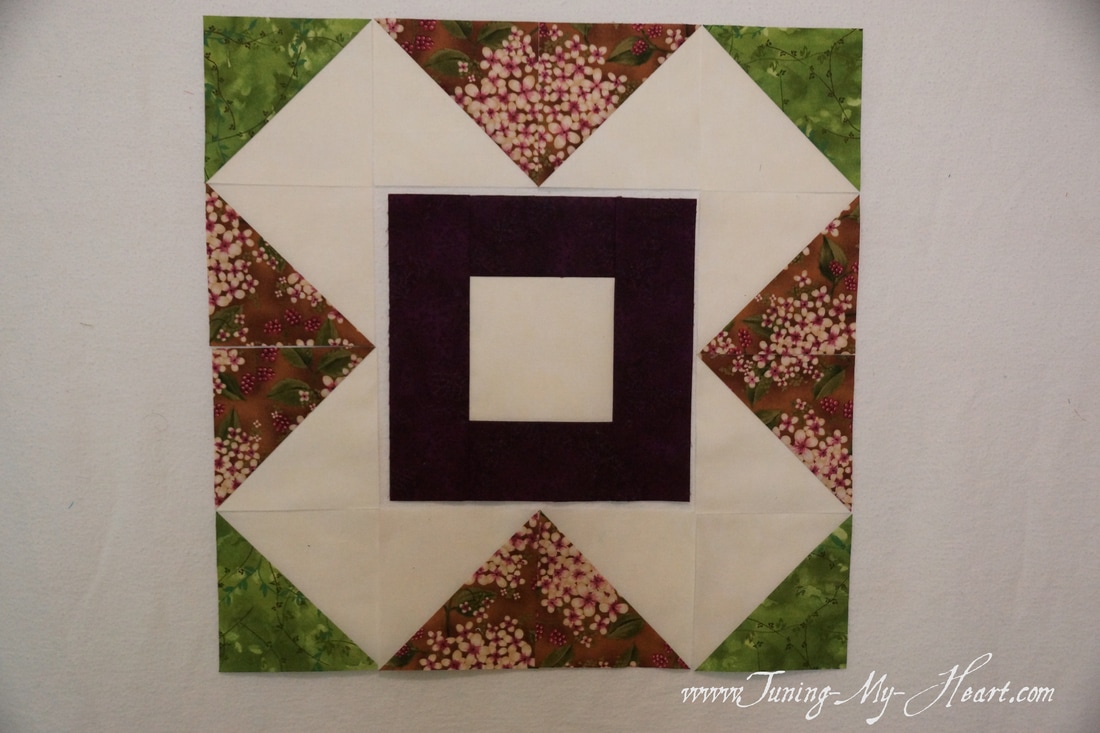 Top row is laid out by my machine and ready to be put together. 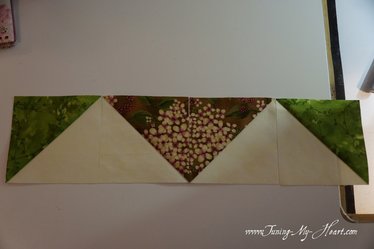 Here we go....then ready to be pressed to the dark side.
Repeated for the bottom row and then time to sew the side half square triangles together...oops, that is not what I was expecting-even the most carefully laid out plans sometimes go awry. My seam ripper and I have a love/hate relationship. 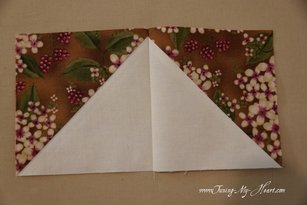 That's better, the sides are now looking the way they should. And it is time to attach them to the center square. 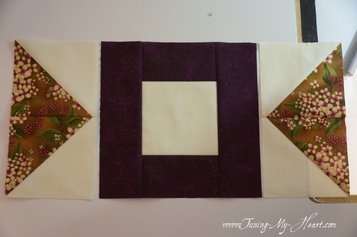 Just like in Block One, my goal is for my needle to hit at the intersection of the sewn lines. 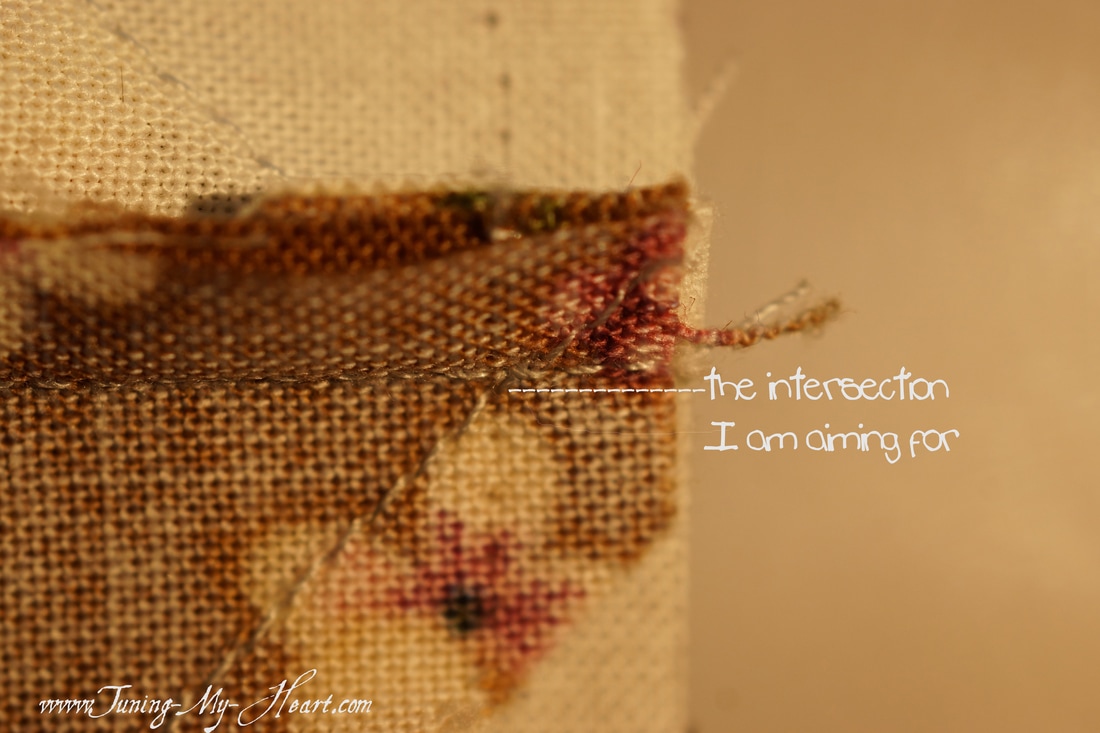 The sides have been stitched in place and I am looking at my layout before proceeding. Now is the time to see if I need to make any adjustments as I want my seams from the top and bottom row to line up with my seams for the center square. I actually discovered the middle section on the top was a bit too long (it should measure 8 inches). So I measured and found that the far right square was not 4.25" as it should be. A little more time with the seam ripper and carefully sewing a scant quarter inch seam and I am good to go. 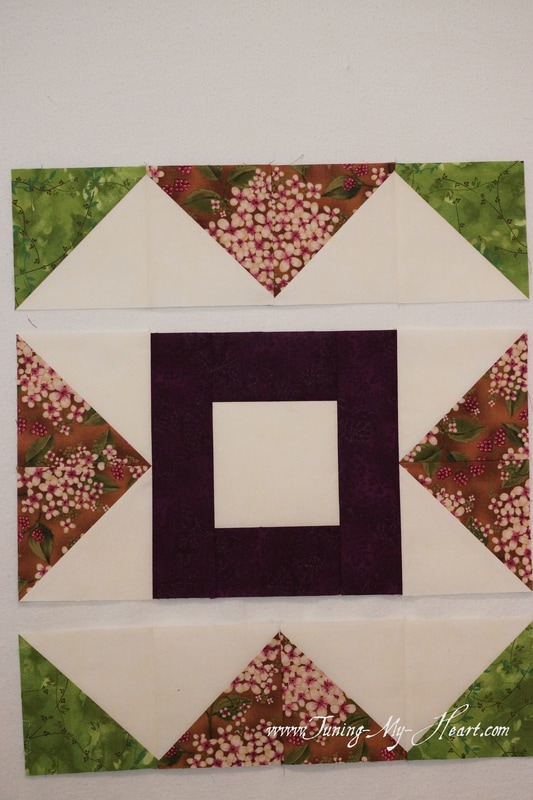 A lot fewer seams to match on Block Two. "Locking" them together and placing a pin before proceeding to the sewing machine. 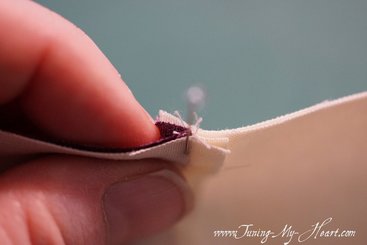 As I come to the seam with the point, I slow way down. I have found that if I go over those bulky seams at a slow speed I can be more accurate with my straight stitch. When I have a seam that is facing in this direction as I come to it, a quilter's awl comes in very handy here as it can hold that seam down and guide it to my needle. 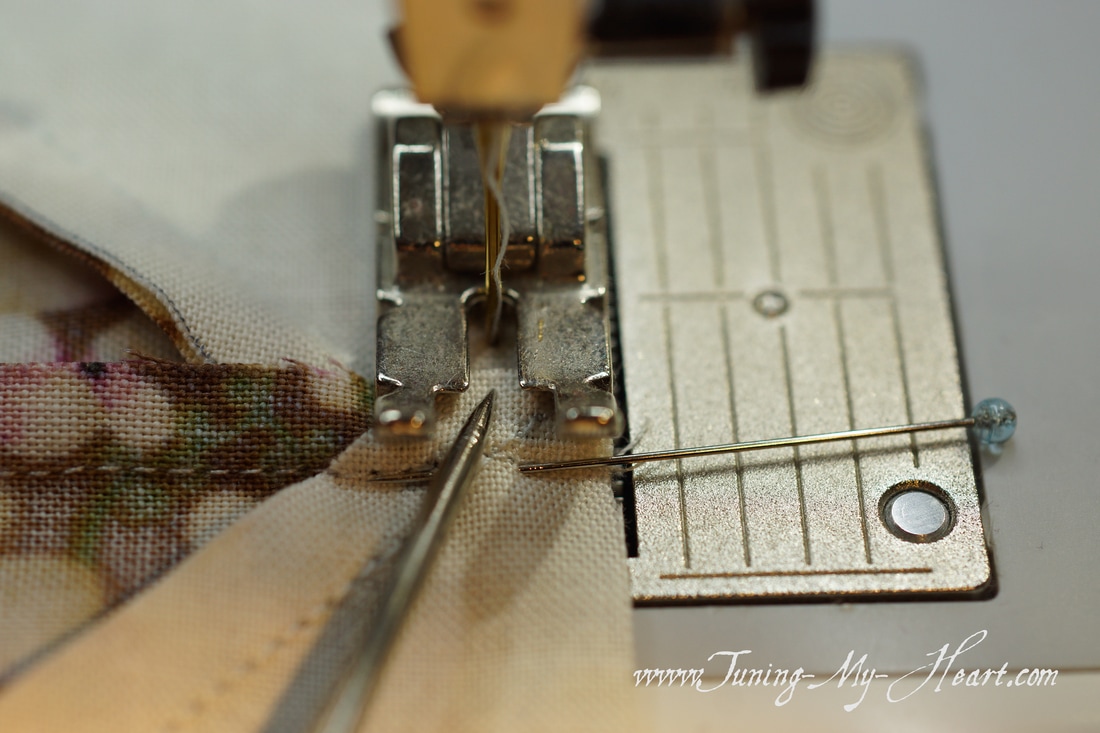 Top and bottom have been added. Block Two is complete. I am feeling very accomplished!! 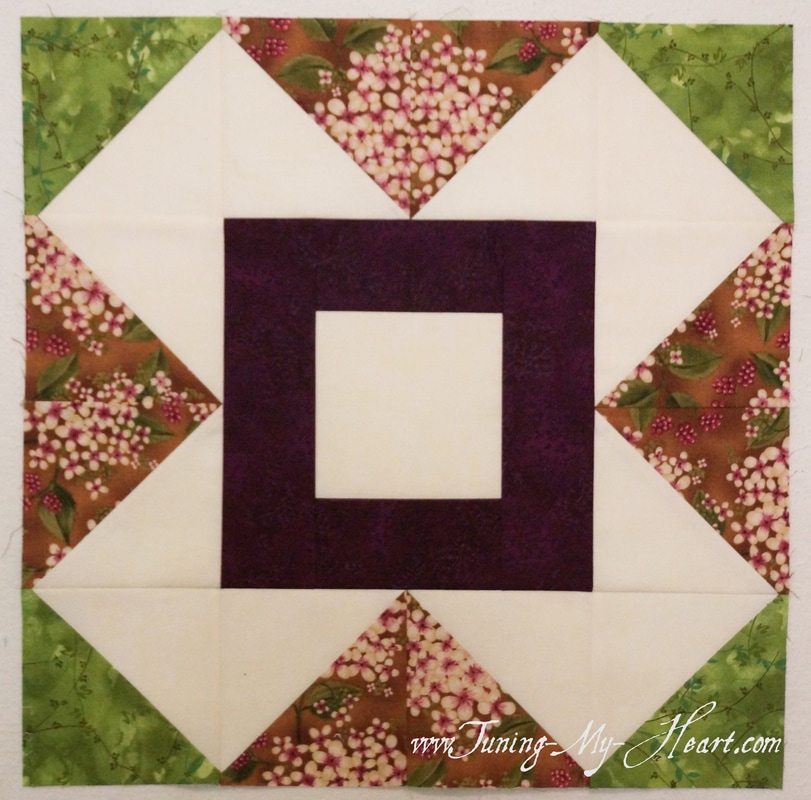 Thank you all for your kind comments and encouragement after posting my tutorial for Block 1. I hope you are enjoying this journey as much as I am. I look forward to seeing your blocks on our Facebook page and I hope you will consider joining my on my own Facebook page as well, and share photos and ask questions there as well. I am honored to be on this quilting journey with you.
Happy Quilting! Debra |

Welcome to the site of Debra Davis-a woman who loves the Lord and loves to quilt.
My other blog where I share about my walk of faith:
Sitting at His Feet 
|


 RSS Feed