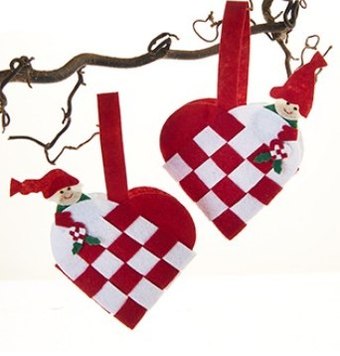
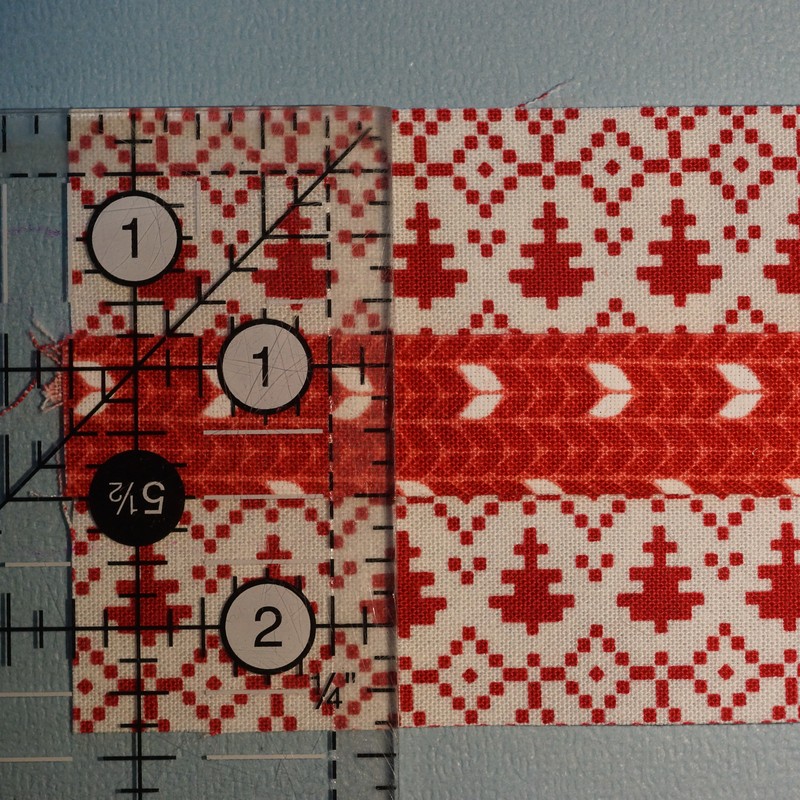
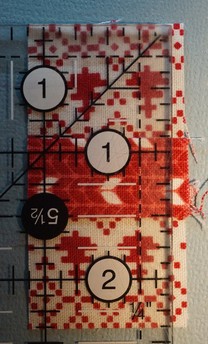
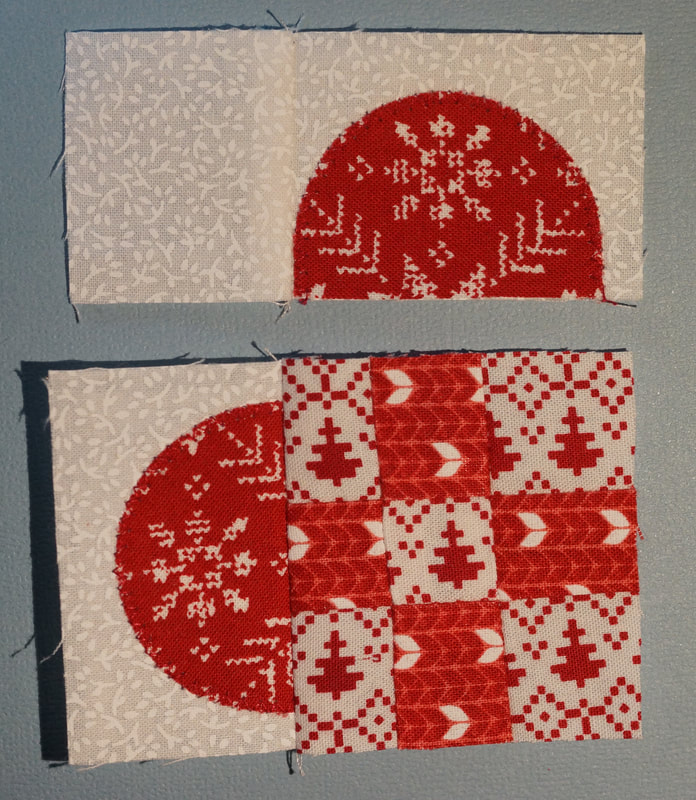
 Example of woven hearts I found on the internet My Christmas ornament collection would not be complete without a Scandinavian Woven Heart. This is a tradition in which a paper heart basket is woven and hung on the tree filled with sweet treats. I found a tutorial for making paper ones here. I played around a bit to get them to work for my Christmas ornaments, and while it looks complicated, they actually went together pretty quickly after I figured out the best way to make them. (I am now whipping them out in about an hour!) This is what I came up with for our fifth Christmas ornament in this series: You will need to be familiar with cutting on the 1/8 inch lines of your ruler for these. In order to keep my 3" finished size I had to work with 1/8 increments. My eyes are getting older so an extra light on my cutting table does help me see the smaller marks as well as a little help from my progressive lenses too, LOL. 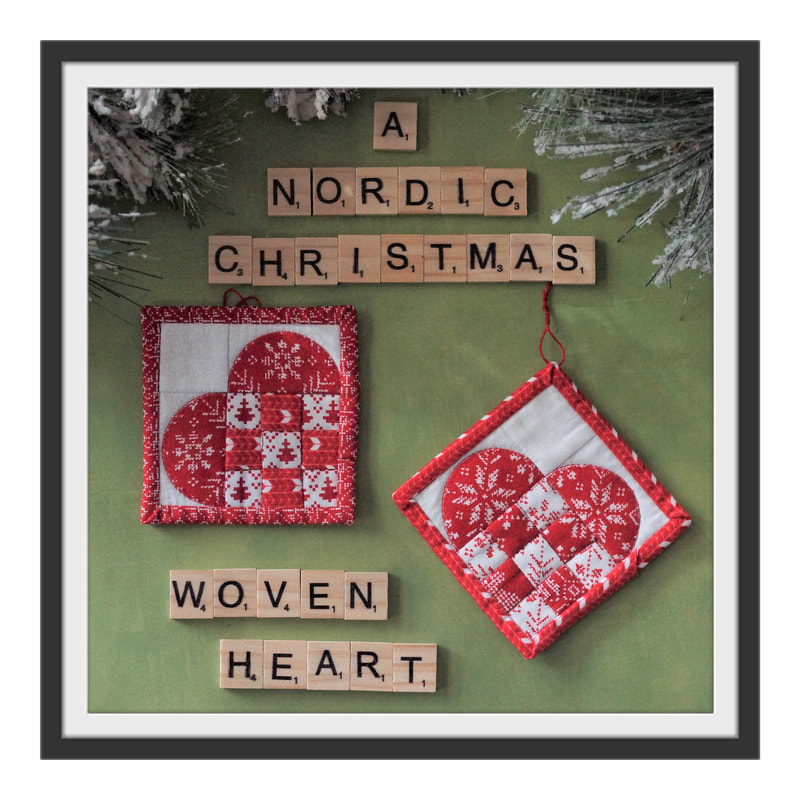 I played with a second colorway that looks closer to the folded paper baskets I have made in the past. You have to have a good red and white print to keep the heart from getting lost on the white background if you go this route. I did a little fussy cutting so that I ended up with red along the curved edges to help it show against my white background. I also reversed the red and white squares in the nine-patch. 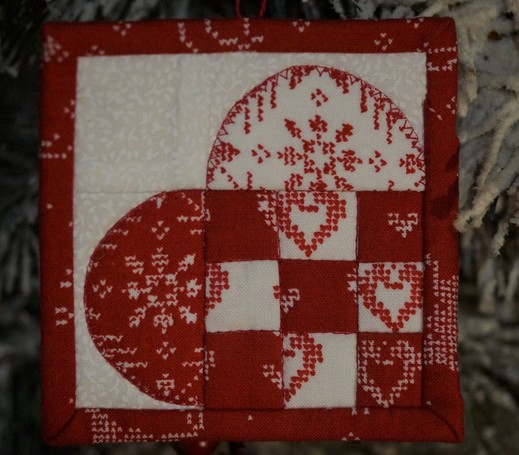 So let's get started. I used a strip piecing method to make the little nine-patch unit. The first step is to strip piece the A and B strips together to make two different strip sets. 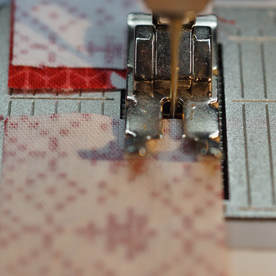 From these strip sets I make 1 1/8" cuts. For my first cut I trimmed it oversize to get a nice straight edge on both sides then trimmed it to size.
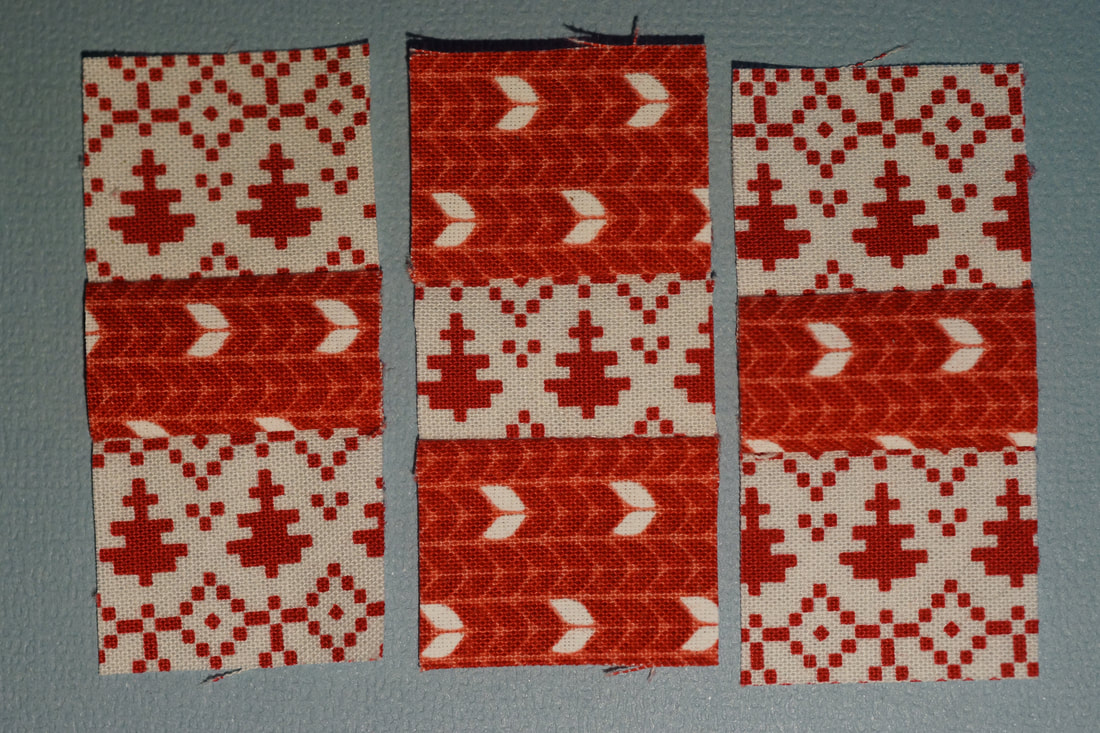
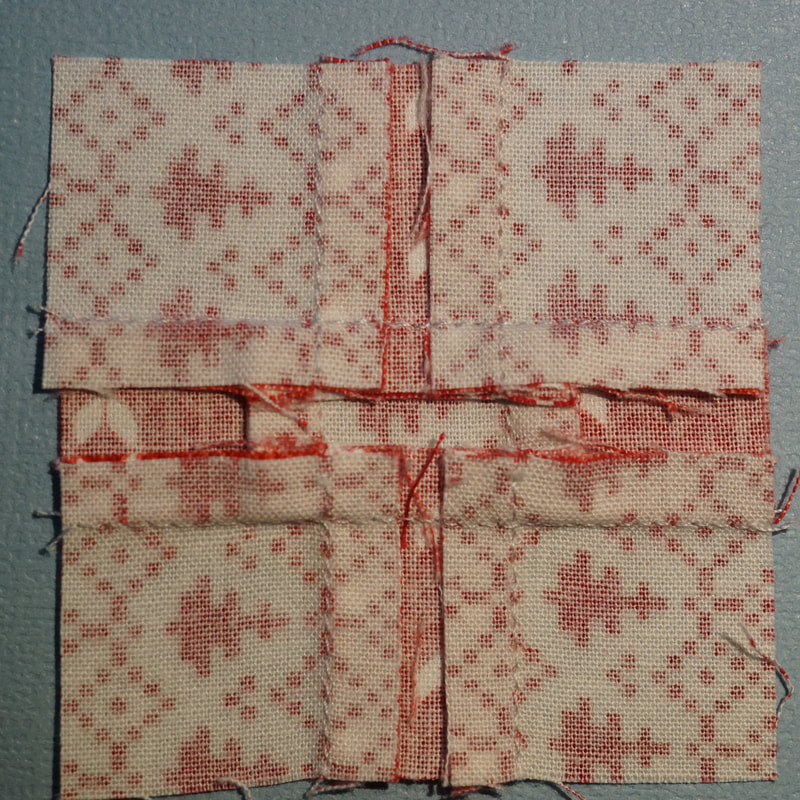
Now here is the neat trick: these units get put together to make the nine-patch. Much easier that trying to piece tiny squares! Just lock those seams together and away we go.
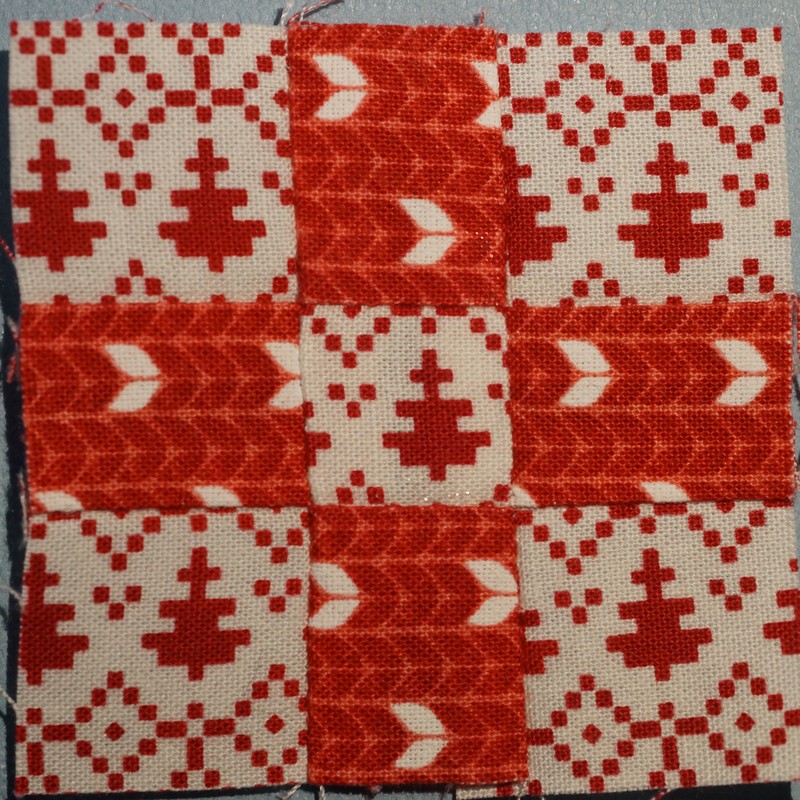
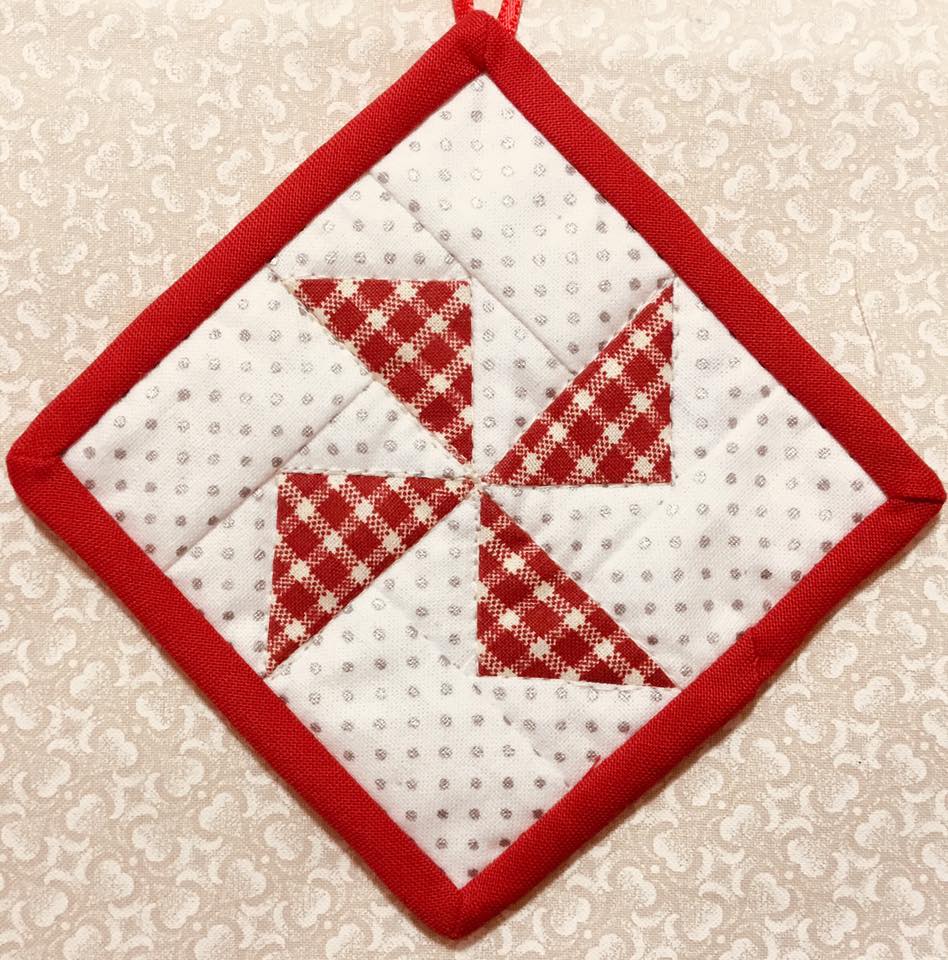
Front and back of my nine-patch.
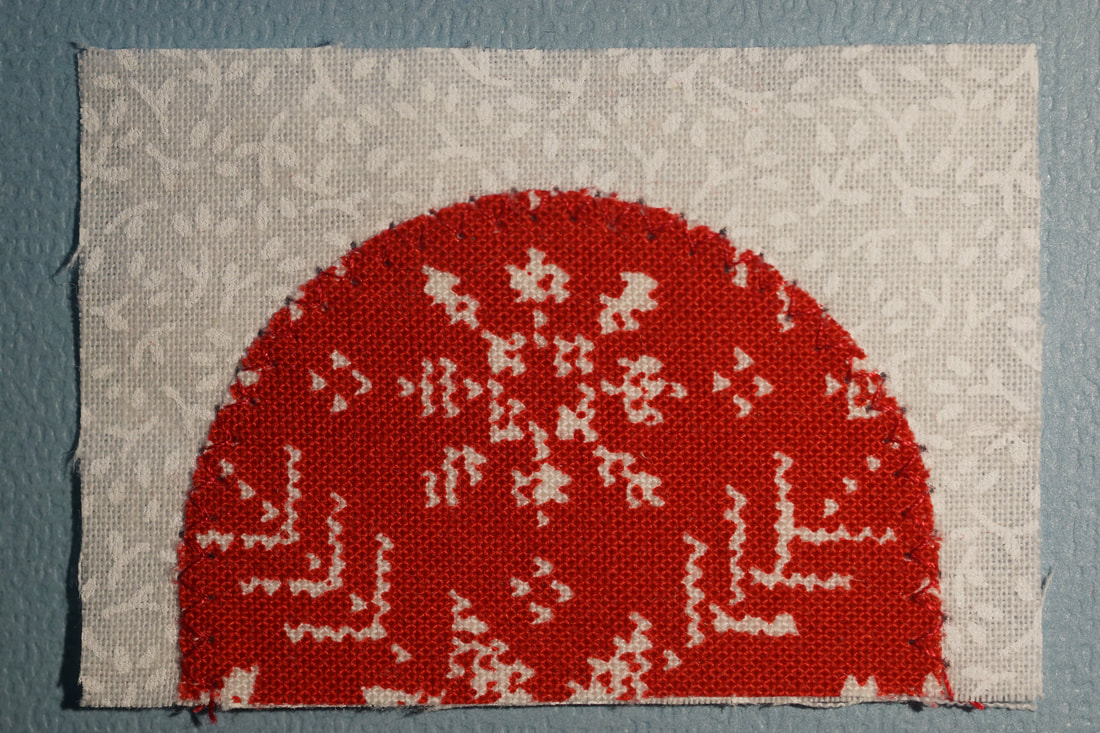
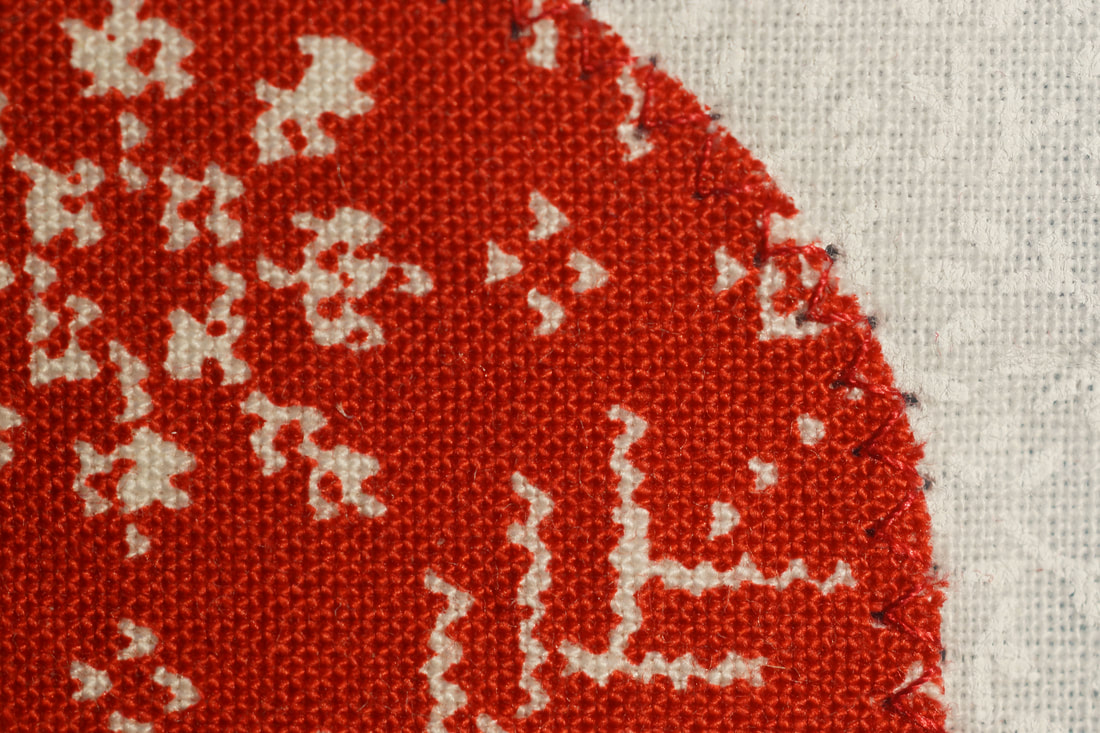
On to the appliqué. I tried a couple of different methods to get the curved part of the heart. Needle turn appliqué works well if you are comfortable with that, but I stuck with my fusible appliqué method to really make this a quick and easy project. Trace the pattern onto the back of the fusible web ( I like to use Heat N Bond lite) I then place the patterns onto my fabric-on the wrong side, and press according the directions for the fusible I am using. Once cooled I cut them out on the lines. 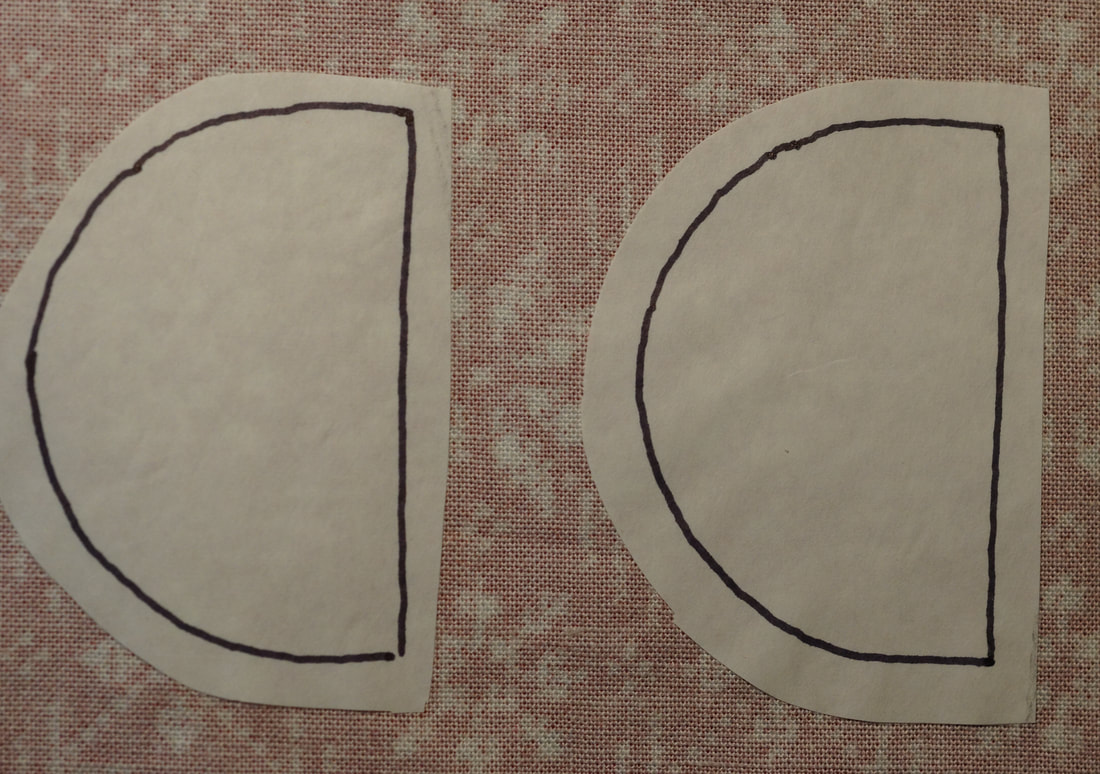 I found a little stablizer on the back of my D rectangles really helped. I placed a piece of Pellon fusible interfacing for light to medium weight fabrics on the back and fused into place before adding my appliqué pieces. If you leave an iron on the appliqué for too long it becomes stiff, so by adding the interfacing first I avoided that problem. 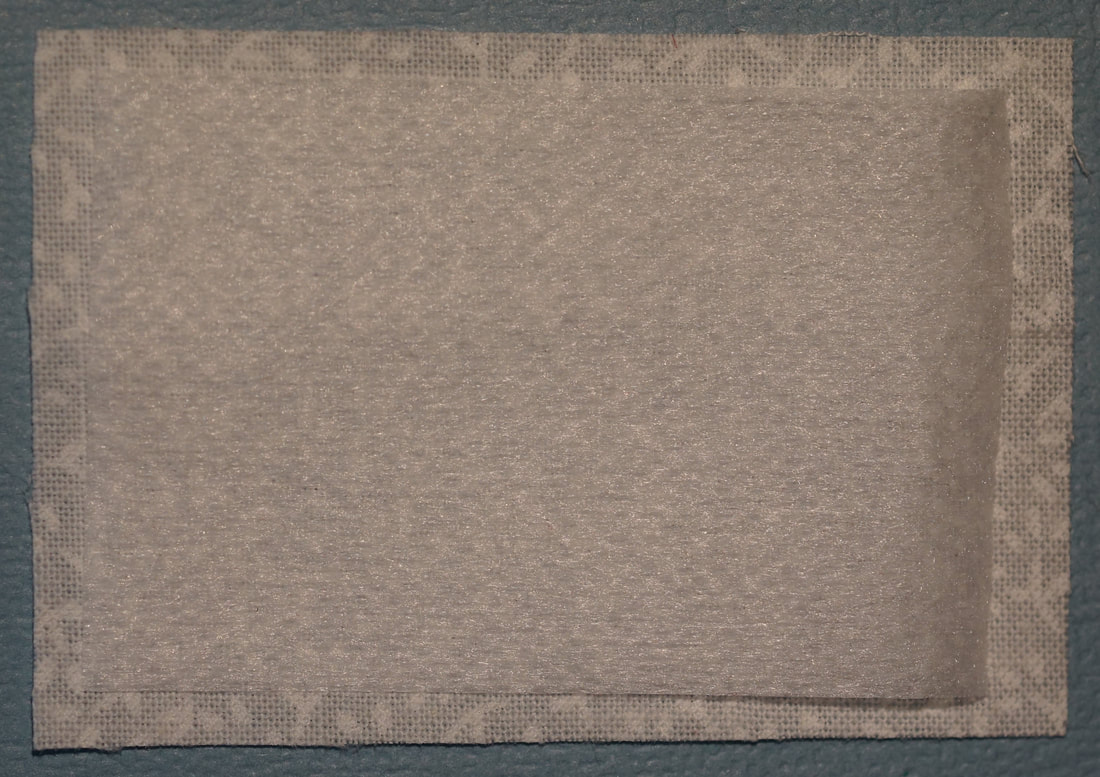 On the front of the appliqué background fabric (D rectangle) I made marks for the 1/4 Inch seam allowance, this will help me to place the appliqué correctly. 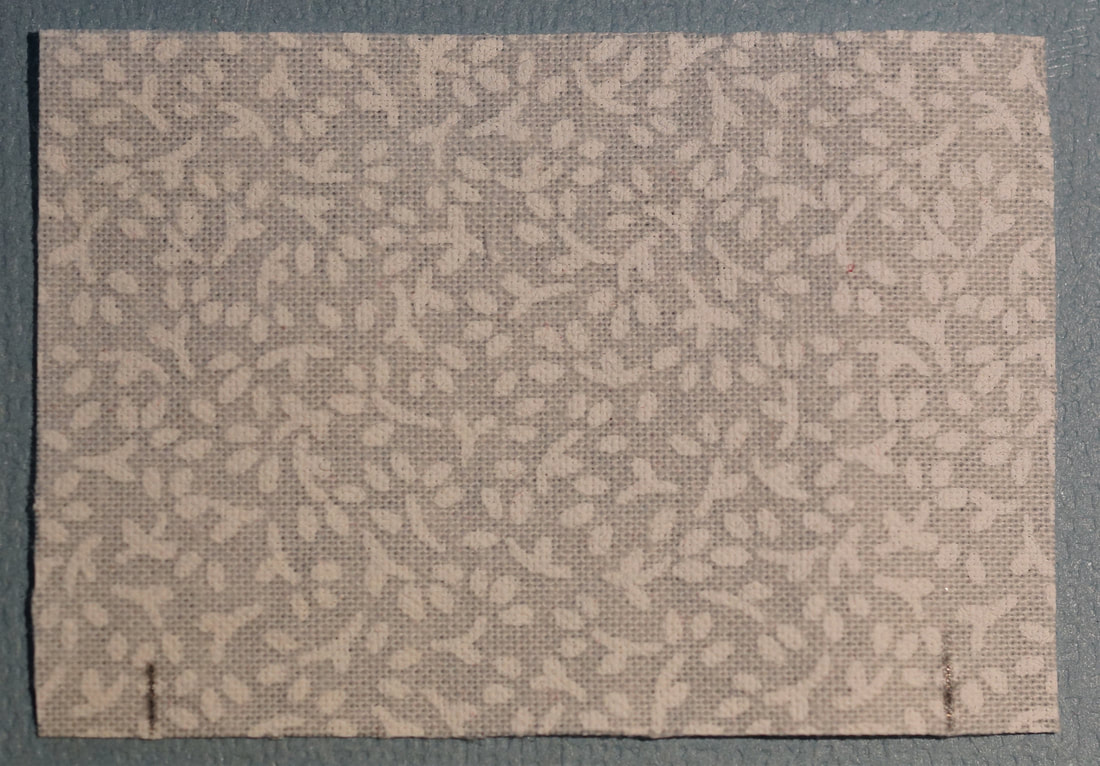 I place the appliqué so that the bottom lines up with the edge of the fabric and the sides line up with the two marks I made on the background fabric. Once I am happy with my placement I fuse into place. 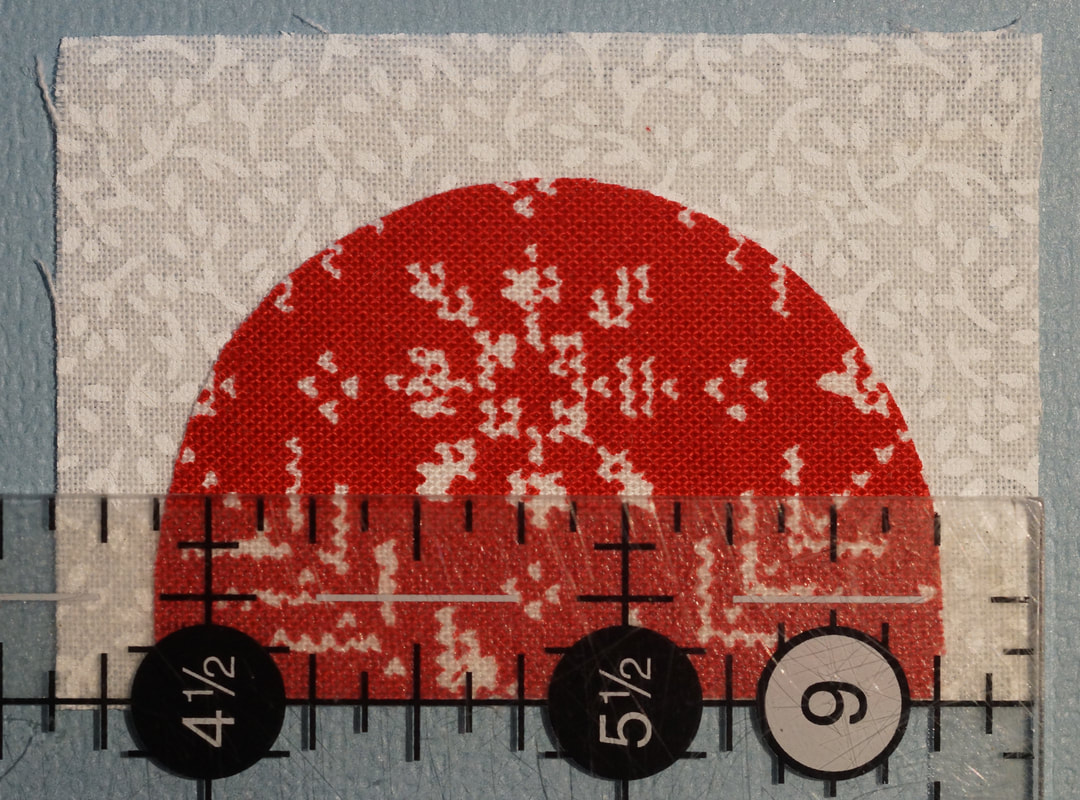 I went over this with a zig zag stitch...Lining up the the right side of the stitch with the edge of the appliqué 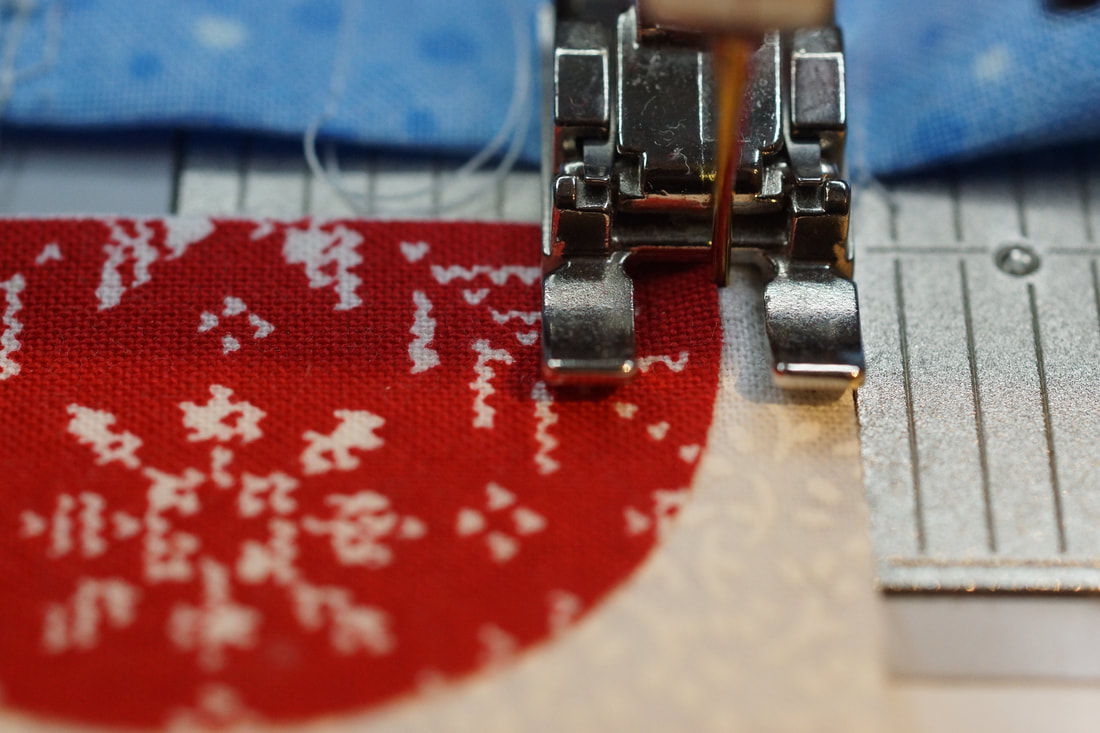 This is how my zigzag stitch came out. I wanted something that did not stand out too much and this fit the bill quite nicely.
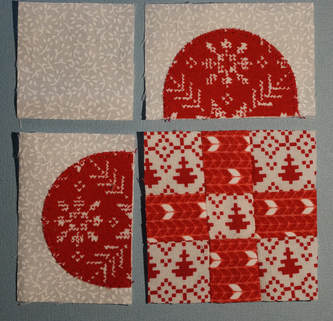
Now it is just a matter of sewing all the parts together to make the block.
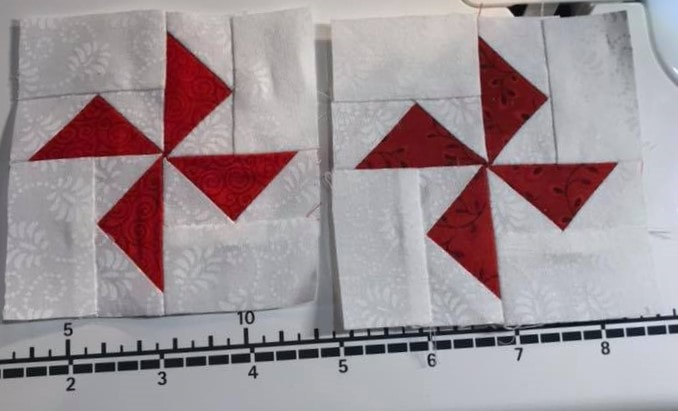
I did find it necessary to place a pin at the seams. I am not sure if the bulkiness of the pieces were giving me trouble, but that seam just did not want to line up without the pin in place. (After three attempts and time spent with my seam ripper I went with the pin!)  For video tutorials of my quilting process go to my Tutorials Page. After layering the quilt sandwich I machine quilted across the nine-patch section. SInce I am starting on the edge I do not worry about pulling the threads up or starting with my tiny stitches as this will be in the seam when the binding is put on. I did finish off each row with the tiny stithes however. 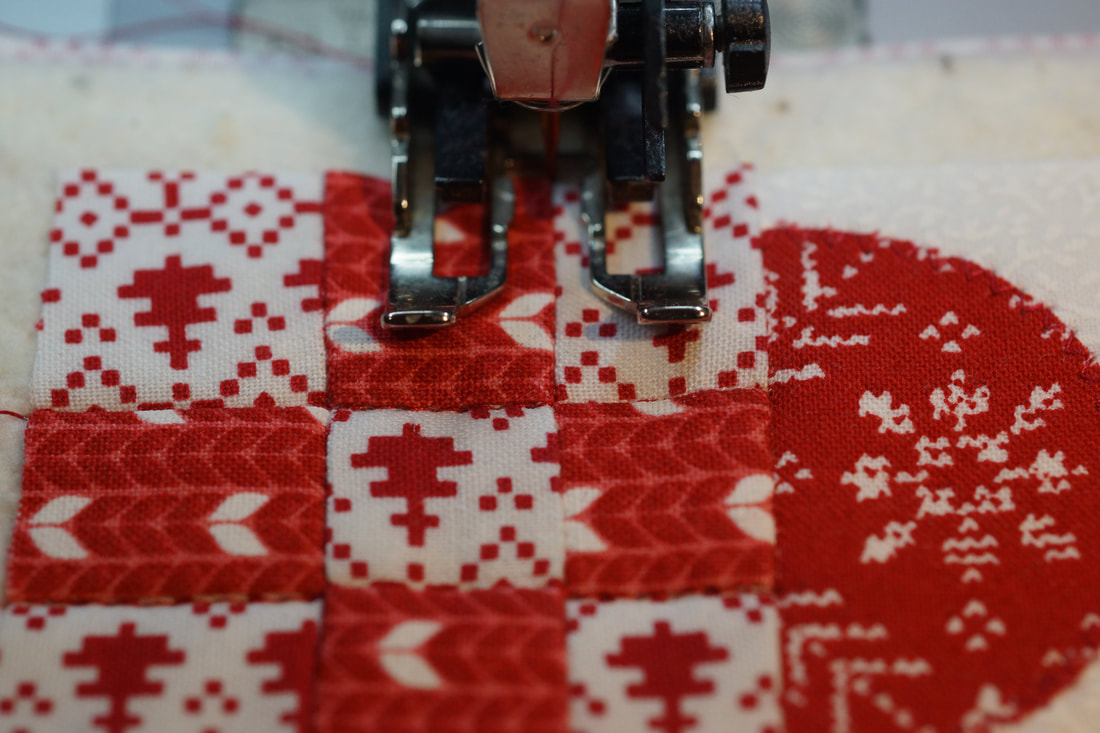 I saved the seam at the bottom of the appliqué for last so that I could go over it all at one time. So here I am getting started... 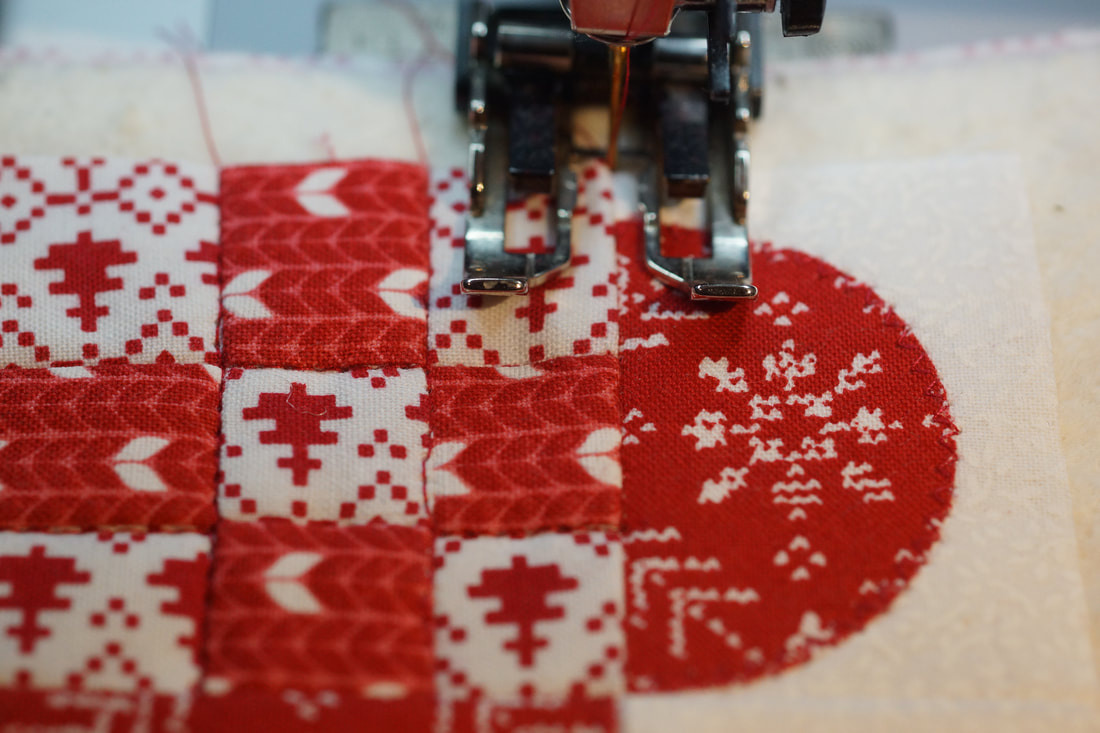 I pivot at the corner and quilt down the next side... 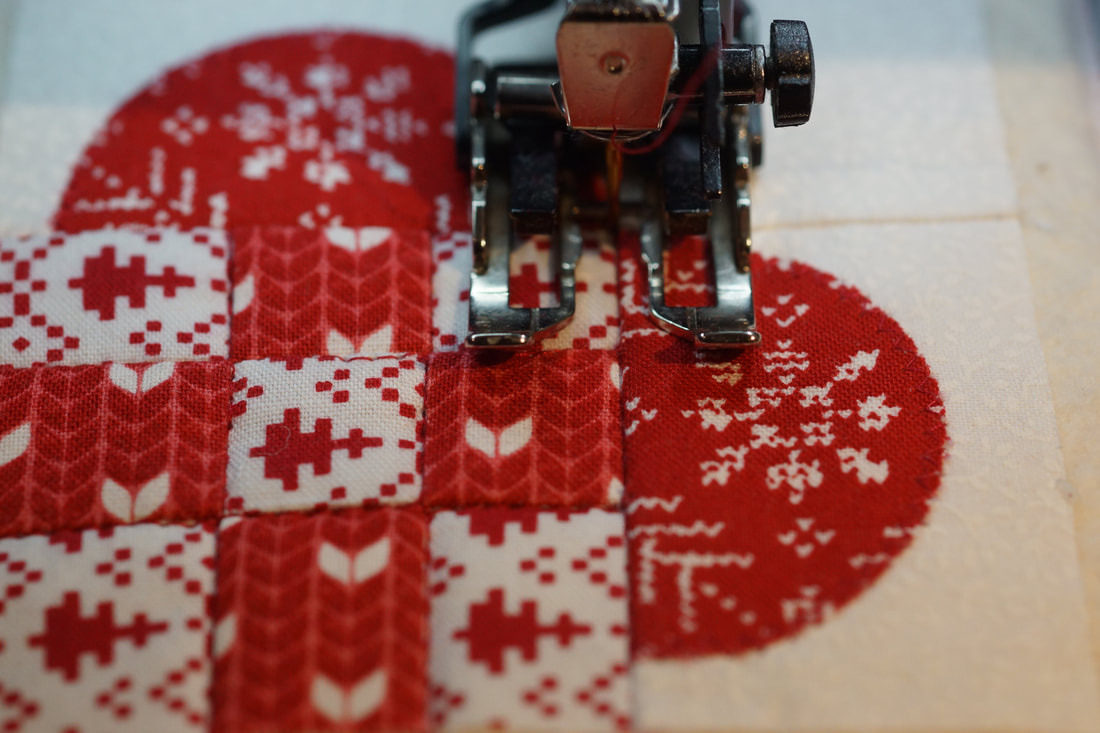 When I get to the end I pivot again and will go back over the quilting stitches here until I get to the start of the appliqué. 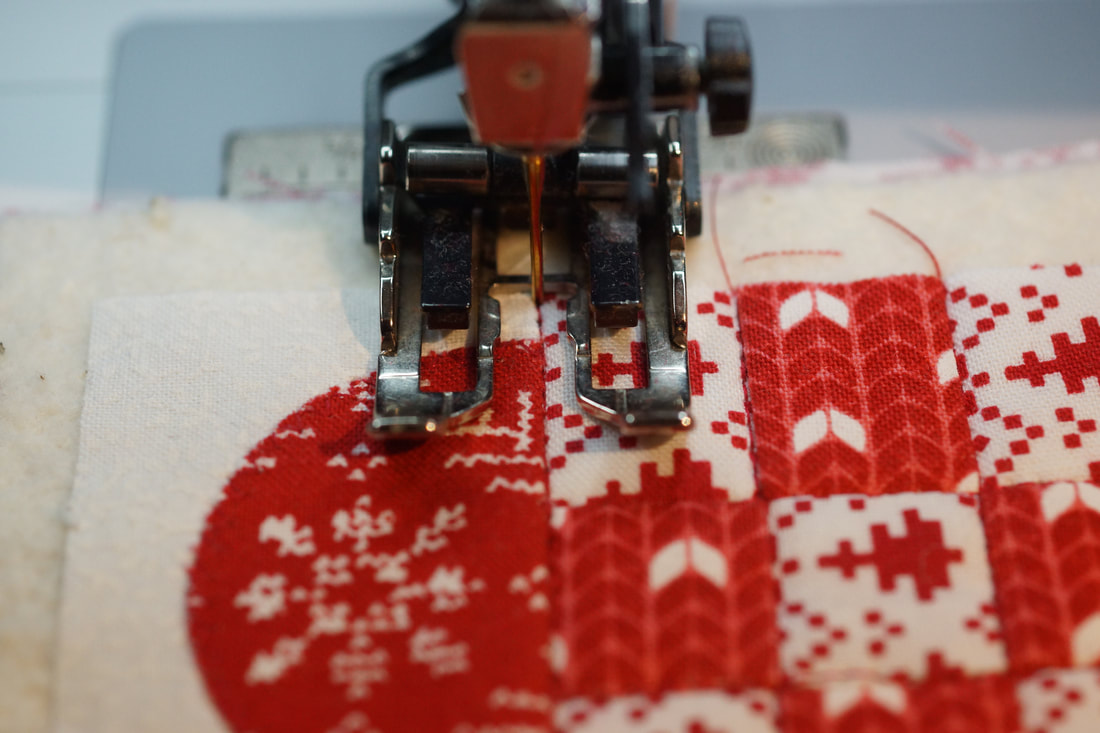 Pivoting again, I turn to go around the appliqué now. 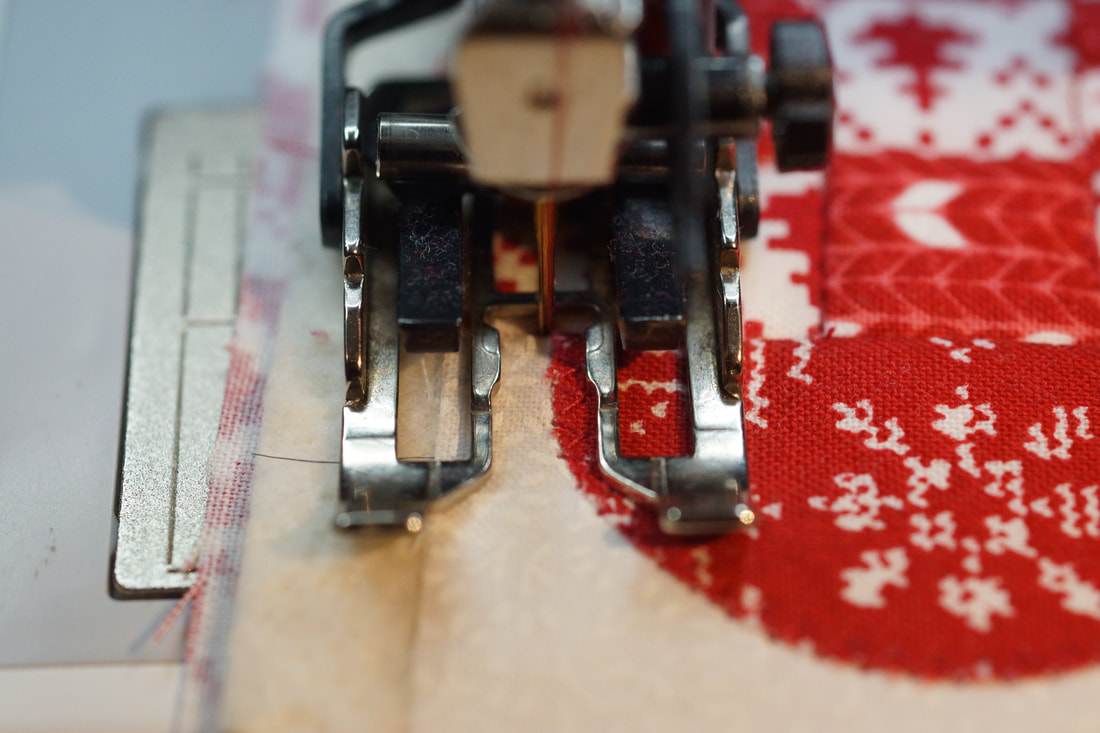 After working my way around both appliqués I just sew right off the edge to finish. 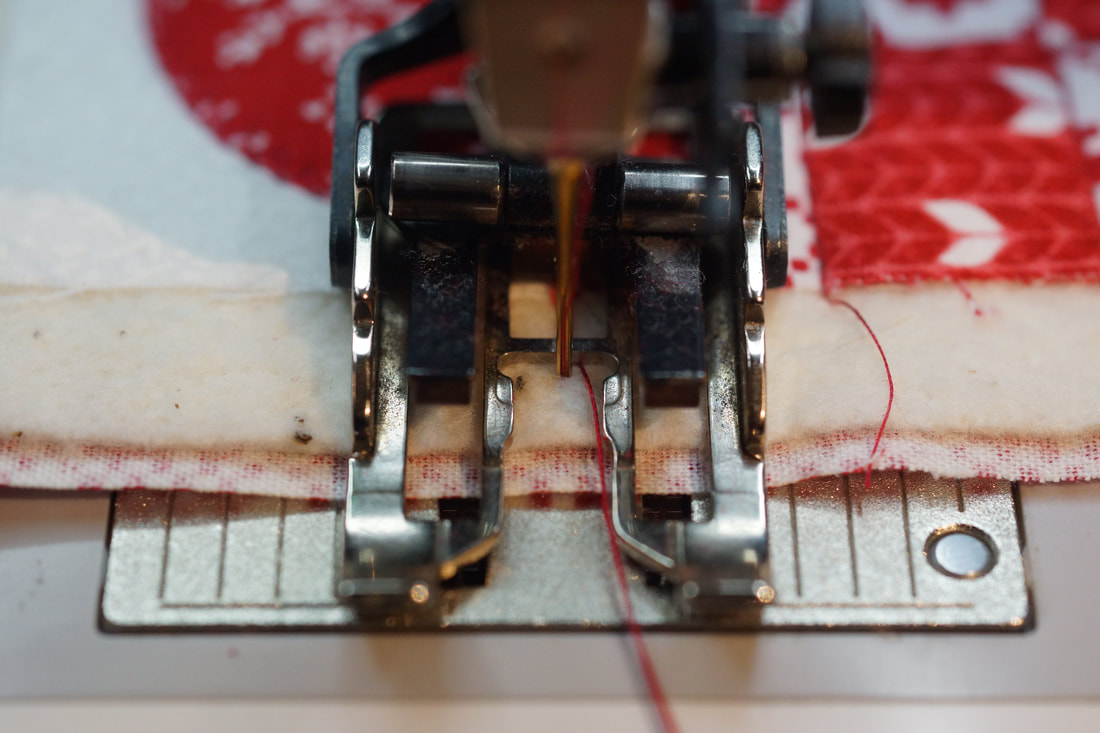 TutorialsIn order for the heart shape to come out correctly I make sure that I leave a 1/4" seam allowance beyond the appliqué. I will be using a 1/4" seam allowance to sew my binding on and this will give me a perfect finish to the woven heart ornament. To see how to add the binding watch my video tutorial. 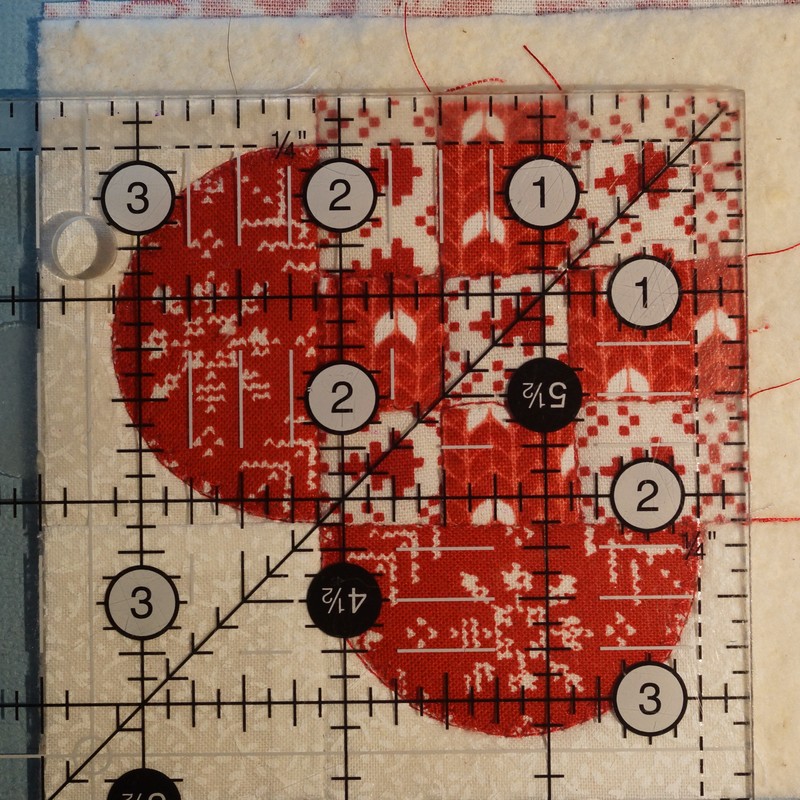 I hope you have fun giving this one a try. Let me know in the comments how it goes! Before I say goodbye for this week I have a few photos to share from my Facebook Sew Along group. Here are some of the ornaments being made:
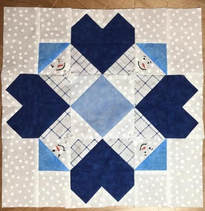
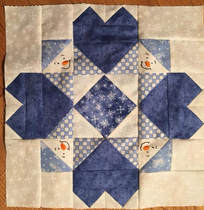
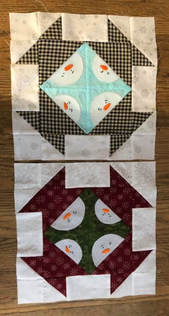
And Monday (Dec. 3rd) we get to meet the next block in my current BOM-I wonder what the snowmen will be up to this time? Until then, here are a few of the past blocks that have been shared this month for you to enjoy.
Happy Quilting!  |

Welcome to the site of Debra Davis-a woman who loves the Lord and loves to quilt.
My other blog where I share about my walk of faith:
Sitting at His Feet 
|


 RSS Feed