|
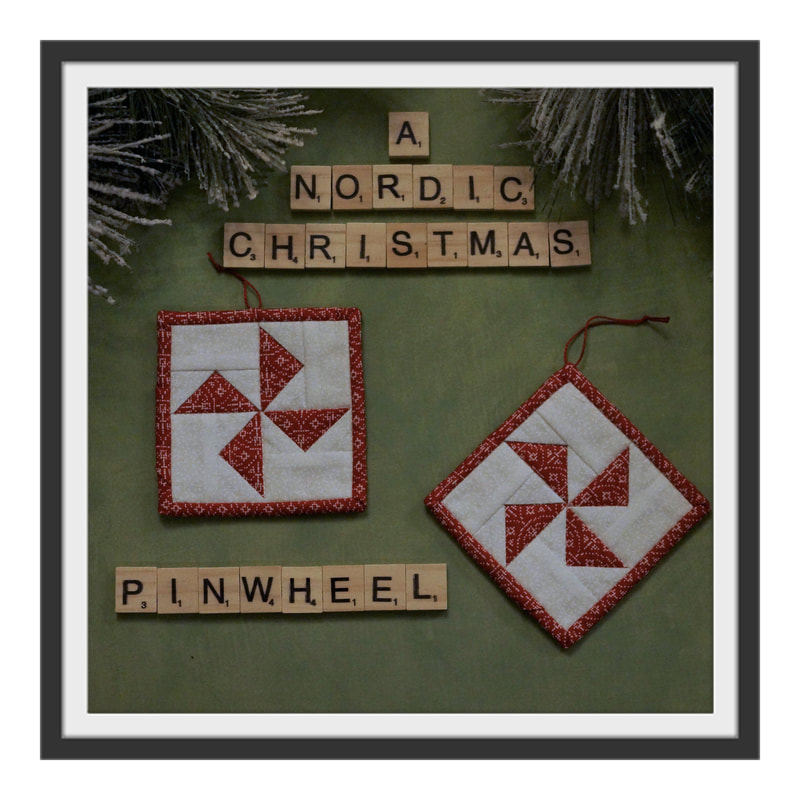
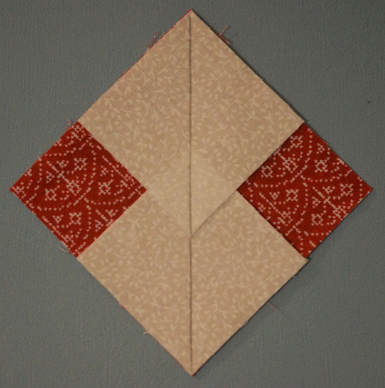
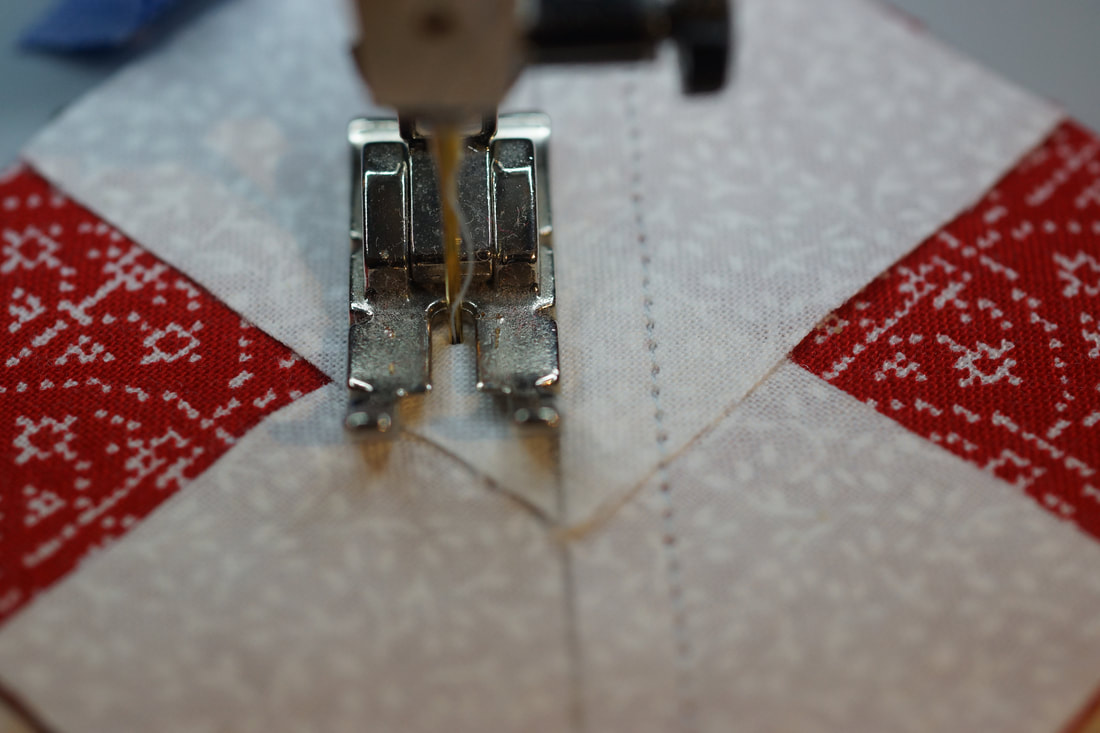
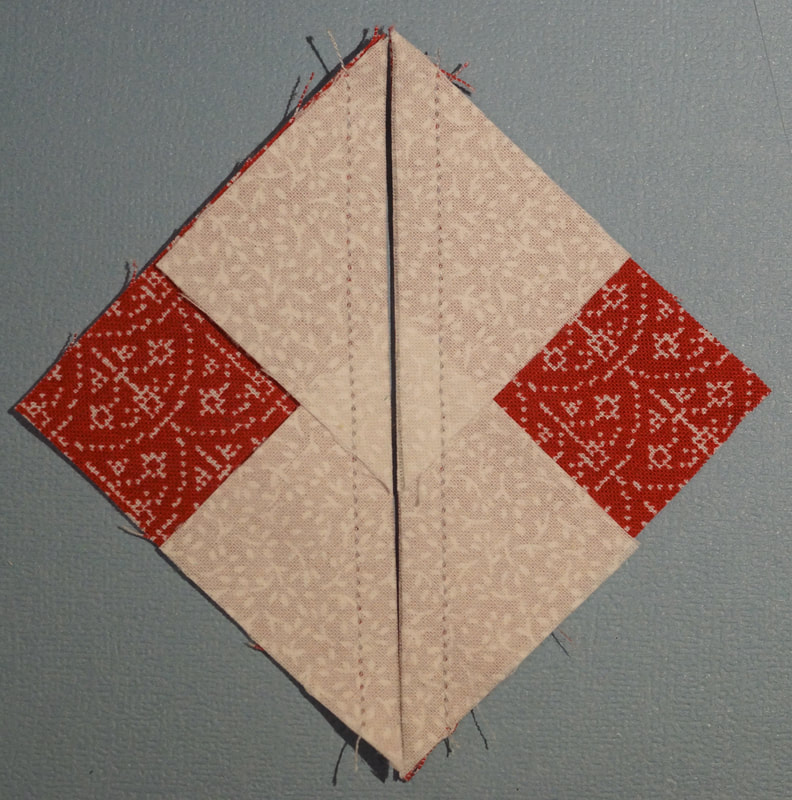
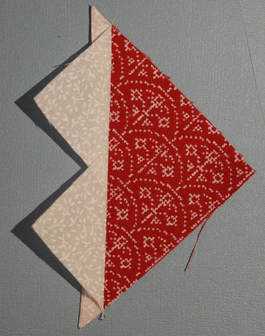
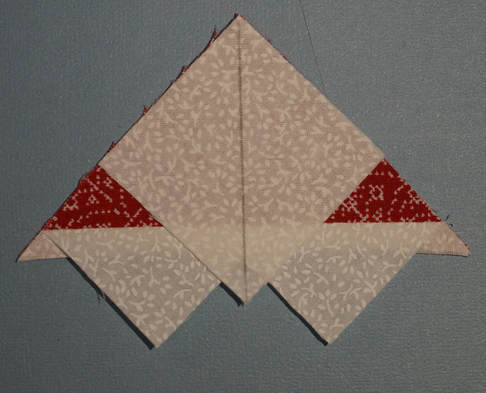
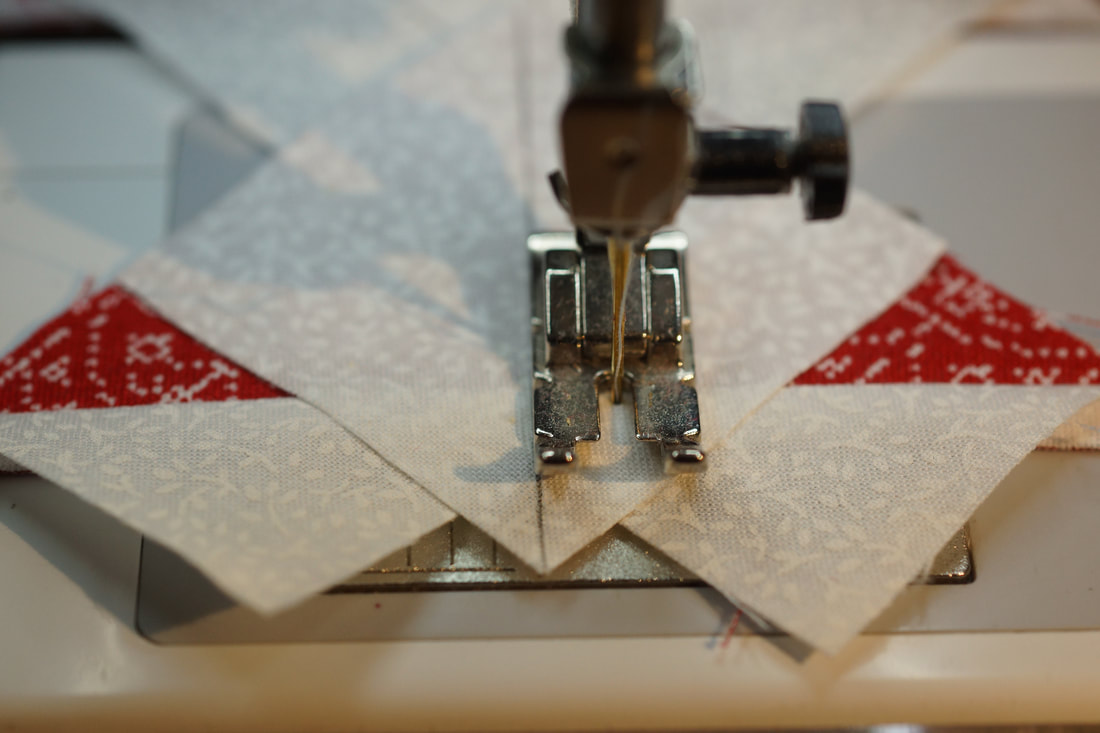
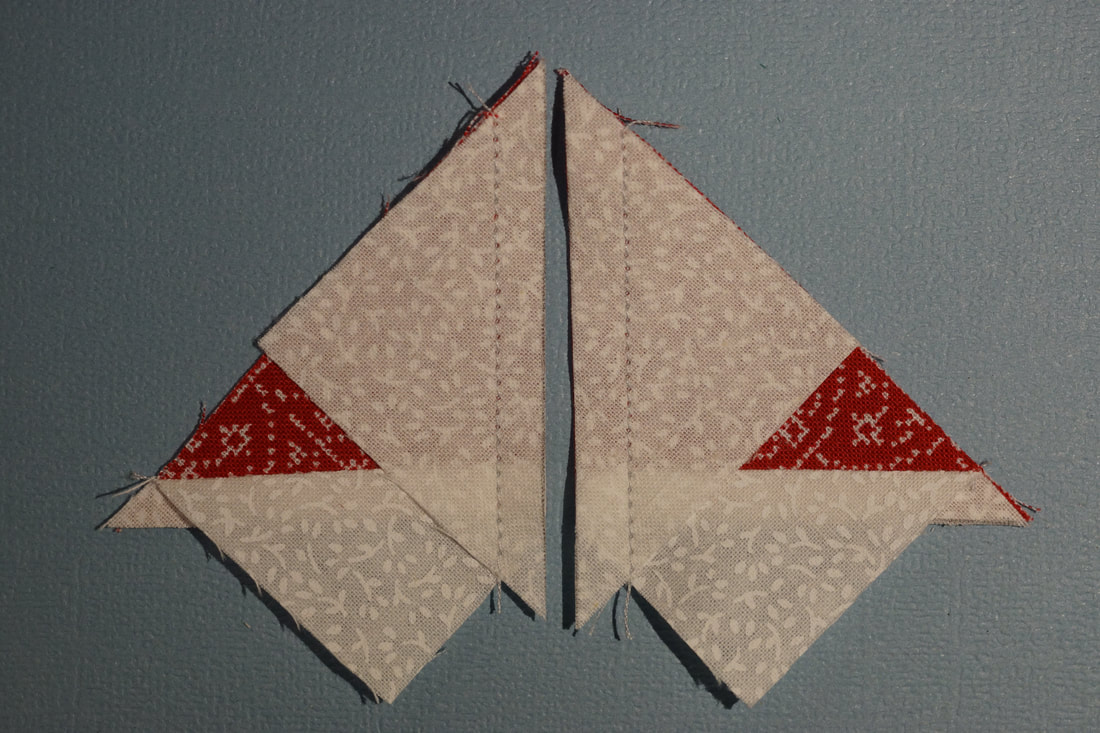
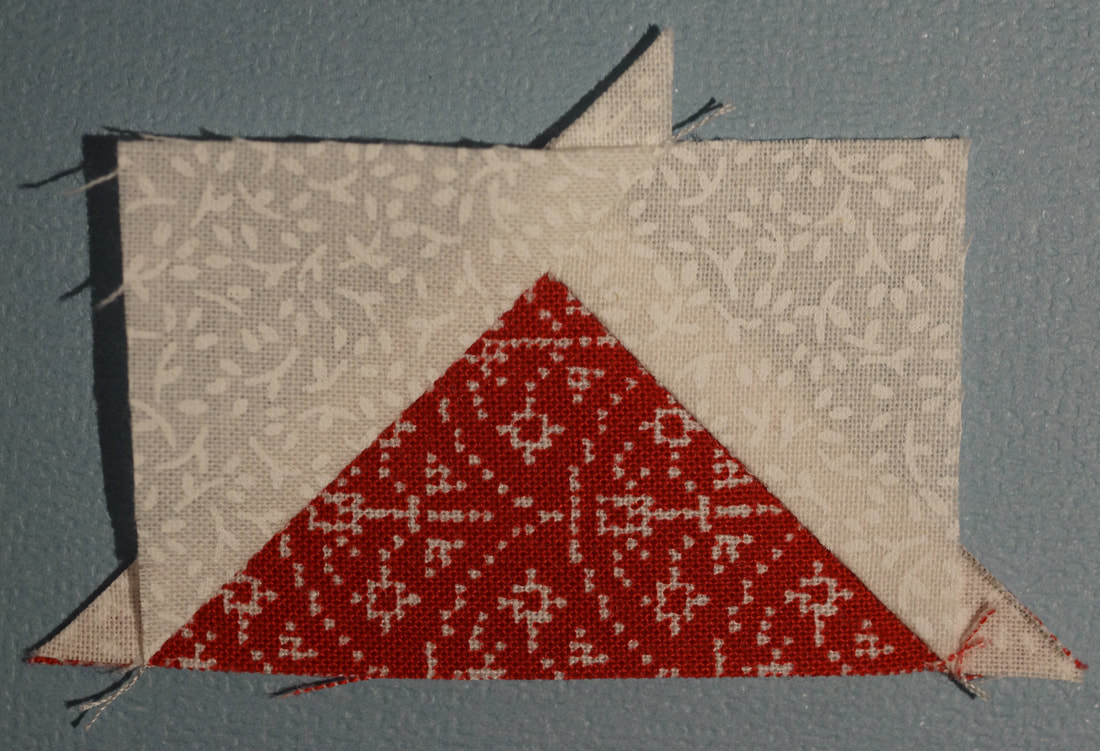
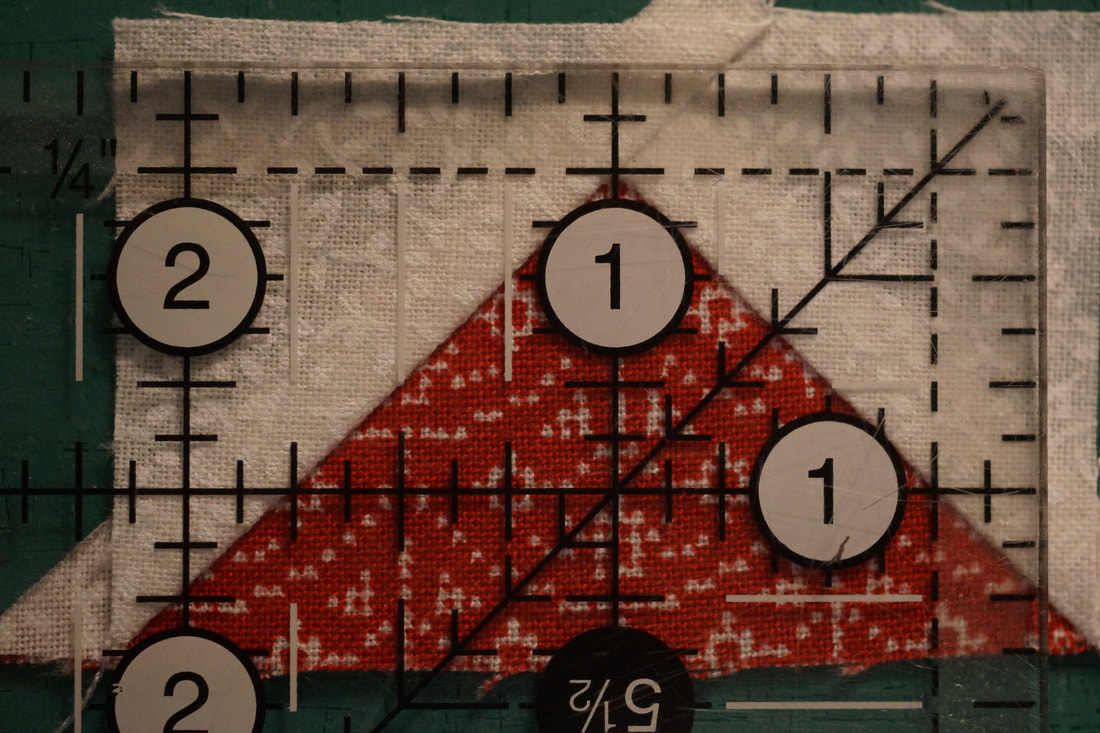
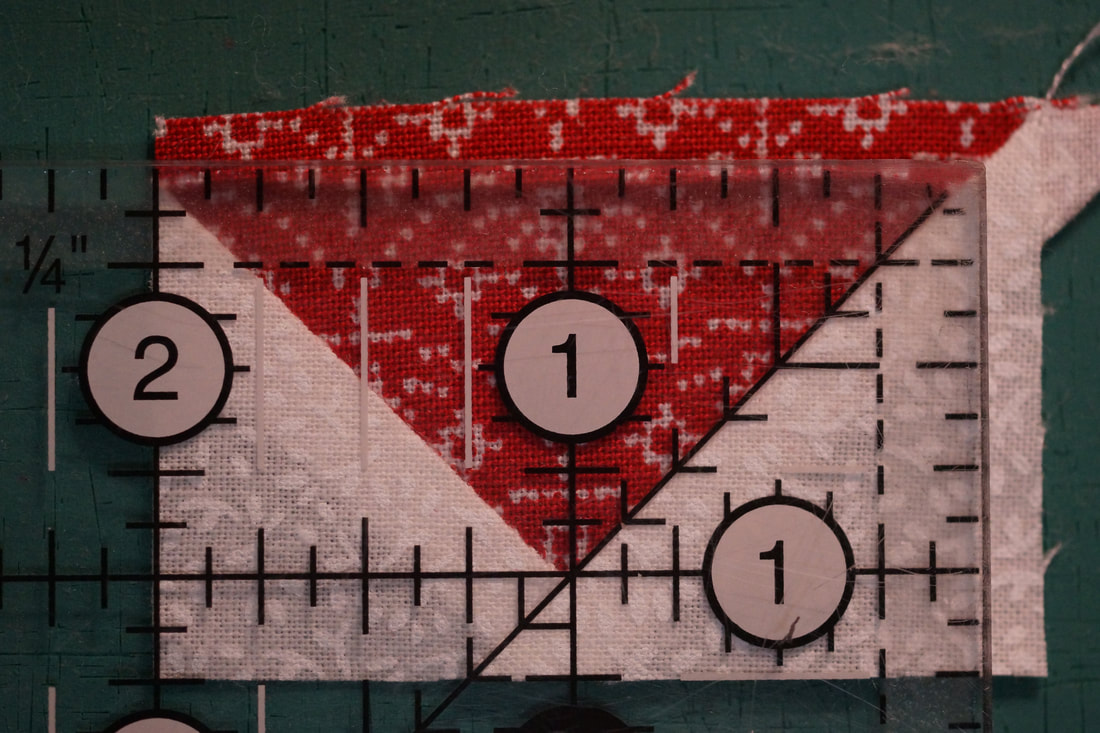
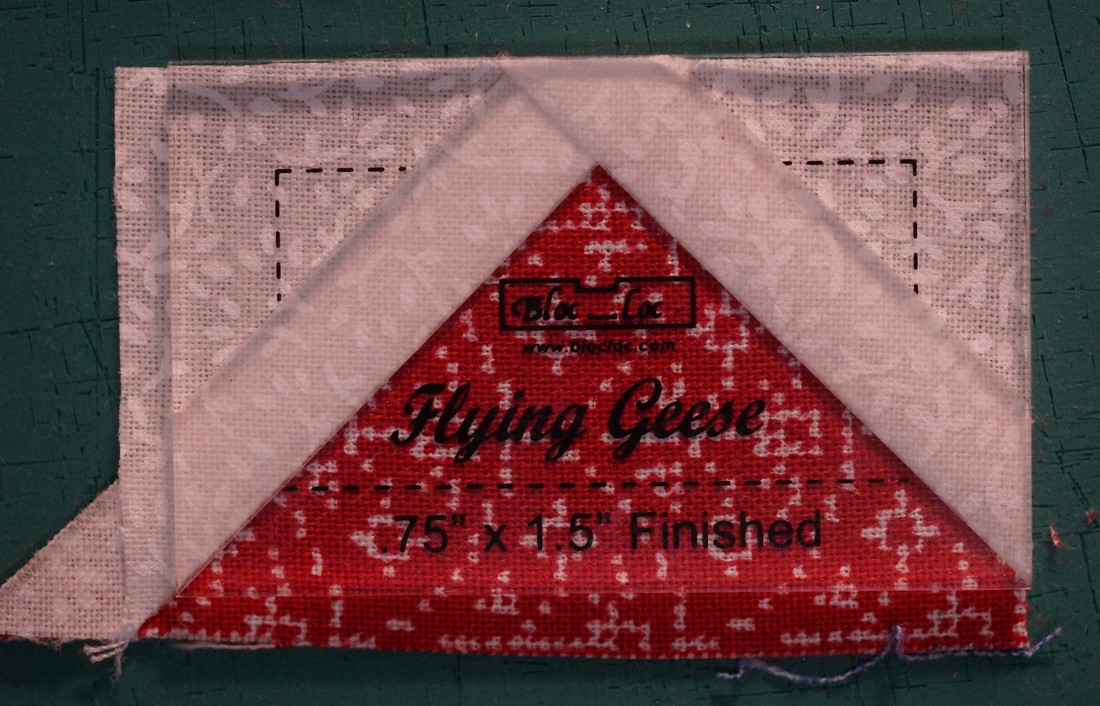
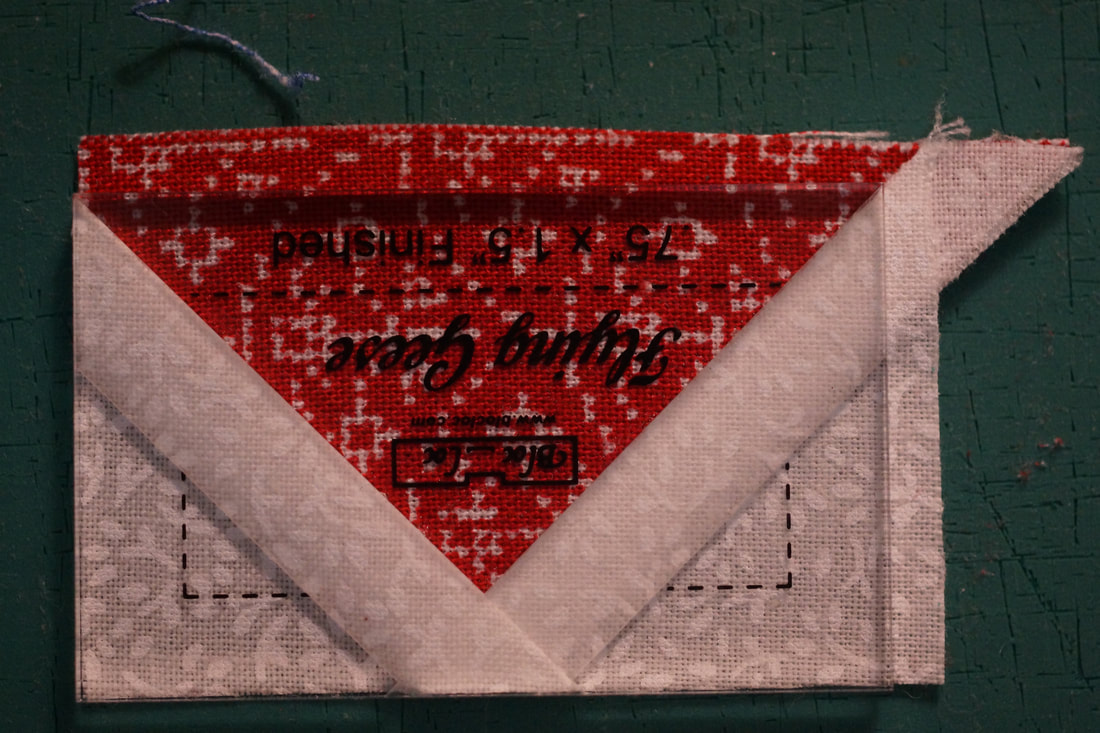
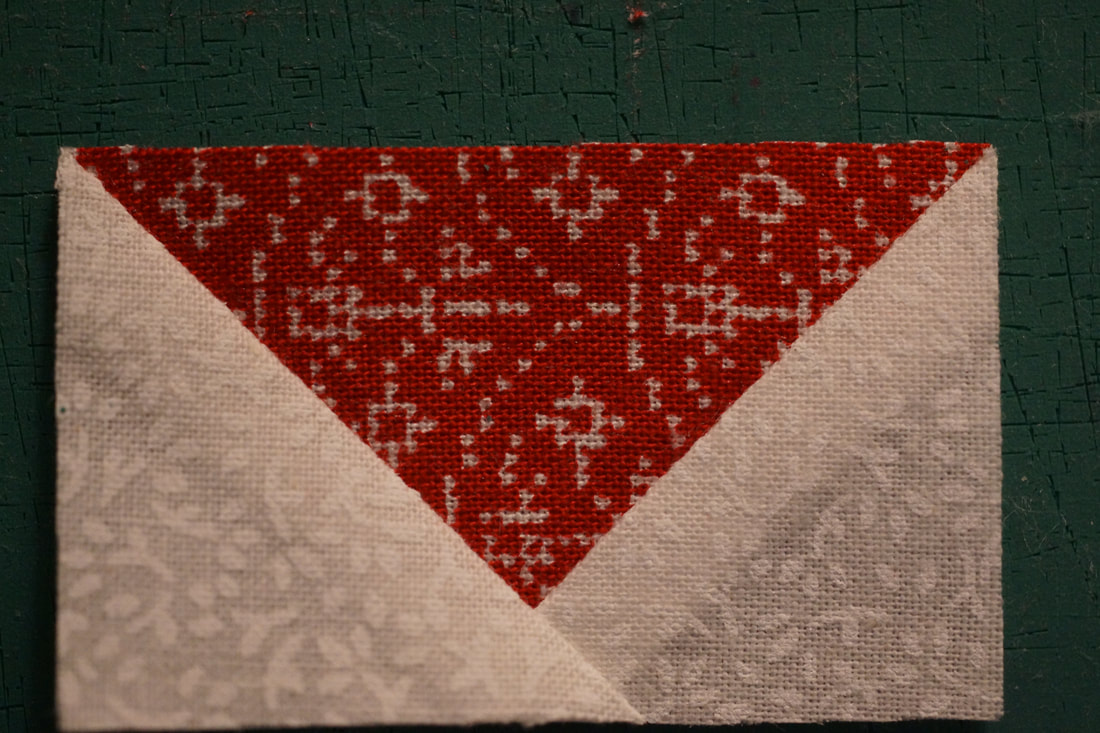
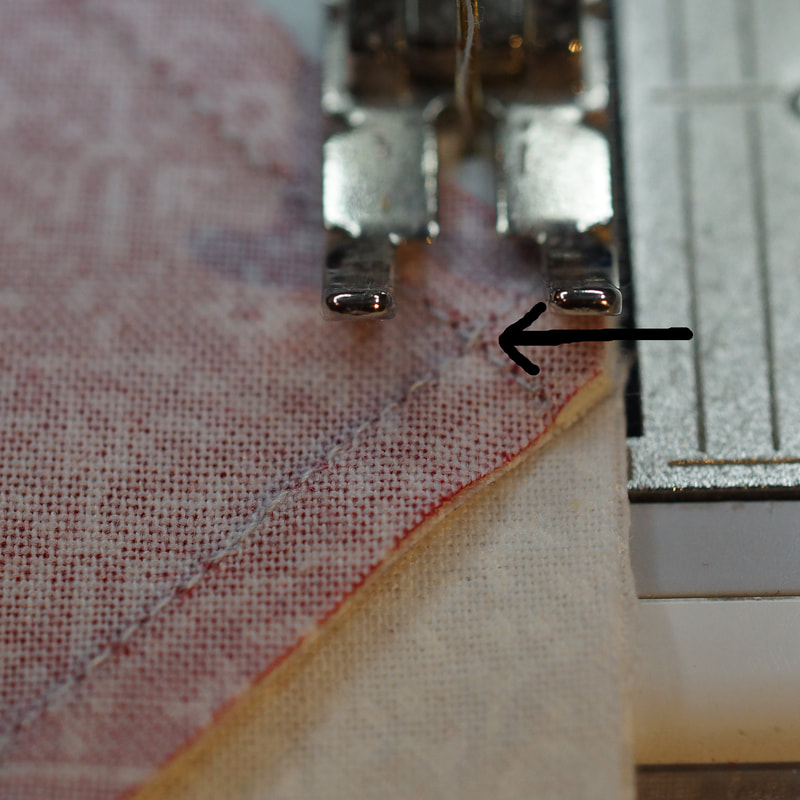
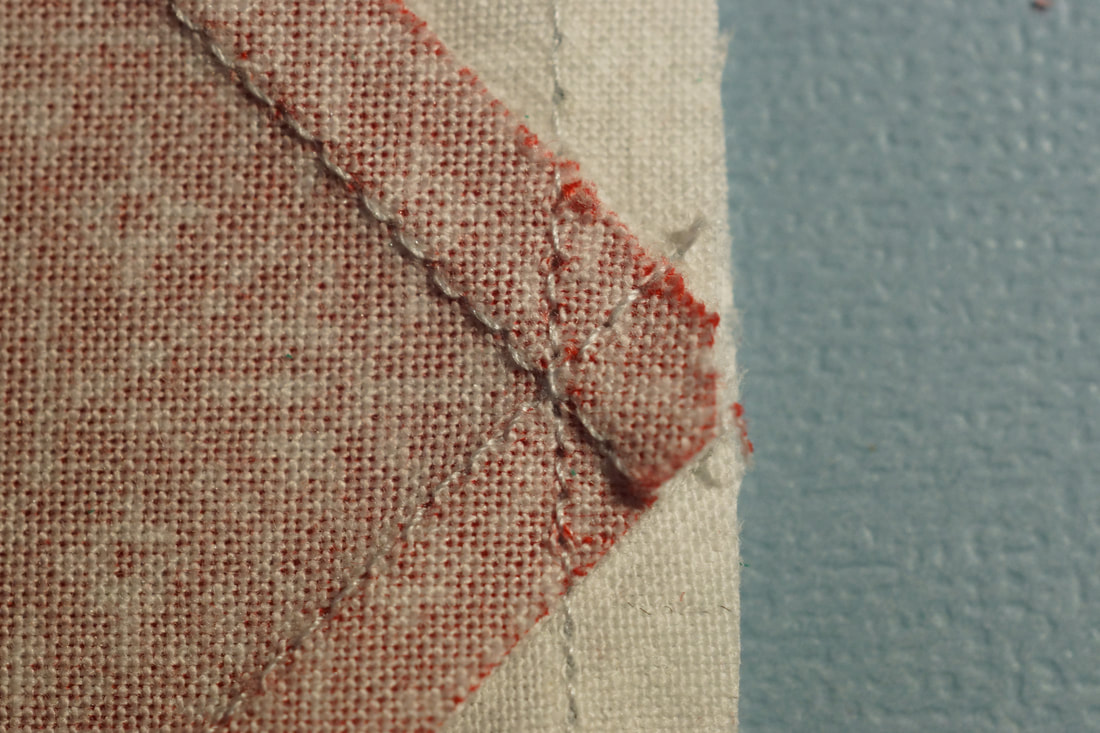
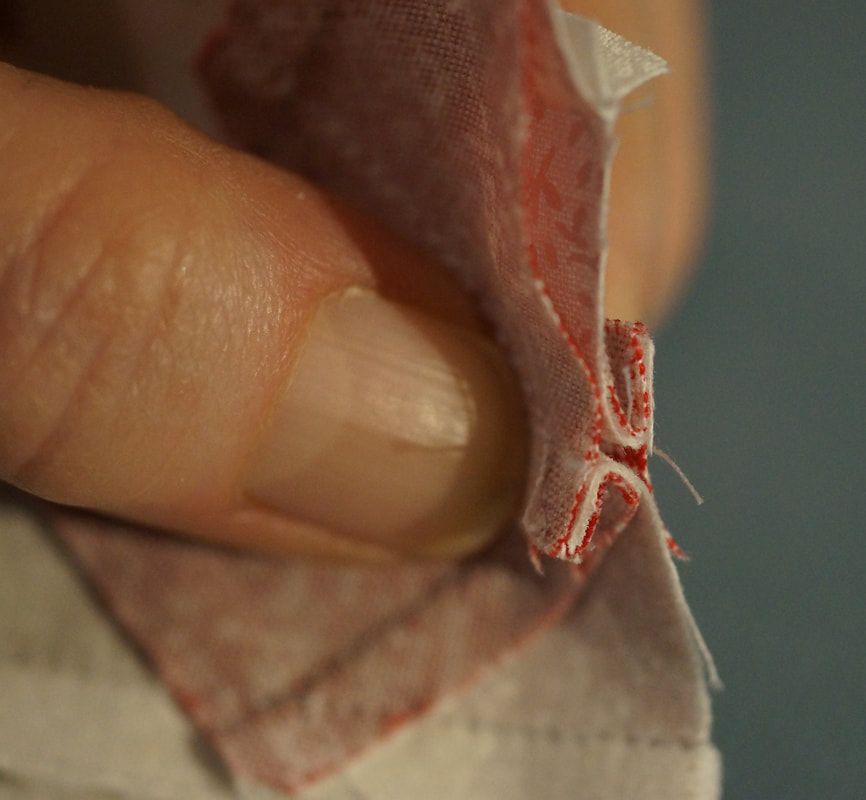
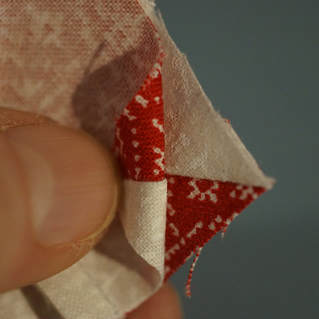
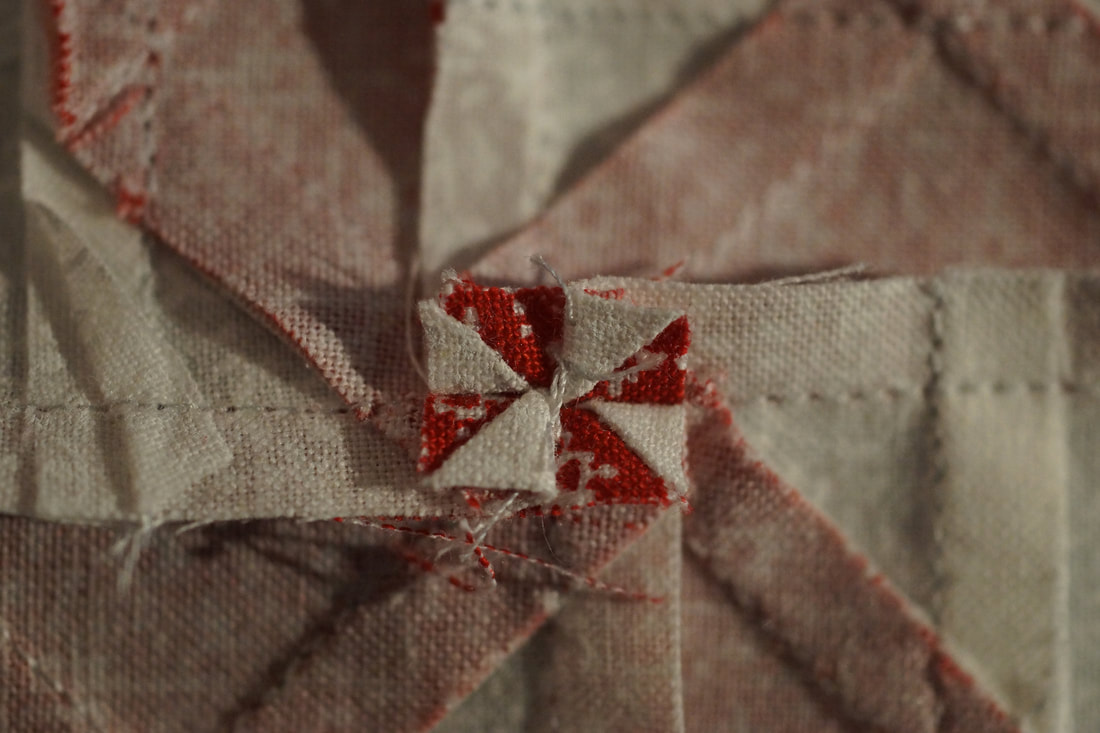
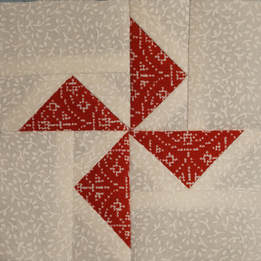
I hope you are having as much fun with these as I am! Every week I look forward to making another of these mini quilts. I love that they go to gether so quickly too-they make for a quick gift when you get invited over for dinner unexpectedly. These are a couple of photos that were shared on my Facebook Sew Along Page this week. Pinwheels are so easy to make using the No-Waste method of making Flying Geese. Even though these are the smallest Flying Geese I have ever made, they were no problem. (Yes I used my new 3/4" x 1 1/4" Bloc Loc ruler!) I will show you how to trim these with a regular ruler as well. To get a pdf of the pattern click on HERE. I love this method of making Flying Geese. I was pretty skeptical when I did it the first time, wondering how on earth this was going to turn into Flying Geese. But it works out beautifully. Begin by laying two small squares on top of the large square, right sides together, and draw a diagonal line down the middle. Sew 1/4" from each side of the drawn line. I prefer to have the top square facing so that the point is going away from my needle. Cut apart on the drawn line and press towards the smaller triangles. Draw a diagonal line on the back of the remaining small squares and lay them right sides together onto the unit just made. Once again sew 1/4" from each side of the line. Cut apart on the line and press-voilà! We have Flying Geese units. To trim these with a regular ruler you need to line up the 1" mark on your ruler with the point of the "goose." You also need to make sure you have 1/4" above that point for seam allowance. At the bottom of the goose you need the 1 1/4" mark to land on the diagonal seam lines-both sides. (On the left side this will be where the 2" line crosses as well. Trim the first two sides. Rotate the unit and line up the 1" mark the same way at the point of the goose. Now the 2" mark and the 1 1/4" marks are along the edges you just trimmed. The diagonal line of your ruler is also laying on the seam. Trim these two sides. With the Bloc Loc ruler I do not have to do any math to figure out the middle, or worry about where my various points of the ruler need to be. These rulers have a groove that lock into place at the seam. I just trim the first two sides... rotate the whole thing and trim the last two sides. And I have perfectly trimmed Flying Geese ready for the next step. I made a little video demonstration using both rulers: Next I moved on to joining the Flying Geese units with my A rectangles. I sewed these with the Flying Geese on top so I could keep an eye on that point where I want my needle to land as I sew over it. With this perfect trim giving me a 1/4" seam allowance I am pretty condident that when I sew this 1/4" seam my needle will land right at the point of those intersecting seams. That is the sweet spot that gives me a perfect point when I press it open. To join these together to make my block I match up those diagonal seams. For my final seam I fanned it open. If I just press it one direction like usual I will end up with a very bulky middle to my block. By opening up the seam in this way the center lays quite flat. Before you press use your fingers to force one seam up and the other side down-they will naturally want to go a certain direction so let the seam decide which side goes which way. You will know you have acheived a fanned seam when you see the little pinwheel appear at the intersecting seams. That's it...now on to the quilting and binding. If you are new to these blocks you will find my tutorials on quilting and binding these mini quilts helpful too. They can be found on my Tutorials Page Join me next Friday for another Nordic Christmas ornament...until then
Happy Quilting!
Catherine
11/23/2018 11:10:54 am
I am really loving these ornaments! Thanks for sharing.
Debra
11/26/2018 09:54:38 am
I am so glad to hear it, Catherine. Thank you!
Debra
11/26/2018 09:55:46 am
I am so glad to hear you are using them, Tracie! I hope it goes well with you! Comments are closed.
|
Welcome to the site of Debra Davis-a woman who loves the Lord and loves to quilt.
My other blog where I share about my walk of faith:
Sitting at His Feet This website uses marketing and tracking technologies. Opting out of this will opt you out of all cookies, except for those needed to run the website. Note that some products may not work as well without tracking cookies. Opt Out of Cookies |
Tuning My Heart Quilts by Debra Davis is licensed under a Creative Commons Attribution-NonCommercial-NoDerivs 3.0 Unported License.
Based on a work at www.tuning-my-heart.com.
Copyright 2010-2022 by Tuning My Heart Quilts, LLC. No part of this website can be reproduced without written permission from the author. All rights reserved.
Proudly powered by Weebly


 RSS Feed