|
I can hardly believe it is November already. Time continues to march on; and at a dizzying speed it sometimes seems as I get older.
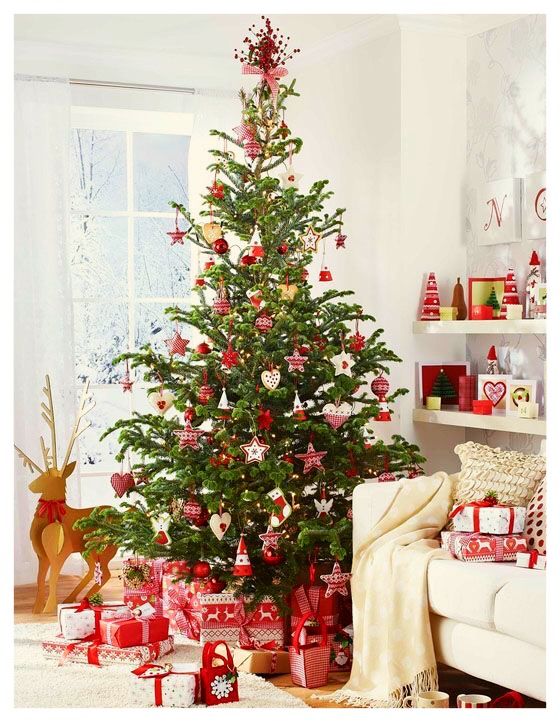
Beginning today and continuing every Friday through Dec. 14th I will be sharing a mini quilt with you. My paternal grandmother came to this country from Sweden and I have a love for the traditions that came with her. There is a lot of use of red and white in Scandinavian Christmas decor and that is the theme I am going with for my ornaments.
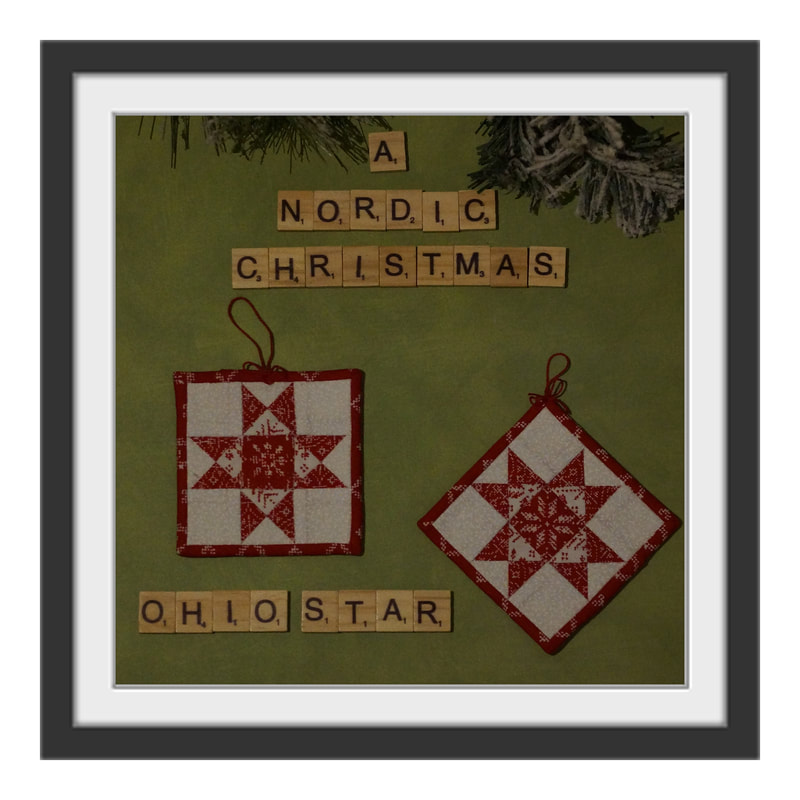
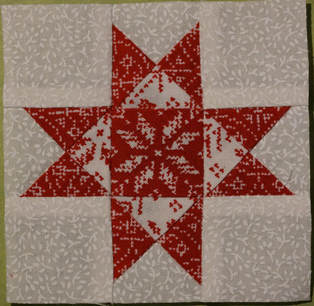
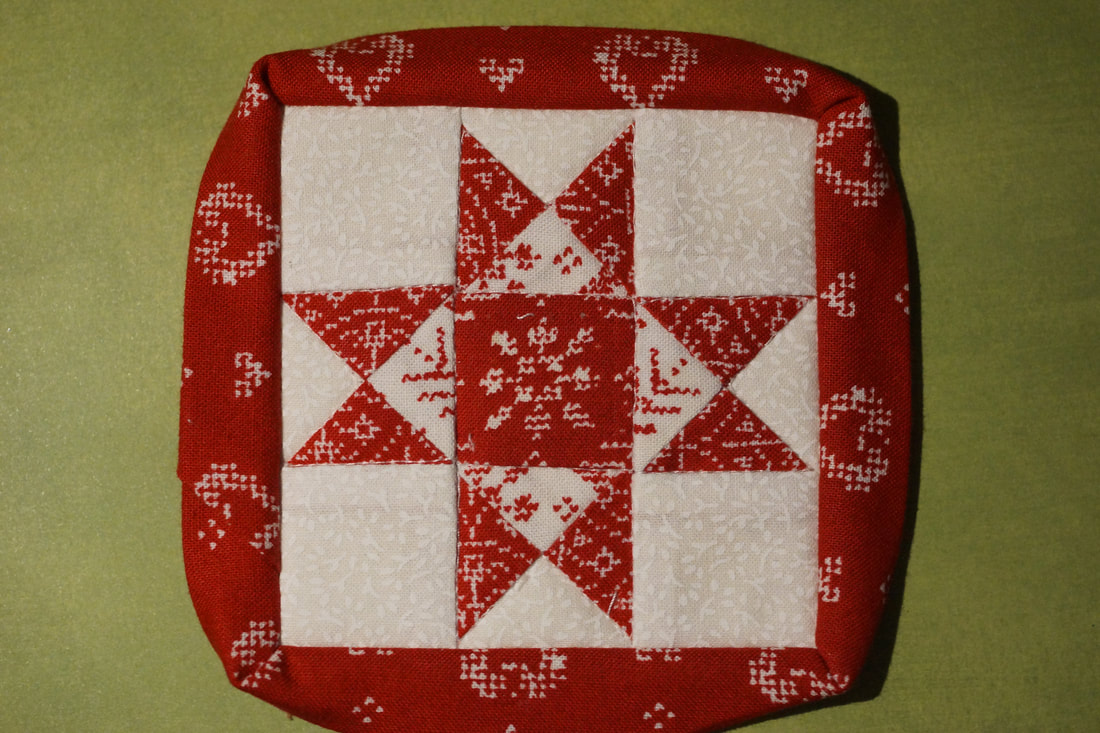
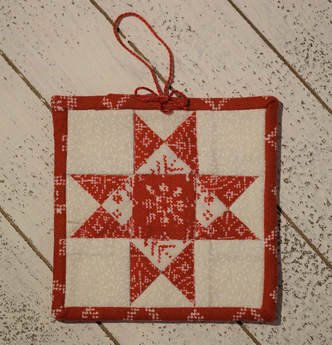
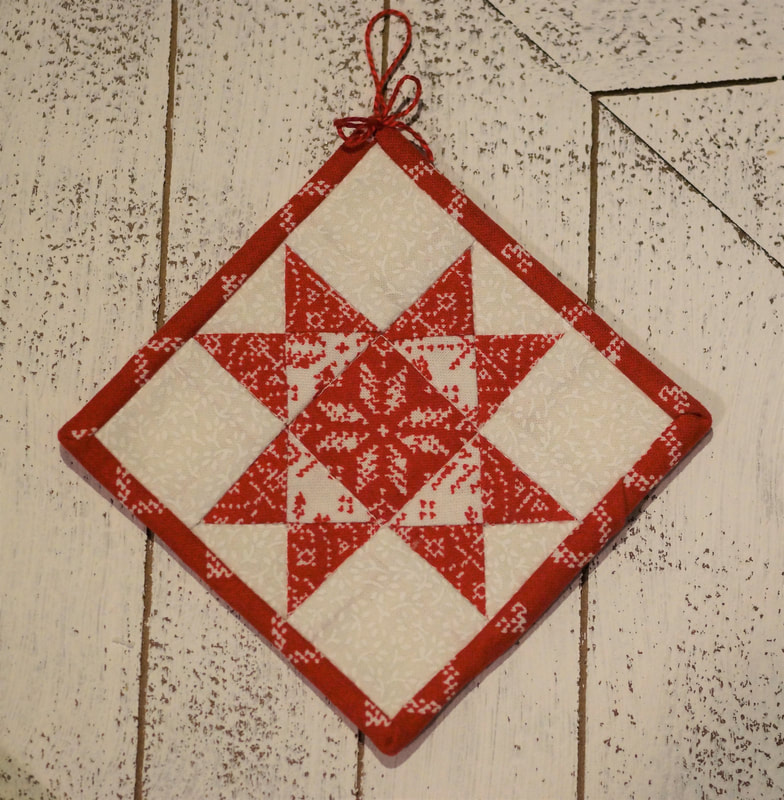
I will be turning my mini quilts into Christmas ornaments. The first one is made using the Ohio Star pattern. While it is small-finishing at 3" the hourglass units go together quite easily. They are sewn oversized and trimmed down to size.
You can download a pdf of my pattern here: Ohio Star Ornament
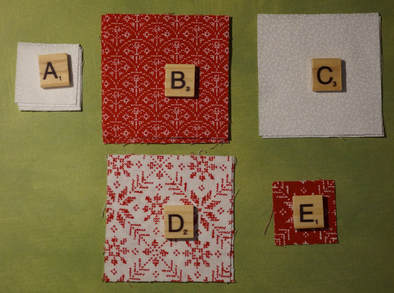
I highly recommend that you use starch on your fabric, both before cutting your pieces out and as you press along the way. I used two different red prints, a red and white print, and a white on white print for my ornament.
Begin by making Half-square Triangles with the B, C, and D squares.
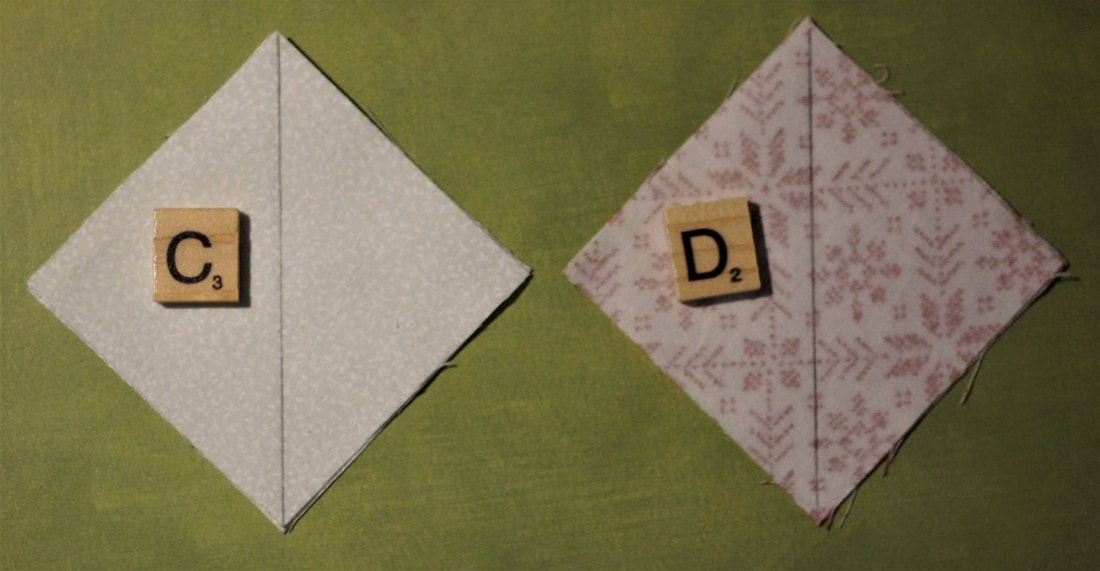
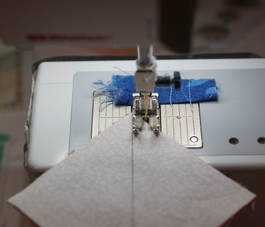
Draw a diagonal line on the back of the C and D squares.
Place the C and D squares right sides together with the B squares and sew 1/4" from each side of the drawn line. Since these are going to be small pieces I have shortened my usual stitch length to 2.1.
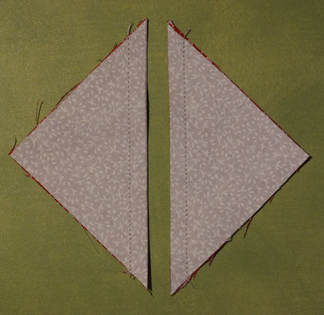
Cut apart on the drawn line and press towards the dark side.
Join the Half-square Triangles (HST) together,
matching a B/C and a B/D combination together as shown below.
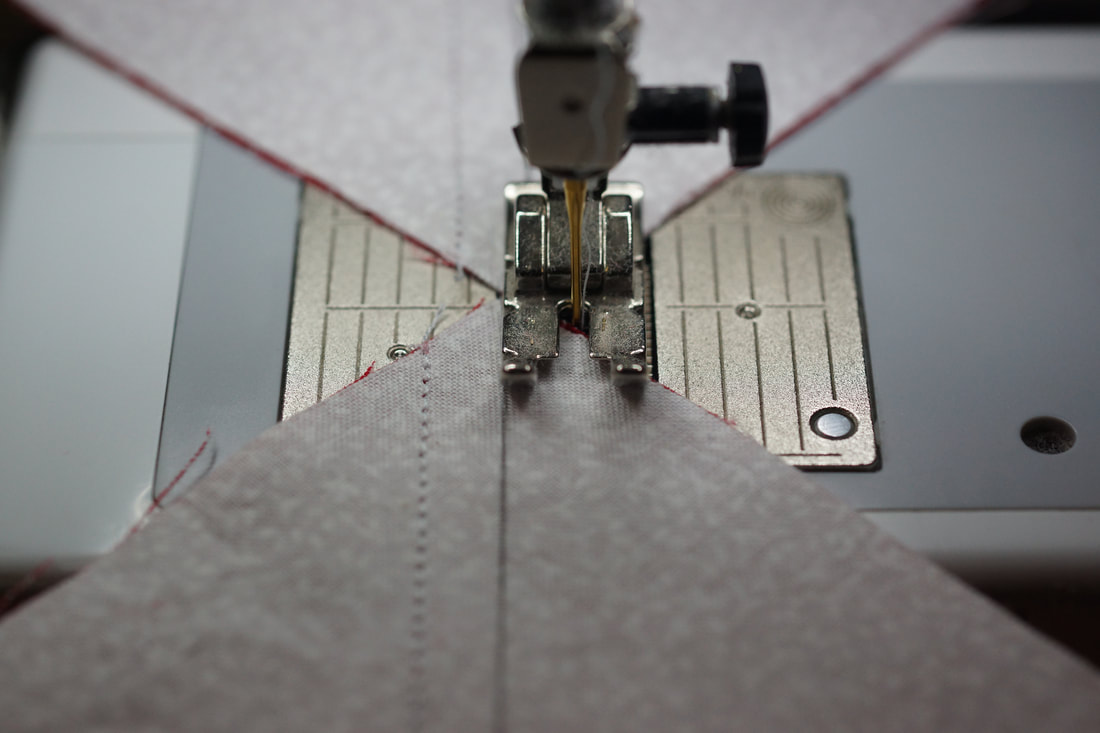
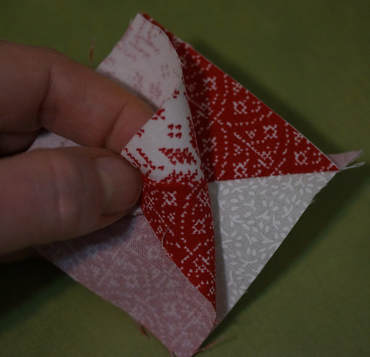
Draw a diagonal line on the back of the B/D combination HST and sew 1/4" from each side of the drawn line. I like to sew these so that the pressed seam is facing up towards my needle as I sew; that way it kind of pushes the seams together nicely.
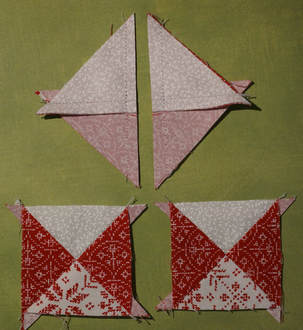
Cut apart on the drawn line and press to one side.
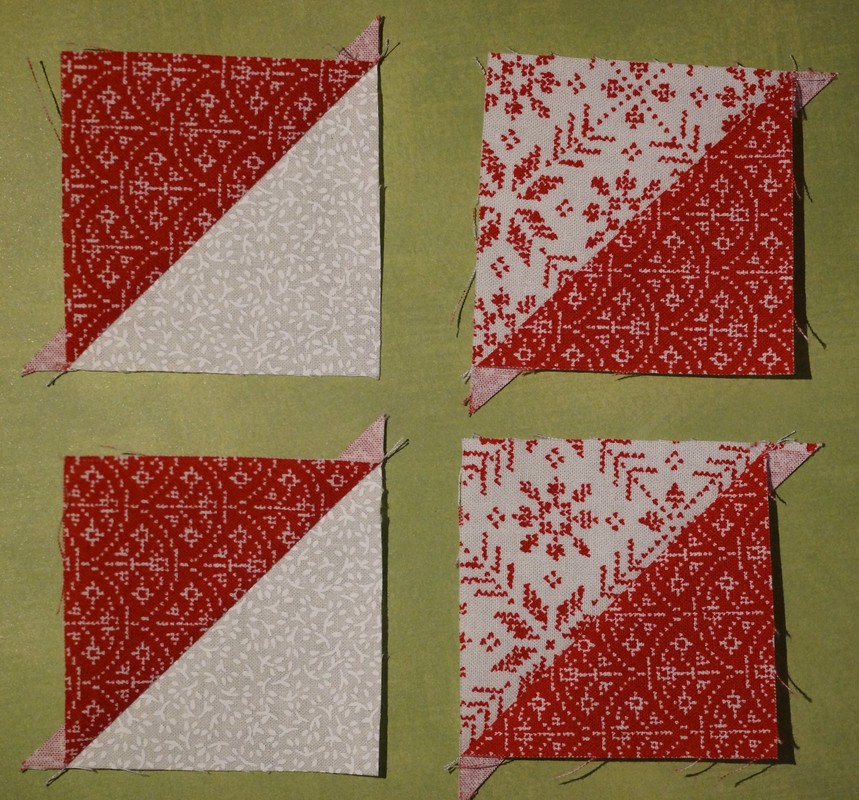
You will now have a total of four Hourglass Units.
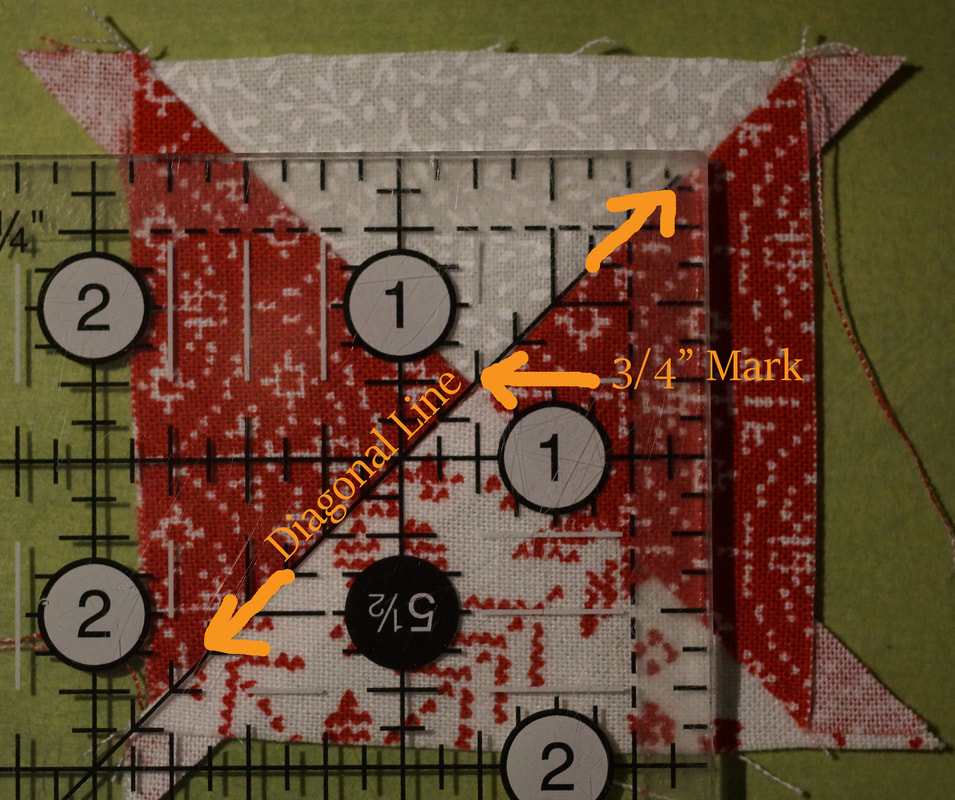
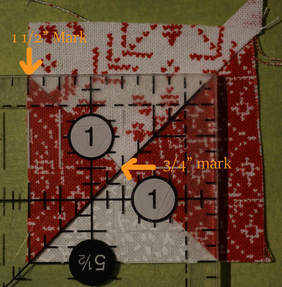
The Hourglass units are oversized and so we need to trim them to 1 1/2" x 1 1/2". I know that sounds tiny, but it is quite doable. First line up the diagonal line of the ruler on the diagonal seam line. The 3/4" mark on the ruler goes right at the middle intersection of the seams-the center of the Hourglass. (3/4" is half of 1 1/2" so this is the exact middle of the unit.) Trim the first two sides, rotate and trim the final two sides, lining up the 3/4" mark again and laying
the 1 1/2" lines of the ruler on the trimmed edges.
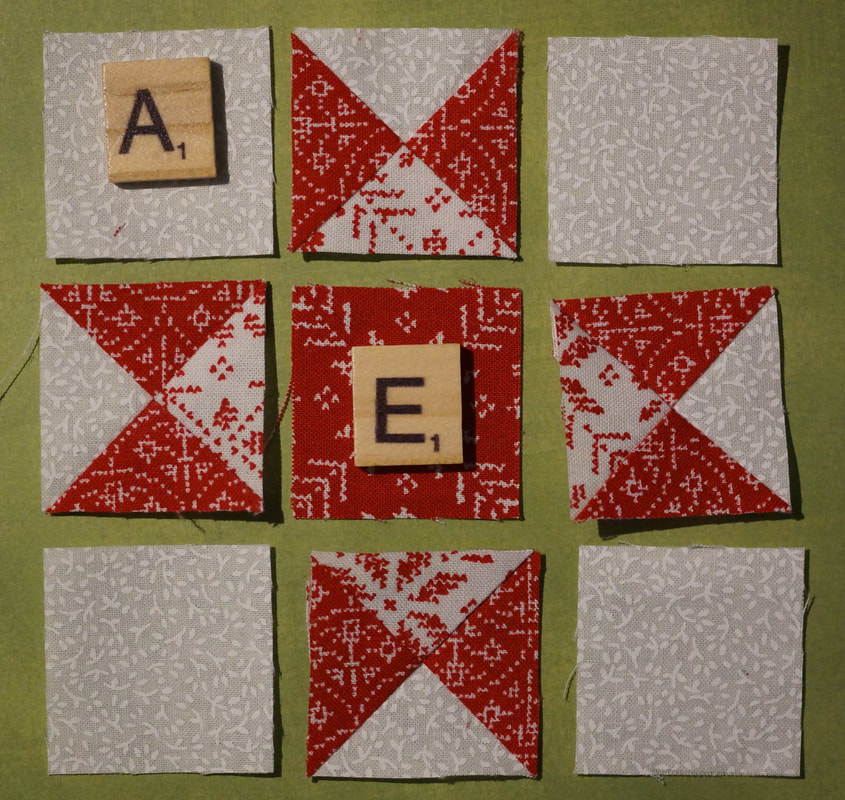
Next, lay out all of the pieces, watching the direction of those Hourglass units.
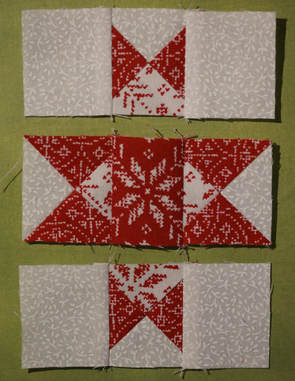
Join together into rows and press towards the A and E squares. Join the rows together matching seams. I did not find it necessary to pin the seams. As you sew aim for the tip of the triangles to keep your points sharp. Press towards the top and bottom rows.
Our block is now finished...on to the quilting...
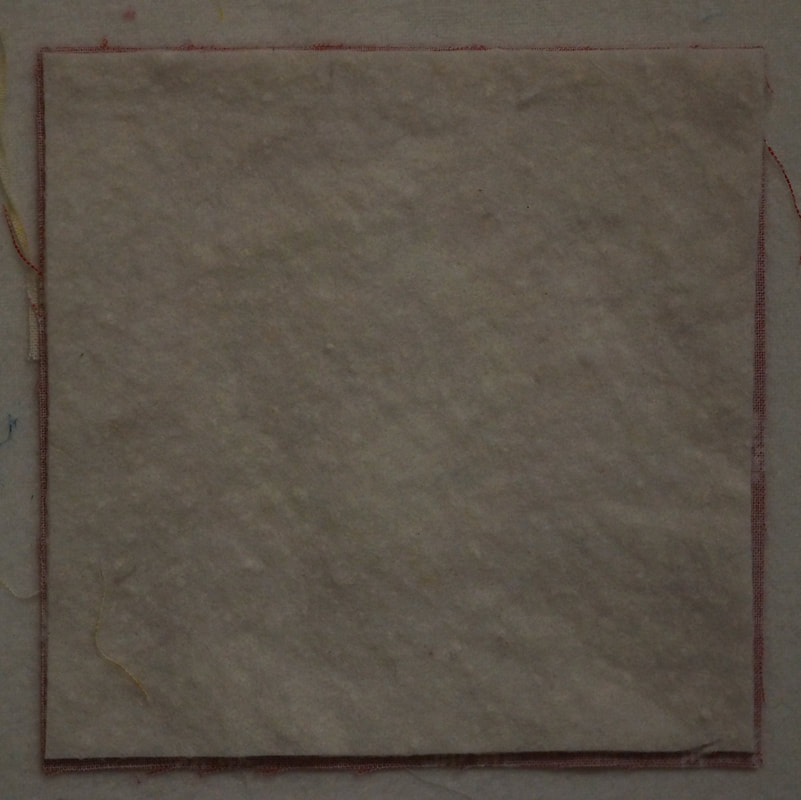
I am using my design wall to spray baste the layers together. I place my backing fabric with the wrong side facing up and spray lightly with the basting spray. After that sits for a few minutes I lay my batting on top, smoothing it out over the backing fabric.
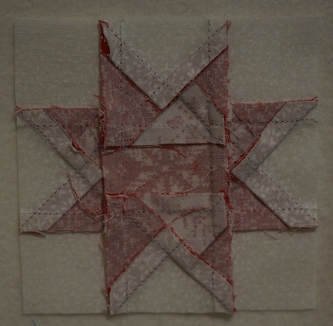
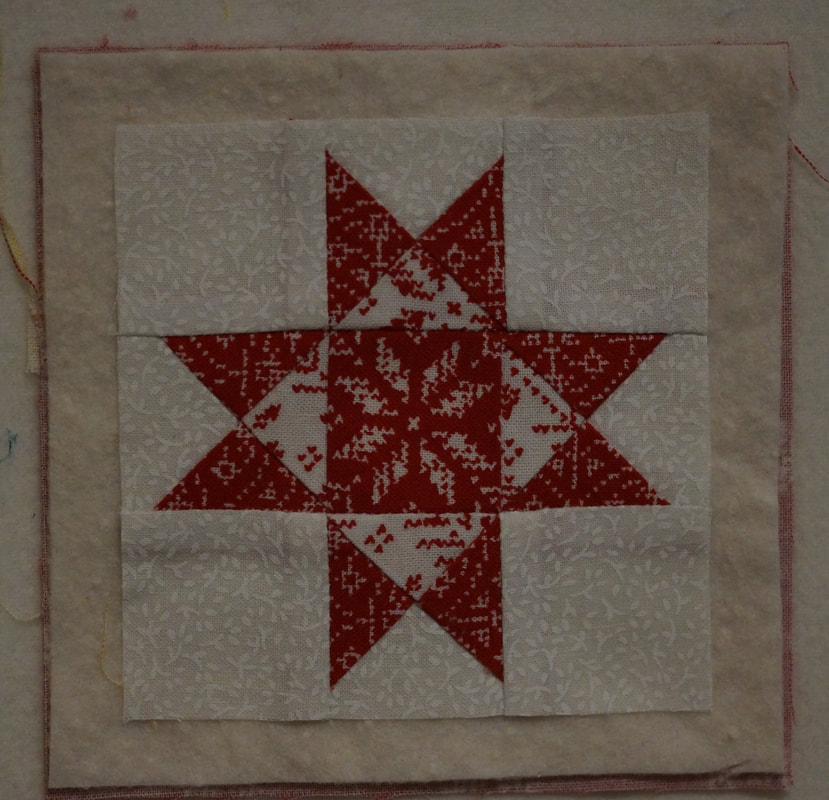
Now I do not want the top of my work surface to be sticky as I am quilting so I spray the back of the quilt block with the basting spray and then add it to the batting layer.
Quilt as you like. I stitched along the outside edge of the star and then around the center square-just keeping it simple. I like to use my Walking Foot for this. I start by pulling up my bobbin thread and then taking 5 or 6 very tiny straight stitches (.04 stitch length) then I set my length to 2.6 and begin quilting. Whenever I come to a corner I make sure to stop with my needle down in the fabric before pivoting my work.
When I come back around to my starting point I shorten my stitch length to that .04
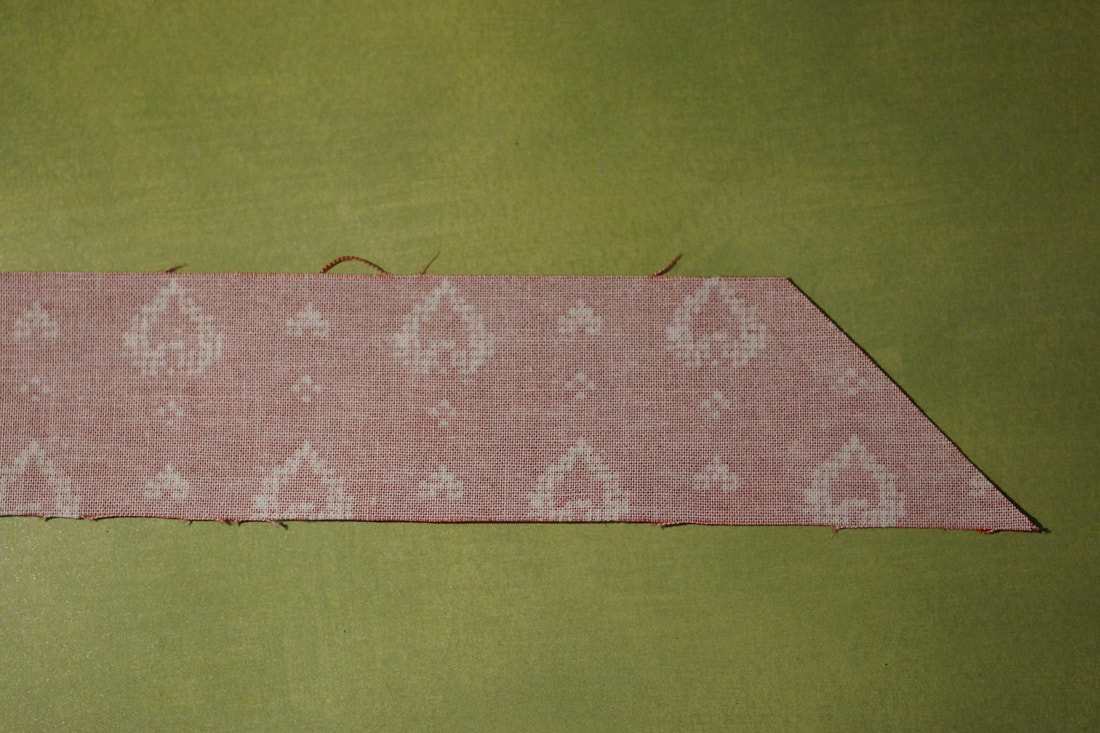
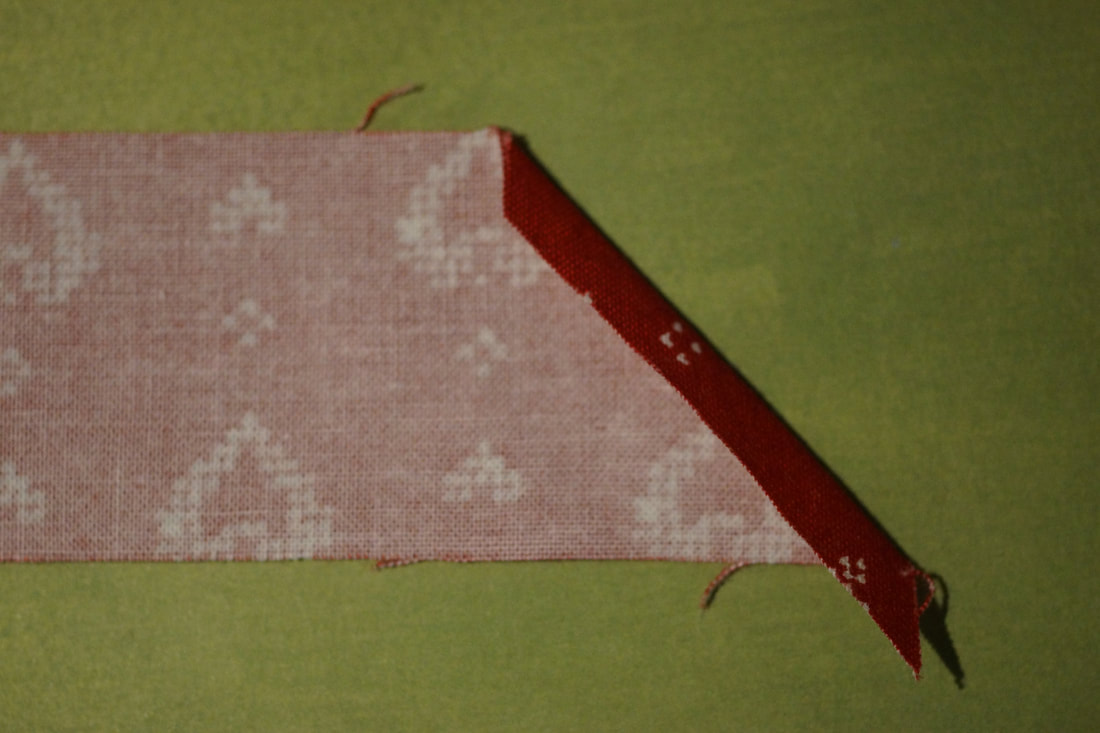
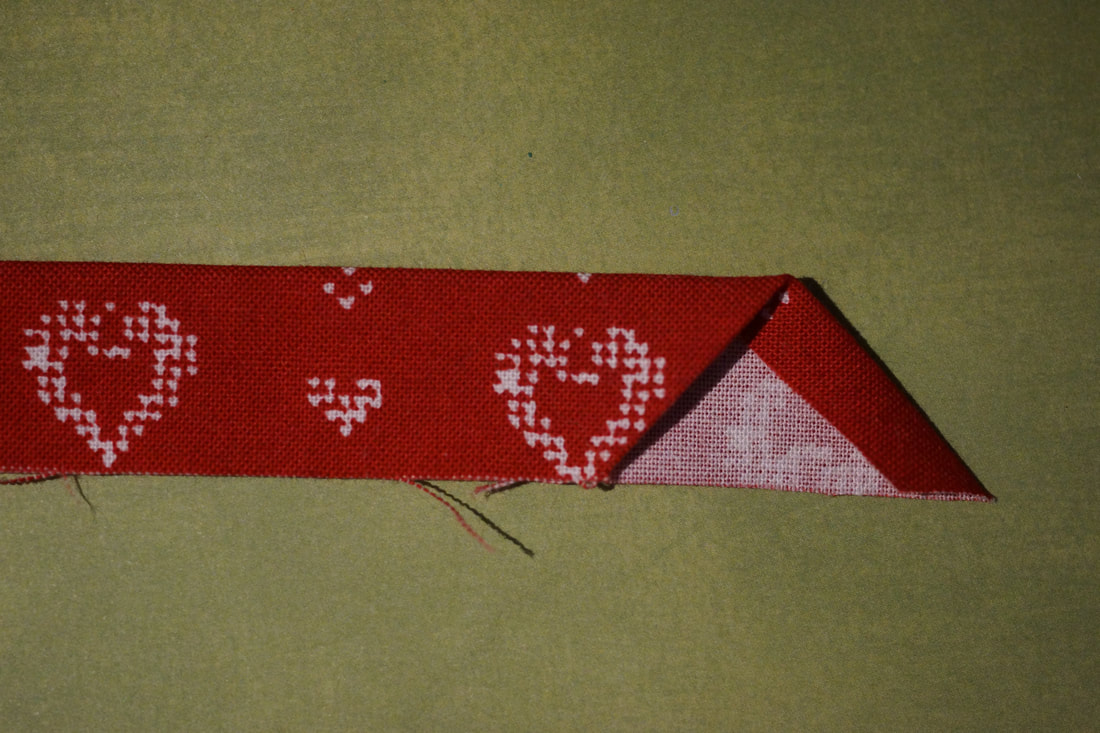
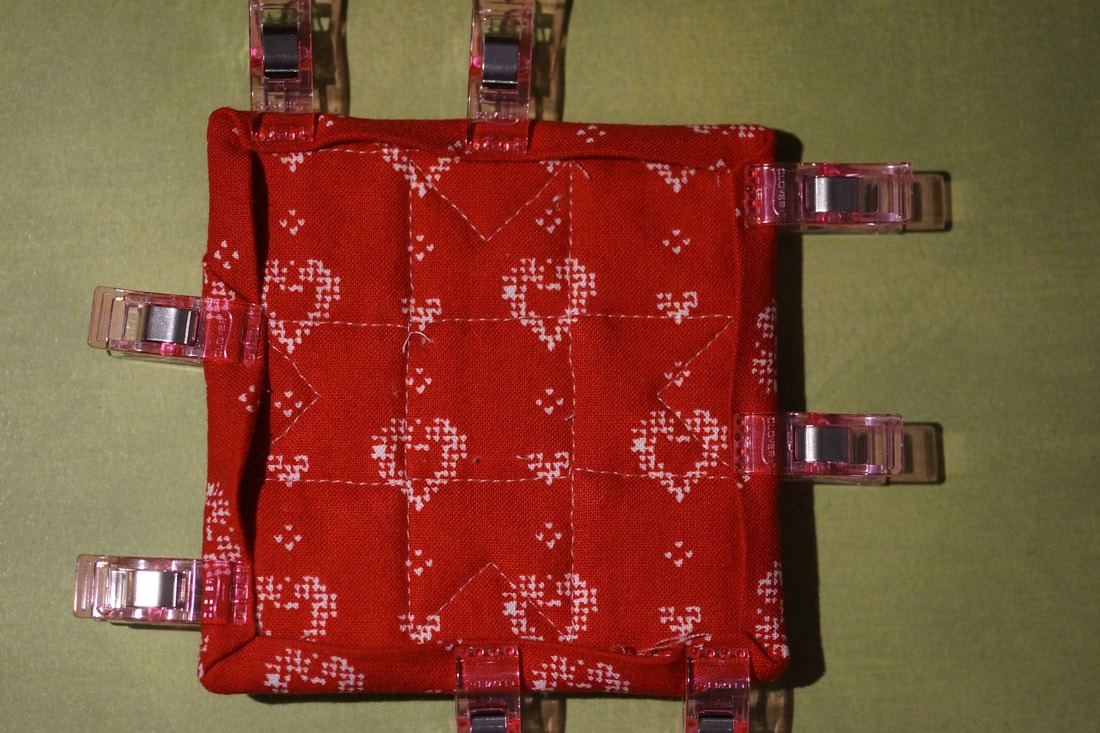
and take 5-6 stitches to finish it off. I then use a hand sewing needle to work the thread tails into the layers of the quilt. For the binding I am just modifying my usual method a bit. I start the same way by preparing my binding as shown. Trimming a diagonal, pressing it over about 1/4" and then pressing the binding in half.
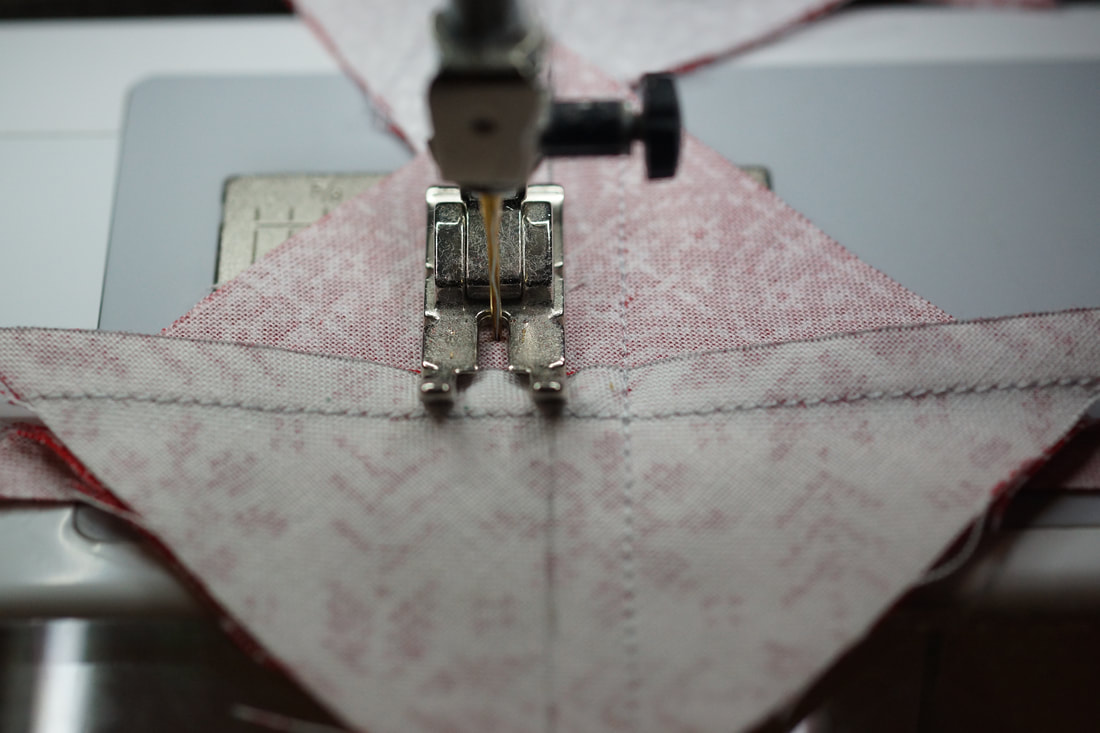
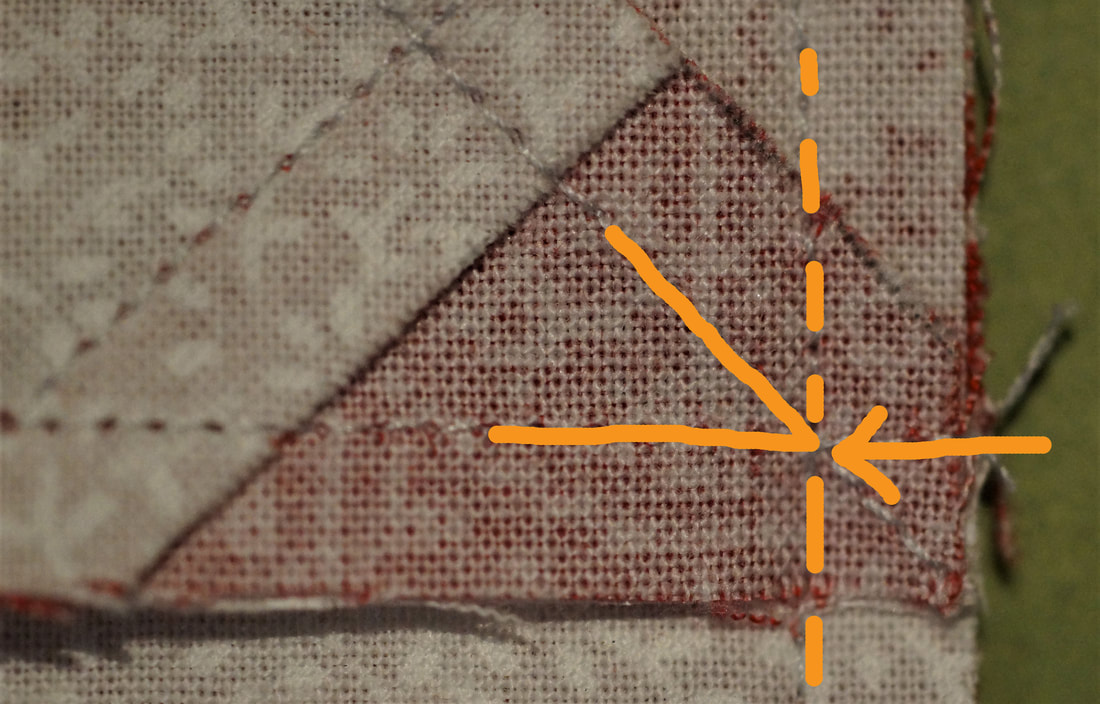
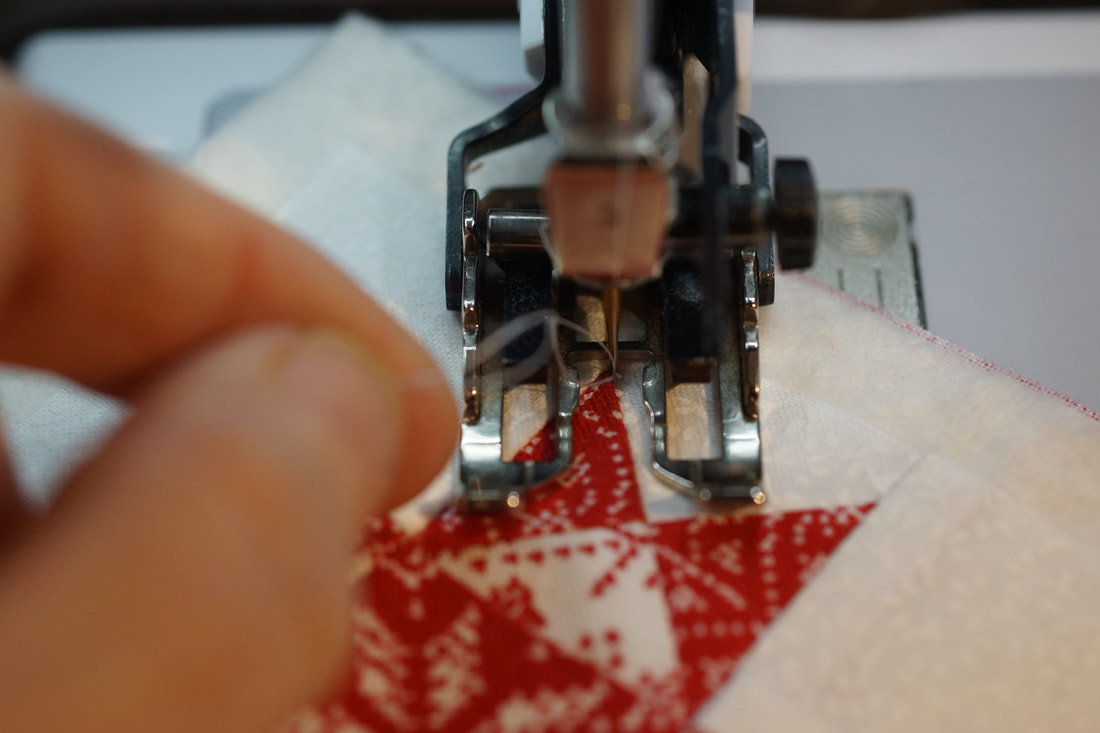
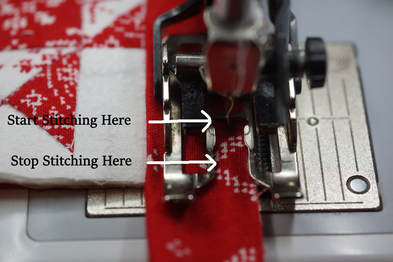
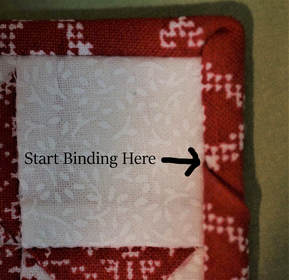
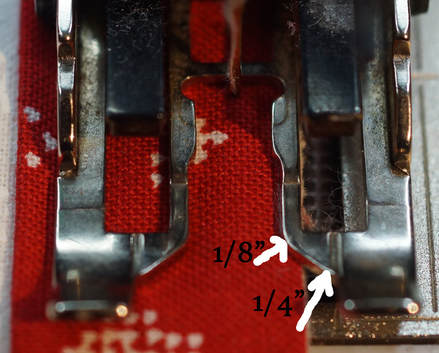
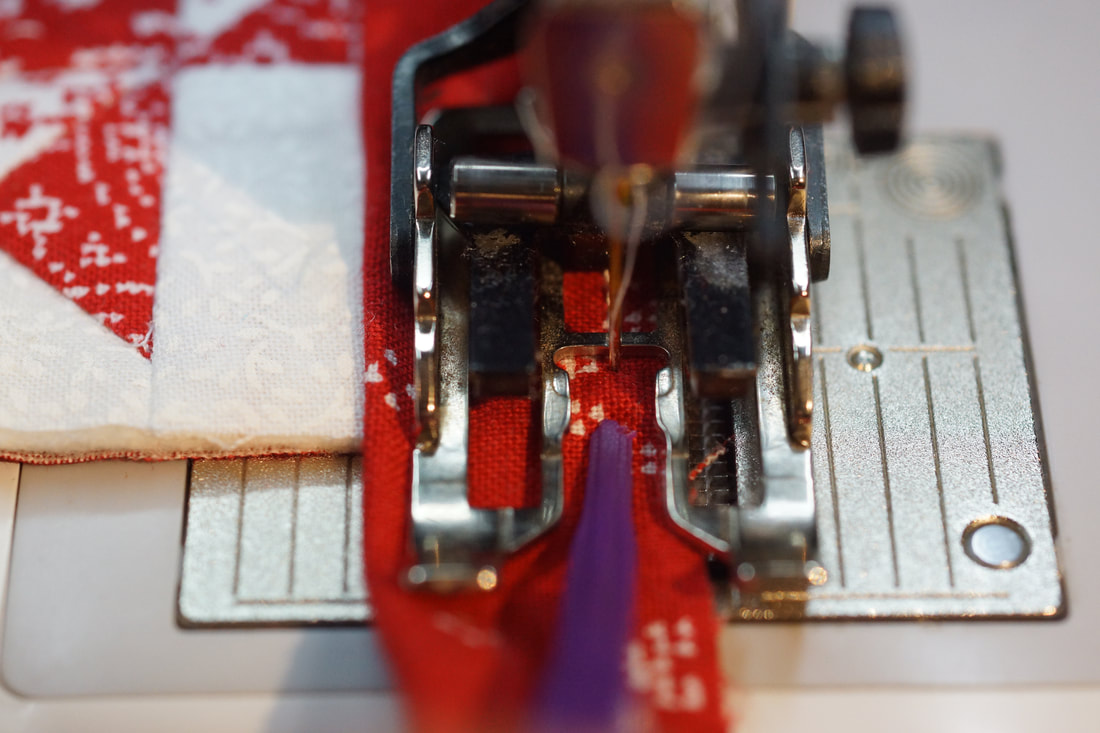
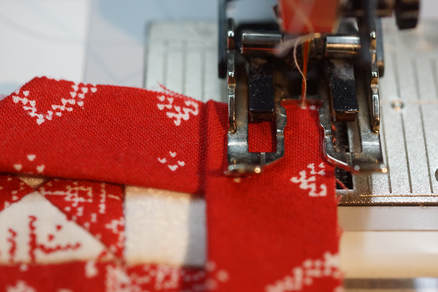
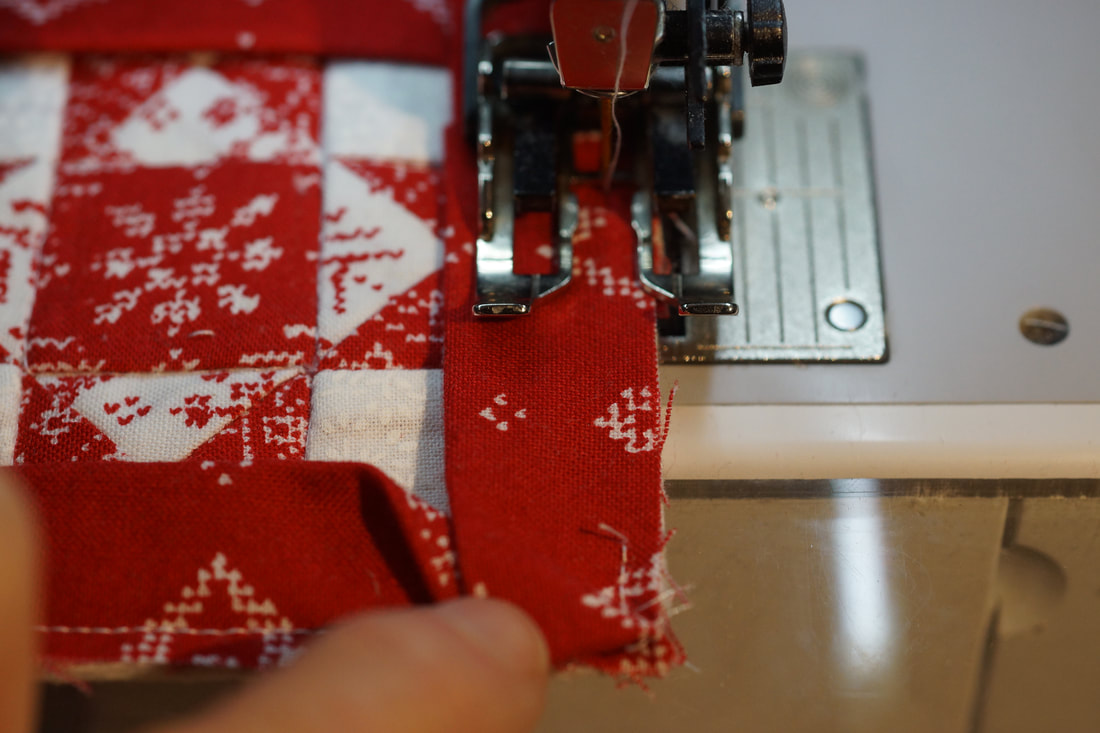
Usually I use a 1/4 seam allowance when attaching my bindings, for this quilt I am using less, about halfway between a 1/4" and an 1/8". (See zoomed photo of how this looks with my walking foot.) This is such a tiny quilt that I am only going to be taking a few stitches from my starting stitch to the place where I will stop. I start about 2" below the beginning of my binding. I neglected to take a photo showing how I laid it on the quilt, but in the completed photo you can see where I laid the binding to start. I do not start stitching there, I move way down to almost the bottom of the quilt to begin stitching.
Again, this is such a tiny quilt that I only take about 5 stitches to start before I backstitch to lock the stitching in place before removing it from my machine. Sometimes I use a stiletto to press against the edge of my quilt to make sure I am the right distance away from the edge for stopping my stitching.
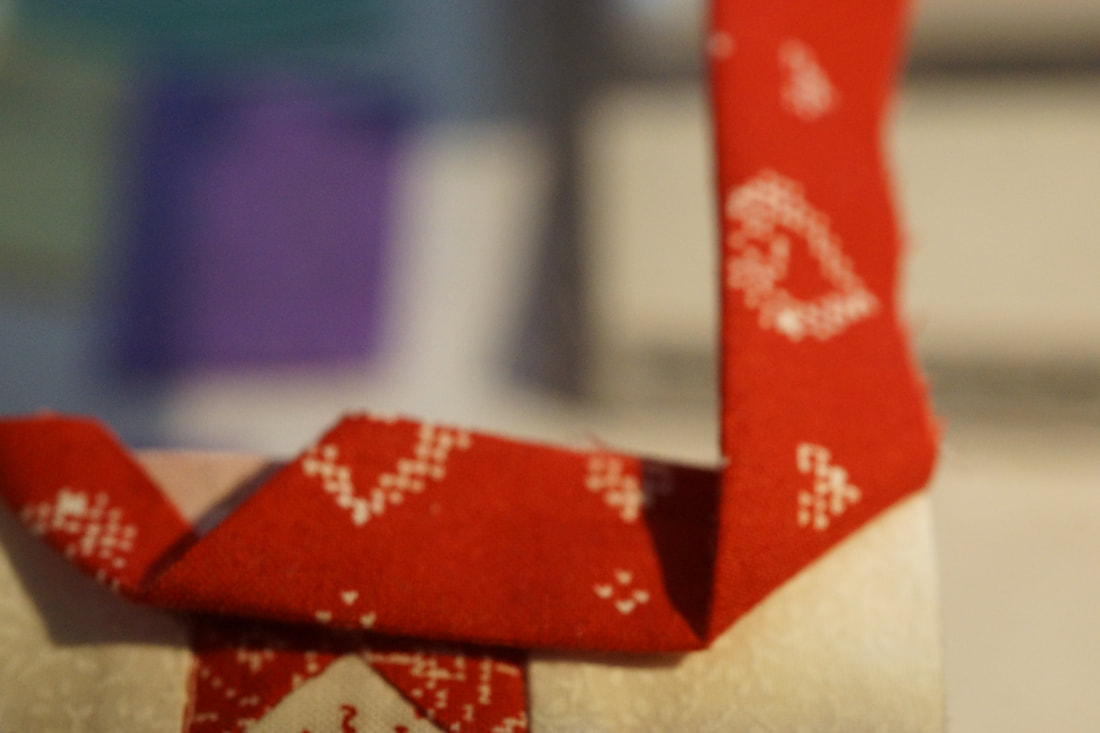
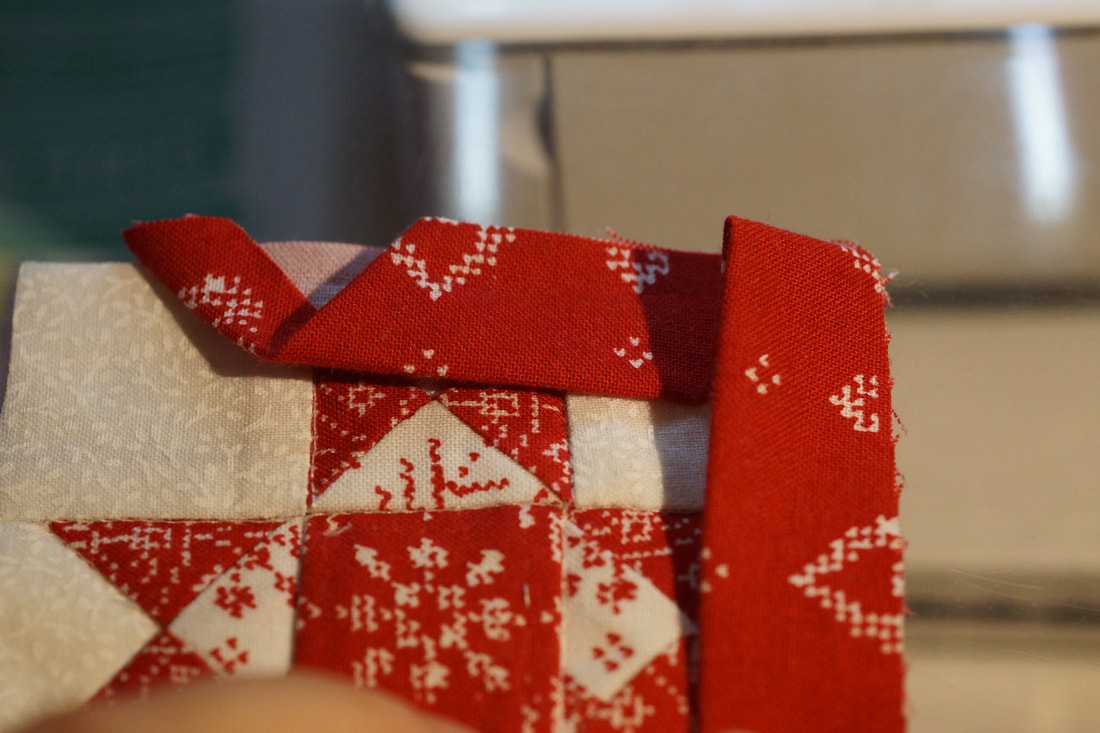
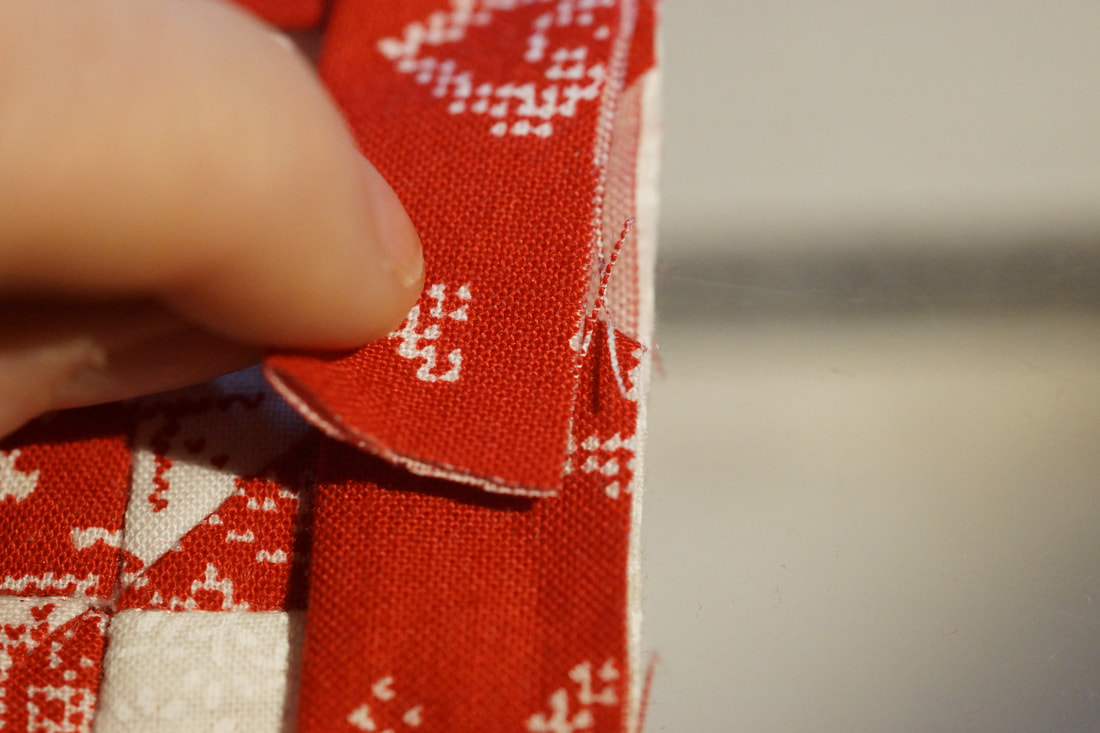
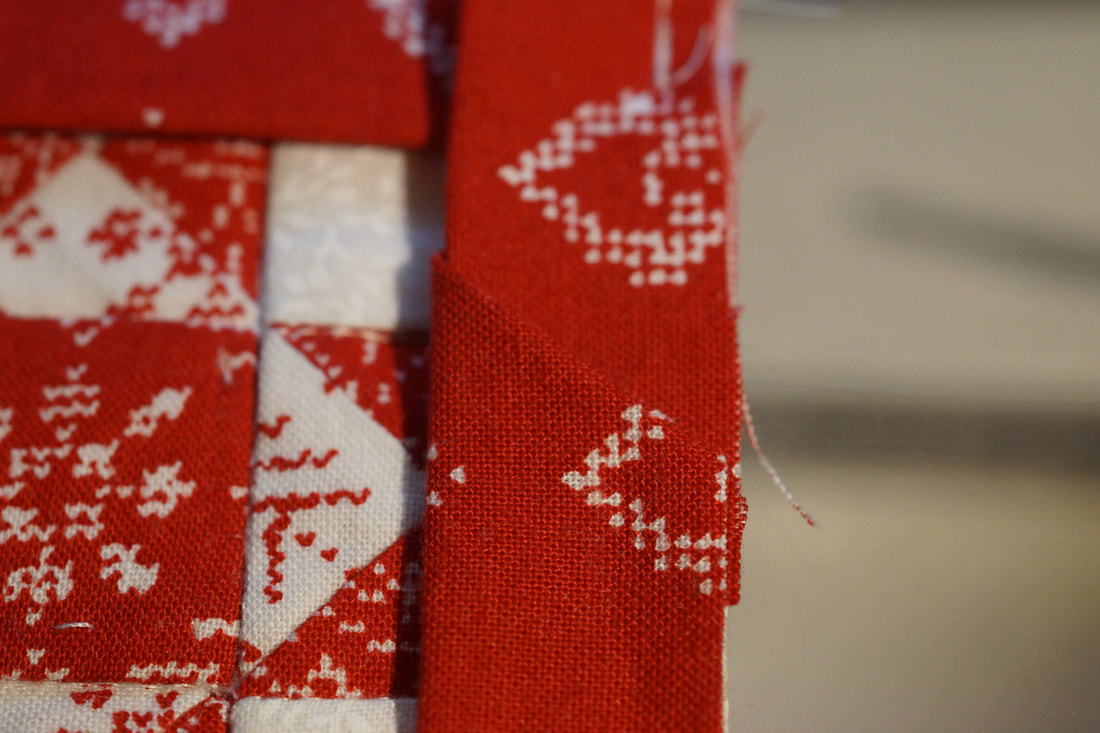
To miter the corners I remove the quilt and flip the binding up over the edge I have just sewn. Then bring it back down, lining it up with the edges of the quilt-
the fold at the top edge and the raw edges along the side- I will now sew along this next side. (You can also see here how I laid my binding to get started.)
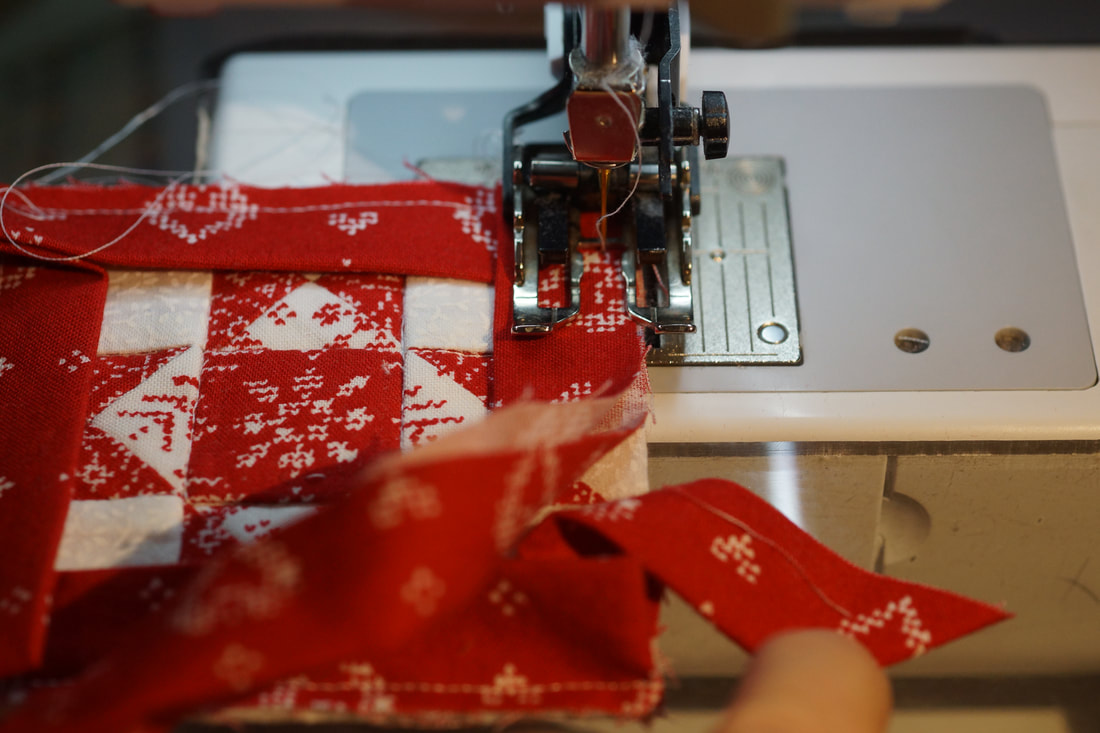
I continue on around the quilt until I get back to the last corner. Again, I will only take just a few stitches here as I do not want to sew over the start of the binding. I moved the binding underneath out of the way a bit to show you. Finish with a locking stitch and remove from machine. Next I trimmed the top binding so that it extends just about a 1/2" beyond the angle on the bottom binding.
Now I just tuck the top binding inside the bottom binding strip.
Then sew this final side from top to bottom, being careful not to sew the bottom corner where my miter is, but just go over the first few beginning stitches.
I like to press my binding open and then flip it to the back and use a slip-stitch to fasten it down to the back.
All that remains is to attach a piece of Pearl Cotton Thread for the hanger...I did one in the middle and one in the corner-choose whichever you like best...or do two!
In a couple of the blocks coming up there will be some teeny tiny Flying Geese-they will be trimmed to 1 1/4" x 2". I contacted my friends at Bloc Loc and they have agreed to give away one of their rulers perfect for trimming these-the 3/4" x 1 1/2" size ruler! This ruler costs $18.50 on their website, so no it is not cheap, but worth it if you get into making mini quilts-which I warn you now it becomes rather addicting, lol.
To be entered into this giveaway leave a comment telling me the smallest size quilt block you have ever made. The winner will be chosen by random drawing and announced on November 16th. If you would like to see the ruler in action watch the video below (starting at about the 2 minute mark.) I have been using these rulers for several years and just love them in the sizes that I tend to use over and over again.
Best of luck and Happy Quilting!
Janet F
11/2/2018 06:00:15 pm
The smallest I have made is 6", but I would like to try making some smaller ones.
Debra
11/3/2018 09:03:02 am
I hope you give these a try, Janet and let me know how it goes for you.
Jeannette Ashleigh
11/2/2018 08:56:58 pm
6inch Block for me. Now to try tiny tiny!!!
Debra
11/3/2018 09:04:13 am
I hope you have fun with them, Jeannette!
Jennifer Surra
11/2/2018 09:27:39 pm
I am in the process of making the 365 day challenge quilt with is made up of 365 blocks ranging in sizes 3” 6” 12” and one center 24” block. So I have made several 3” blocks some with 44 or more pieces.
Debra
11/3/2018 09:05:28 am
I cannot imagine a 3" block with 44 or more pieces! You must be a mini rock star, Jennifer.
Anne Lavoie
11/3/2018 03:07:15 am
I’m excited to make these ornaments! Many of my ornaments on my tree are handmade. They range from when I was a child to when my sons were young . These will be unique because they’re going to be the first ones that are mini quilts! So exciting! I’m in the process of making the 365 quilt so making 3” blocks is something that I have been doing quite frequently this year 😊 thank you Debra for sharing your talents with us!!
Debra
11/3/2018 09:07:10 am
How fun to get to add quilts to your tree, Anne. I am so happy to have your support!
Laurie
11/3/2018 04:16:26 am
Adorable ornament, can’t wait to see what else you have in store for us 😀 I think the smallest block I have ever made was 6”.
Debra
11/3/2018 09:08:08 am
Thank you, Laurie. I hope you fall in love with making these too.
Cathy Beal
11/3/2018 07:07:30 am
The smallest block I have made is 6" and many of them were by following your blockhead tutorials. I really want to try these ornaments! They are so cute and your tutorials always make them much easier! Thanks
Debra
11/3/2018 09:10:56 am
Oh, those Blockhead blocks! Those were the smallest I had ever done before-and then I tried Betsy's mini pennies and, well, the rest is history. Have fun with them, Cathy!
Skeeter
11/3/2018 01:02:44 pm
Love your Christmas tree and the cute ornaments. I followed you through Blockheads 1 and learned so much from your tutorials. I'm excited to give these tiny ornaments a try. The smallest block I've made is 6". These will take patience with a capital P!
Debra
11/5/2018 10:58:44 am
So good to hear from you again! I hope you have fun with them!
LeighZ
11/4/2018 04:51:29 am
The smallest blocks I have made were 1-1/2" x 1-1/2" pinwheels to make into refrigerator magnets!
Debra
11/5/2018 11:00:00 am
Wow-as a friend has recently commented to me-Micro Minis-You rule the small Leigh!
Faye
11/4/2018 09:17:42 am
The smallest I have made is 6". Love mini quilts but don't think I have the patience; I might just get brave though!
Debra
11/5/2018 11:01:26 am
Oh, Faye do give them a try! And let me know how it goes for you.
Diana Lentz
11/7/2018 04:52:47 am
Very impresed how easy it is to make the square in a square. The video is very helpful.
Debra
11/7/2018 05:39:18 pm
I am glad to hear, Diana!
Anne
11/11/2018 03:13:17 pm
My mom got me addicted to hand-piecing Christmas ornaments when I was probably in middle school. I went through a whole pattern set (tree, Santa, cat, candle, etc.), many of which we still use on my tree now. I think they turned out to be about 3.5-4" squares. A few years ago for Christmas gifts, I made up my own patterns, mostly 9-blocks and stripes on point. I'm really happy to have new patterns to try out now!
Debra
11/13/2018 10:14:18 am
What a wonderful treasure, Anne! Have fun adding to your collection! Comments are closed.
|
Welcome to the site of Debra Davis-a woman who loves the Lord and loves to quilt.
My other blog where I share about my walk of faith:
Sitting at His Feet This website uses marketing and tracking technologies. Opting out of this will opt you out of all cookies, except for those needed to run the website. Note that some products may not work as well without tracking cookies. Opt Out of Cookies |







 RSS Feed