|
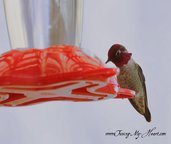
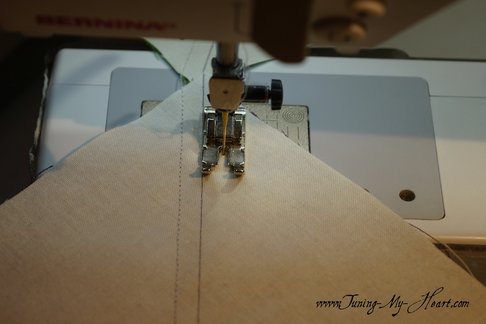
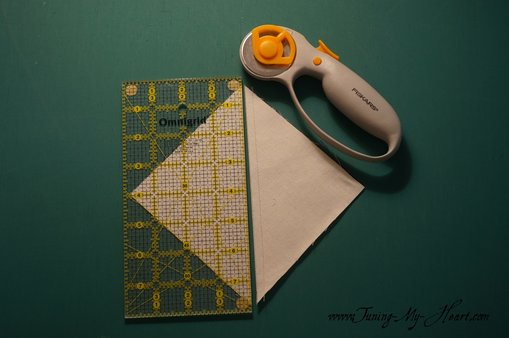
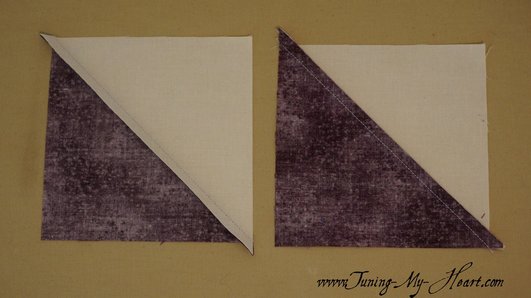
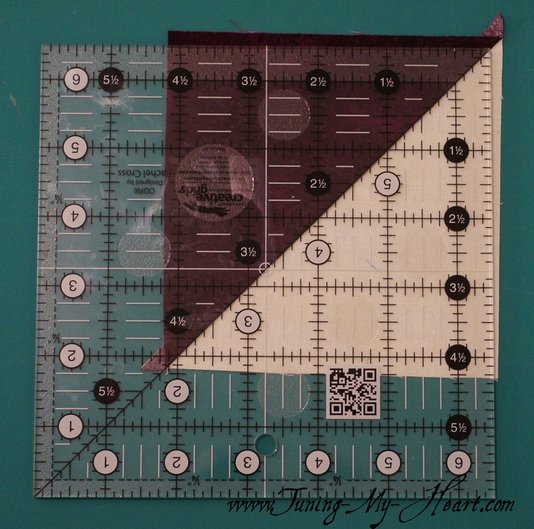
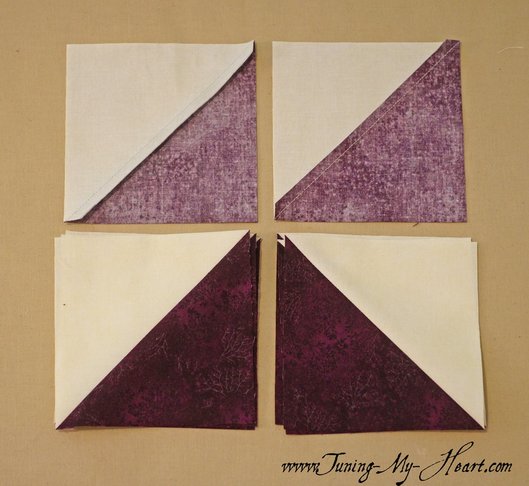
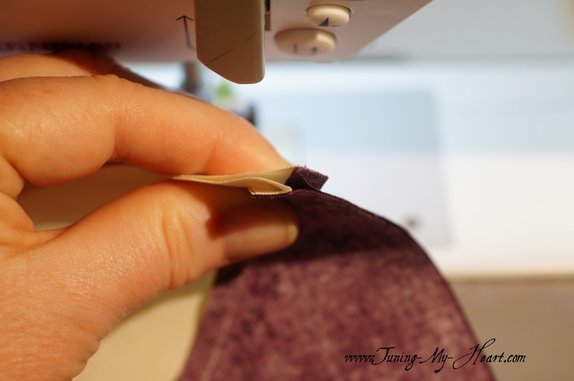
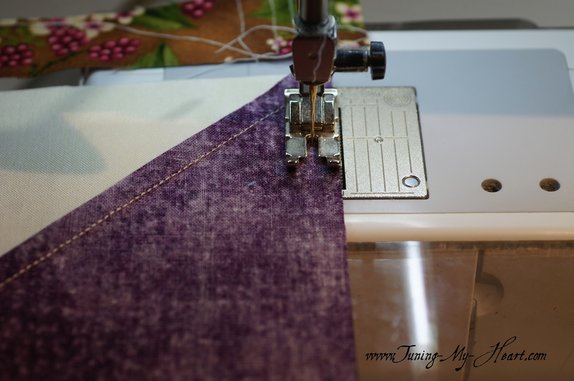
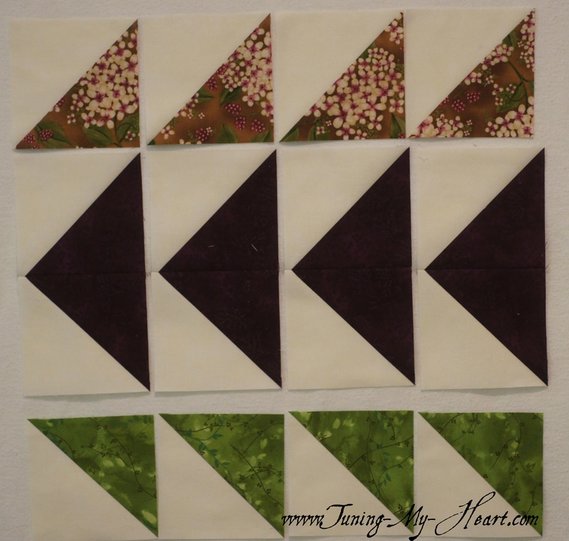
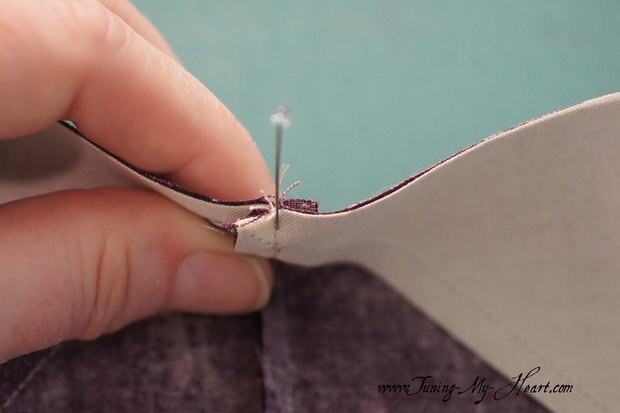
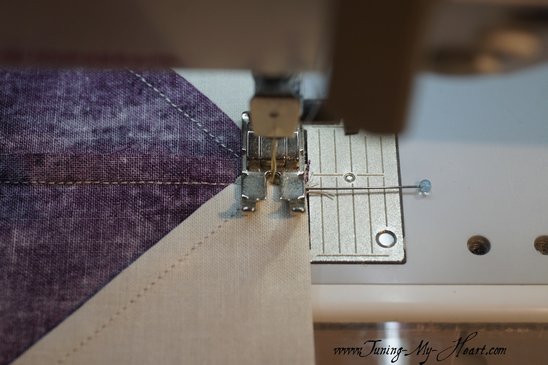
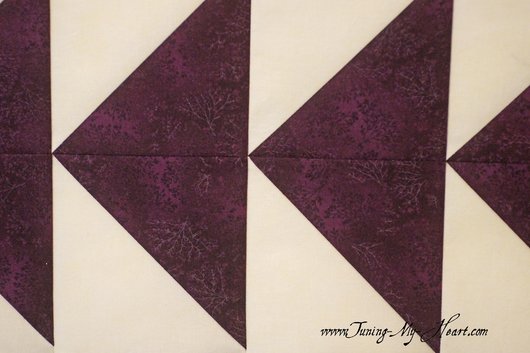
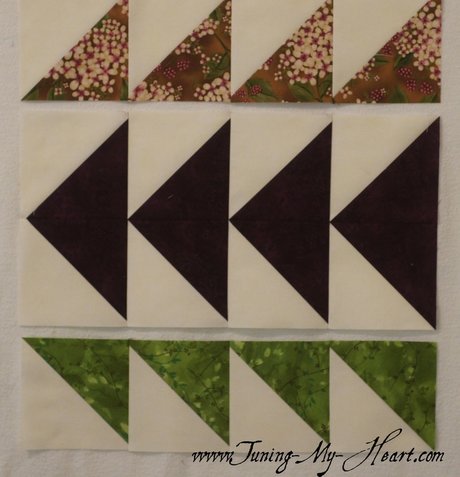
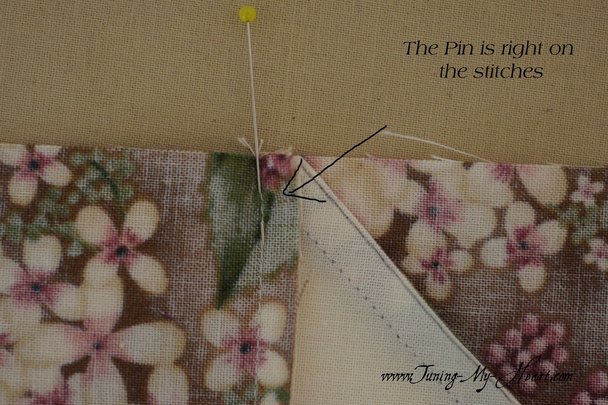
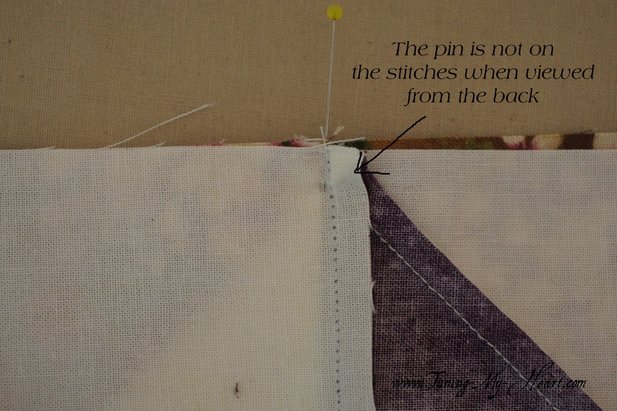
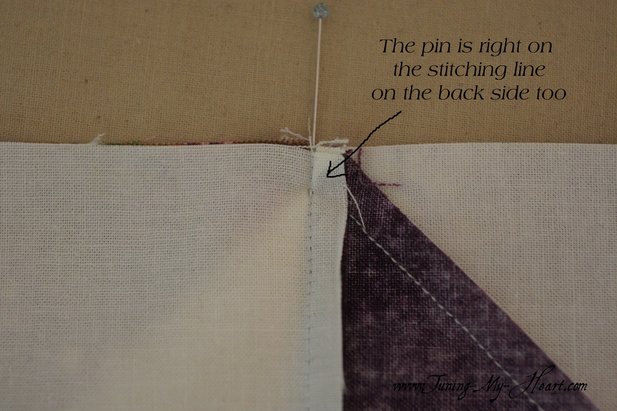
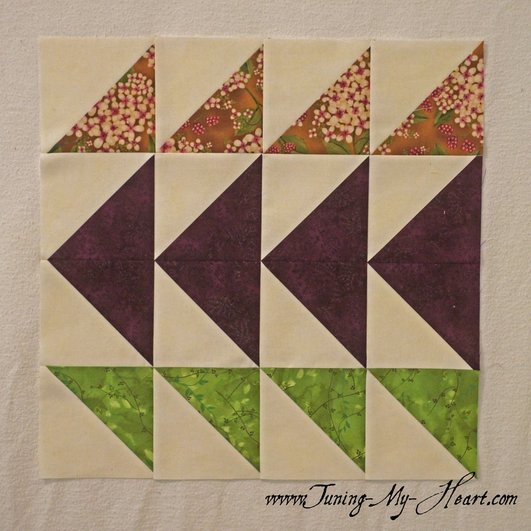
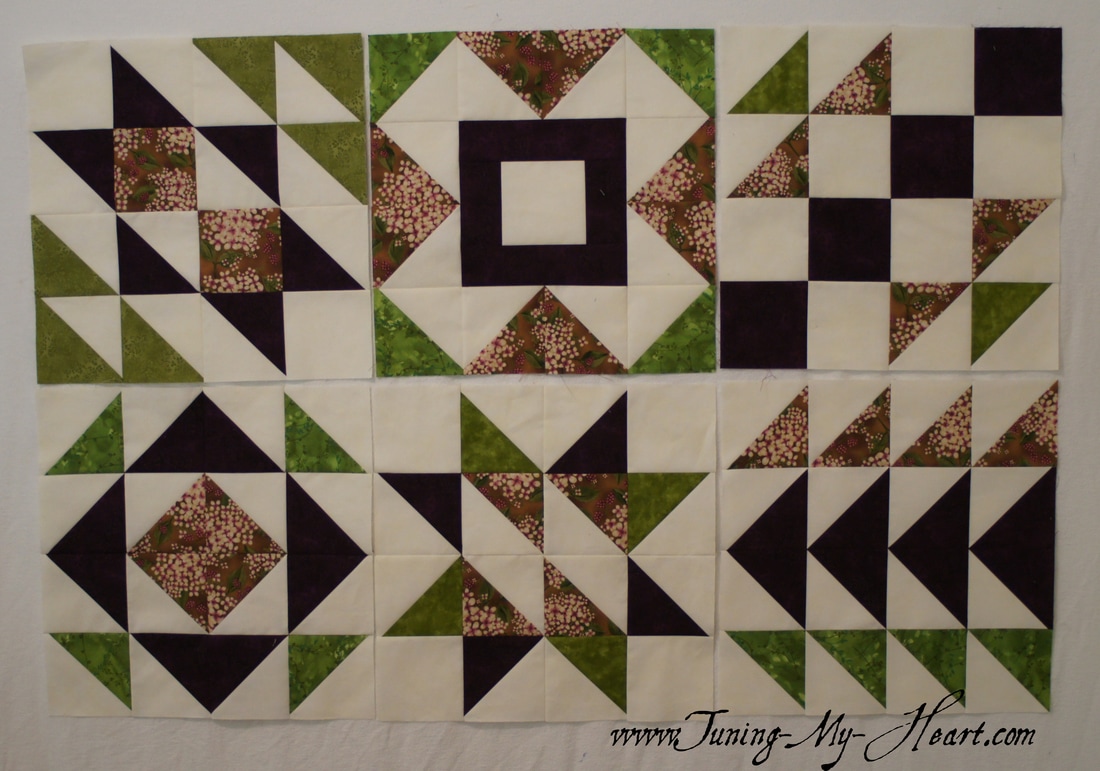
It was Spring Break here this past week so not a lot of sewing happening. The week started out with snow again, but has warmed up nicely and we were able to get out and enjoy our "backyard." Despite the snow our hummingbirds have started to return already and we are enjoying their antics. So Block 6 is here! Only three left to go. The cutting is pretty easy this week: all of the fabrics are cut into 5.25 inch squares. I have covered how to prepare your pieces to make the Half Square Triangles in earlier posts so let's just get to sewing. Start by stacking one Fabric D square with each of the remaining fabric squares. I have stitched 1/4 inch away from one side of the diagonal line and now need to stitch on the other side. Chain-Piecing is my friend. Once all of our squares are sewn together cut right on that diagonal line using a ruler and rotary cutter. I have seen a number of cut fingers recently so please be careful, these blades are extremely sharp. Looking at Andrea's pattern this week, I noticed that the center squares go together to make Flying Geese units. I decided to approach these a little differently than her directions and make the flying geese units first. I began by pressing the seams of these squares in opposite directions-so four are pressed "to the dark side," and four are pressed to the light side. I am trimming as usual to 4.5 inch squares. These have been stacked according to which direction they were pressed Now you can see how pressing as I did allows those seams to nest together. Just like with other blocks, I am chain-piecing these units together. All of my Flying Geese units are done and added to the design wall. Everything is pointing the right direction so I can carefully move them over to my sewing machine and start sewing the rows together. When I press these rows, the flying geese units are pressed to the dark side and the top and bottom rows are pressed in the opposite direction of the Flying Geese. I am putting a pin in at the seam of the Flying Geese units when I sew them together. I want to try and keep my sharp points; so as I come to that bulky seam I slow way down and try to get my needle to land right at the junction of my previous stitching lines. At this point I stop my machine with the needle in the down position and remove the pin that was holding everything in place before I begin sewing the rest the way. Those points came out looking pretty good. I also like that this photo captured the beauty of the darker fabric I am using in this quilt-it usually show almost black in my photos. I now have three rows ready to be sewn together. And here is a little tip about pinning those seams together. Even when they nest nicely I can still be off if I do not pin carefully. I try to pin right on the stitching and then flip to the back to make sure the pin is lined up on that stitching as well. If not the seams will not be properly lined up after they have been sewn. Most of the time they will be off by just a little, but this is a tip to help improve that accuracy that works for me almost every time. After a little repinning... The top and bottom rows have been added to the middle row of Flying Geese and I have my Block 6. Lookin' good. This is how all of my blocks look together. It is exciting to be entering the home stretch on this quilt. I suppose by now you either hate or love Half Square Triangles. Feel free to express your opinion in the comments. I think my relationship with them is a love/hate one...but it has been improving over time, especially in these small weekly bites. Until next time... Happy Quilting!
Meg Andronico
4/2/2017 06:18:10 pm
Great tips. Thankyou Comments are closed.
|
Welcome to the site of Debra Davis-a woman who loves the Lord and loves to quilt.
My other blog where I share about my walk of faith:
Sitting at His Feet This website uses marketing and tracking technologies. Opting out of this will opt you out of all cookies, except for those needed to run the website. Note that some products may not work as well without tracking cookies. Opt Out of Cookies |
Tuning My Heart Quilts by Debra Davis is licensed under a Creative Commons Attribution-NonCommercial-NoDerivs 3.0 Unported License.
Based on a work at www.tuning-my-heart.com.
Copyright 2010-2022 by Tuning My Heart Quilts, LLC. No part of this website can be reproduced without written permission from the author. All rights reserved.
Proudly powered by Weebly




 RSS Feed