|
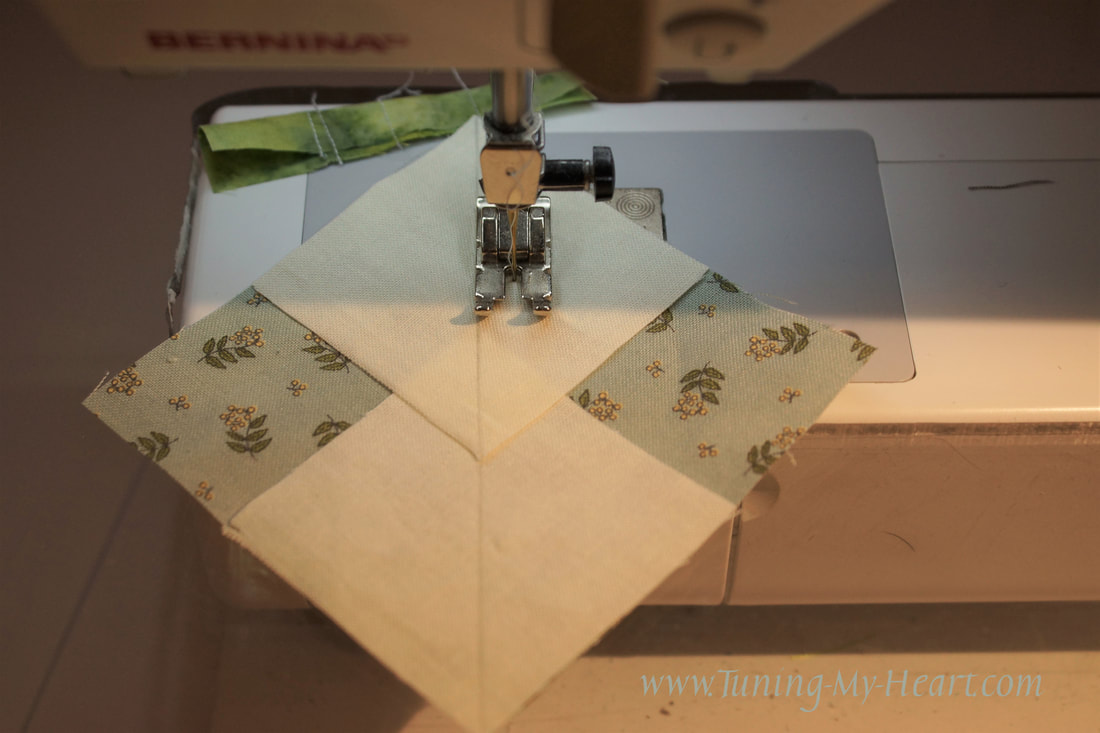
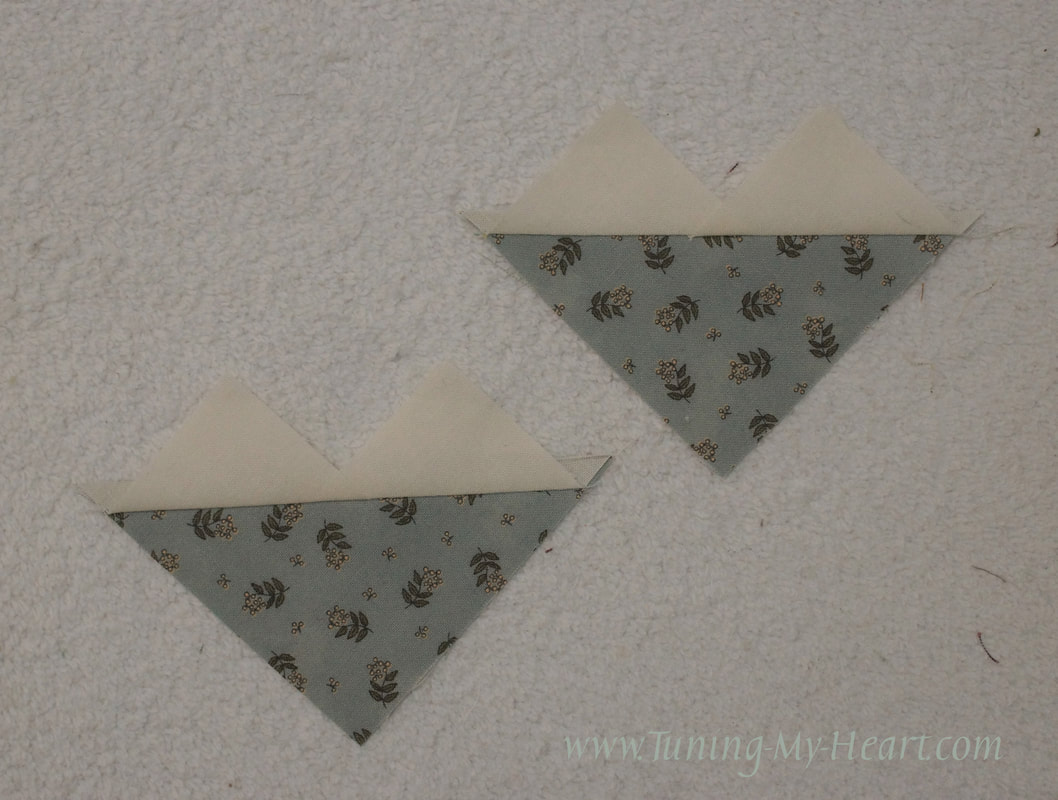
This weeks block is from Jo Morton and it has Flying Geese in it...I am having way too much fun making Flying Geese units right now. Do you remember that old commercial for potato chips with the tagline, "Bet you can't eat just one?" Well, I am finding it hard to make just one of these blocks and once you give it a try you may feel the same. There are so many looks you can get just by changing the fabric placement and if you have been looking at all of the lovely blocks being shared on Facebook you know just what I mean. You can find the pattern HERE. 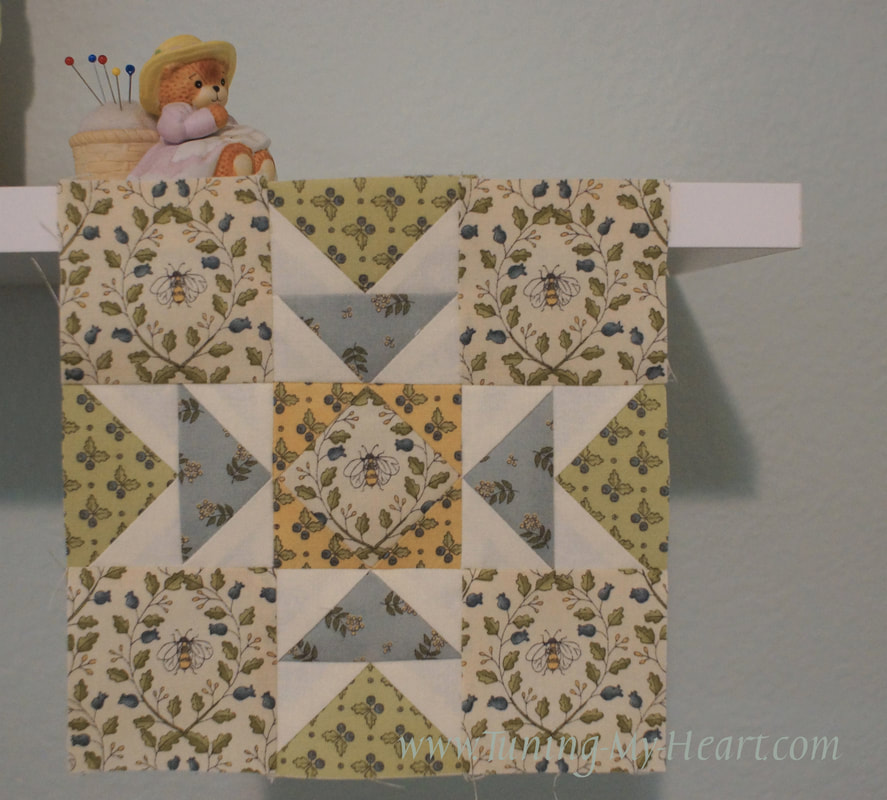 I am going to use the No Waste method for making the Flying Geese units again. That means I changed the cutting directions for A and B. A-2 1/8" x 2 1/8" (cut 8) B- 3 1/2" x 3 1/2" (cut 2) Since I am making two different colors of Flying Geese I cut one B from each fabric choice. 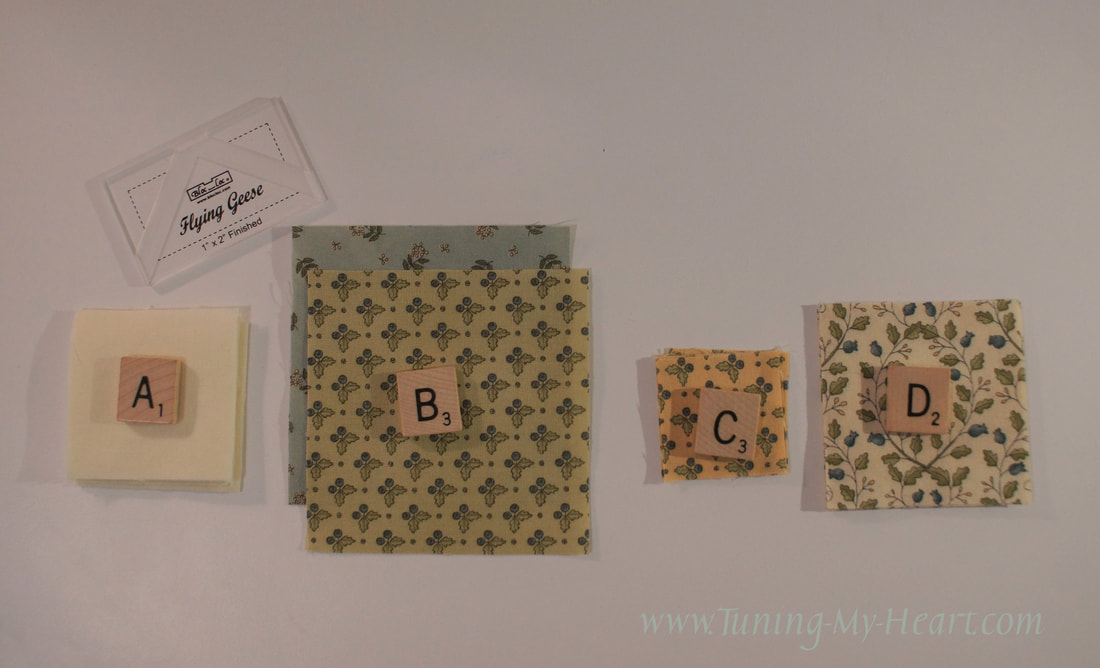 We should be getting pretty good at this now...place two A squares on opposite corners of the B square and draw a diagonal line through both. 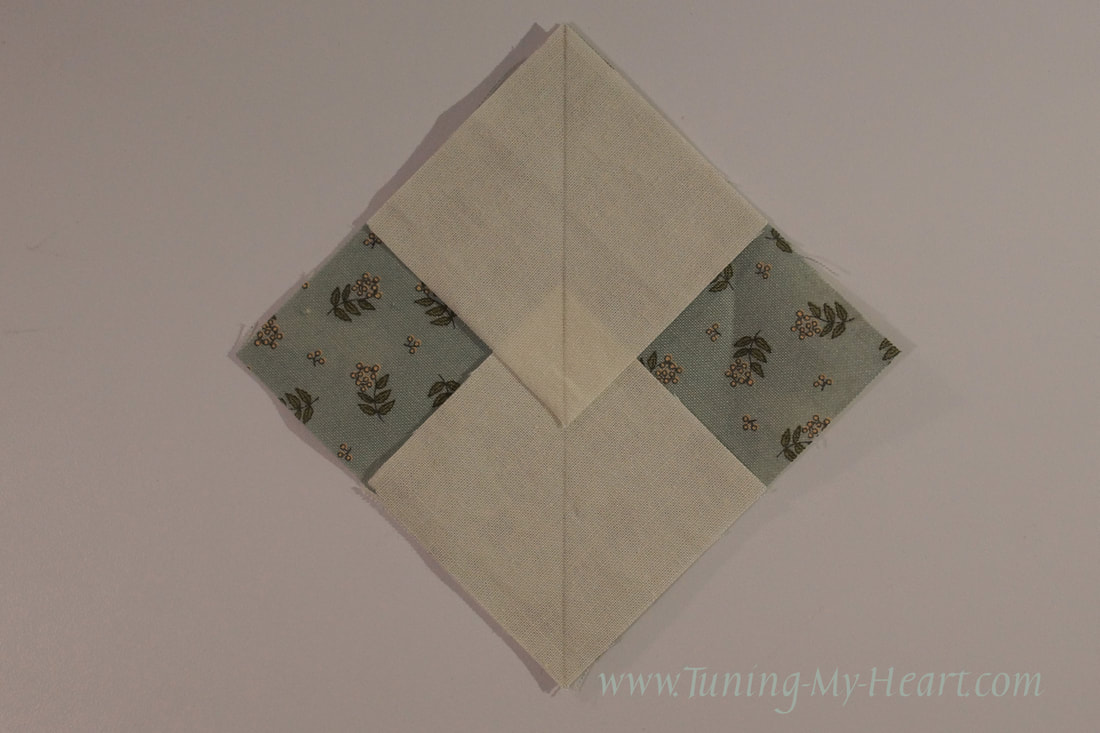 Sew 1/4 inch from each side of the drawn line. I find it helps to have that point on the top A square facing towards me as I feed it though my machine.
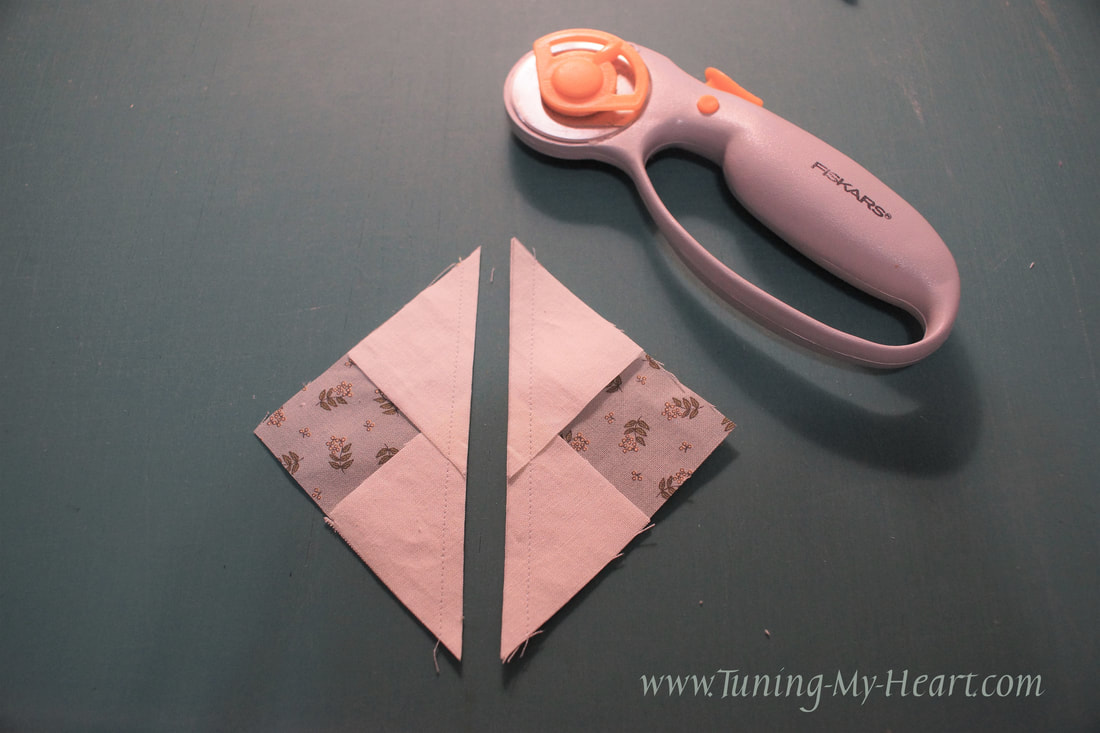
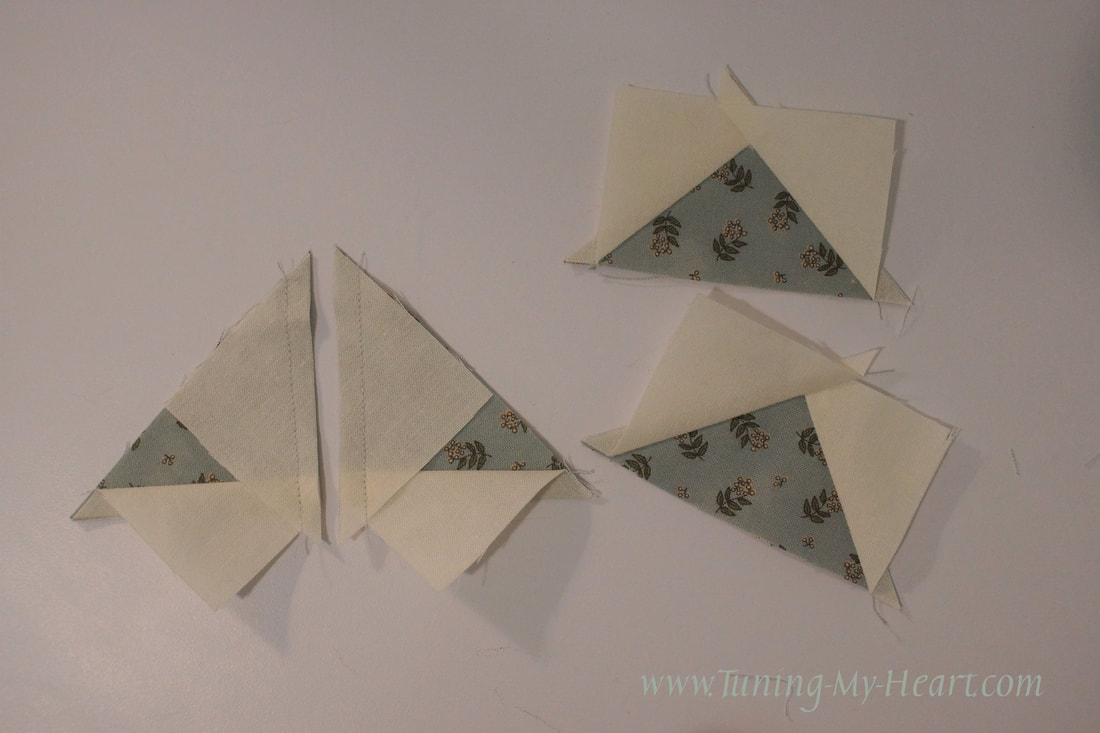
Cut apart on the line and press towards the triangles.
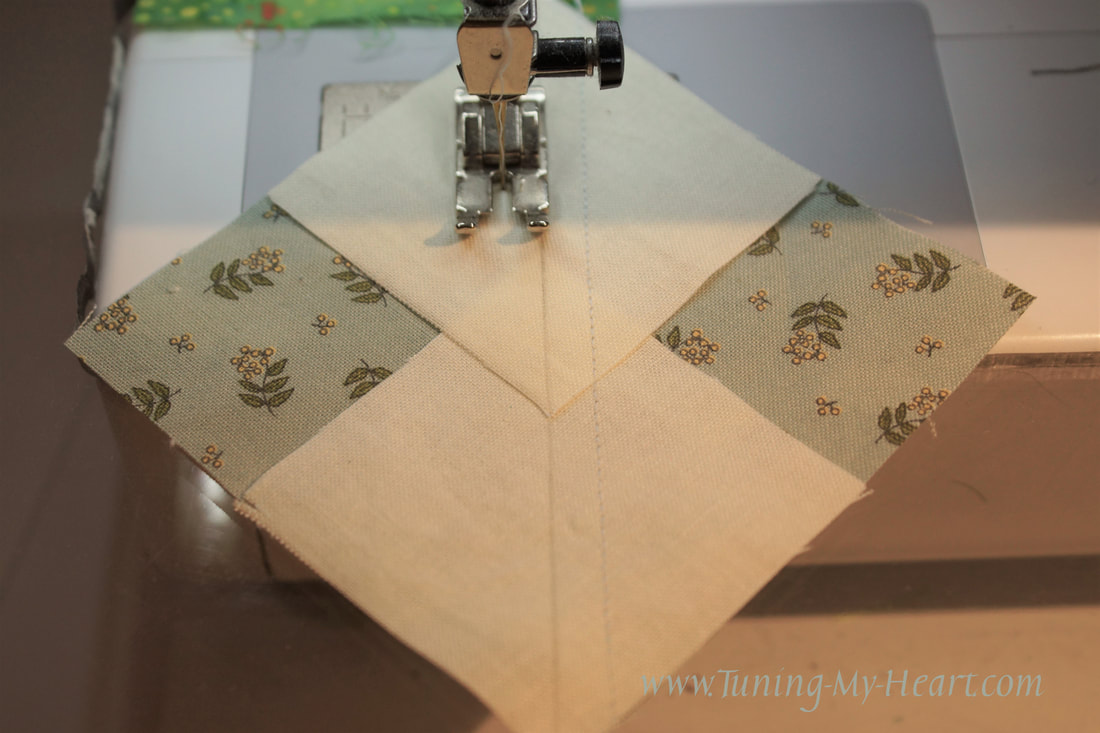
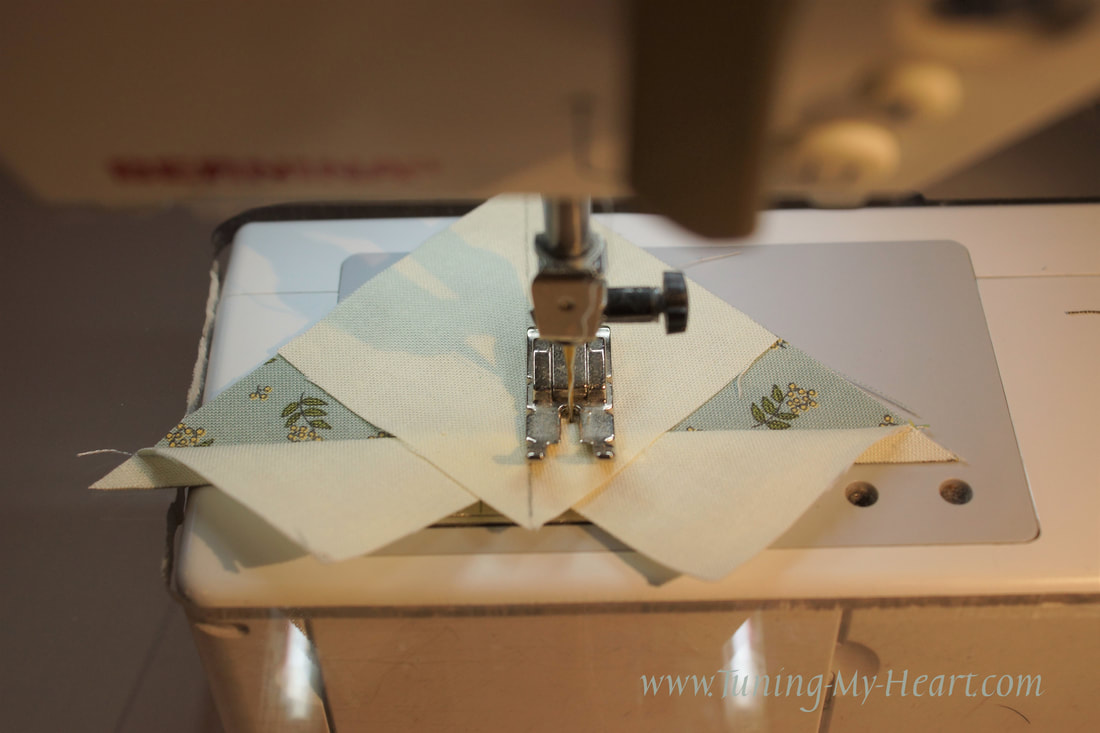
I draw the diagonal line on the remaining A squares before placing them on the unit just made. 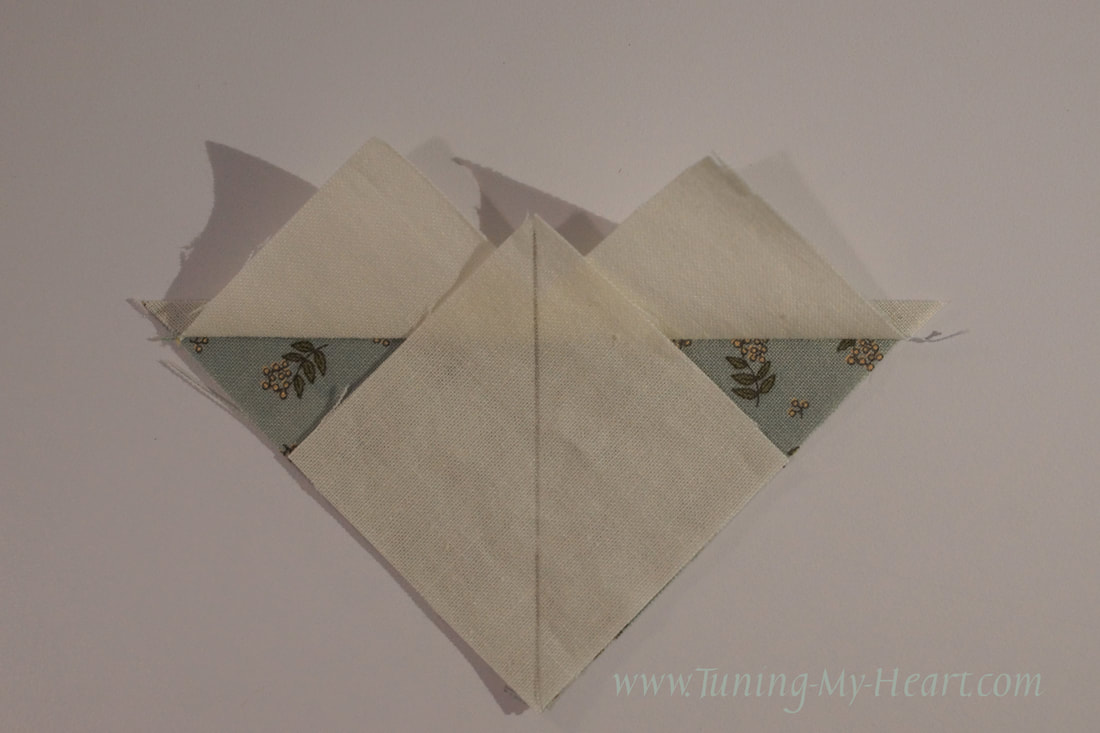 Just like before, sew 1/4 inch from each side of the drawn line. Again, I like to sew with the unit in this direction so that everything stays nice and flat. Cut apart on the drawn line and press towards the triangles. Voilà! Four little Flying Geese made.
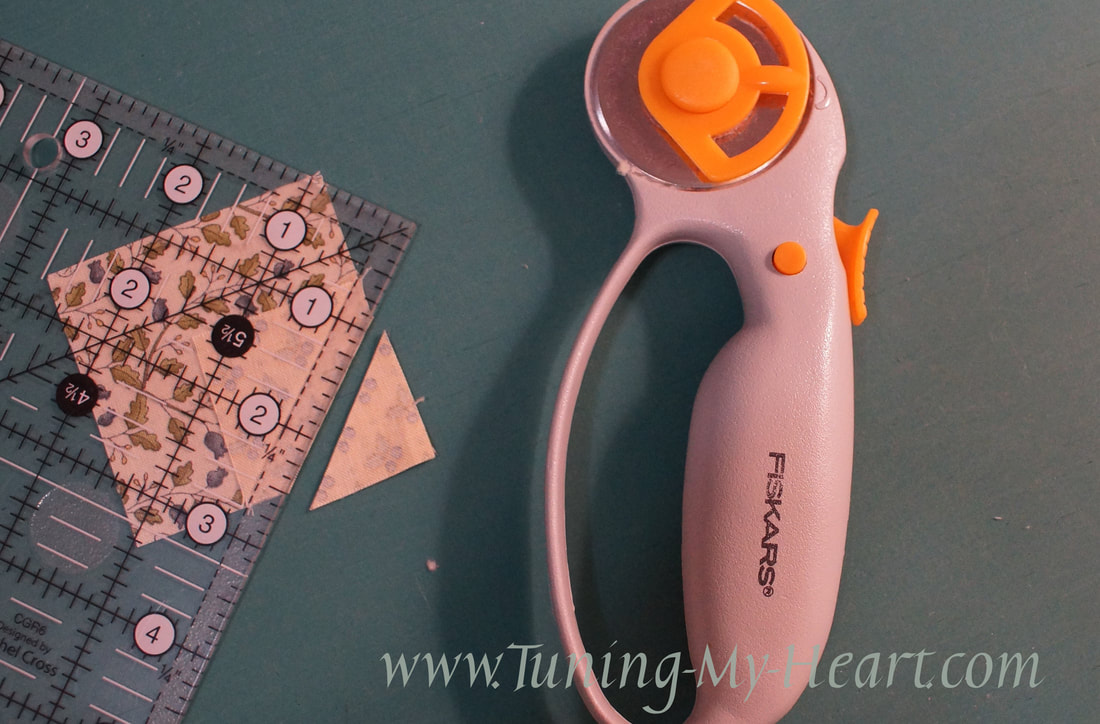
We need to trim these to 1 1/2" x 2 1/2" I am using one of my Bloc Loc rulers, but will demonstrate with a regular ruler as well.  If you are using a regular ruler line up the 1 1/4 inch mark with the point of the "Goose" making sure that you have 1/4 inch extending beyond. Place your 1 1/2 inch mark along the diagonal seam on the right and 2 1/2 inch mark on the left. Trim the side and top.  Rotate the unit and once again place the 1 1/4 inch mark at the point of the "Goose" and the 1 1/2" line of your ruler should run along the edge we just trimmed. Line up the diagonal of the ruler with the seam on the right, and the 2 1/2" line should fall right on the other edge we you just trimmed. Trim the last two sides. 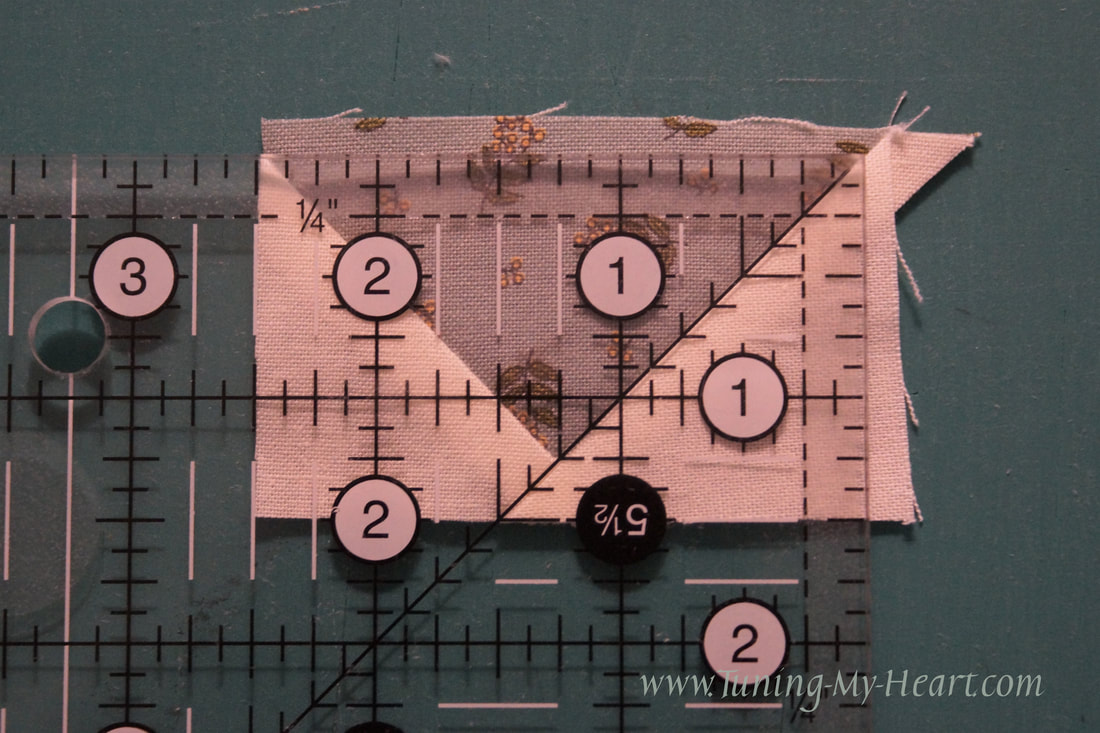 Now lay out all of the lovely geese in pairs and sew them together. 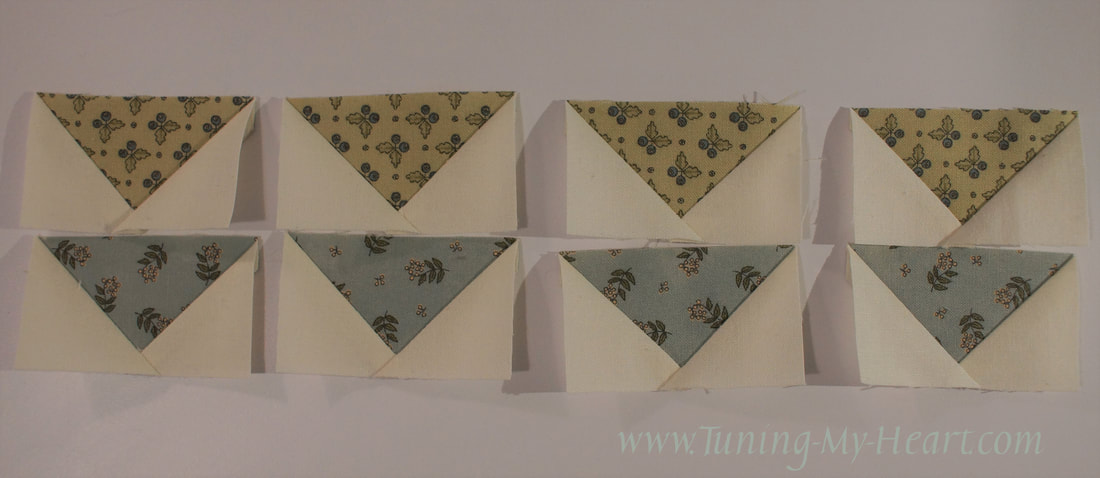 There is going to be some bulk when you go over this seam so go slow. A stilleto can help to guide it through as you attempt to have your needle land right on the center of the X made by the seams of the flying geese. (see next photo) 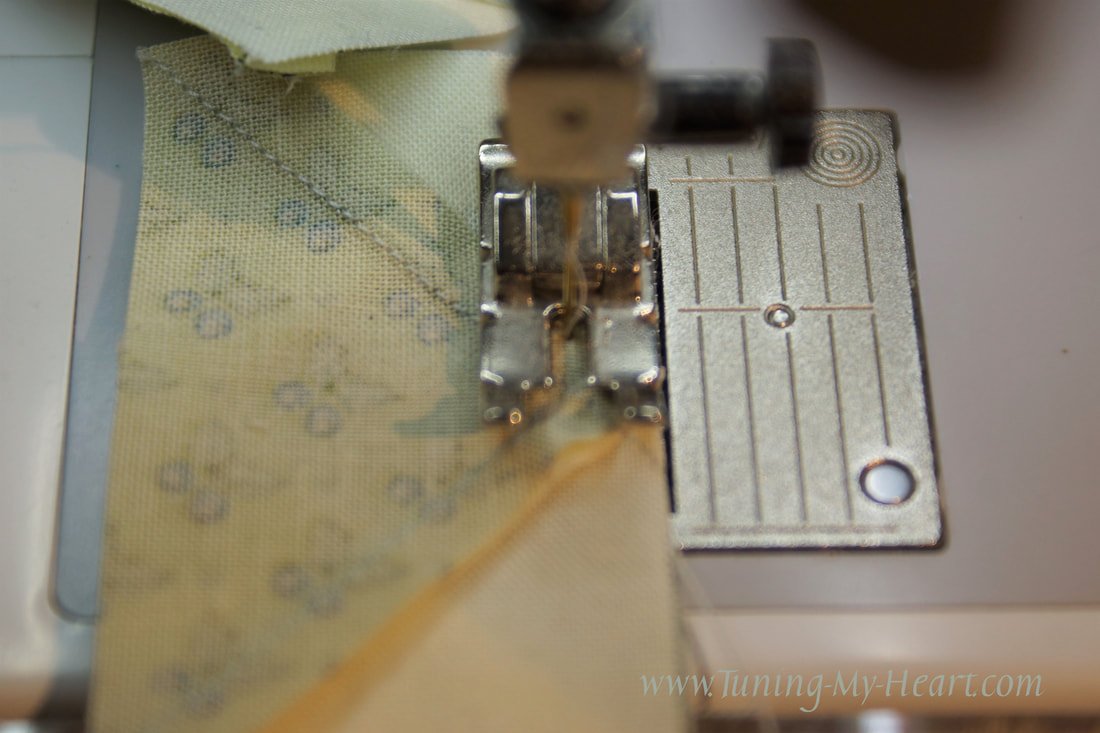 I tried to zoom in to show how X marks the spot you want to hit with your needle. If you land to the left of the stitches you will lose your sharp point. 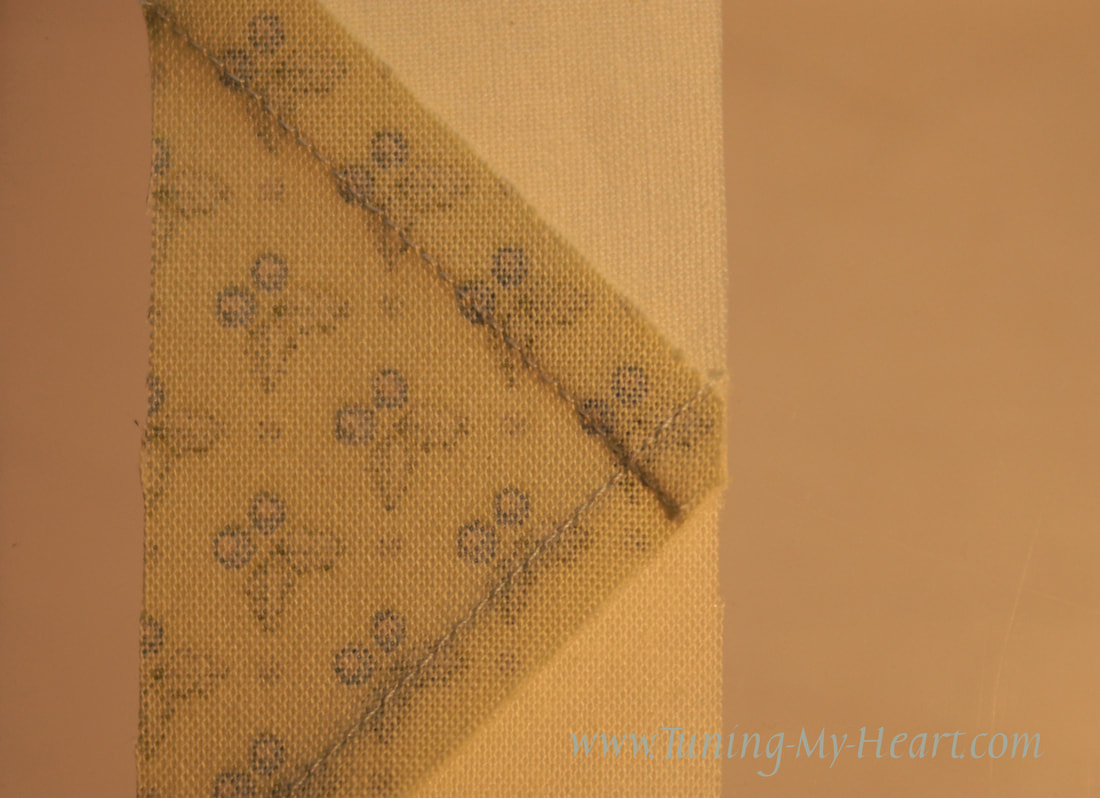 All my geese are in a row and waiting for me to make the Square in a Square unit for the center. 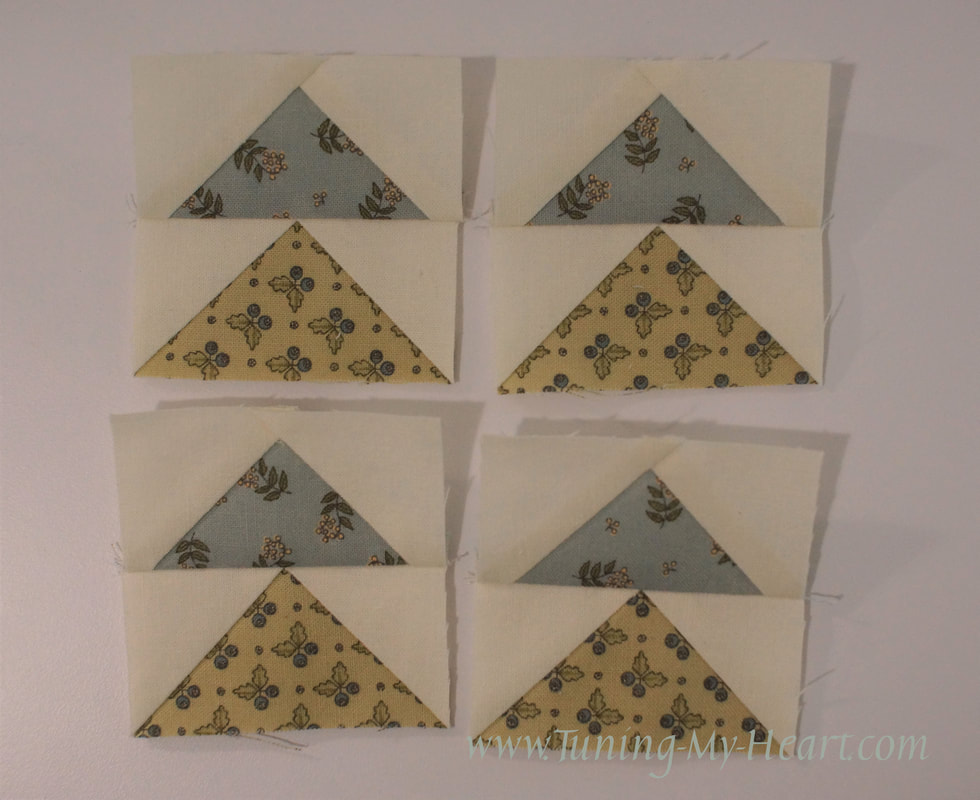 I did not make any changes to Jo Morton's cutting directions for the C and D blocks. She is making this unit the same way I would have chosen. Start by drawing diagonal lines on all four C squares. Place one C square on the D square. 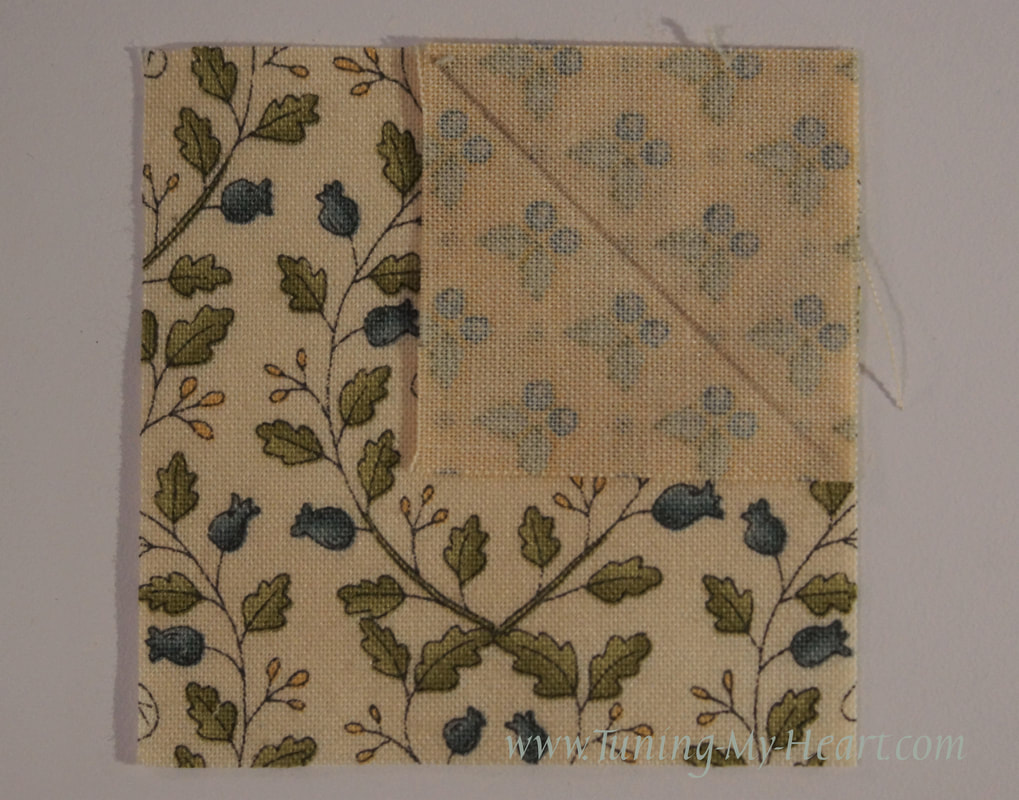 This time we will sew along the diagonal line. I have found it is best to place your needle just to the right of the drawn line rather than landing on top of it. 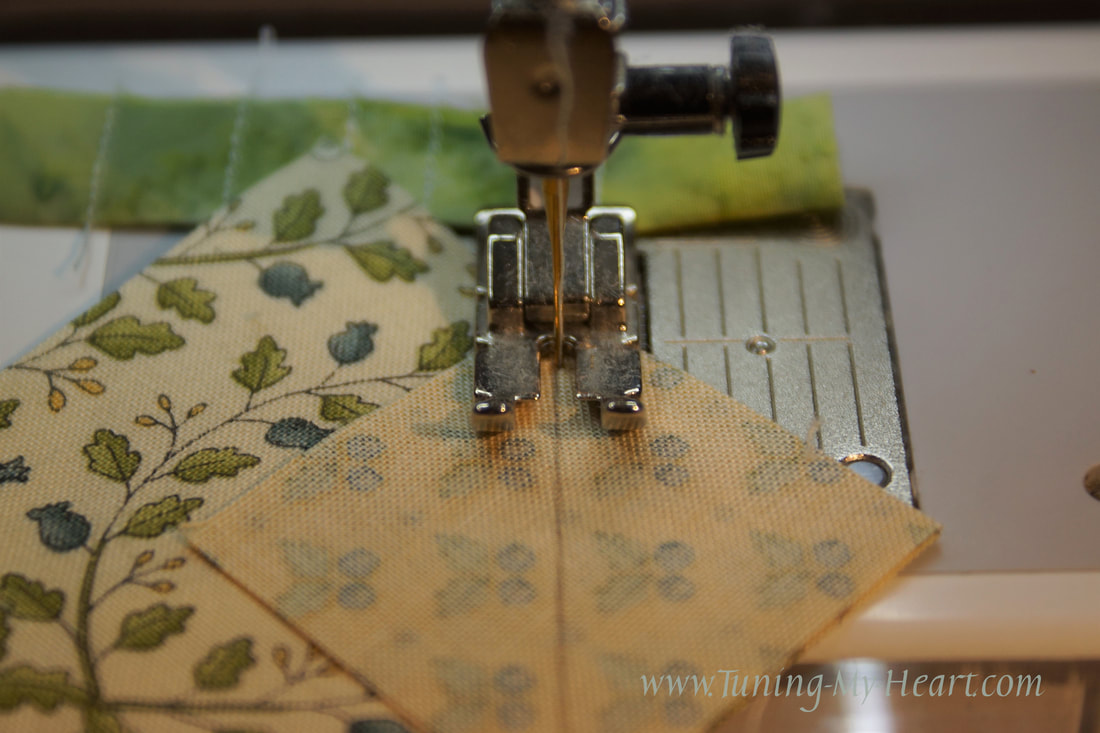 Before cutting away the extra, check to see that the triangle covers the square underneath. You may find that you need to move your needle a little more to the right as you sew if any of the D square extends beyond the little corner triangle. Place the 1/4 inch mark of your ruler on the seam and trim away the excess. (Be sure to leave a 1/4" seam allowance.)
Now repeat the process with the next C square on the opposite corner. 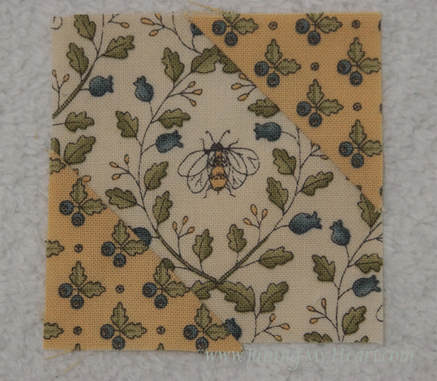 After you have added all four C squares make sure the unit still measures 2 1/2" x 2 1/2" 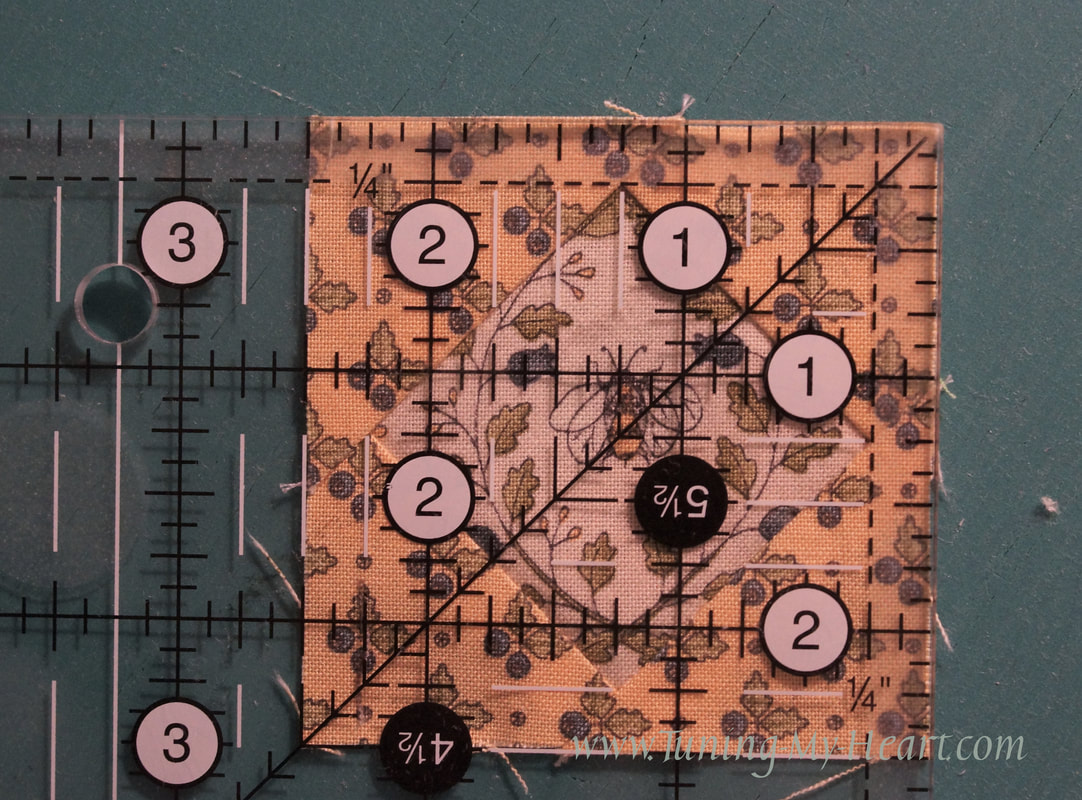 Time to lay out all of the pieces. This will give us a nine patch block, so all we need to do is first join the units to make three rows. There will be some bulky seams so take your time. The center row will have the points of the triangles to watch out for-just go slow and aim for the X. 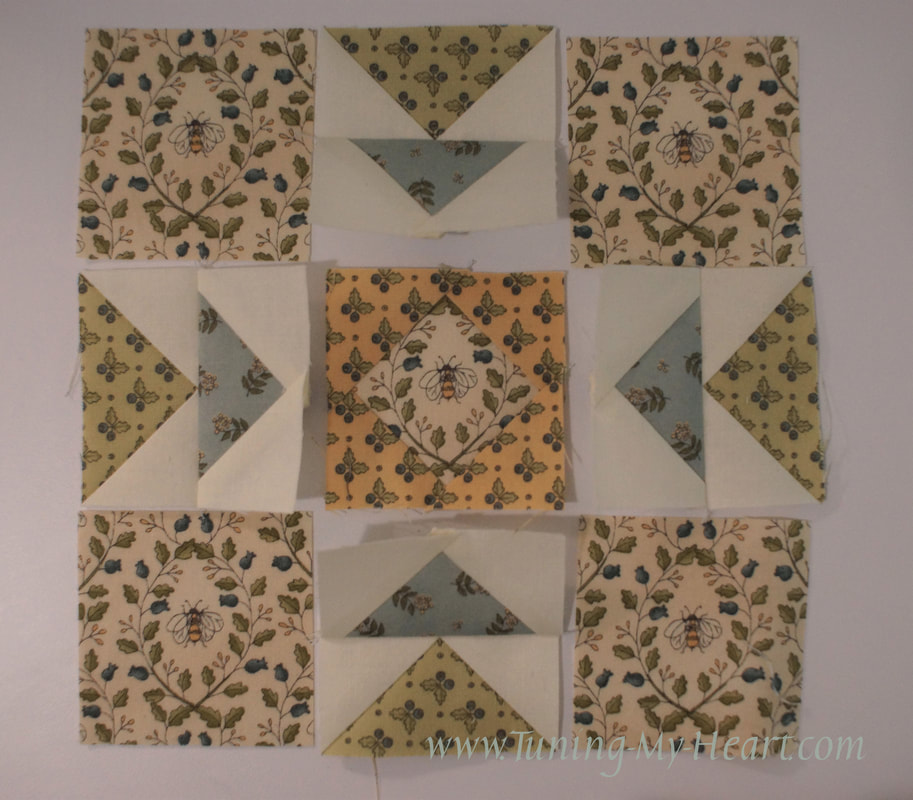 Next we need to sew the rows together. I pressed the top and bottom rows towards the D squares and found the center row did best if I pressed it open. This allowed me to match the seams well when joining the rows. I did place a pin at the seams to hold them in place. 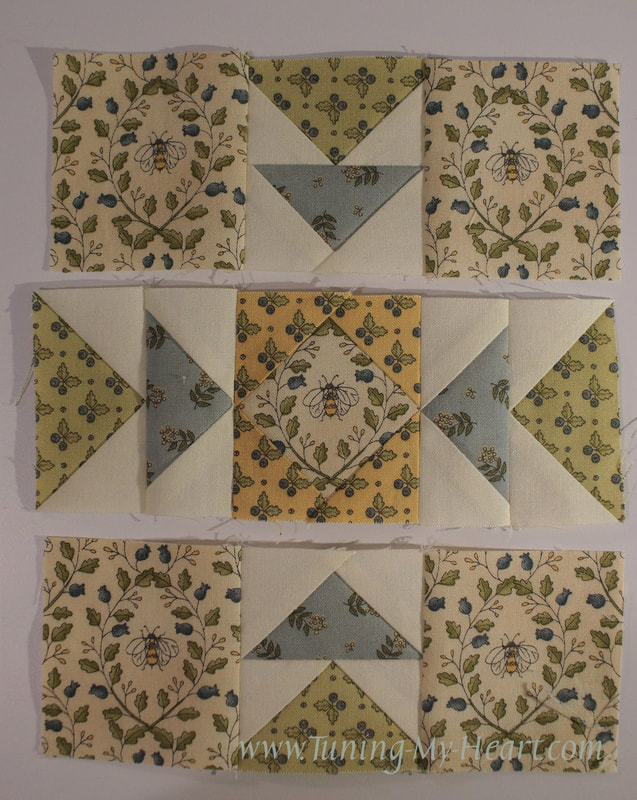 I am really pleased with the bees that are buzzing in my Garden Notes blocks. 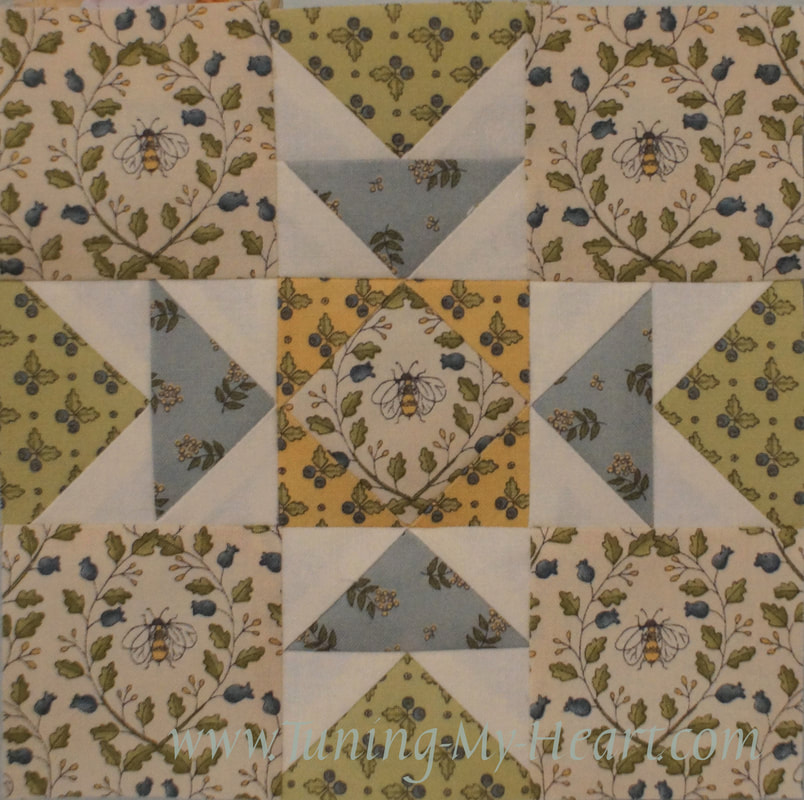 Click here for a pdf version. Thank you for all of the kind words you have shared about how much these tutorials have helped you to have success in piecing your blocks. Thank you too for the questions you ask along the way. I am enjoying getting to know you! Until next time... Happy Quilting!!! 
Cathy
7/28/2017 05:27:06 am
I love your fabric choice. Is it still available. Where can I find it if it is. Really like this block with this fabric.
Debra
7/28/2017 08:35:47 am
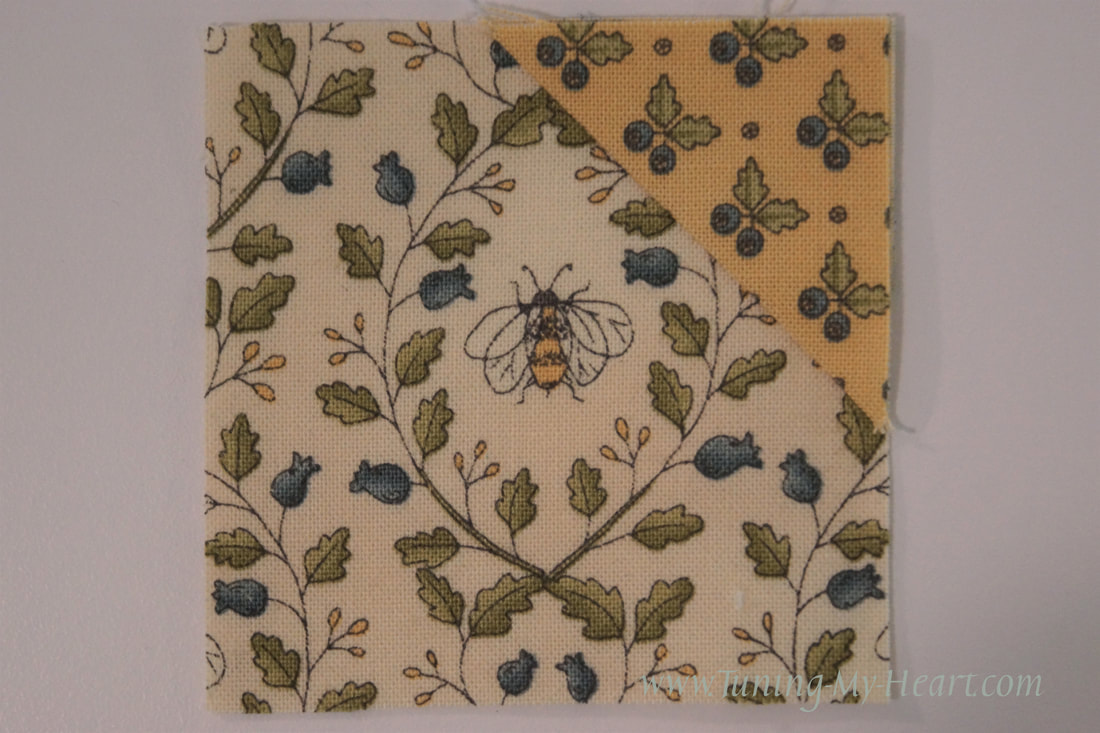
Hi Cathy! I am using Garden Notes by Moda designer Kathy Schmitz. It is getting hard to find. It has sold out on the most popular sites but if you search for Garden Notes Fat Quarter bundle even Amazon has one bundle left-though the best price I saw was: http://www.stashaddictquilts.com/Garden_Notes_Quarter_Bundle_p/6090ab.htm
Karen
7/28/2017 06:18:17 am
I very much enjoy your tutorials and watching your blocks come together, such a pretty combination! Thank you so much!
Debra
7/28/2017 08:36:31 am
Thank you, Kathy! I am certainly enjoying the process!!
Roxanne
12/3/2017 08:22:01 pm
My block turned out wonderful. I don't have the bloc loc that small. Your directions helped me make perfect points. Thank you again, Debra.
Debra
12/4/2017 10:19:58 am
You are sure making great progress, Roxann! Glad this worked for you! Comments are closed.
|

Welcome to the site of Debra Davis-a woman who loves the Lord and loves to quilt.
My other blog where I share about my walk of faith:
Sitting at His Feet 
|


 RSS Feed