|
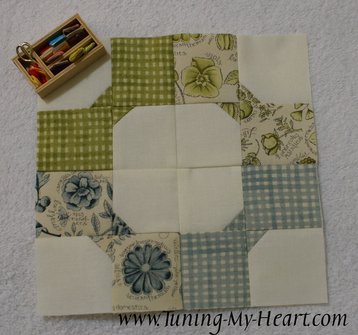
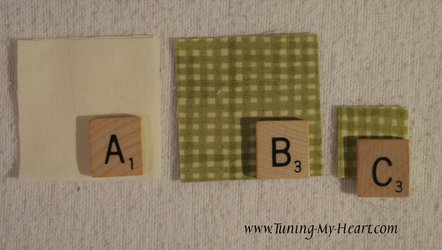
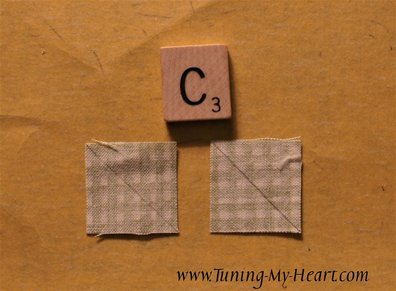
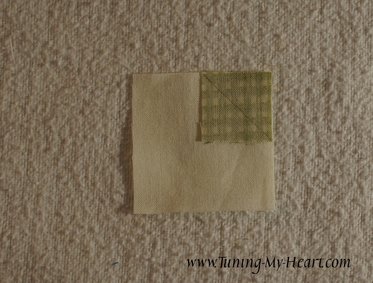
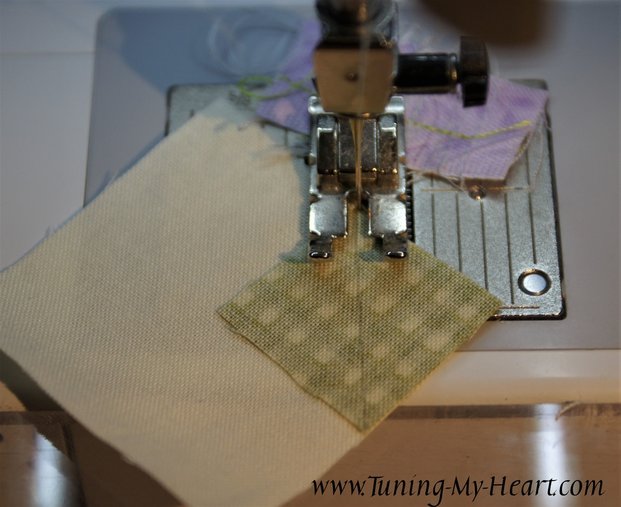
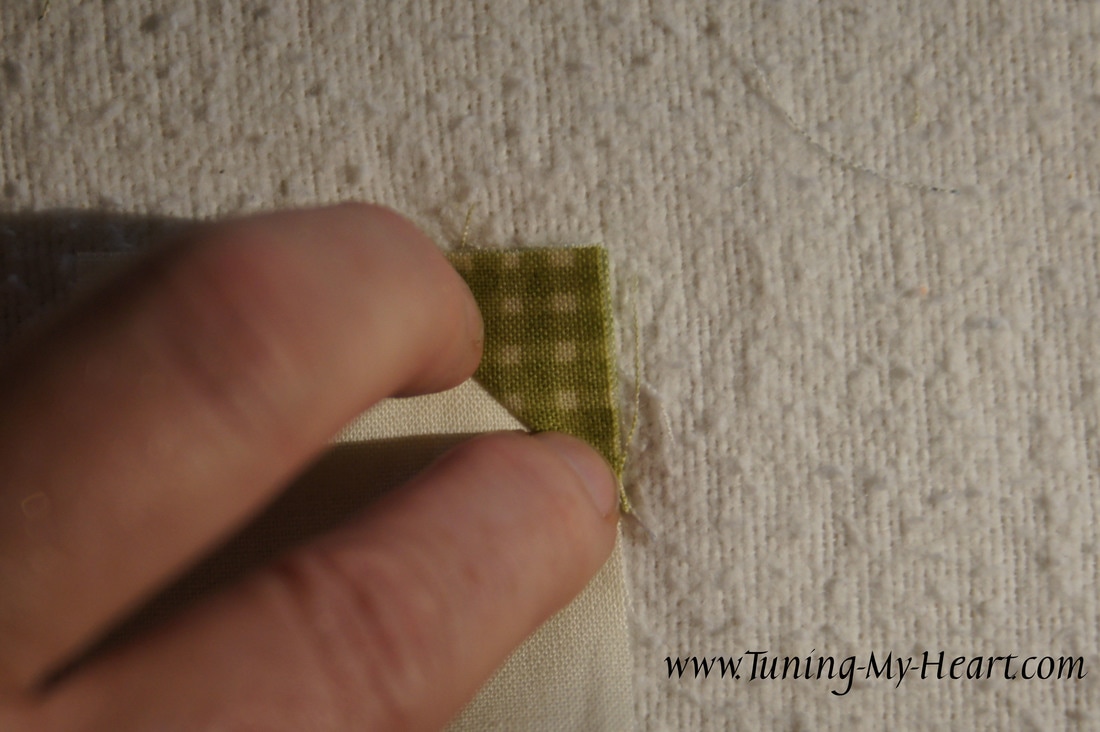
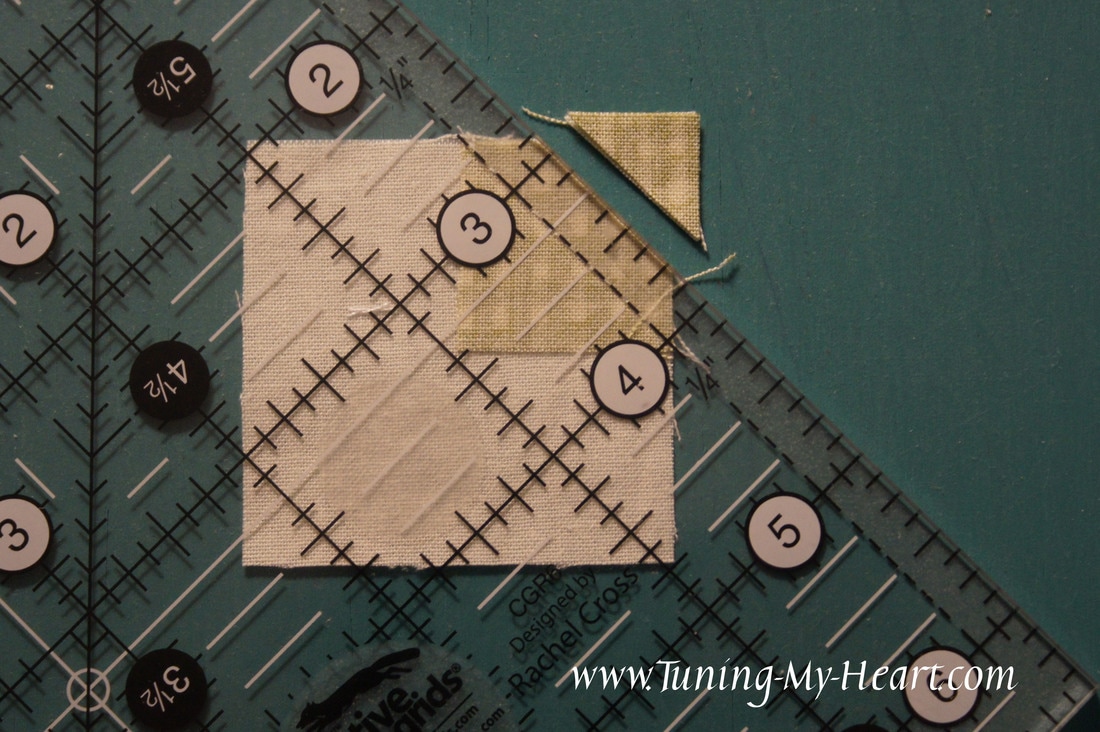
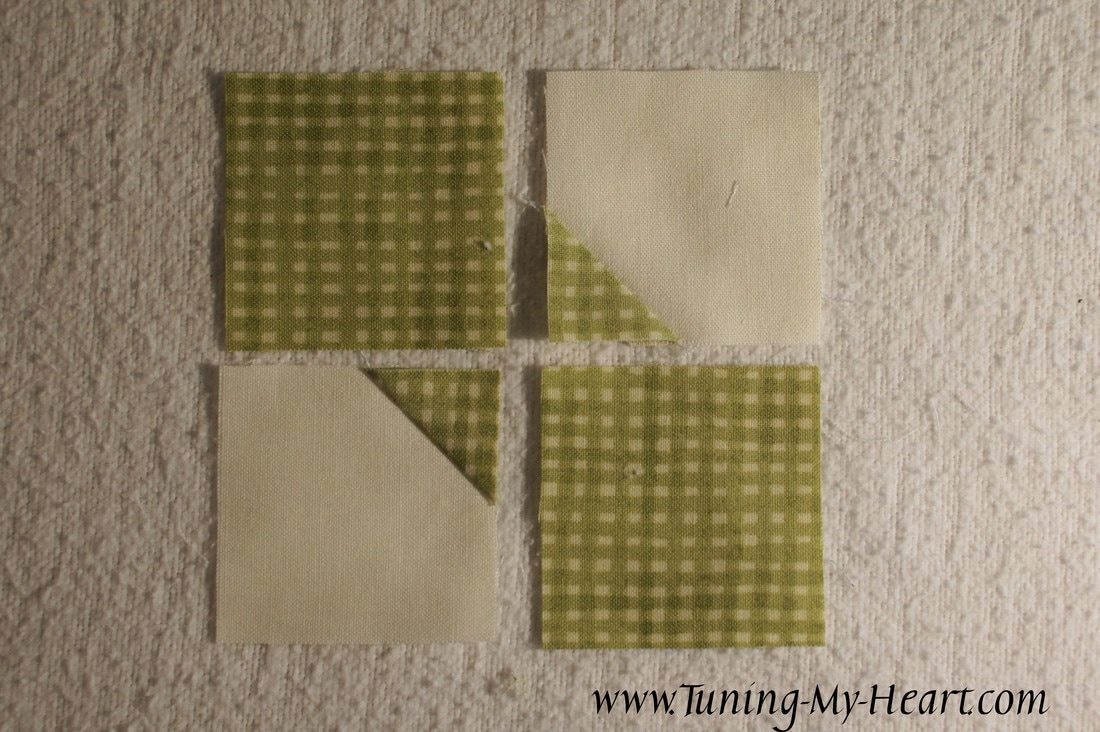
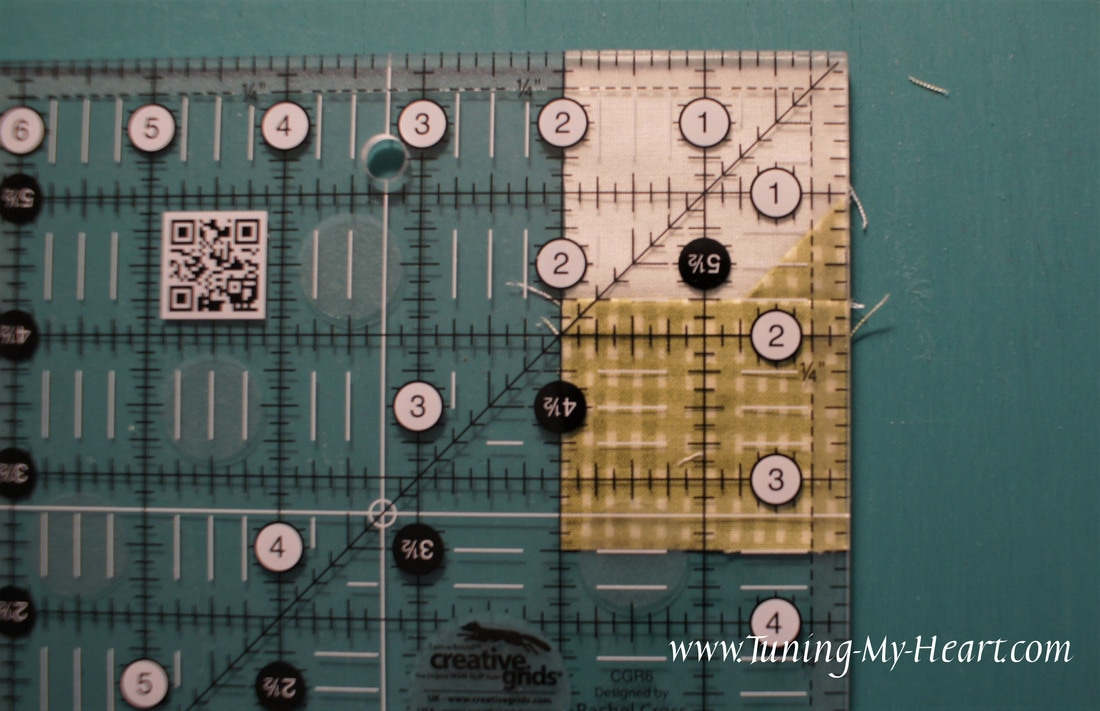
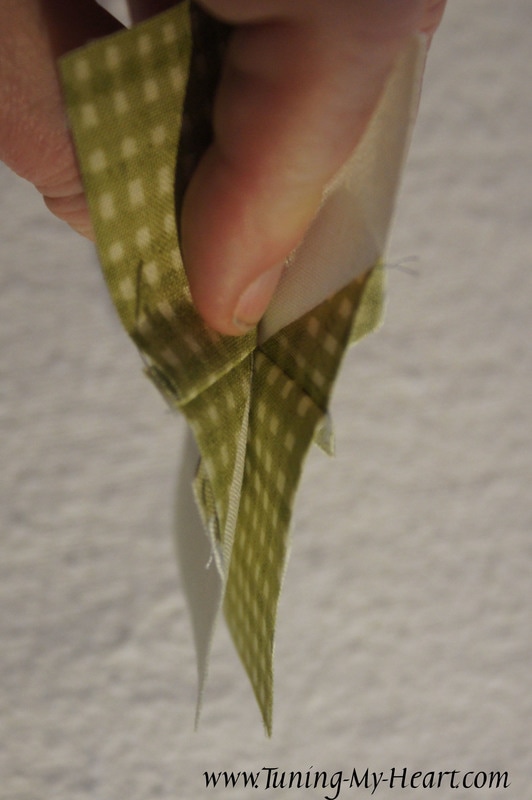
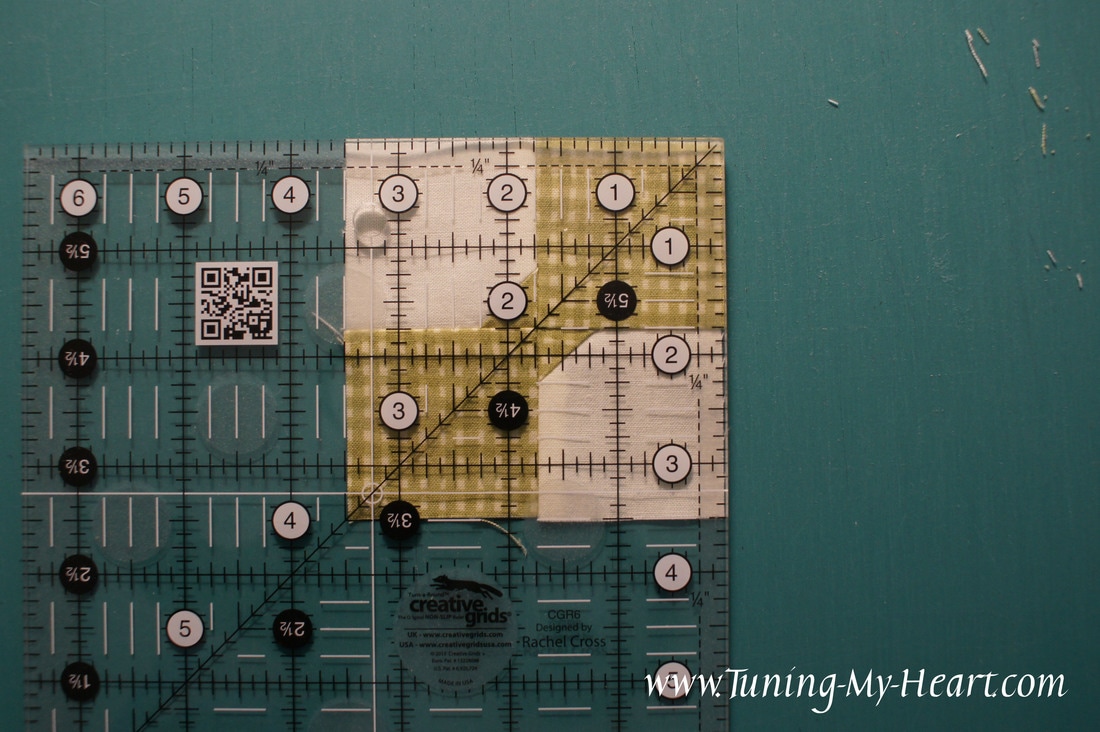
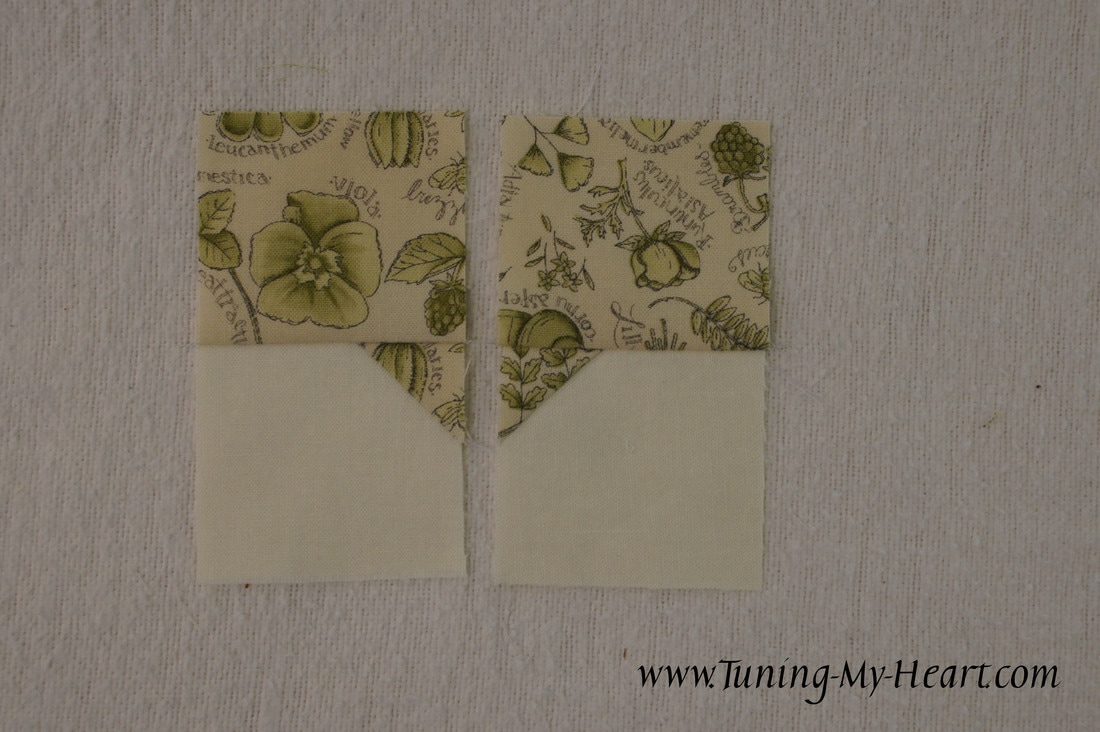
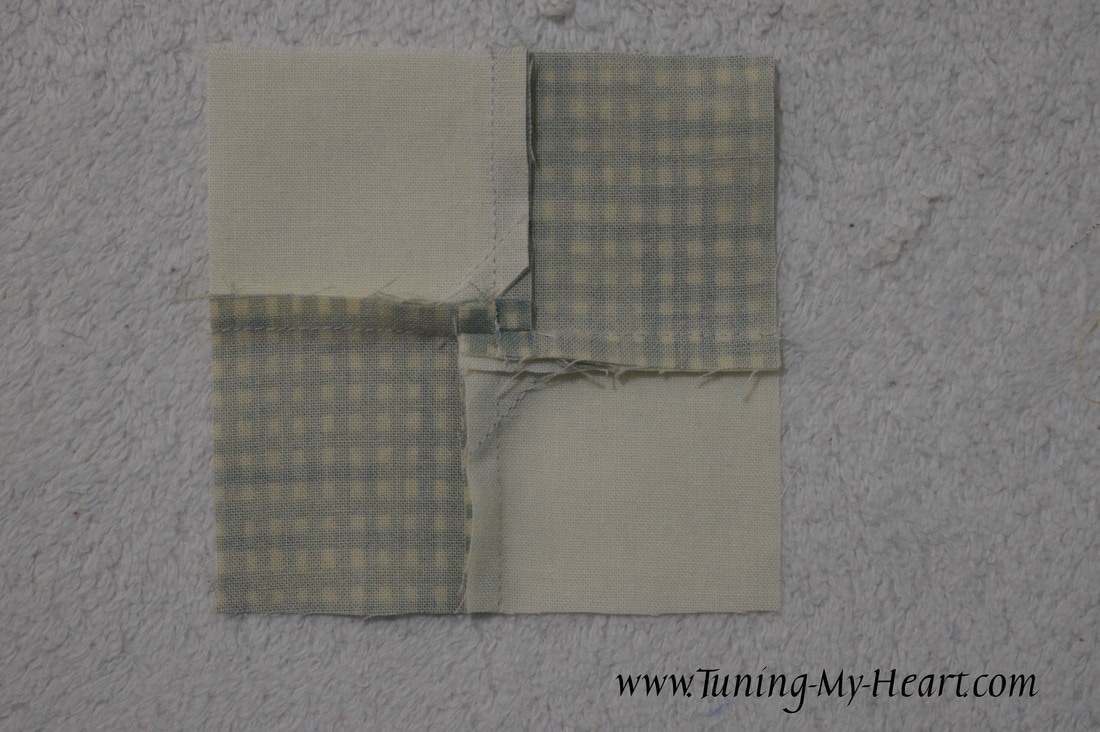
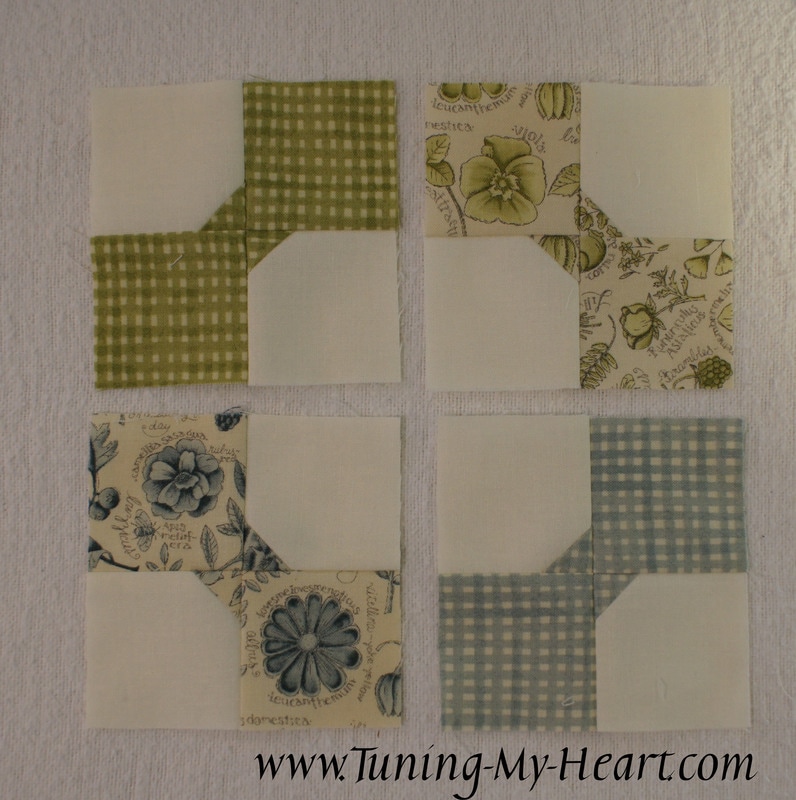
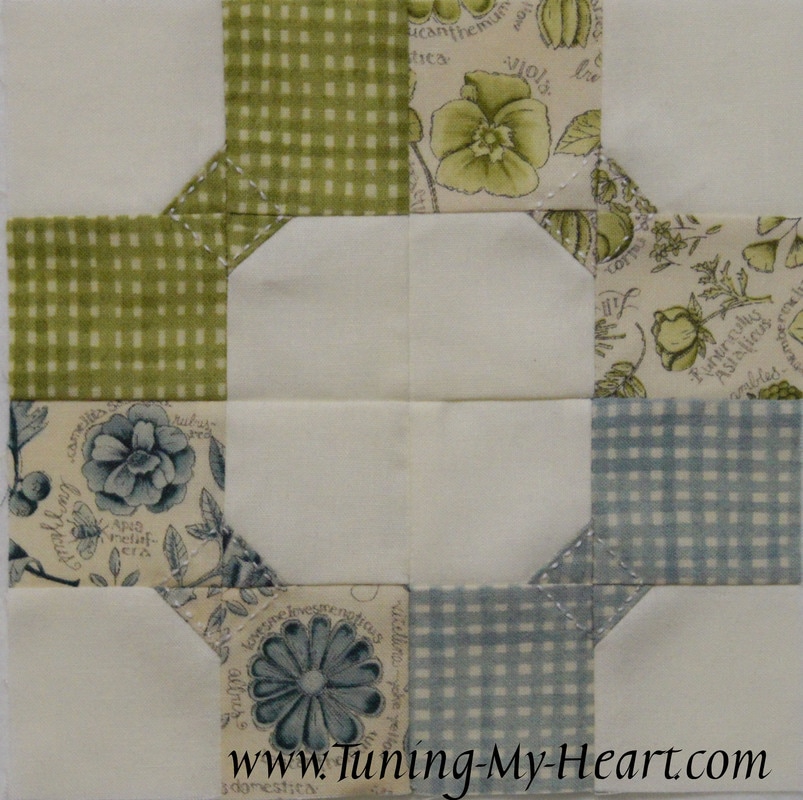
I am a bit of a history buff so having a classic block like the Bowtie makes my heart sing in a special way. This weeks block is by Lynne Hagmeier of Kansas Troubles Quilters. She has provided instructions for both a Layered Patchwork option and a Traditional option. They can be found on her blog here: http://kansastroublesquilters-lynne.blogspot.com/2017/05/moda-blockheads-week-13.html I am going to do the Tradtional piecing method for my block. Jan Patek has a tutorial for how to do the Layered method which you can read on her blog: http://janpatek.blogspot.com.au/2017/06/moda-blockheads-bowtie-quartet-block-13.html But first a little history lesson: "The bow tie first entered the scene as a new style of necktie in the beginning of the 19th century. By the mid 1880s, the bow tie had become a staple in the fashion conscious man's wardrobe." (thebowtie.com) The Bow Tie quilt pattern also dates from the 1880's. I guess that fashionable man's accessory made an impression. Of course, being a Dr Who fan I think bow ties are cool. Well, let's get started. I starched all of the fabric I am using prior to cutting. Using a heavy spray starch I spray my fabric as it comes out of the dryer-yes I am a prewasher, but I still love my non-prewashing quilt friends-I let the starch dry a bit and then iron my fabric. Note: since I am using starch rather than Best Press, I only starch the fabric I think I will use for a project as I do not want to store starched fabric long term-it attracts bugs. One of these days I may give Best Press a try as I have heard it is not an issue for it. Being the frugal gal that I am it is just hard to beat 98 cents a can-(My family has dubbed me Betty Bargain. lol.) To start, I have drawn a diagonal line on the back of the little C squares. With right sides together place the C squares in one corner of the A squares. When I piece these, I sew right along the line I have drawn- notice my needle is next to the line not on it. A quick check to see if the triangle this forms covers up the A piece underneath. Then I trim away the excess 1/4 inch from the seam line and press towards the C square. The layout for the bowtie block is a simple four-square. I chain-piece these units together in pairs and press towards the B squares. Each two square unit should measure 2" x 3½." With the pairs sewn together and pressed in opposite directions I match the seams and lock them together using a pin to hold them in place. The finished Bowties need to measure 3½" x 3½." I was a little off on this one (the lower right corner) but it is close enough that I am not worried about it. If it was 1/8" off I would pull out good ol' Jack the Ripper and redo it. And while I am sharing oops' sometimes on the easy blocks I get lazy and careless-make sure you join the squares in the right way or your bow ties will not be bow ties at all. I fanned the seams open on each of the bowtie units. If you use your fingers to fold one seam down and the other up, the intersection will begin to open up like this, just use your thumbs to help it along. Four little bow ties ready to be sewn together. Match and pin the seams and remember to go slowly when sewing over the matched seams. I decided to add a little running stitch around the middle of my bowties after they were sewn together. It was a good chance to practice some hand embroidery, which I find very relaxing most days. The original Bowtie block had 14 steps and had to be sewn by hand to get the accuracy!!! I am sure thankful for those who came up with this quick sew method in the 1930's that we still use today! Happy Quilting!!
7/11/2017 03:17:32 am
This post is represent the good techniques for boutique style. Mostly ladies are joining the stitch center for learning the great tips and also built the best carrier. Mostly institute are offer the short course of stitching. Comments are closed.
|
Welcome to the site of Debra Davis-a woman who loves the Lord and loves to quilt.
My other blog where I share about my walk of faith:
Sitting at His Feet This website uses marketing and tracking technologies. Opting out of this will opt you out of all cookies, except for those needed to run the website. Note that some products may not work as well without tracking cookies. Opt Out of Cookies |
Tuning My Heart Quilts by Debra Davis is licensed under a Creative Commons Attribution-NonCommercial-NoDerivs 3.0 Unported License.
Based on a work at www.tuning-my-heart.com.
Copyright 2010-2022 by Tuning My Heart Quilts, LLC. No part of this website can be reproduced without written permission from the author. All rights reserved.
Proudly powered by Weebly


 RSS Feed