|
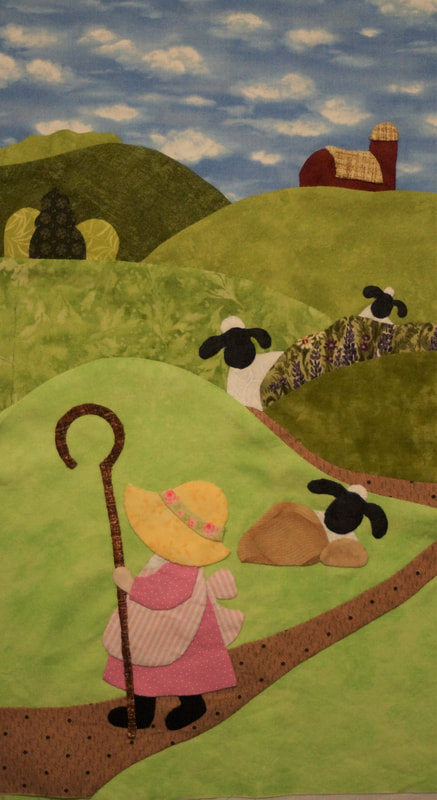
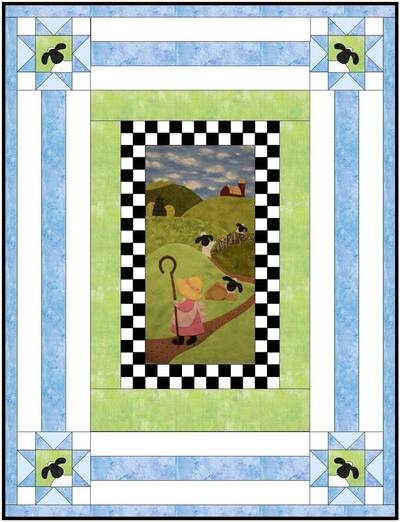
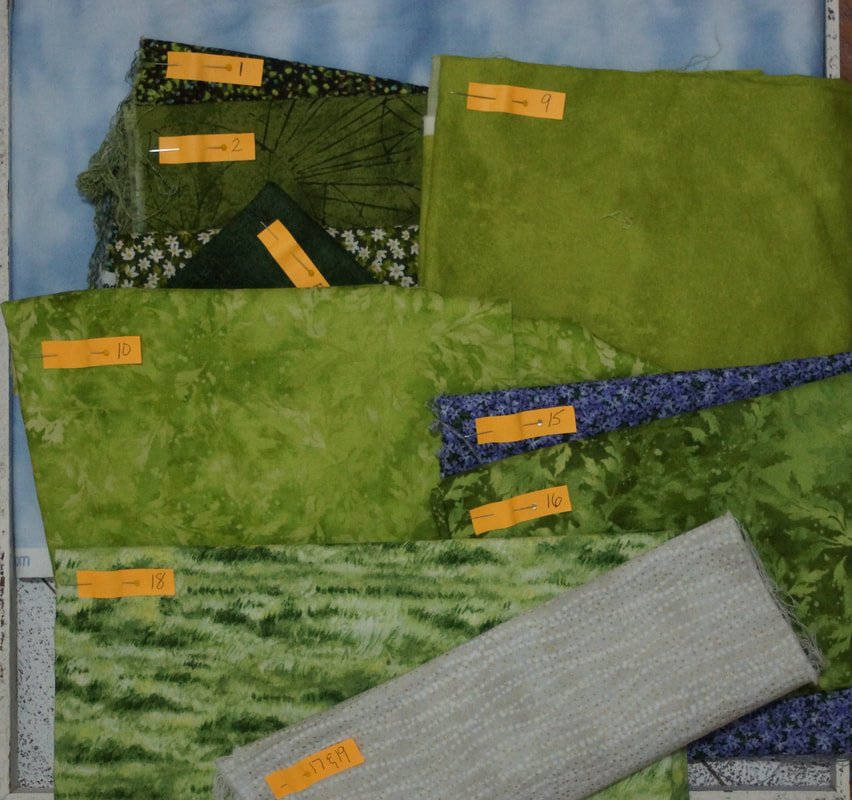
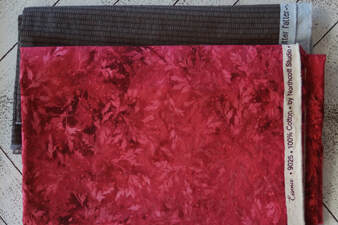
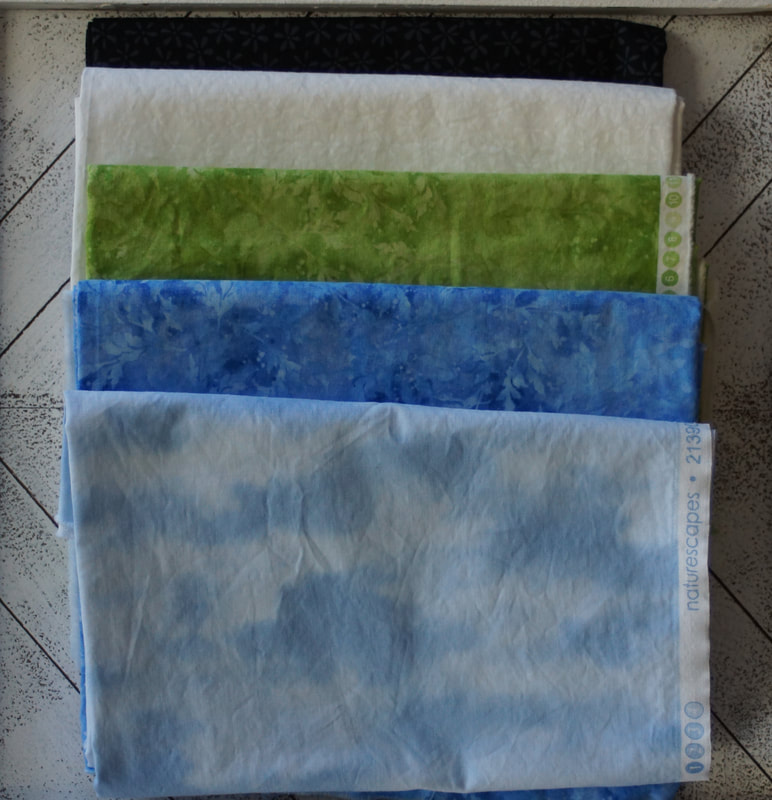
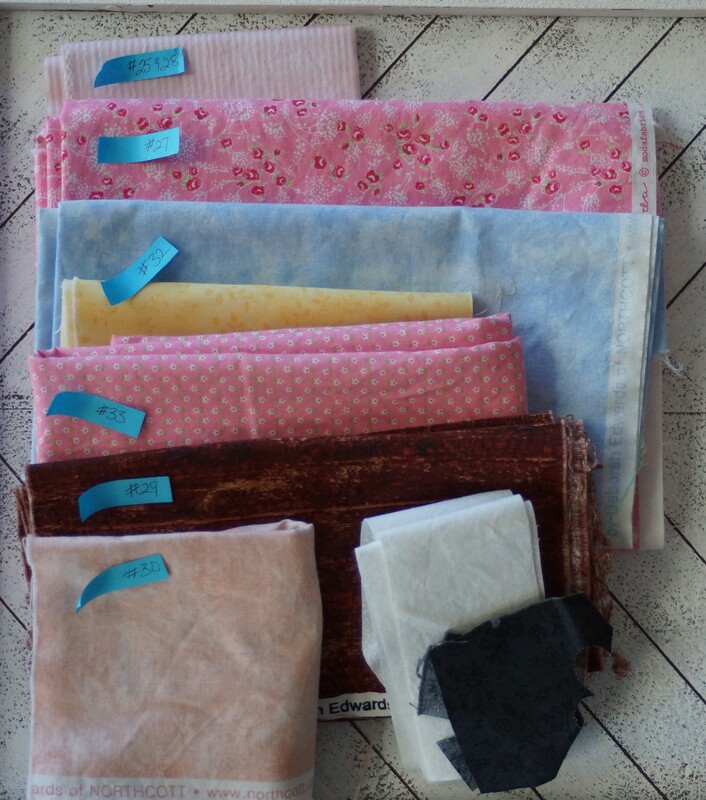
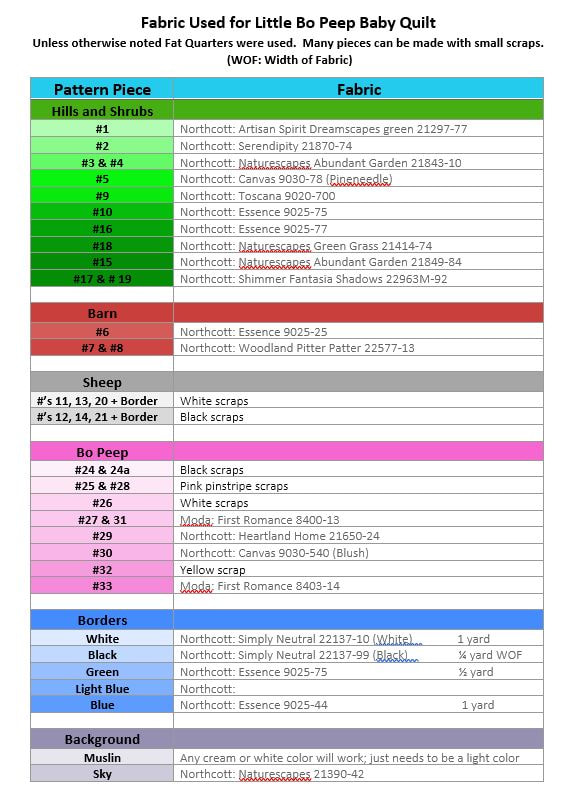
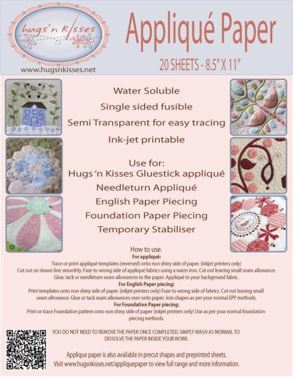
I had such great response for my recent row in the Once Upon a Story Row Along that I have decided to turn it into a baby quilt. Whether you make the baby quilt or just the original block I will be posting a weekly update with an assignment for that week and my step-by-step process for making the quilt. If you have never given appliquè a try now is the time. Several years ago I challenged myself to learn one new thing each year related to quilting. I started out afraid of appliquè and stuck just to pieced quilts. Then I started to see beautiful quilts that had both piecing and appliquè and decided I needed to give it a try. So I started with machine appliquè. Oh, but other quilters can be so inspiring and I began seeing some beautiful needleturn projects and I gave that a try. I probably gave up way too soon. I was never really satisfied with my results. About two years ago I heard about Apliquick tools and decided to watch a few videos. I was intrigued...this could be the answer for me. So I ordered the tools and began to s-l-o-w-l-y give Turned Edge applique a try. With this method the pieces are prepared ahead of time, with the edges already turned under. It is a method that works well for either machine or hand appliquè. There are many other methods of Turned Edge applique, but I have to tell you this has become my favorite for the beautiful results I achieve. The Apliquick tools take a little getting used to, but with the many helpful videos I watched it did not take long before I was hooked on using them, especially for those smaller pieces like the sheep in my Little Bo Peep quilt. The wonderful owners of Apliquick, Rosa Rojas and Olga González-Angulo, are providing an amazing assortment of their products for me to give away so stay tuned for more on that in future posts. I may sound like an ad for using their products, but I only share with you what works really well for me. I do not get any compensation of any kind for the products I mention on my website. If I love something, I tell you about; that is the way I work. To see just exactly what I am talking about here is a video of Rosa Rojas, the inventor of these wonderful tools, showing how they are used. Of course, you can follow along with me and not use the Apliquick tools. They are not q requirement to make this quilt. Now without further ado, let's begin with a list of fabric I am using for my version of this quilt. I shopped around a bit for some Northcott fabrics that would work well with my project. I was very pleased with the fabrics they sent for us to use during Marian Pena's Row Along and wanted to really take a look at what they have to offer. Most of the fabrics I have chosen are from Northcott's line of fabrics with some Moda and various scraps from my stash thrown in. I was able to find all of these online from a couple of shops. The wonderful thing about this quilt is how well you can just use scraps you already have on hand. If you do need to purchase fabrics everything except for the borders can be made using Fat Quarters. Fabrics I Am Using for this Quilt The majority of the my fabrics were purchased through online retailers. The drawback is many do not offer smaller yardages so I ended up with a lot of extra which will go into other projects. For the hills and shrubs I have labeled what I am using with the piece number that will be cut from it. I played around with laying some greens together to make sure I liked how they look before settling on the ones I chose for my quilt. I wanted there to be a variety of lights and darks, but I wanted them to play together nicely as far as hue, shade and tone. I also picked out a fabric for my path that stands out against the greens. Here I have my fabrics for the barn and the borders and sky. And these are the fabrics I am using for Little Bo Peep. I am still trying to decide which color her bonnet will be so you can see that #32 is laying across 2 fabrics. The light blue is the one I will be using in the stars that make up the corners of the baby quilt This is the list of the specific fabrics I am using. You can download a pdf copy of this list as well as a blank one to fill in the the fabrics you choose. You will need the PDF list of "Fabric Requirements" for the quilt to get started. If you are using scrap this is particularly helpful as I give you the exact size piece you will need. One item I will recommend for Turned Edge appliquè is Appliquè Paper. I am using Hugs and Kisses brand of this water soluble, single sided fusible. This has been the other item that has transformed my appliquè and I will be showing you how I use it as we go along. I like the sheets as they can also be used in my inkjet printer and it saves me time tracing out shapes so I can get on with my sewing. (The giveaway box from Apliquick includes some of their own version of this product.) Hugs and Kisses Applique Paper is available in many shops though I have found the best price on Amazon, which I have linked to. I know I have given you a lot in this post. I am looking forward to sewing along with you. There is just one more thing you will need to join me in this Sew Along. The Pattern. It is for sale in my shop and for the month of November you can get 50% off the regular price. Just use coupon code: bopeep Your support of me through the purchase of my patterns helps me to be able to continue to do what I do here at Tuning My Heart Quilts so I really appreciate it! Look for your first assignment Friday, November 15th. Happy Quilting! Sew Along Sponsors:
Debra
11/8/2019 09:32:11 am
Thank you so much!
Debra
11/9/2019 08:47:44 pm
Thank you, Susan. I appreciate that. Comments are closed.
|
Welcome to the site of Debra Davis-a woman who loves the Lord and loves to quilt.
My other blog where I share about my walk of faith:
Sitting at His Feet This website uses marketing and tracking technologies. Opting out of this will opt you out of all cookies, except for those needed to run the website. Note that some products may not work as well without tracking cookies. Opt Out of Cookies |
Tuning My Heart Quilts by Debra Davis is licensed under a Creative Commons Attribution-NonCommercial-NoDerivs 3.0 Unported License.
Based on a work at www.tuning-my-heart.com.
Copyright 2010-2022 by Tuning My Heart Quilts, LLC. No part of this website can be reproduced without written permission from the author. All rights reserved.
Proudly powered by Weebly




 RSS Feed