|
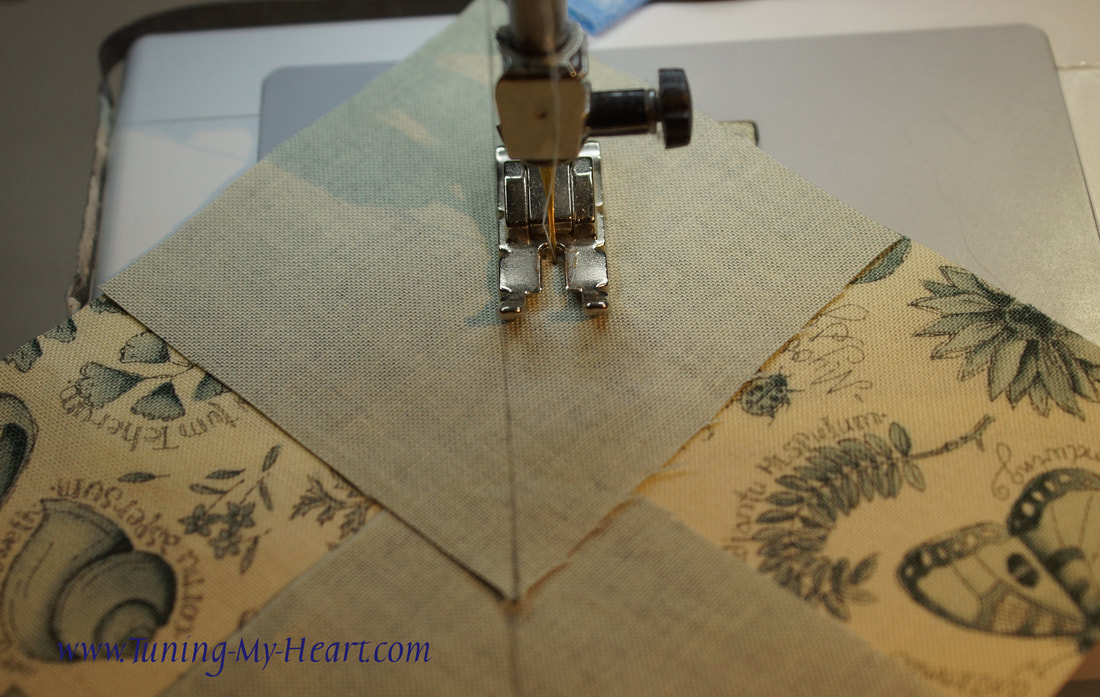
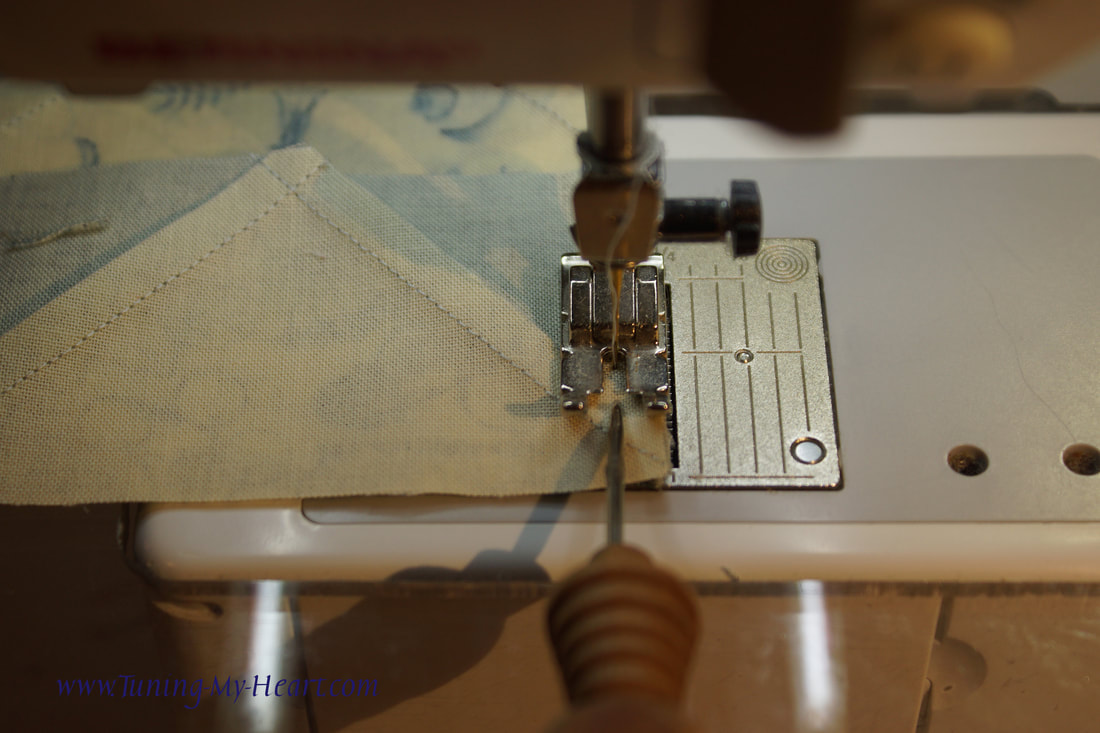
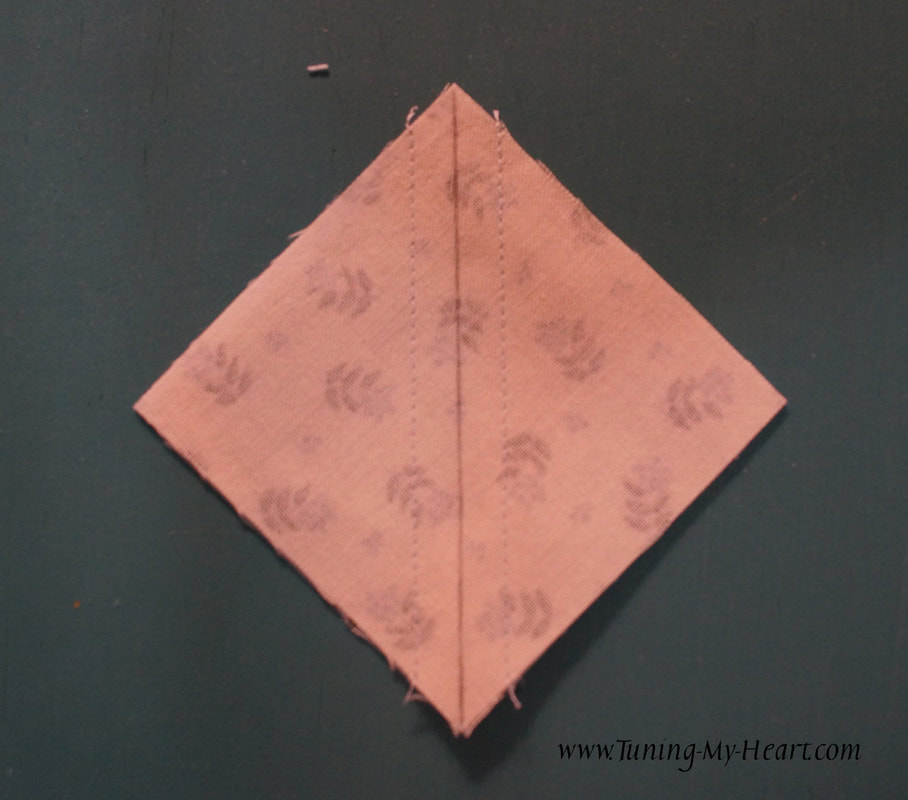
Lynne Hagmeier of Kansas Troubles Quilters has this week's block. She has provided directions for both her Layered Patchwork version which I have yet to try, and the Traditional Patchwork method. The pattern can be found by clicking HERE. It was fun to visit the designer blogs this week and see how they display their quilts in their homes. Lots of great inspiration so if you have not taken the time to do so I would encourage you to visit their online homes this week. 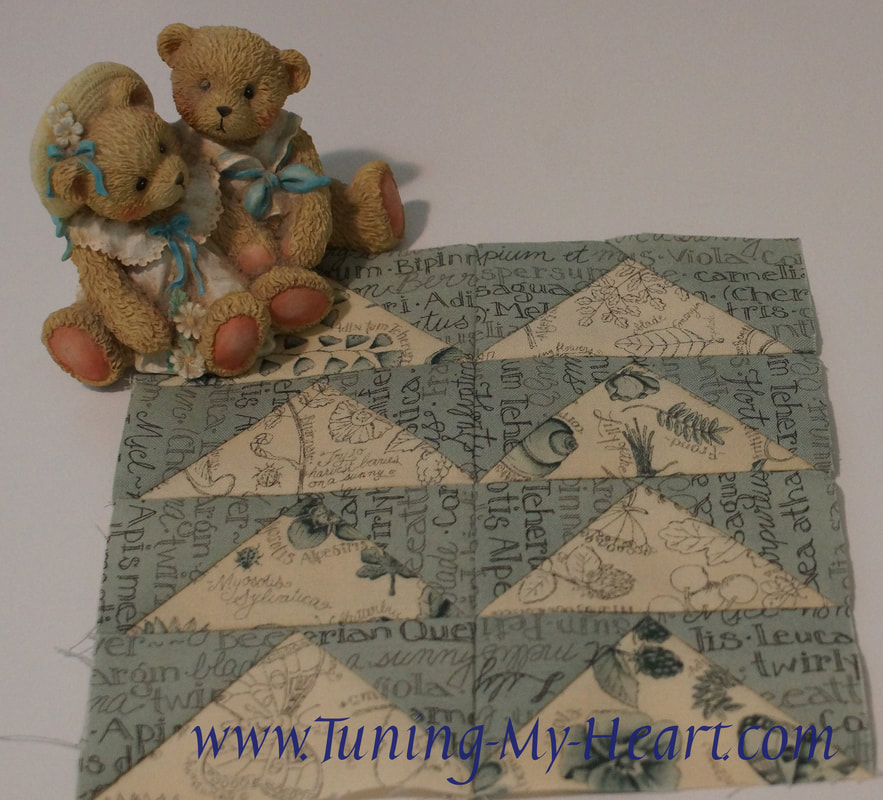 I decided with a name like Night Flight I would use the blue fabric in my collection to be the sky and lighter fabrics for my geese. We live in area that has geese by the million spend the winter so I had visions of Snow Geese against a blue sky as I prepared my fabric. Me being me, I did not use either of the methods Lynne shared but when to my favorite No Waste method-a bit of a misleading name as I tend to cut my pieces large and trim them down. If you want more variety in your geese you will want to use a different method or just know that you will have extra geese flying around for another quilt-which would not be bad at all either. I love this method for how quickly the geese go together. Cutting Directions for No Waste Flying Geese: Fabric A (Geese)- 4 1/2" x 4 1/2" (cut 2) Fabric B (Sky)-2 3/4" x 2 3/4" squares (cut 8) 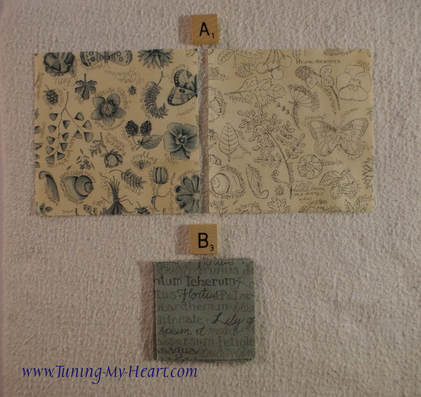 First place two of the B squares on top of each A square as shown in the photo below then draw a diagonal line through the B squares. 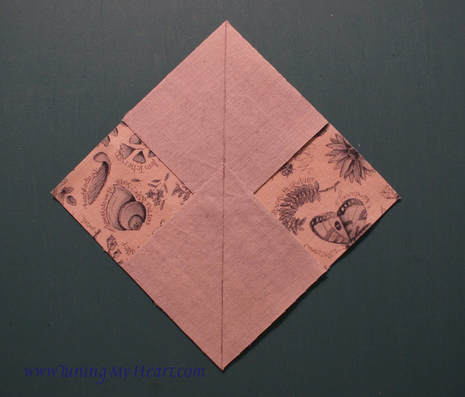 Just like with the Half-square triangles we did last time; I sew 1/4 inch from each side of my diagonal line. A little tip here: sew with the point of the top B square pointing towards you-not a big deal if you forget, but everything lies so much nicer for sewing this way. (Like I did in the photo on the left)
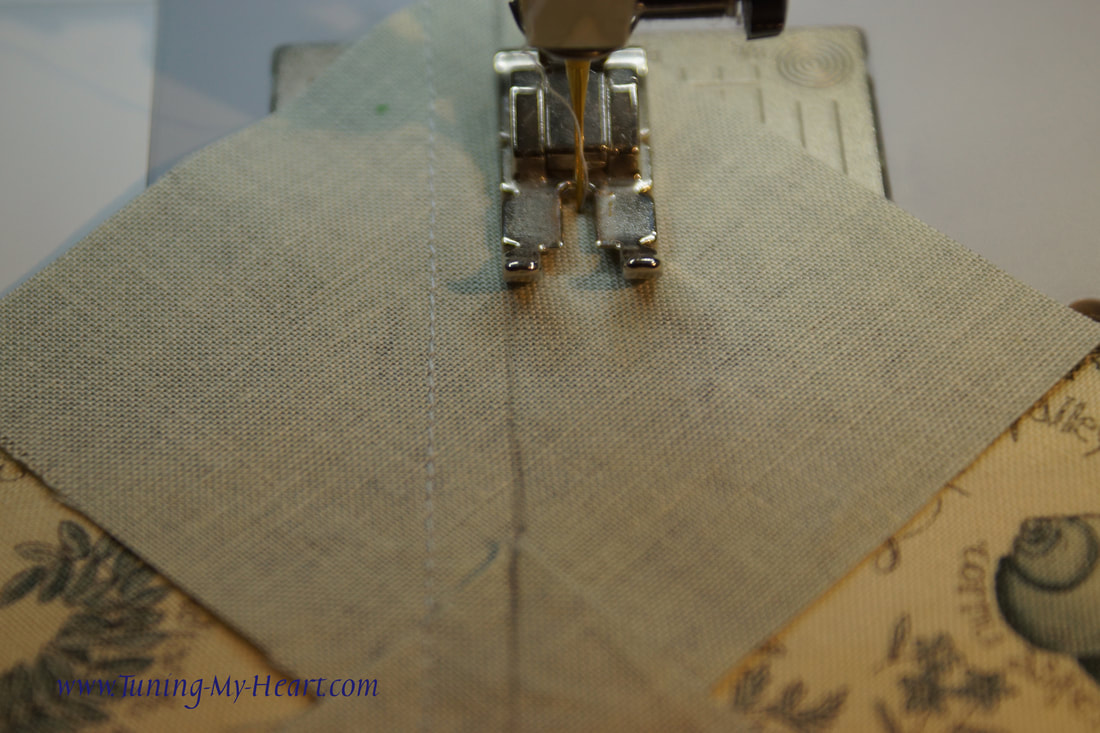
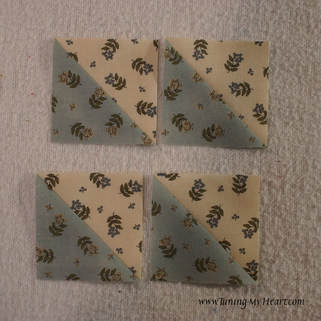
Cut the units apart on the diagonal line. 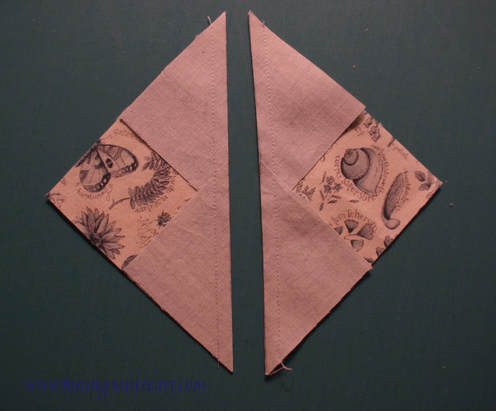 Press towards the smaller triangles. 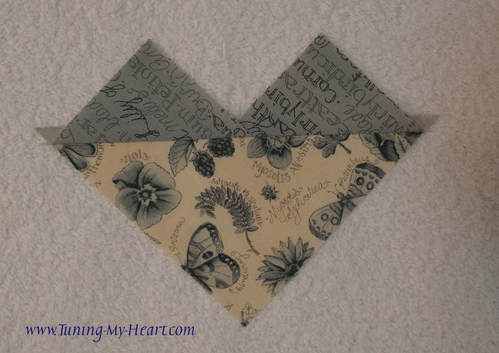 Now place another B square on top of the unit just made. I like to draw my diagonal line on it before I place it. 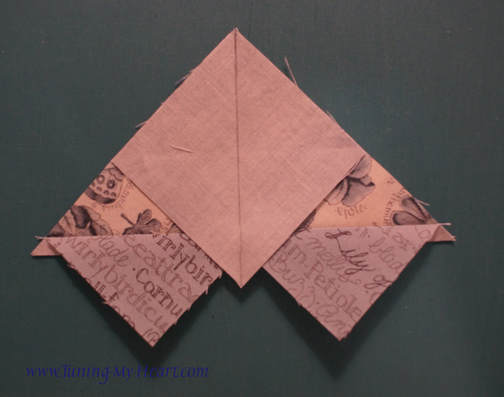 As I lined them up to sew they looked like little jets in formation. As many times as I have made these I have never seem them as fighter jets before...maybe the fact that the jet fighters are flying over the house as they do their training exercises has influenced me this morning, lol. At any rate my geese currently look more like loud and raucous airplanes to me. 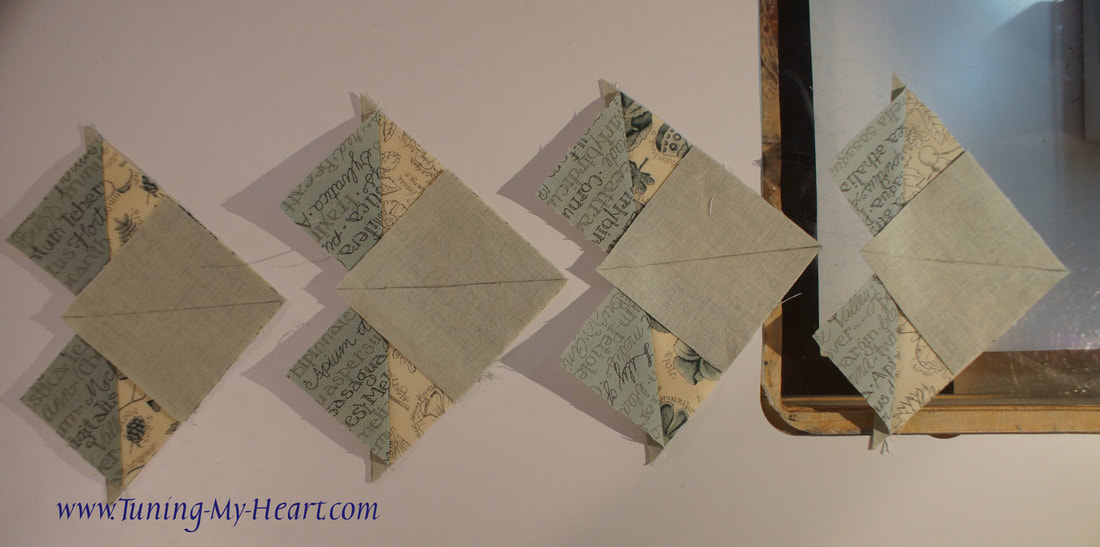 Just like before we will sew 1/4 inch from each side of the line. 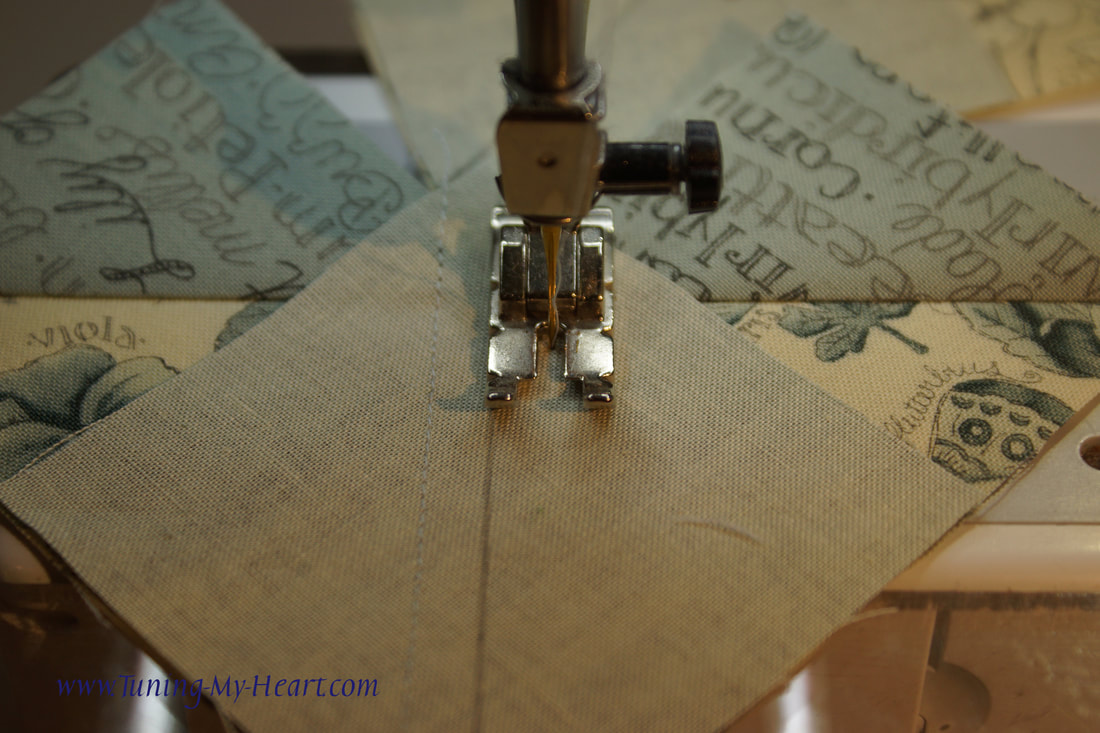 Now for the fun part-the big reveal. Cut apart on the line and press towards the little triangle. Each A square yields 4 Flying Geese!
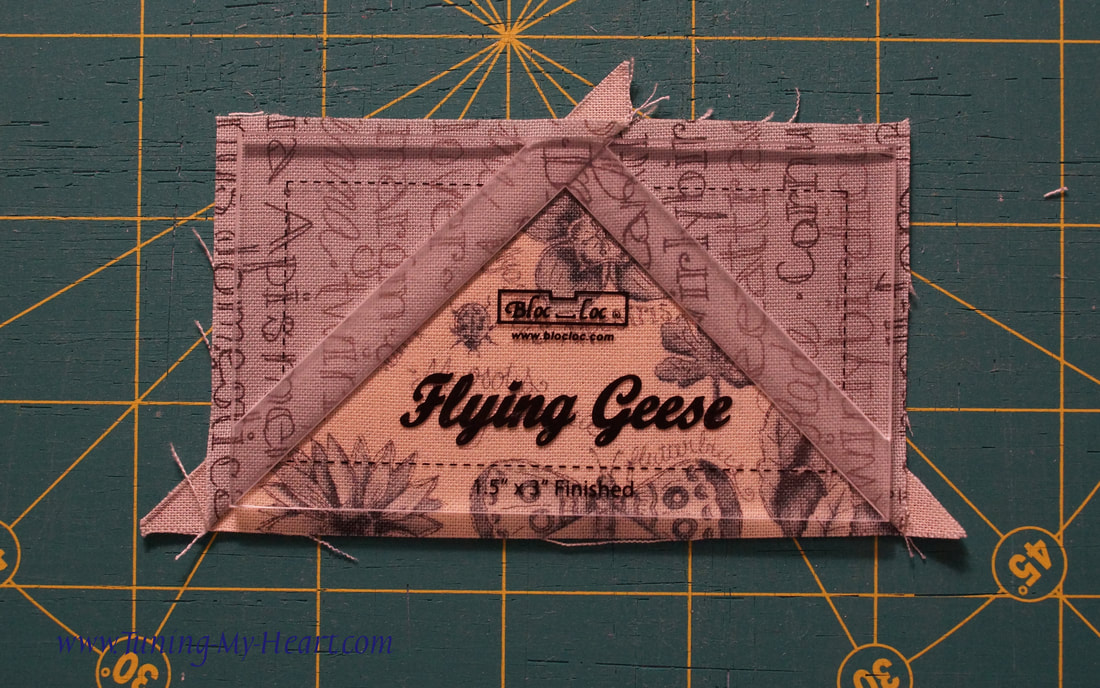
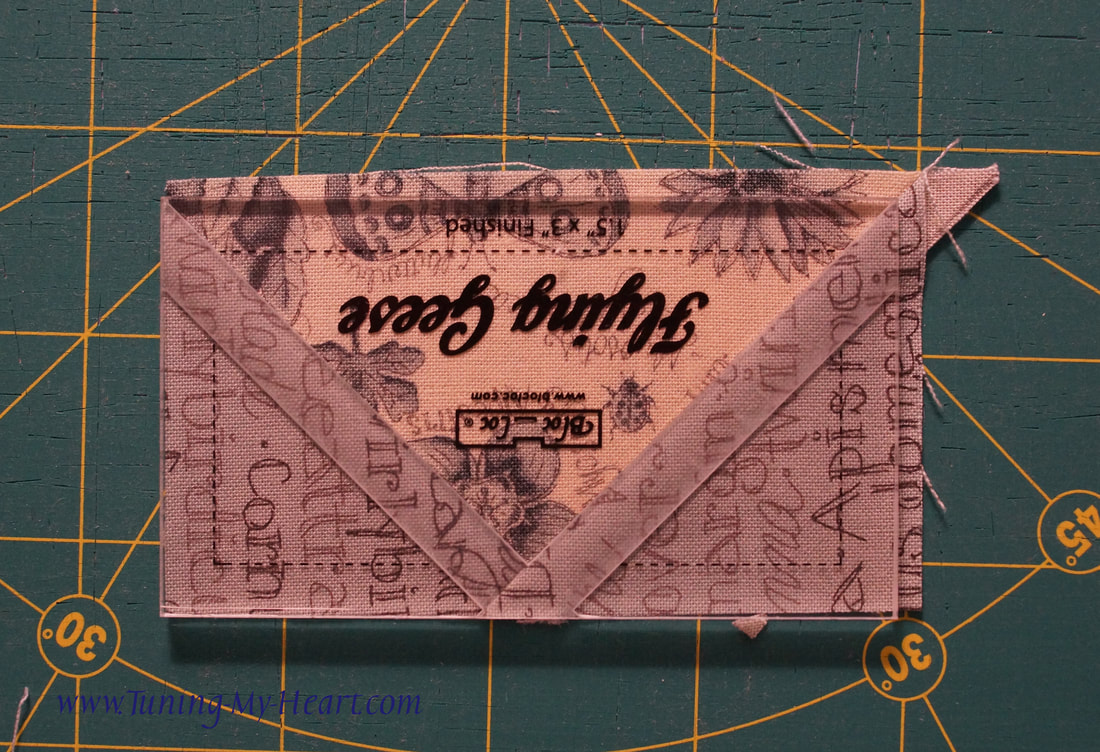
I am going to show two ways of trimming these units. One using the Bloc-Loc ruler which is my absolute favorite for trimming Flying Geese units. I will also show how to trim using a regular ruler. I happened to have the perfect size Bloc-Loc for these Flying Geese which finish at 1 1/2" x 3". Bloc-Loc rulers have an indentation in them that "locks" onto the seam making it quite easy to trim to the correct size and the 1/4 inch seam allowance is built into it for a trimmed size of 2 x 3 1/2 inches. 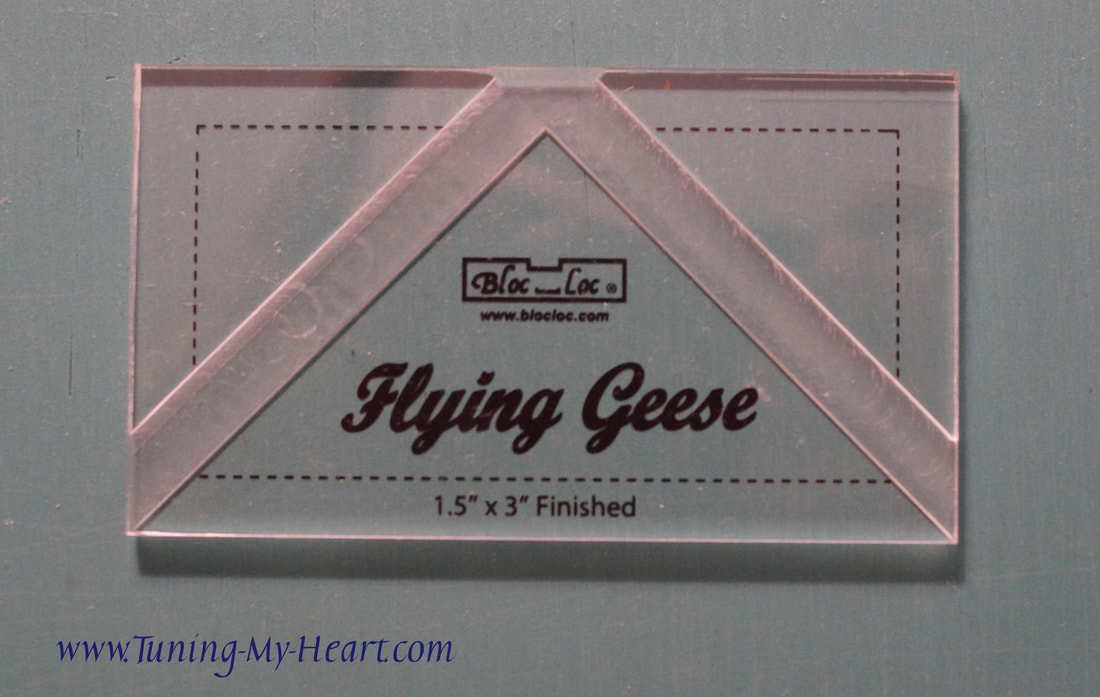 With the Bloc-Loc just slide the indentation into place and trim the first two sides. Then rotate and trim the next two sides and you are done.
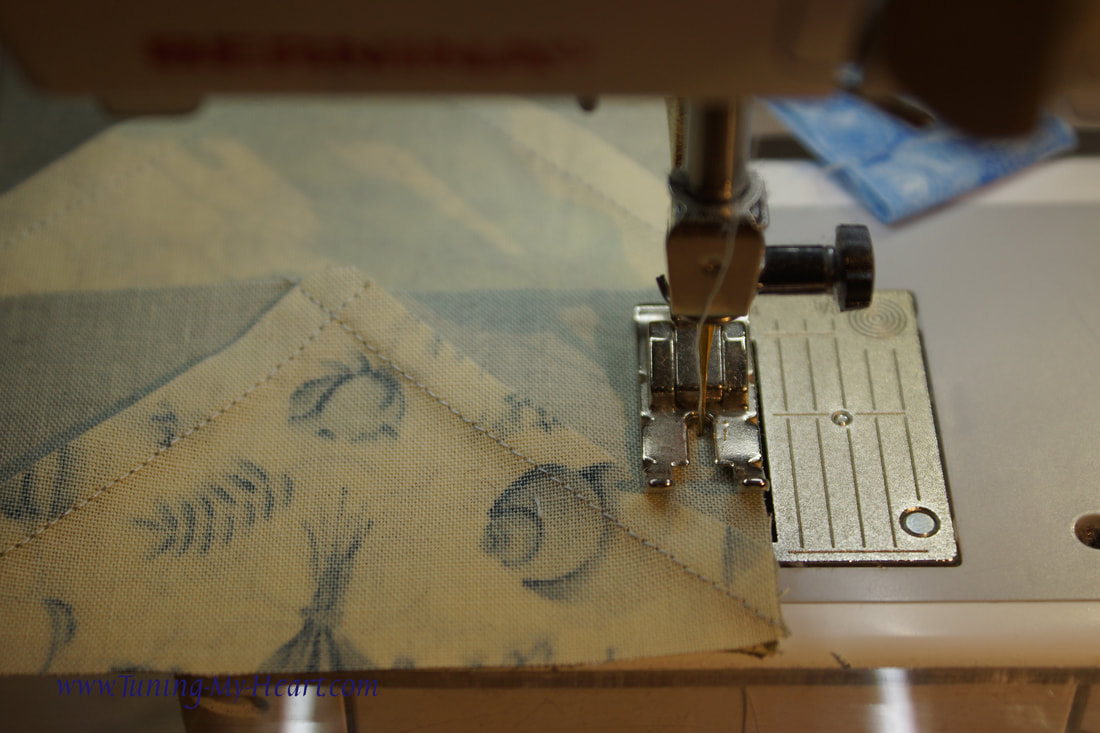
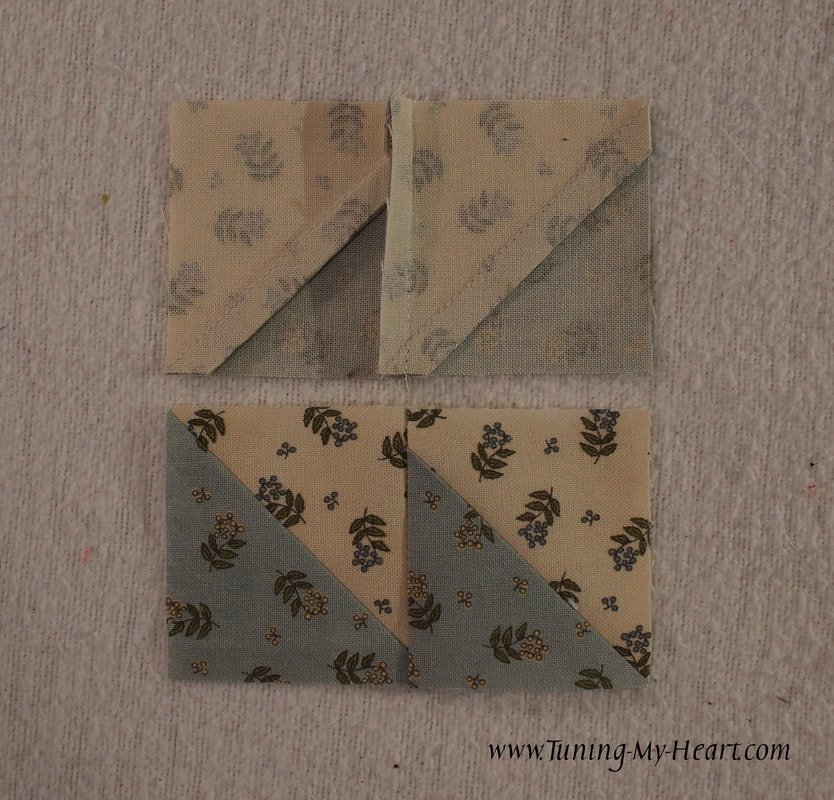
With the regular ruler you have to pay attention to a few details. We want to trim these to 2 x 3 1/2 inches so first we need to line up the 1 3/4 inch mark with the top point of the triangle at the same time make sure you have 1/4 inch of seam beyond it. On the bottom of the triangle the 3 1/2 inch and 2 inch mark need to fall on the seams. 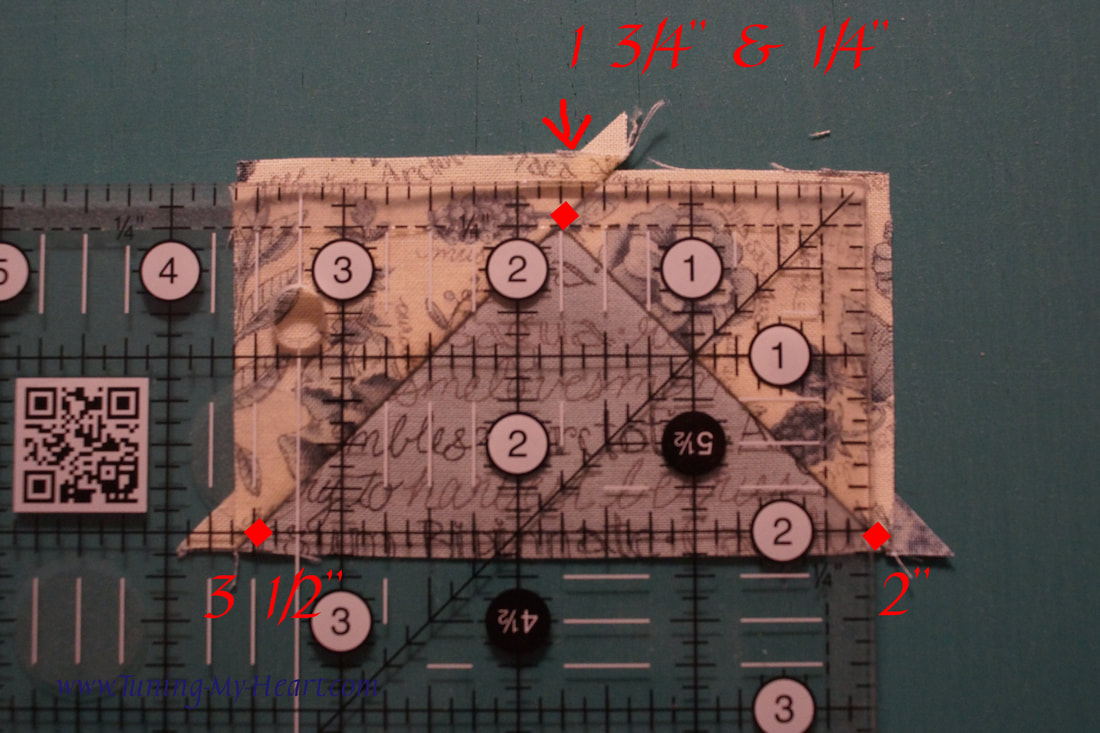 When we rotate the block to trim the last two sides the 3 1/2 inch and 2 inch lines are on the outside and once again the point falls on the 1 3/4 inch line with 1/4 inch seam extending beyond. Now we also have the diagonal line on our ruler falling in place on the seam. 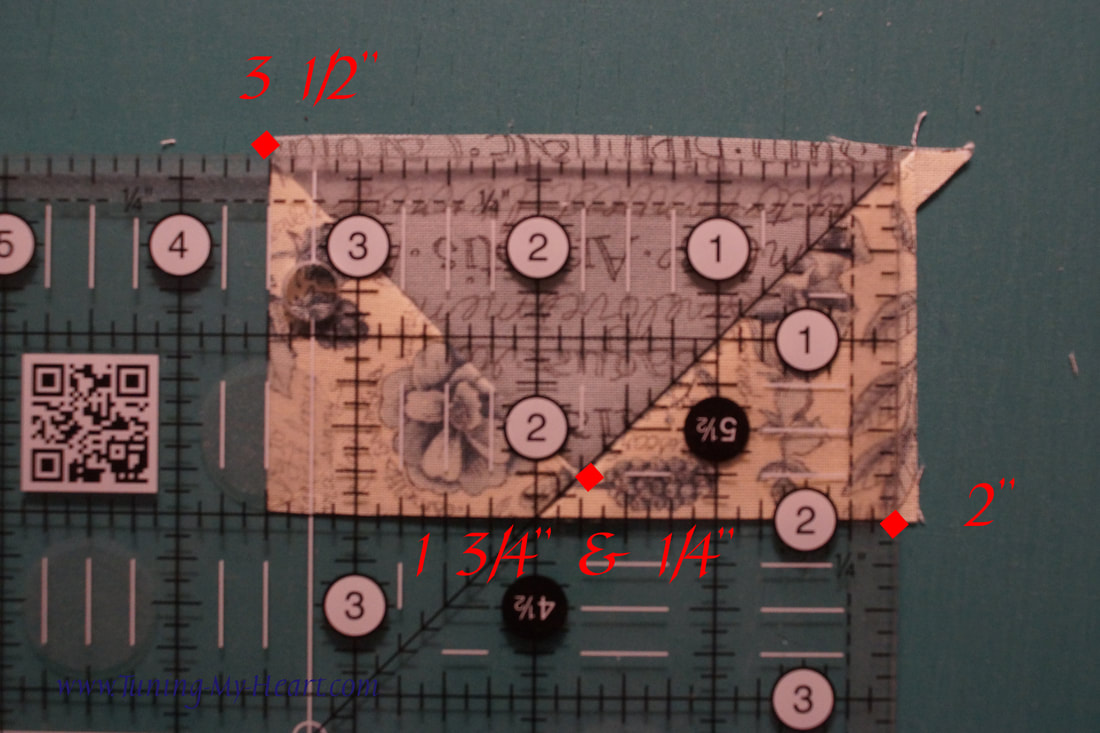 Once all of the flying geese units are trimmed we need to join them together in pairs. At times it helps to use a stilleto tool to hold the seams down. I have also found that lifting my presser foot (with the needle in the down position) as I come to that seam to make sure it is laying flat can also help.
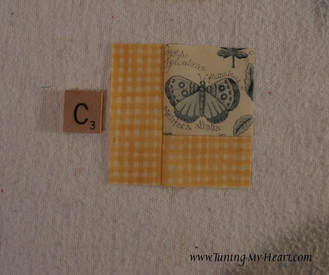
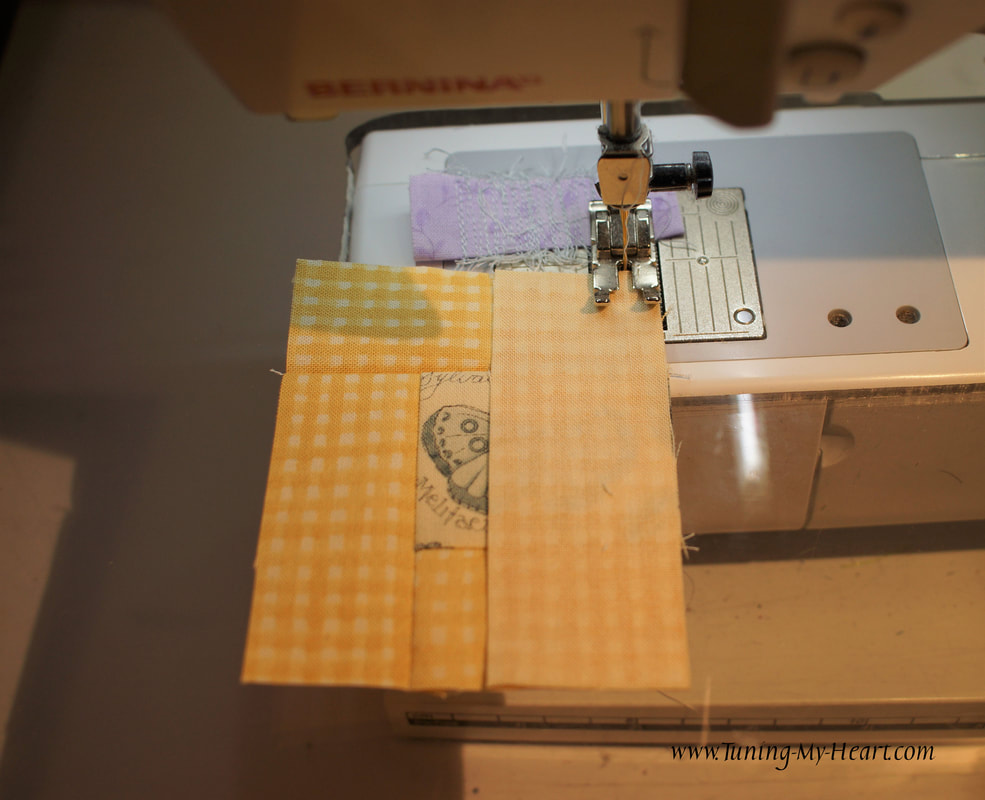
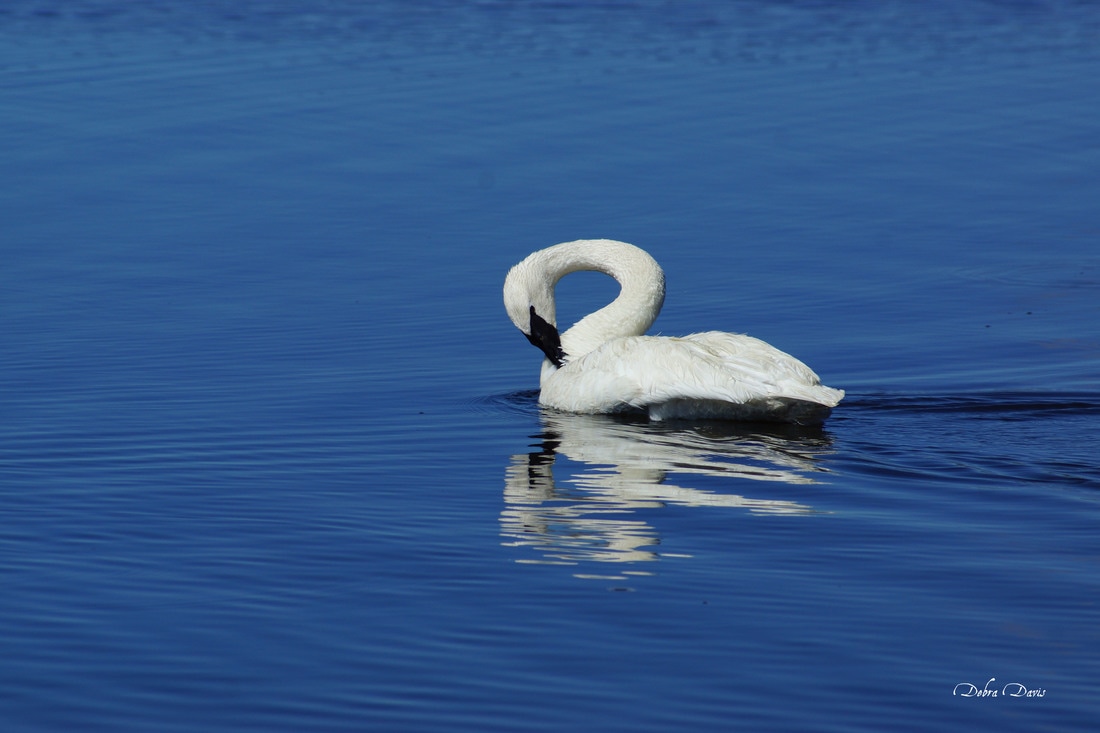
I pressed these seams in opposite directions though I am not happy with the bulk that creates. I tried making a set later with the seams pressed and with careful pinning that did help. It is just so much harder to line up the seams when I do that.  Whichever pressing style you use at this point when you join these units together take your time as there are some pretty bulky seams to go over and it is best to slow down for them. 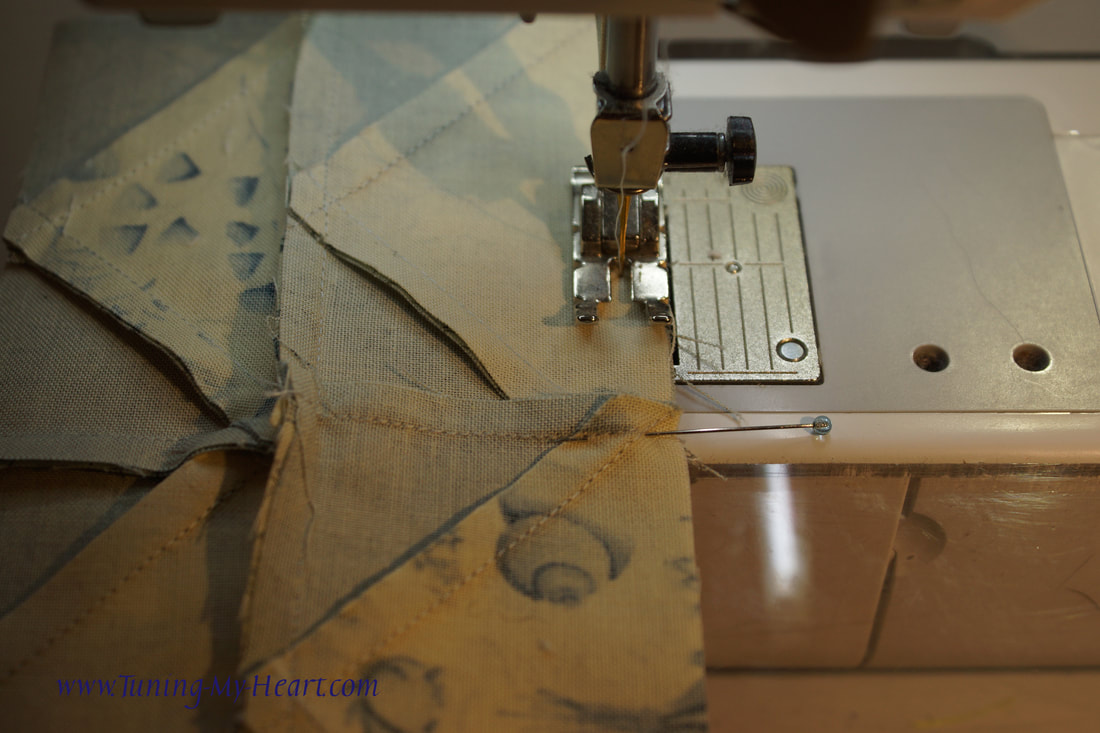 My version with the seams pressed open can be seen here-make sure to line up the pin on the top and bottom right into the seam if you choose to do this. 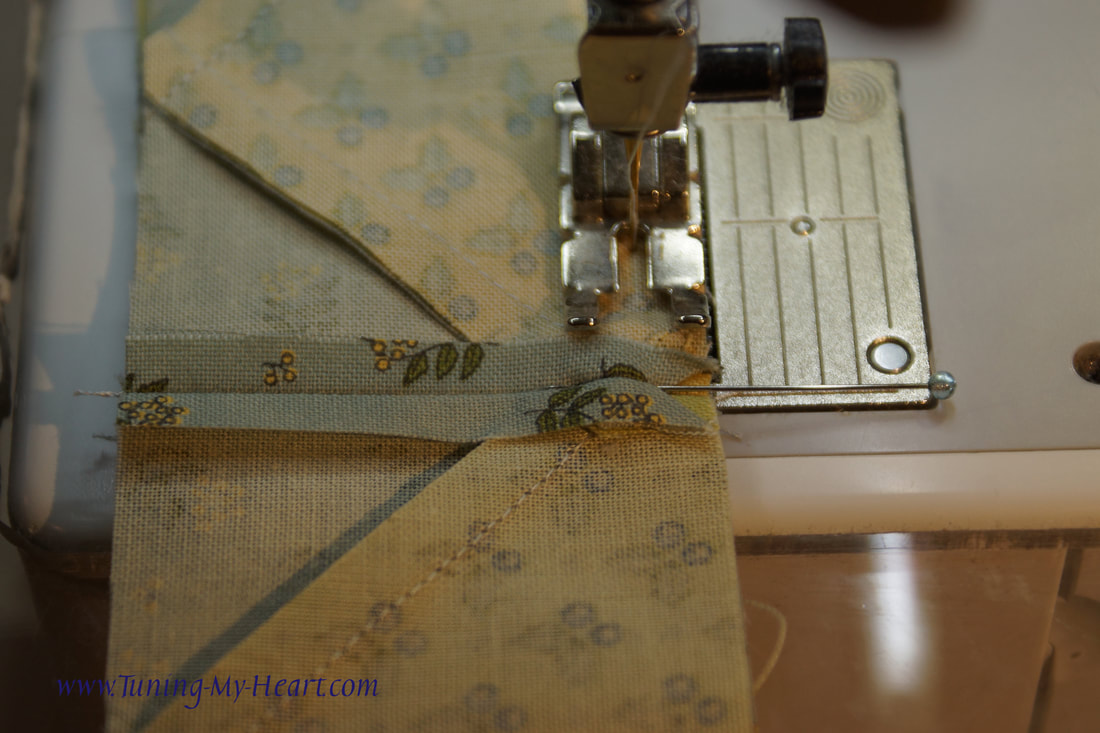 Ready for the final seam. I do want to point out that this method is not really good for using directional fabric. You can see how the the writing on the blue fabric will run a different direction on half of the Flying Geese blocks-but I am okay with that here. 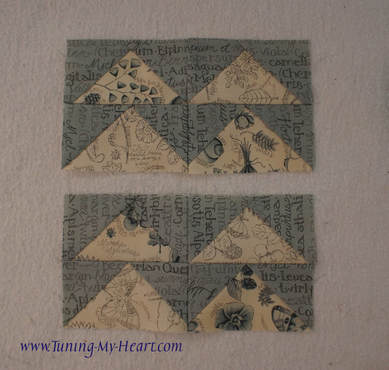 A second version of Night Flight. 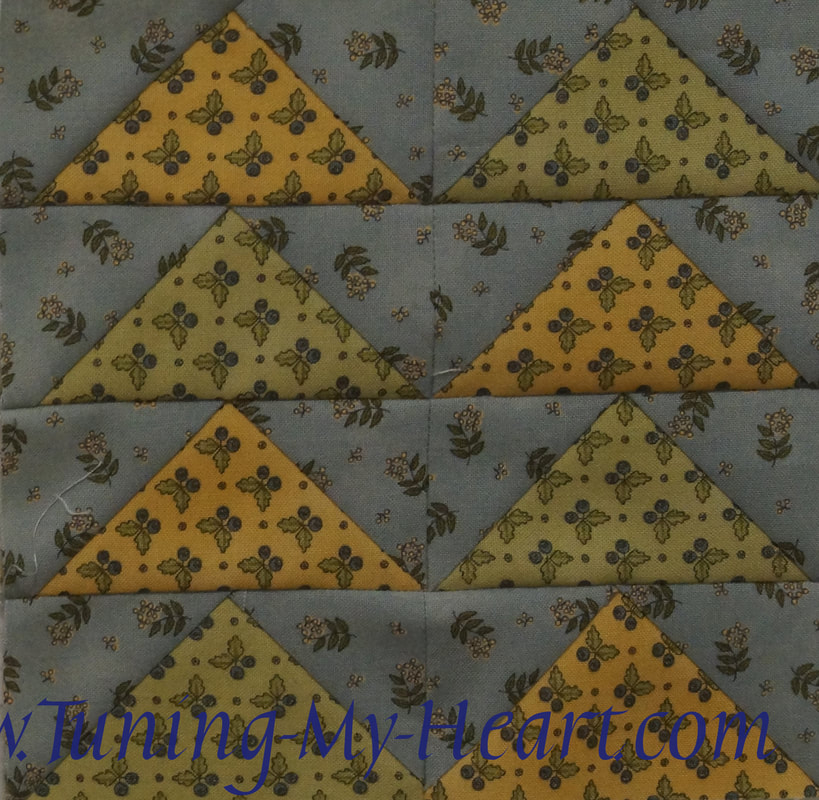 This is a video I took of some of the geese this winter...this is just a few of them with, some swans in the foreground...in case you would like to see what we experience. I hope you enjoy making your own Flying Geese. For a pdf version of this tutorial click HERE. Happy Quilting!  Whew, time to play catch up with the blocks I have missed. I am starting with Carrie Nelson's Block 18-it just looked like fun. It also happened that our son who lives in Colorado at the base of the Rocky Mountains was here for a visit so it seemed fitting as well. The little bear was given to me in celebration of his birth and normally sits on a shelf in my quilt room. You can find the link for this pattern on her blog by clicking below: http://blog.modafabrics.com/2017/07/blockheads-block-18/ 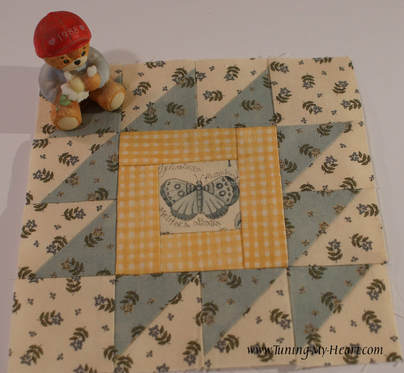 I started with fabric that had been starched and proceeded to cut out all the pieces for this block. I like to have a little extra for trimming Half-square triangles so cut those pieces a little larger than Carrie's directions state. E and F are cut to 2 1/2 inch squares. 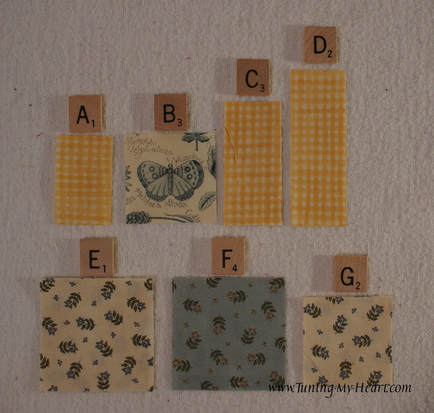 To make unit #1 start with the A and B pieces and join with a quarter inch seam. 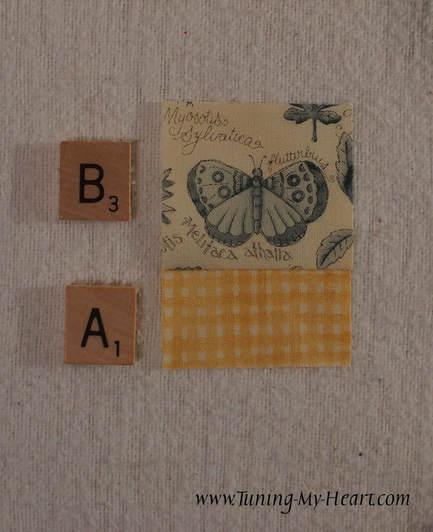 Continue adding the C and D pieces-working around the square. I pressed towards the piece that was just added rather than towards the B square; just like I do when making a Log Cabin block.
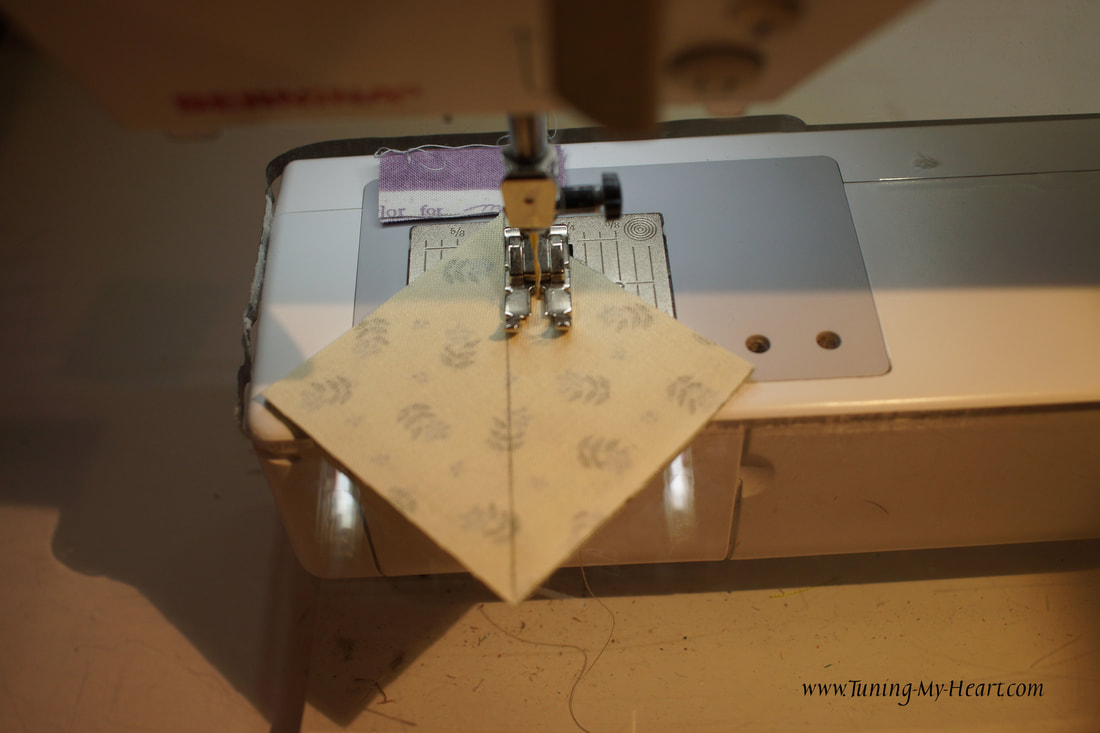
Unit #1 should measure 3 1/2 inches square when done. 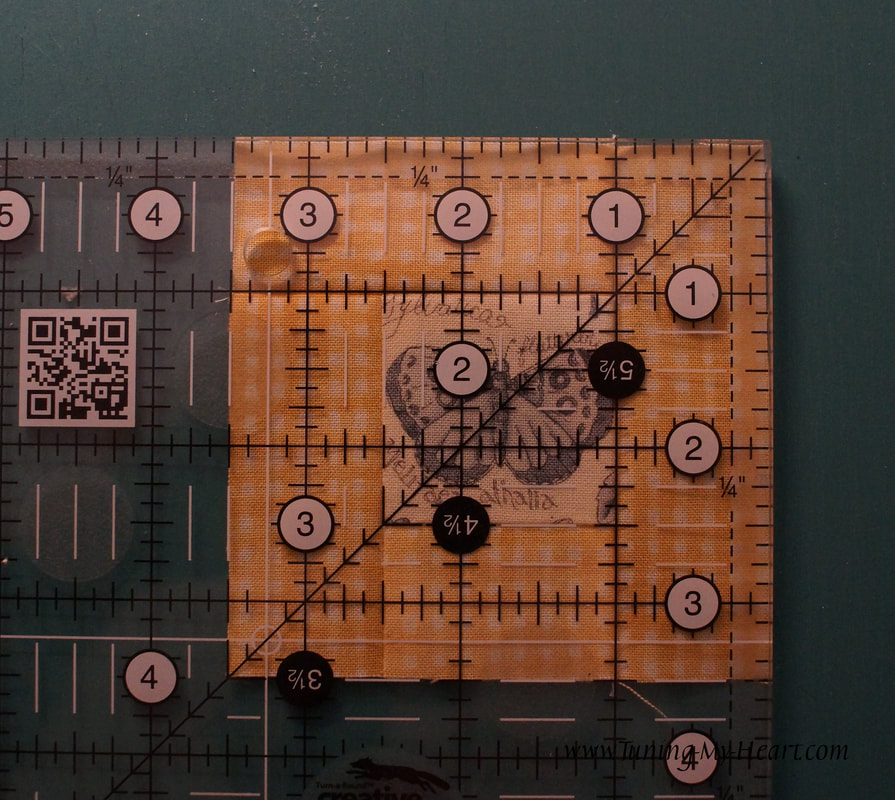 Next I made the Half-square triangles-it is the year of the Half-square triangle for me it seems. I started by drawing a diagonal line on the back of all of the E squares. 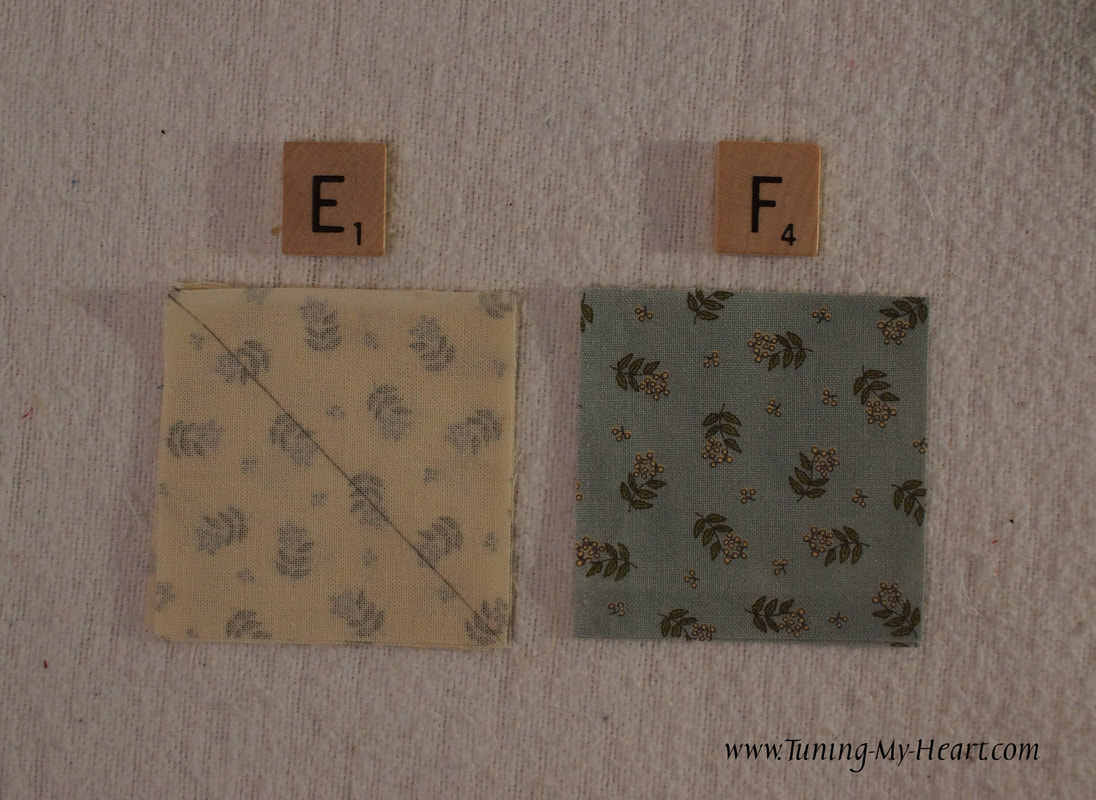 Placing an E and F square right sides together I sew 1/4 inch from each side of the drawn line.
These are cut apart on the drawn line and pressed towards the darker side. 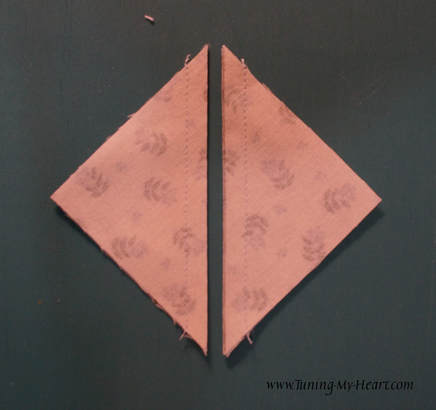 Since these squares were cut a little large I need to trim them down to 2 inch squares. I do this by lining up the diagonal line on my ruler with the diagonal seam line, trimming two sides then rotating the unit and trimming the next two sides. 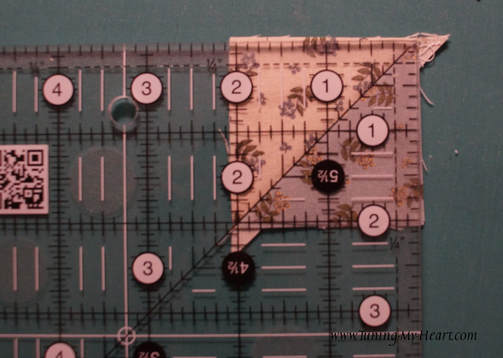 Using the Half-square triangles we just made, join two sets of them together to make two Unit #2's.
The next step is to make the Unit #3's. This time we need three Half-square-triangles and one G square for each unit. 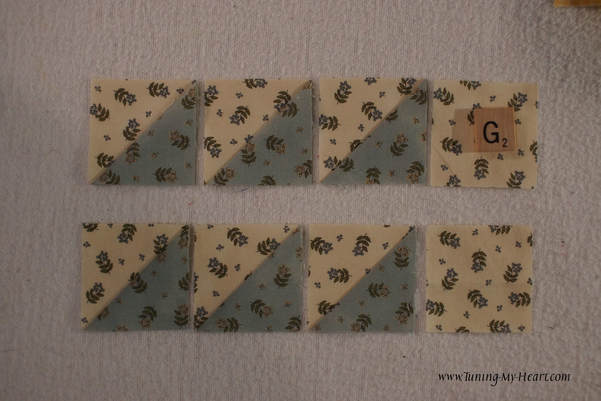 I chain-pieced in groups of two and pressed the two outer seams towards the outside. I pressed the middle seam the direction it wanted to lay better. 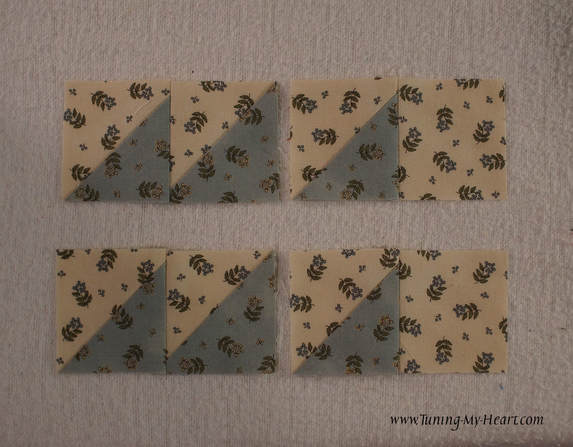 Two Unit # 3's are finished and here you can see how I have pressed them. 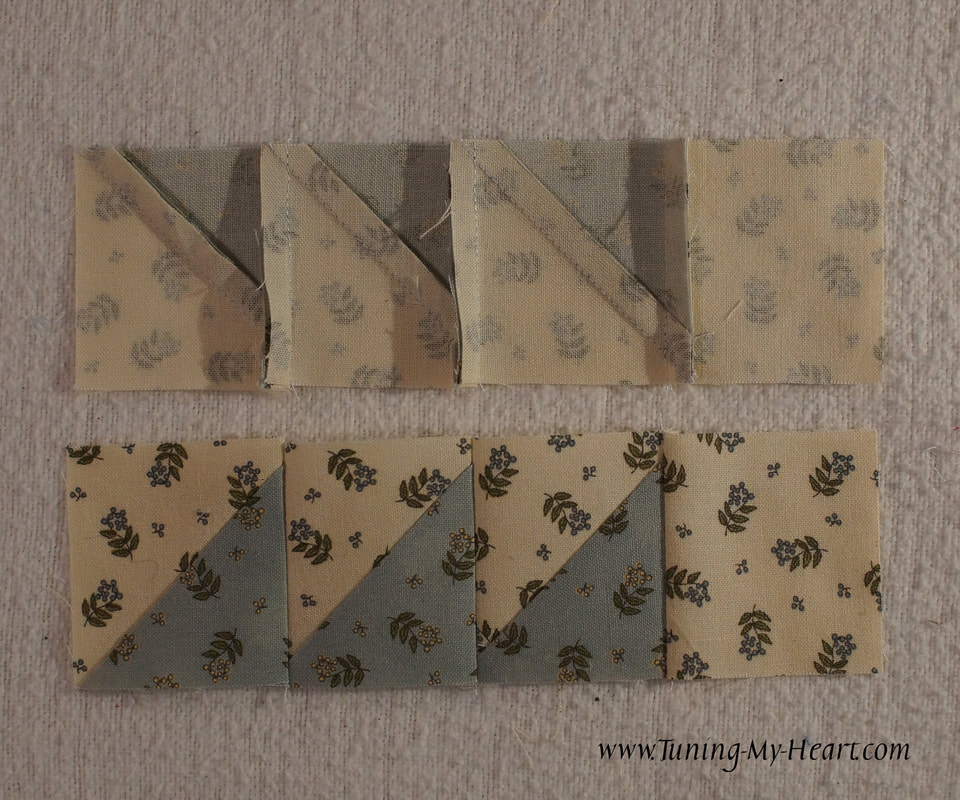 Now it is time to put all of the units we have made together. Starting with Unit #1, add a Unit #2 to each side making sure the triangles are going in the correct direction. 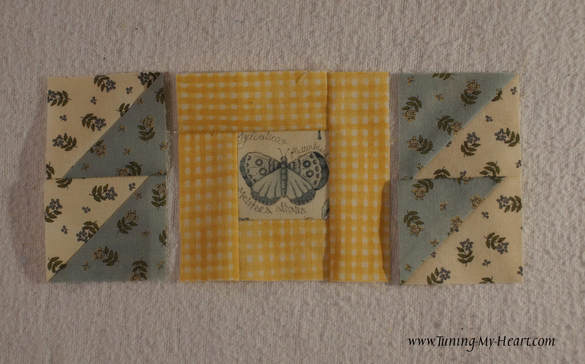 Lay out the Unit # 3's on the top and bottom making sure they are facing the right direction. 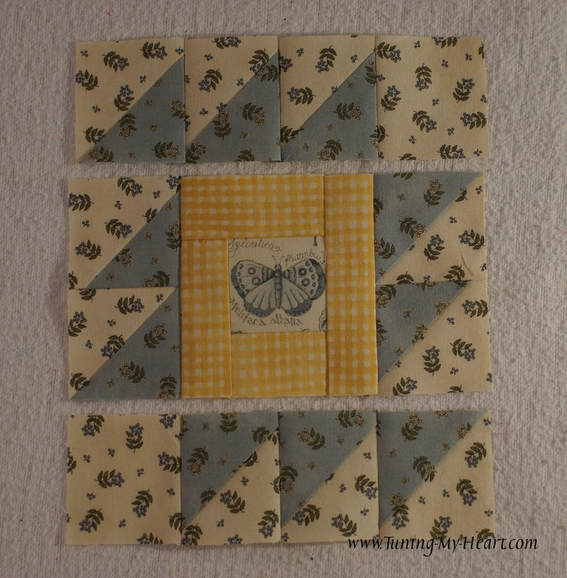 Because of the way I pressed these units the seams nest nicely and I placed two pins to hold everything together where the seams met. 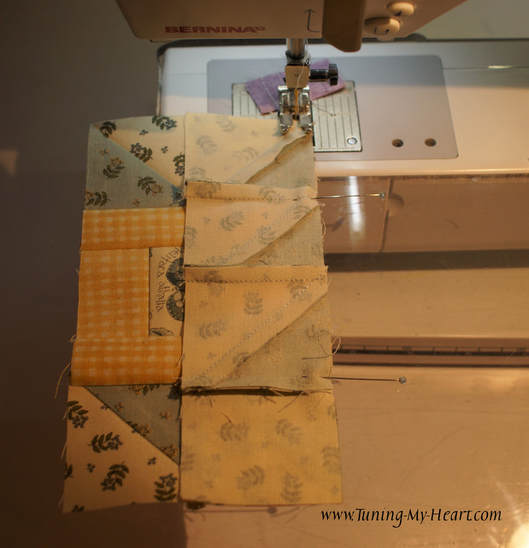 And there we have the finished block! 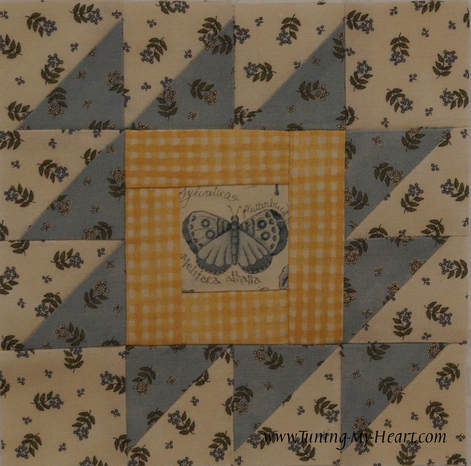 Now I just need to go back and do the two blocks I missed while we were vacationing-I think there is an alternate too that I would like to try so... until next time, Happy Quilting!!  For a PDF version of this tutorial click HERE.
It is summertime here in the USA and for us that means some family time with some of our kids. Things should be back to "normal" in a week or two as I will soon be back in my quilt studio. So if you have been missing my Moda Blockheads tutorials I will be catching on those I have missed. In the meantime, Happy Quilting and enjoy these photos from our adventures.
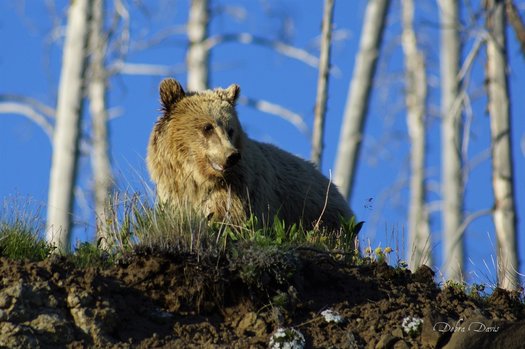 Grizzly Bear cub!
 |

Welcome to the site of Debra Davis-a woman who loves the Lord and loves to quilt.
My other blog where I share about my walk of faith:
Sitting at His Feet 
|


 RSS Feed