|
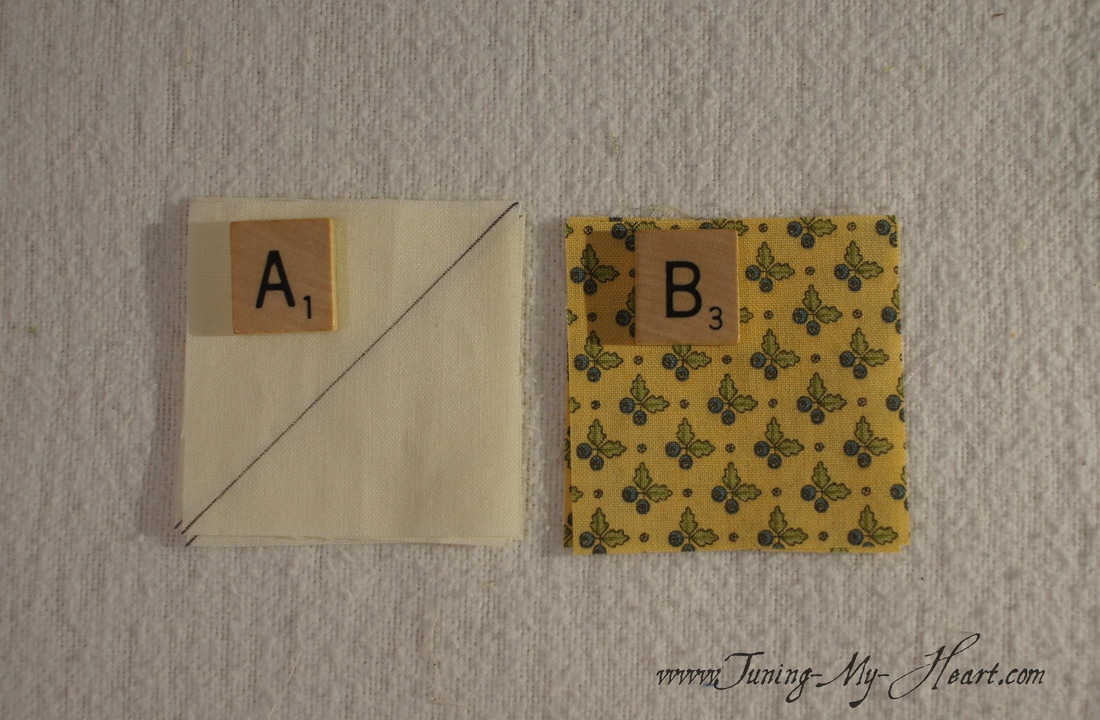
It's Wednesday and that means another block for the Blockheads. This week's block was designed by Carrie Nelson (click on her name to go to her blog post) and the pattern can be found here: http://unitednotions.com/Block12CN_Puzzled.pdf If you survived Lisa's block last week, this one will seem like a breeze. I did make one change to the cutting directions as I prefer to have a little extra for trimming; so my A, B, and C squares have all been cut to 2 ¾ inches. 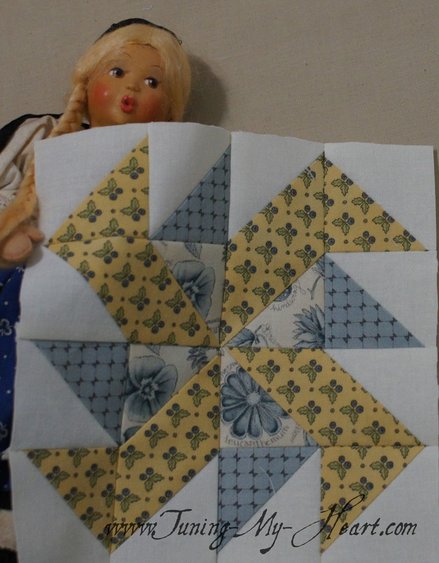 I am starting with fabrics that have been starched. First I draw a diagonal line down the center of all four A squares.  I am starting with the A and B squares, but since the remaining A squares are joined in the same way to the C squares I am going to do them all at the same time.
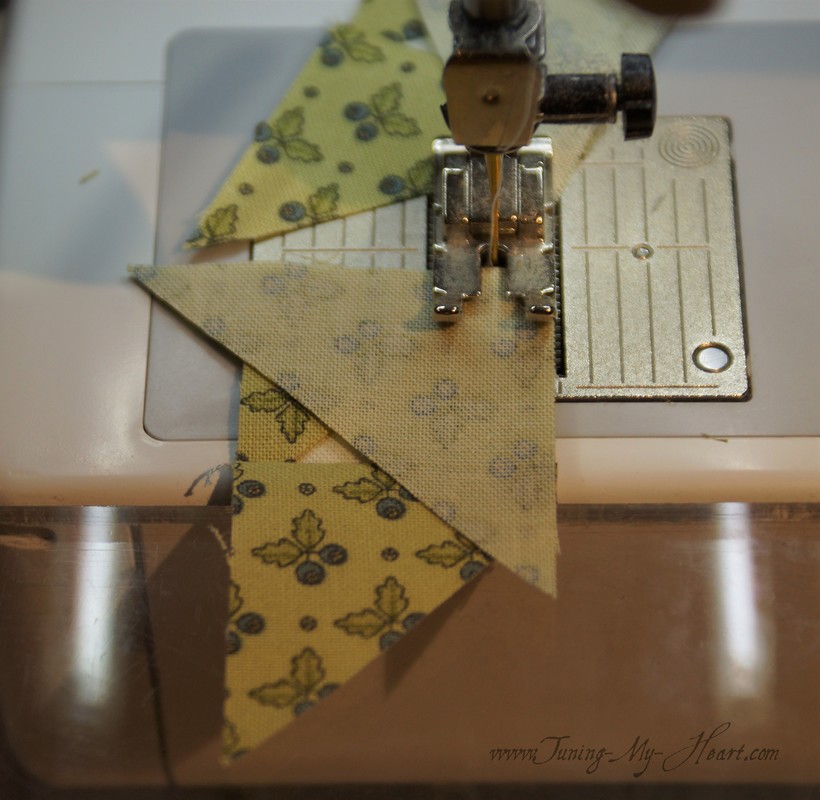
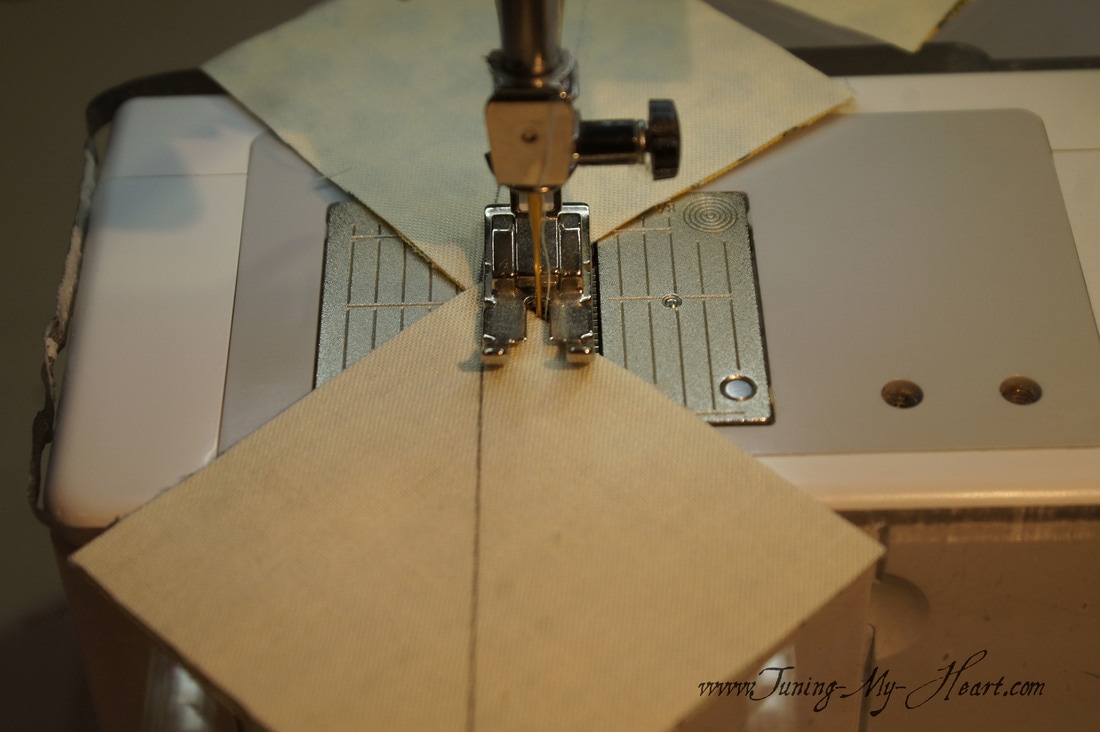
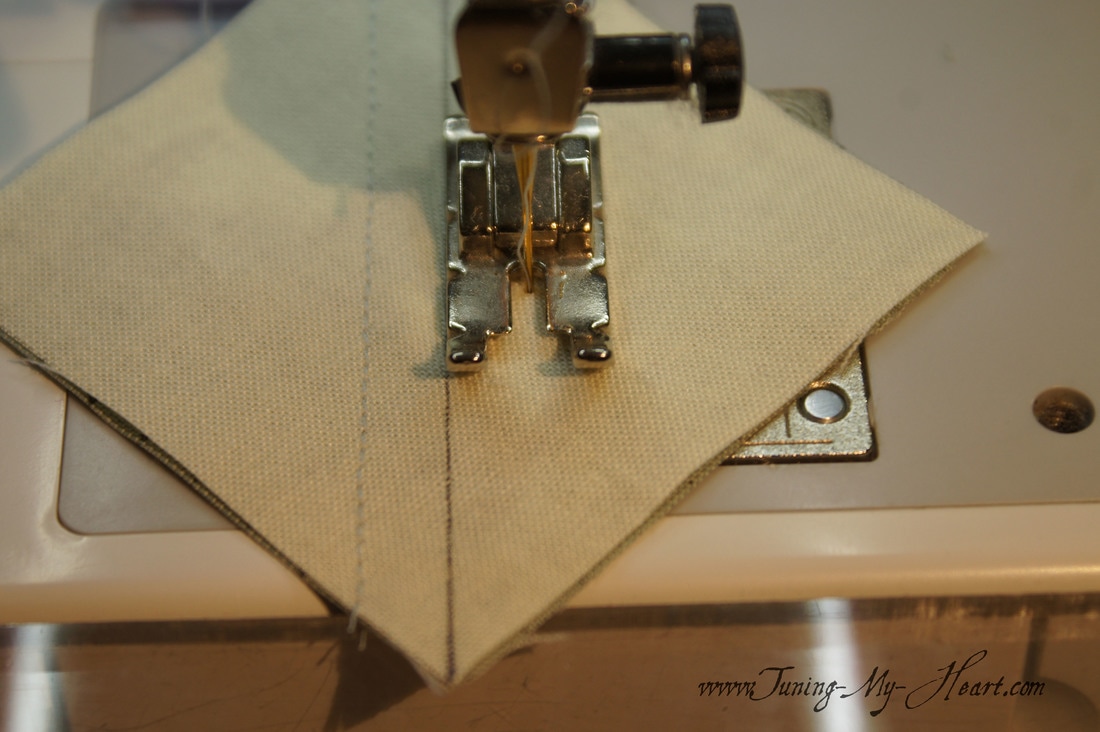
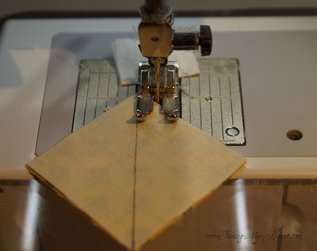
With right sides together I sew 1/4 inch from each side of the drawn line, chain piecing as I go.
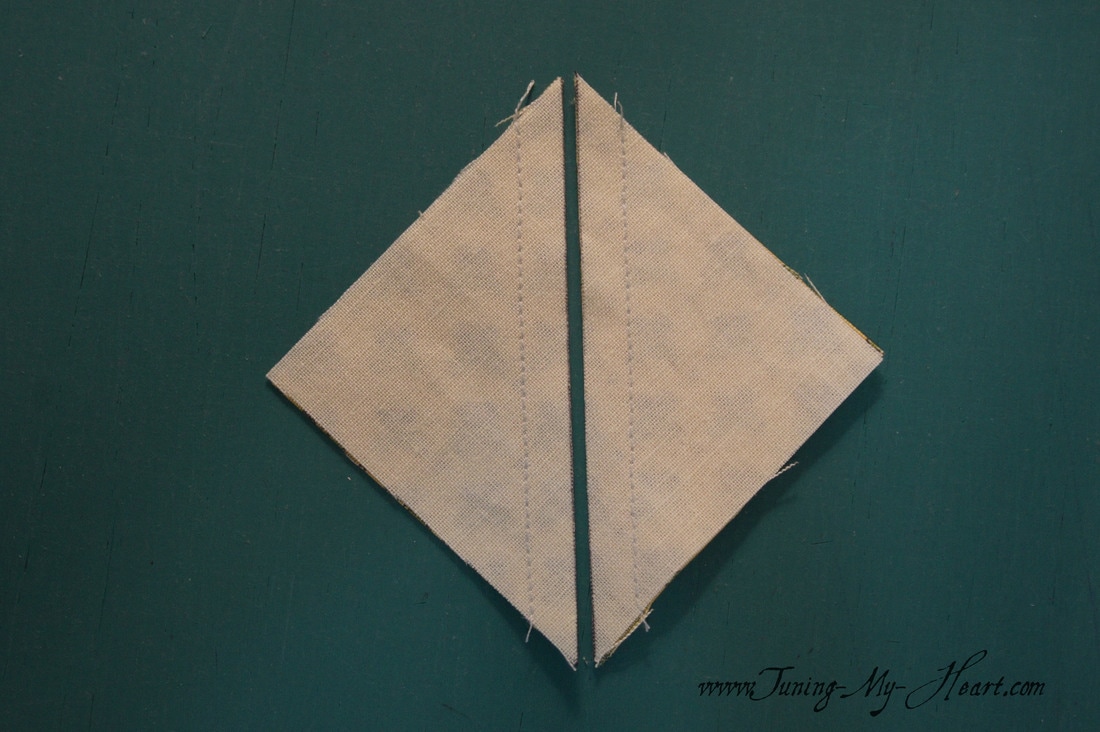
These units are now cut apart on the drawn line and pressed towards the dark side.
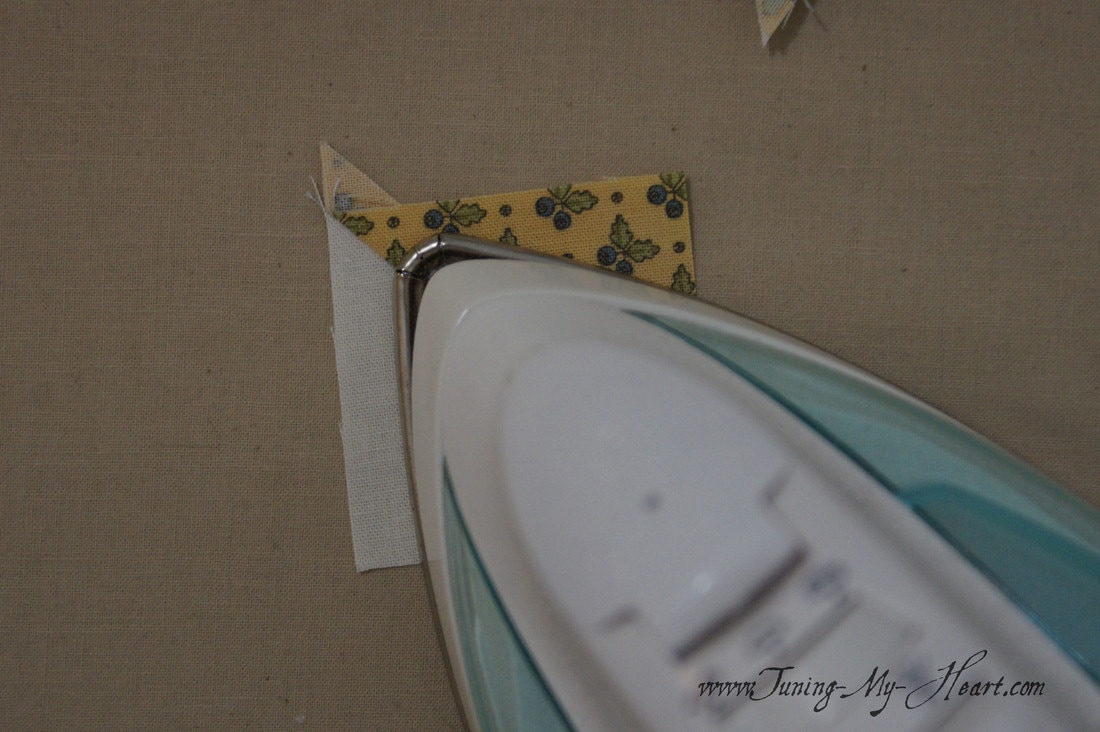
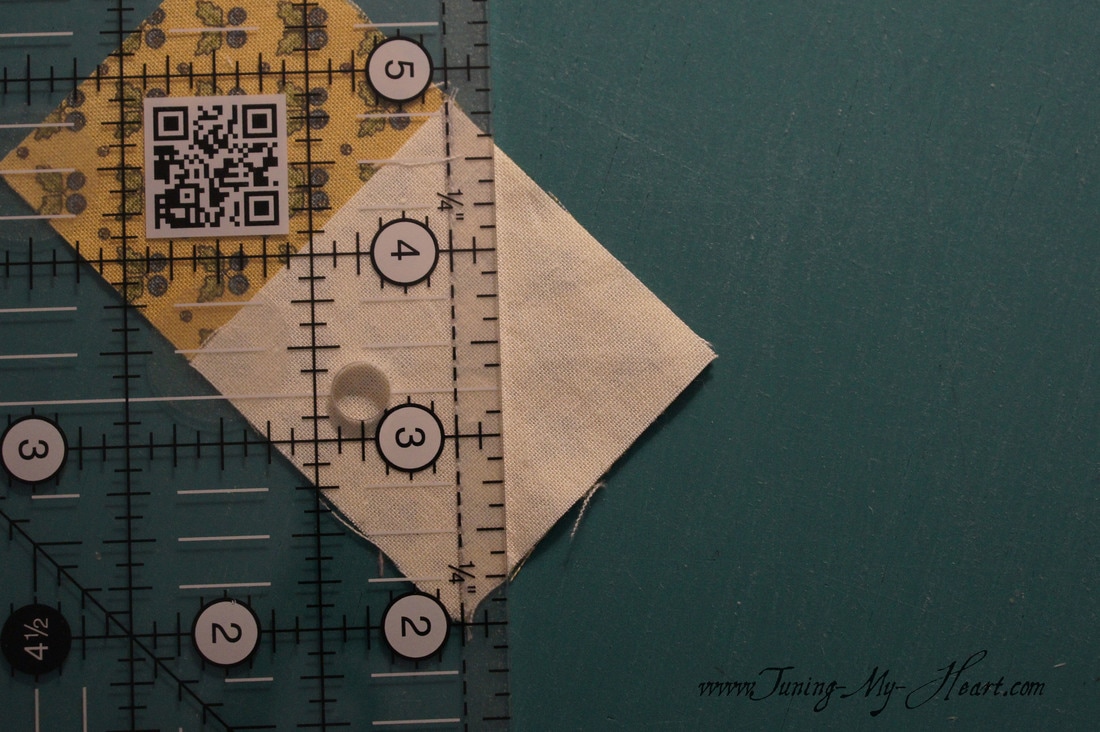
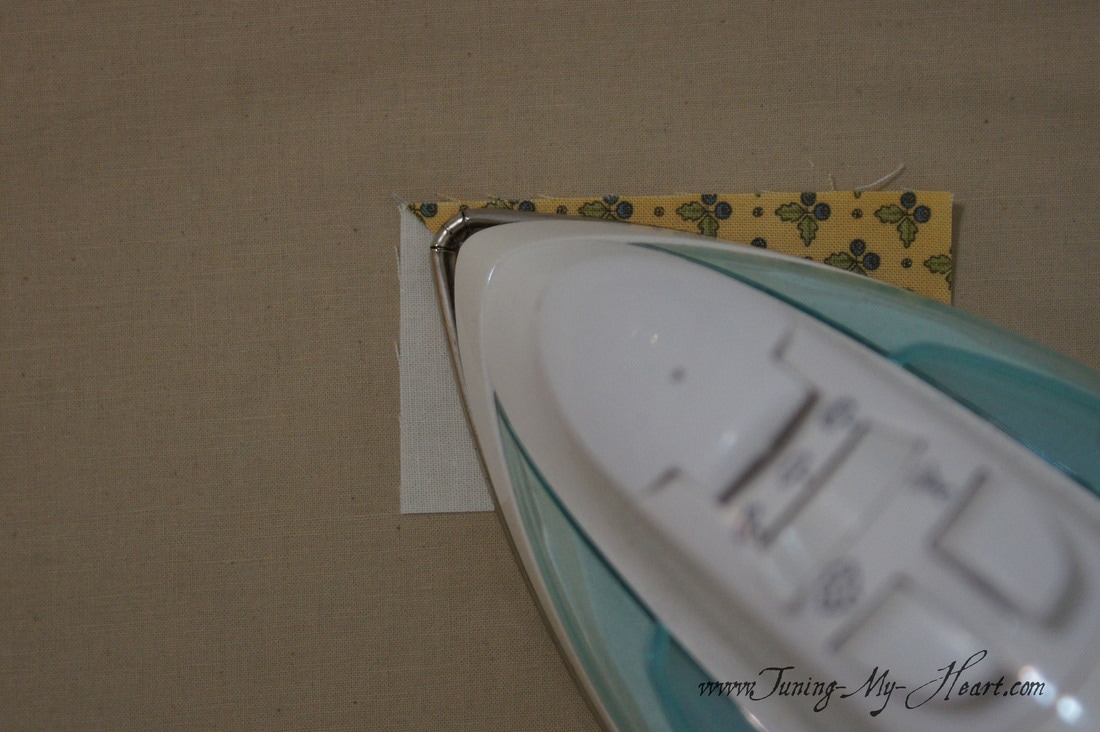
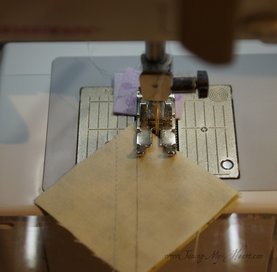
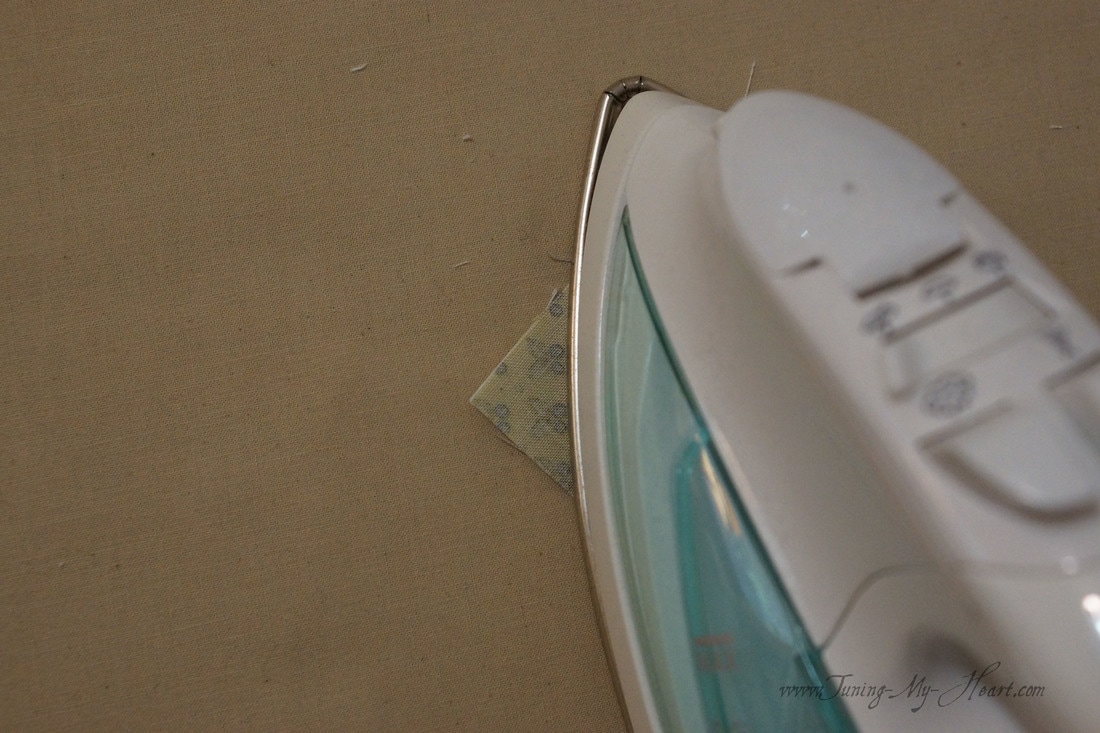
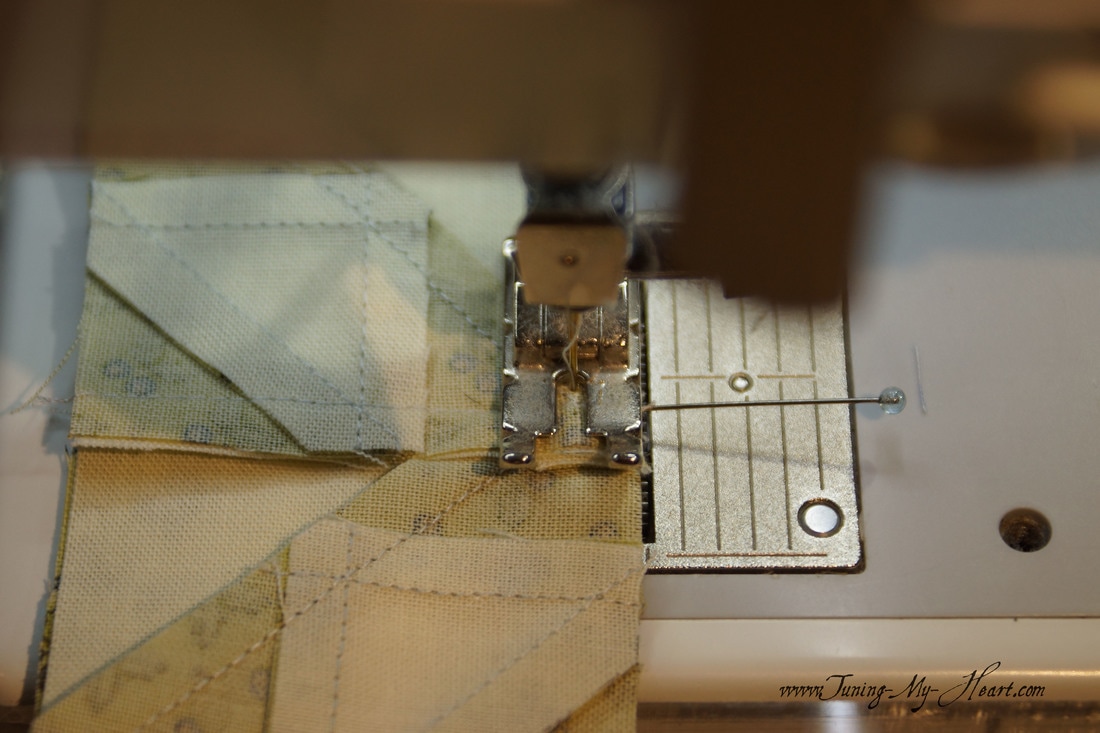
They need to be trimmed to 2" squares-making sure to line up the diagonal line on my ruler with the seam line. 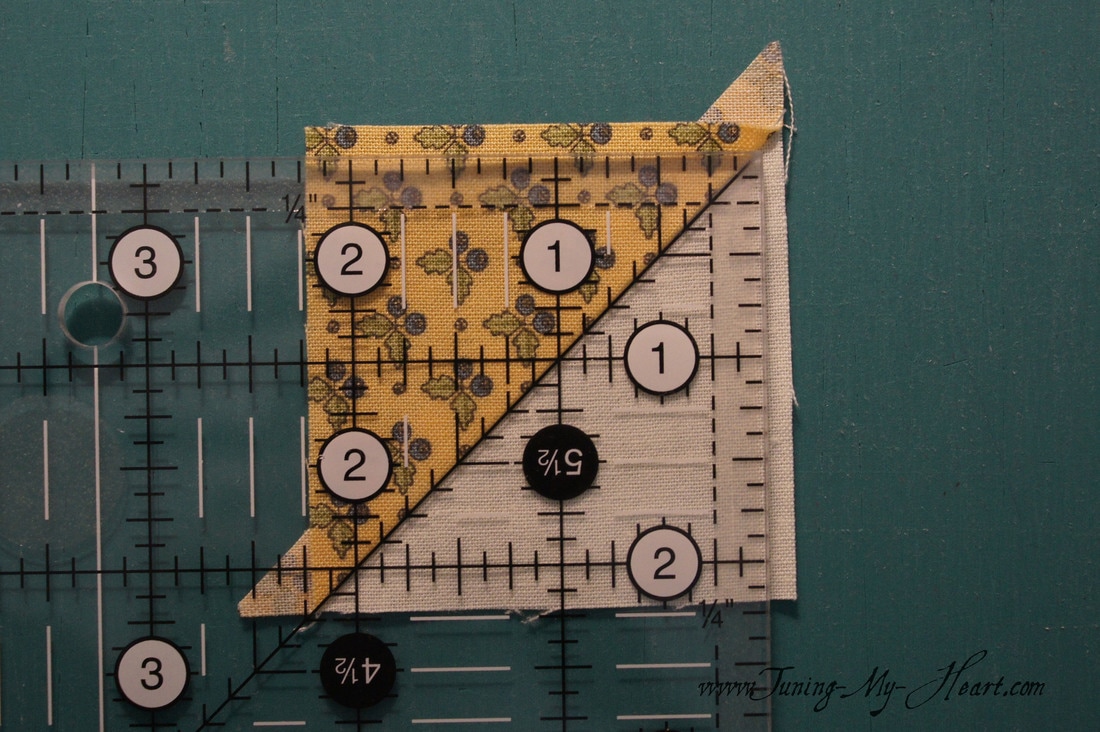 Now I will join the A/B units to the A/C units. 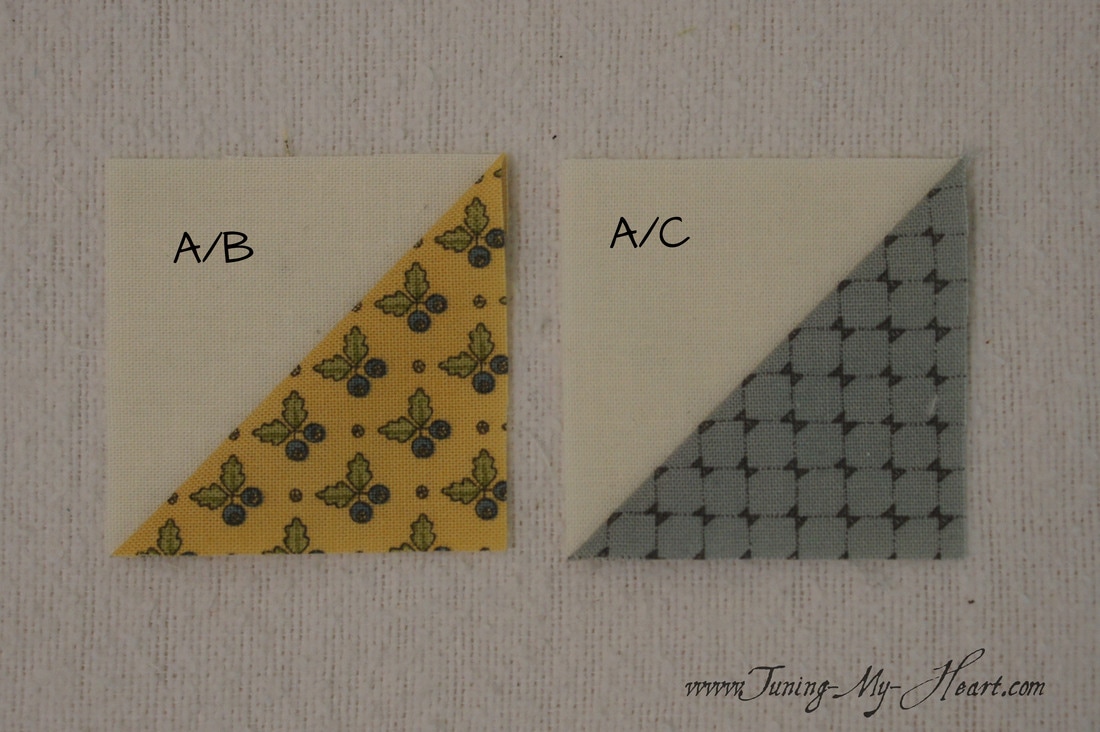 These should now measure 2" x 3½." 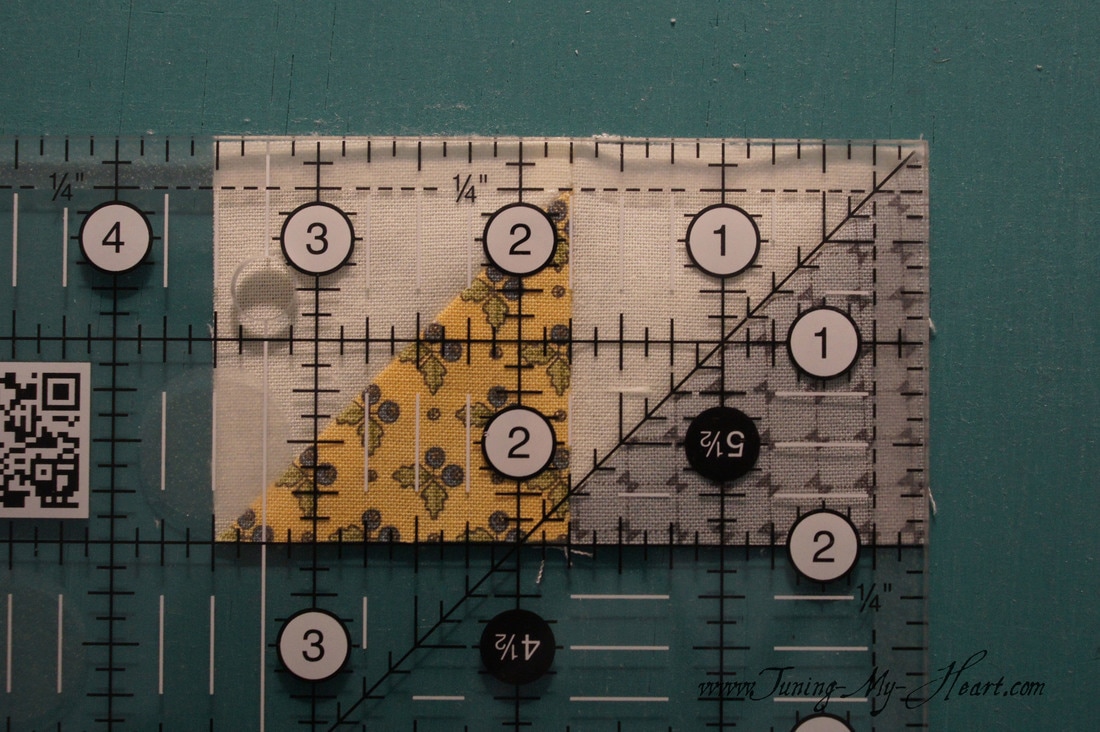 Setting those aside for now, I go to work on the E rectangles. I have drawn a diagonal line on my D squares using a pencil. I want to use something to draw this line that will not show through the fabric. This gets placed on top of the E rectangle, making sure the diagonal line is running in the correct direction. 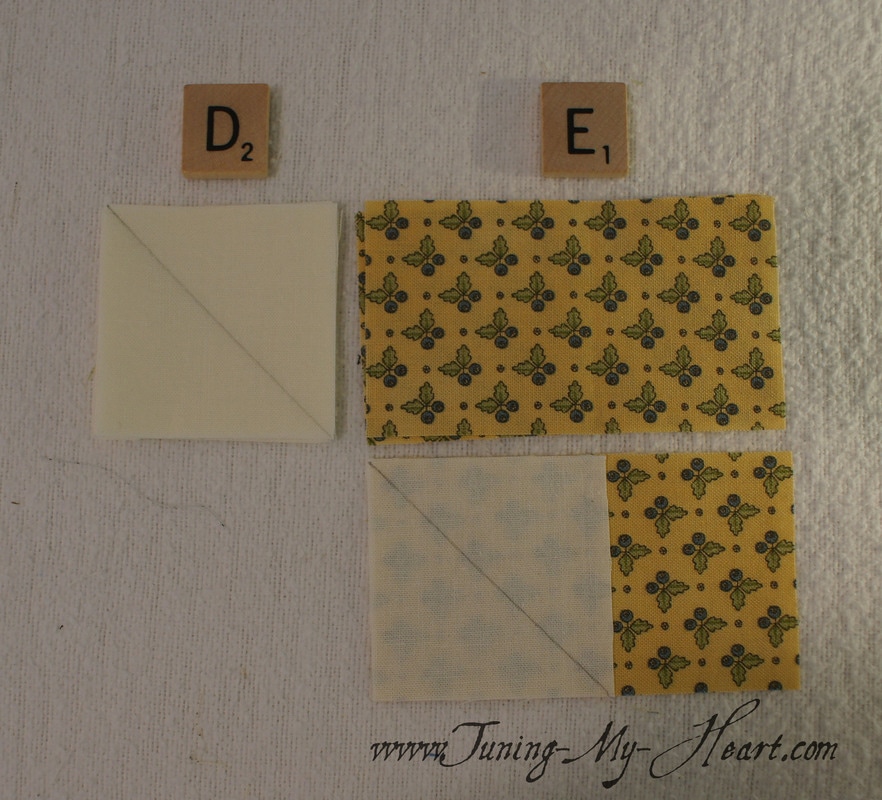 I sew them together with my needle falling just to the outside of the drawn line. I have found that if I sew right on the line my units come out too small, but if I land just a needle width away it comes out fine. 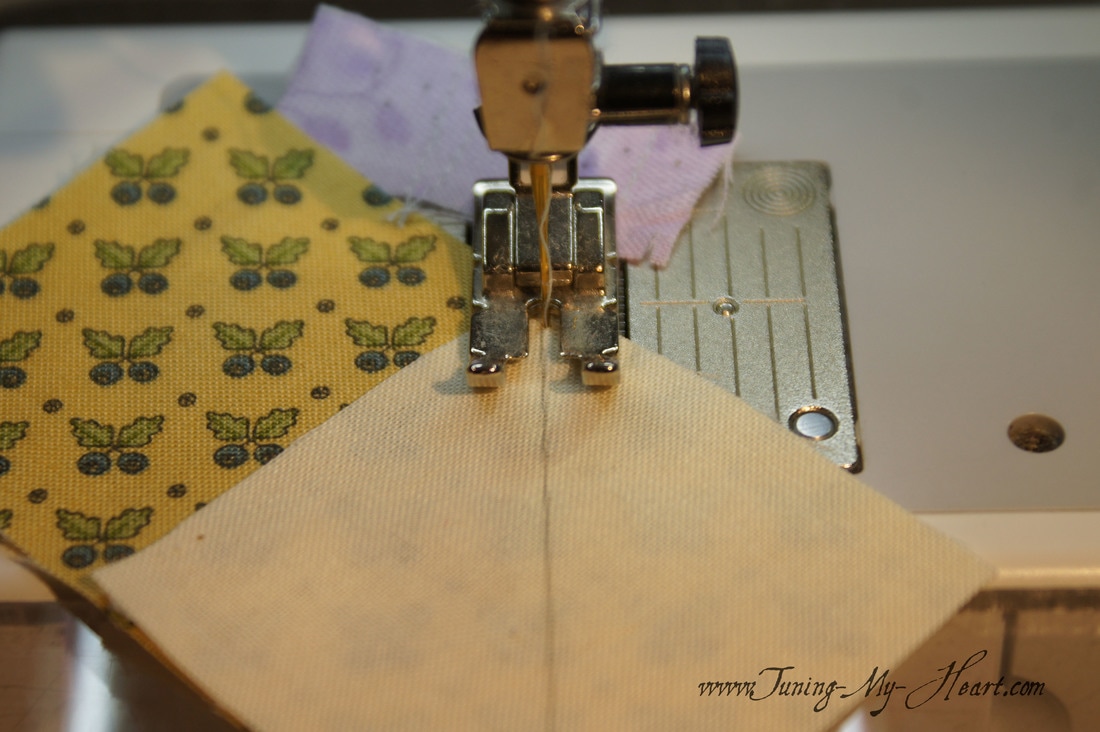 A quick check to make sure that when I open up that triangle it completely covers the fabric underneath. 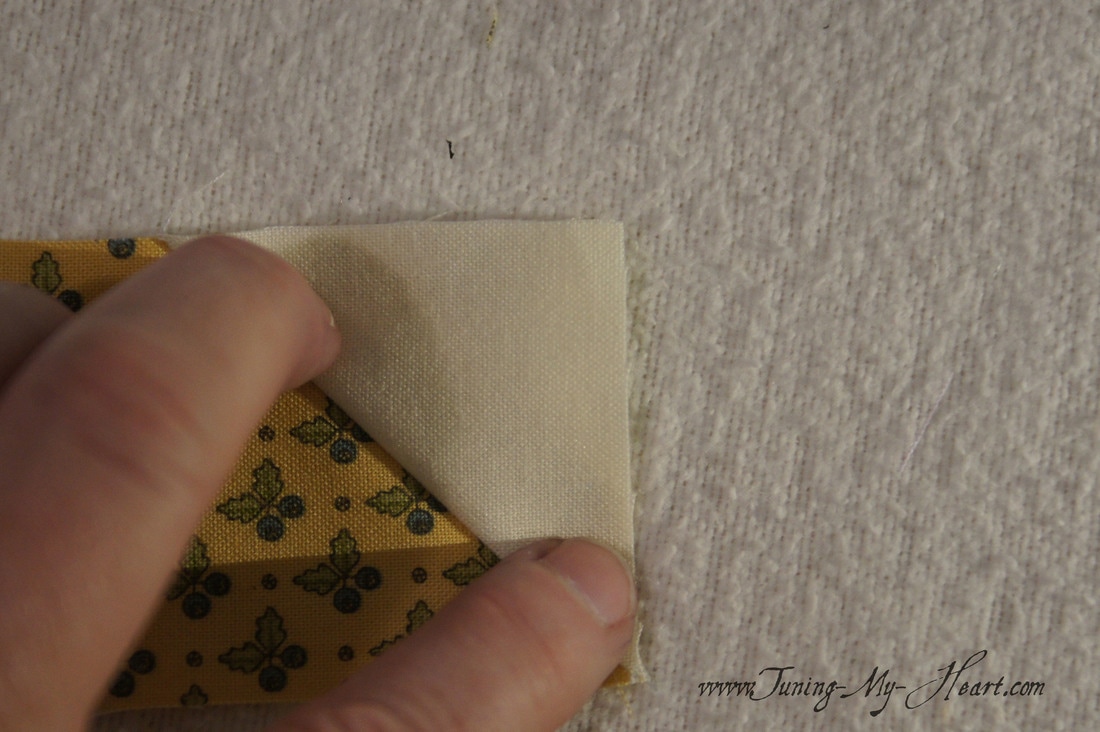 Now I can trim away the extra by placing the 1/4 inch mark on my ruler on the seam line. After trimming press the unit towards the E rectangle. (The little triangles left over are perfect for making Betsy Chutchian's Mini which you can see on her blog linked here.)
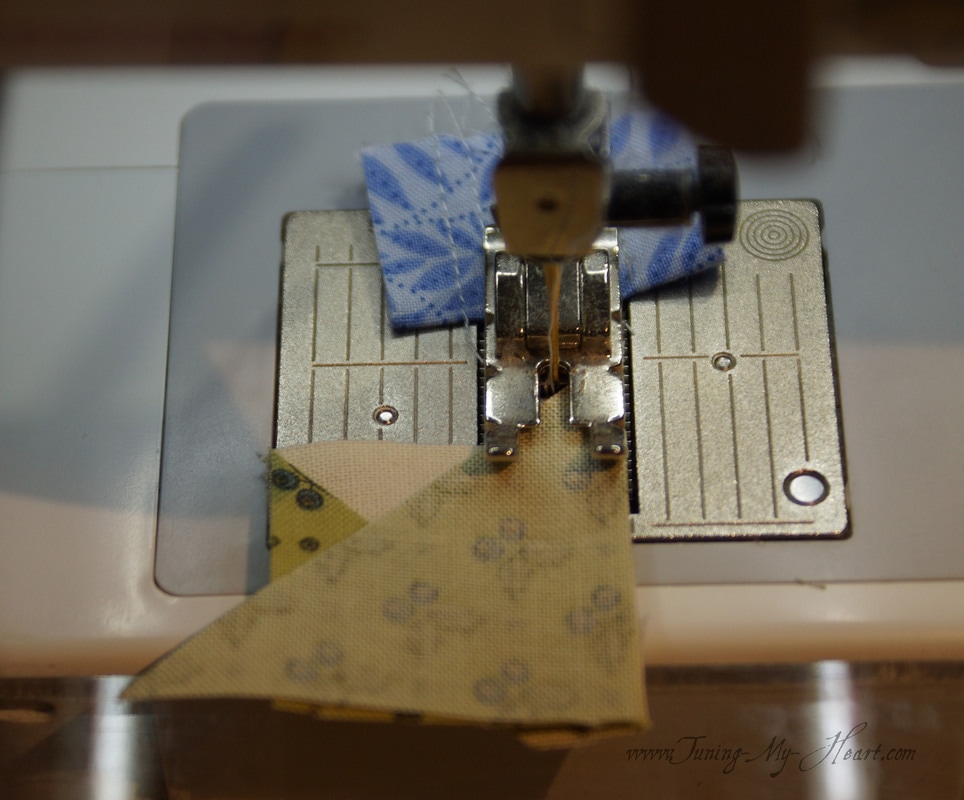
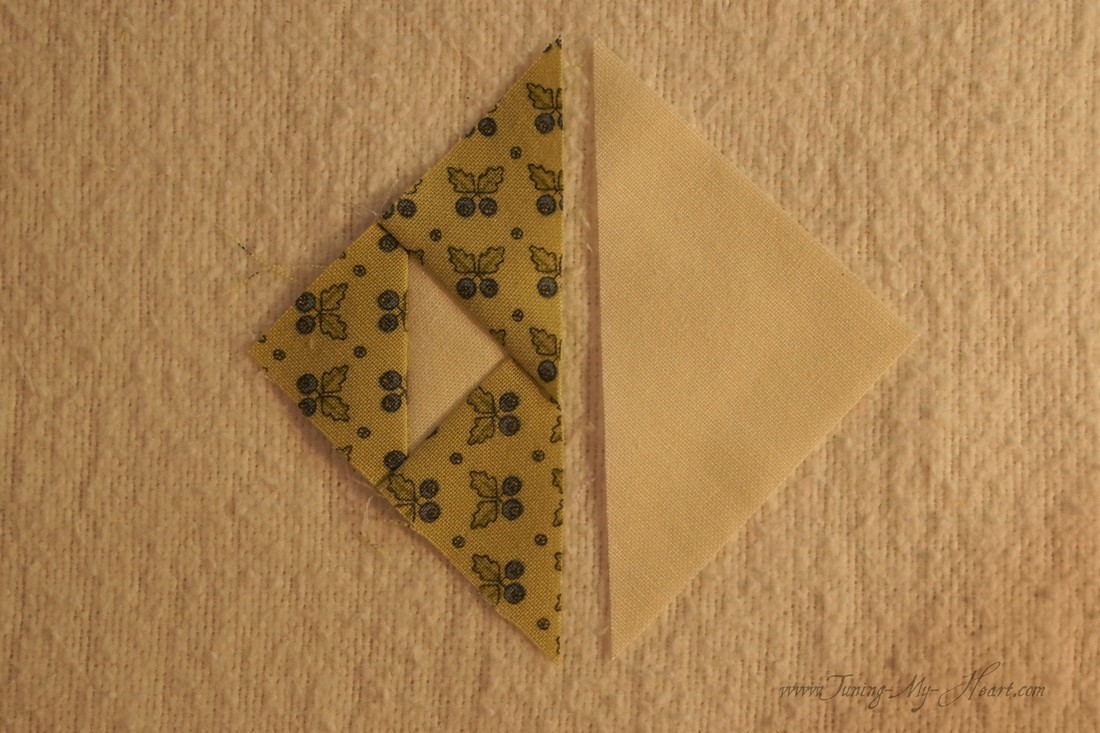
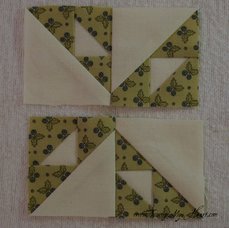
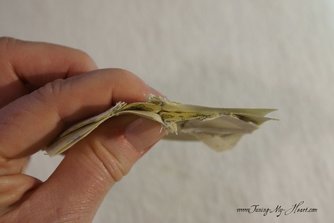
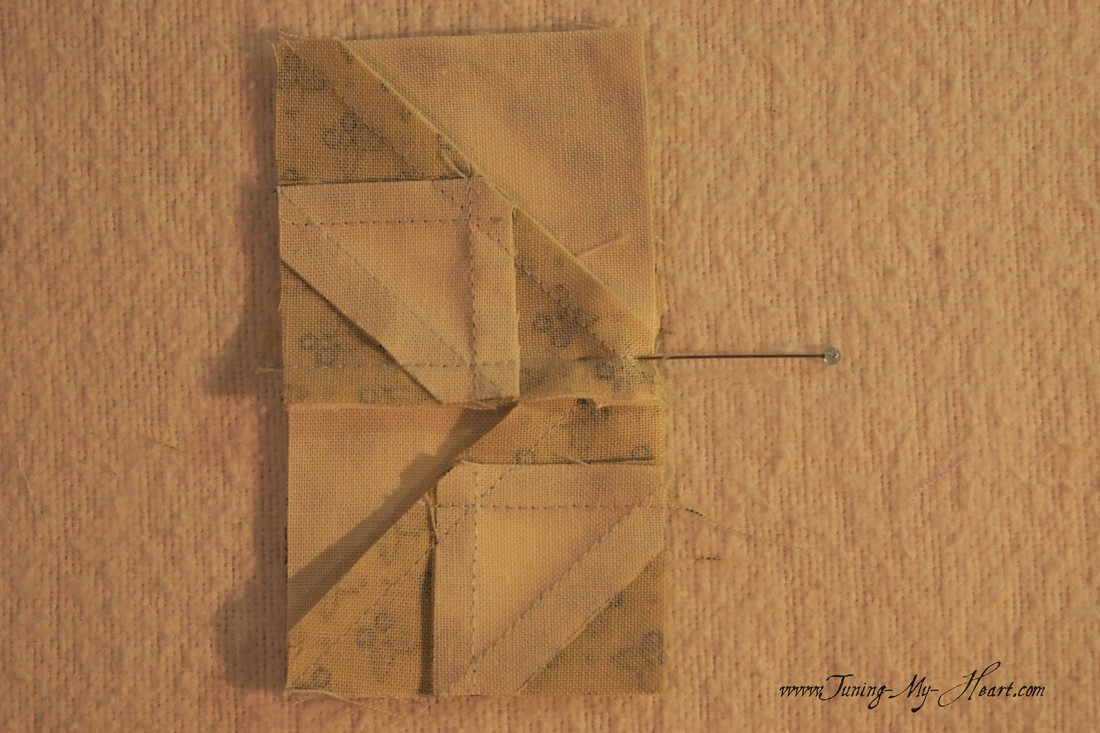
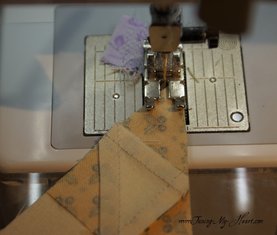
Next, I just do the same thing on the other side using the F squares. Again making sure I have the diagonal line going in the right direction. 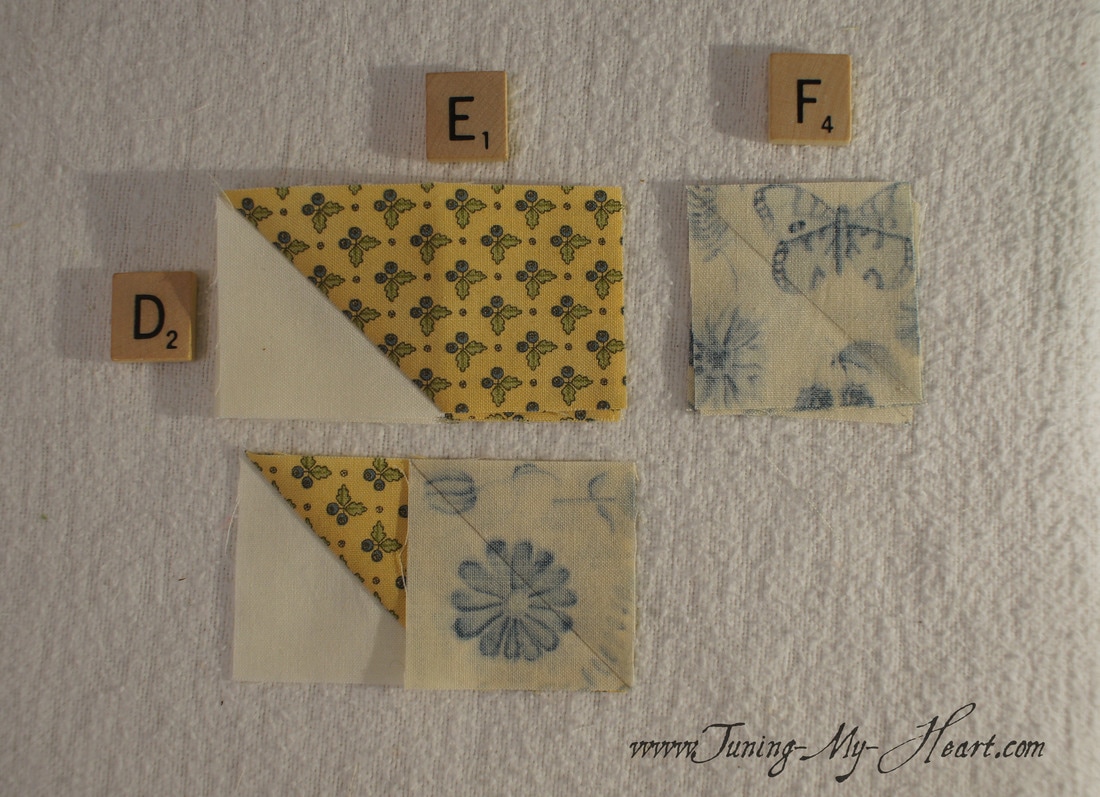 Sewing just to the outside of the pencil line... 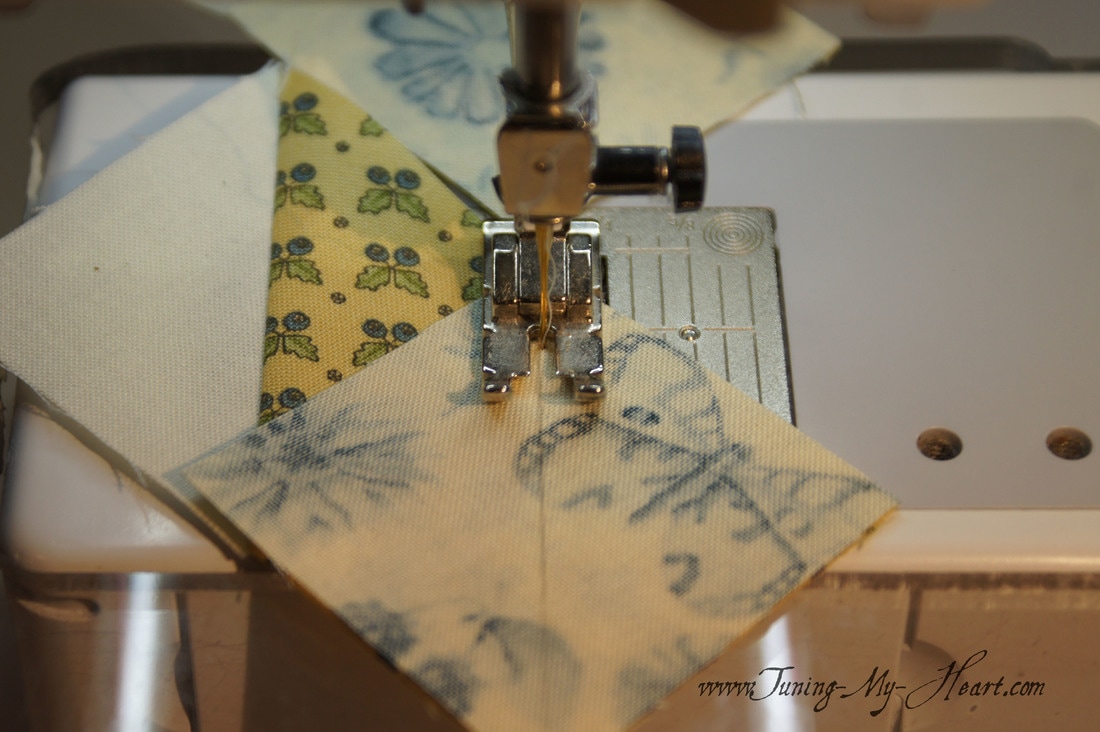 These get trimmed in the same way as before and the unit should measure 2" x 3½." 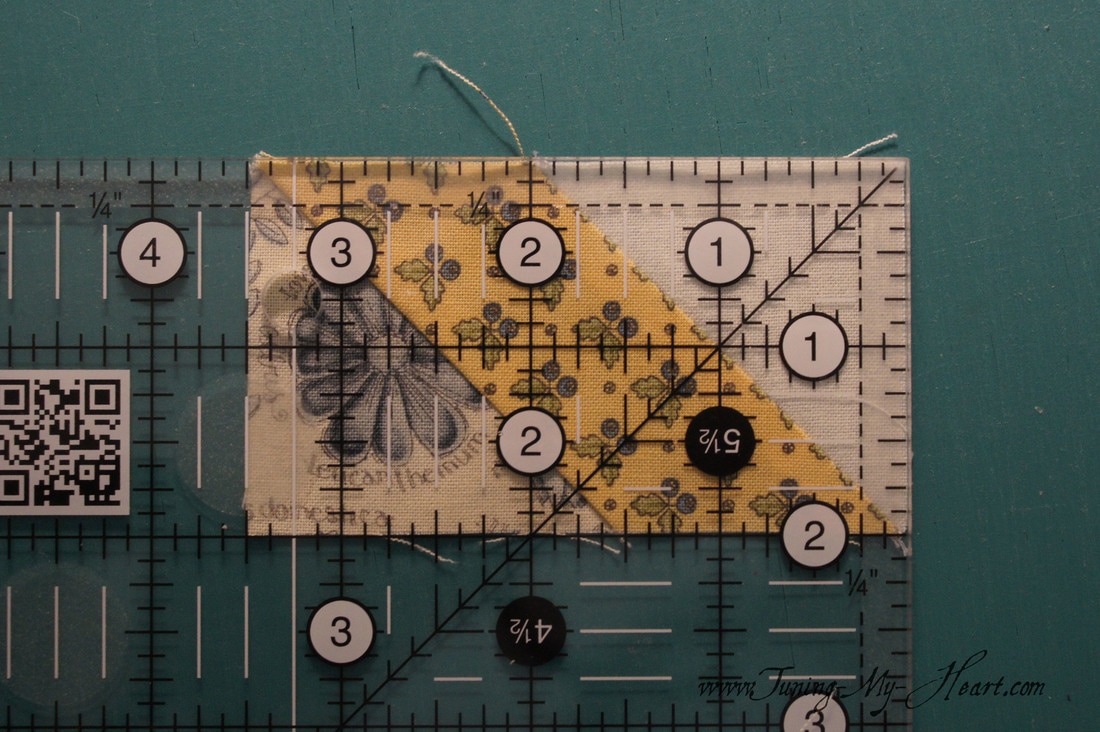 Puzzled. I love the name- as this is one block that needs to be laid out carefully. 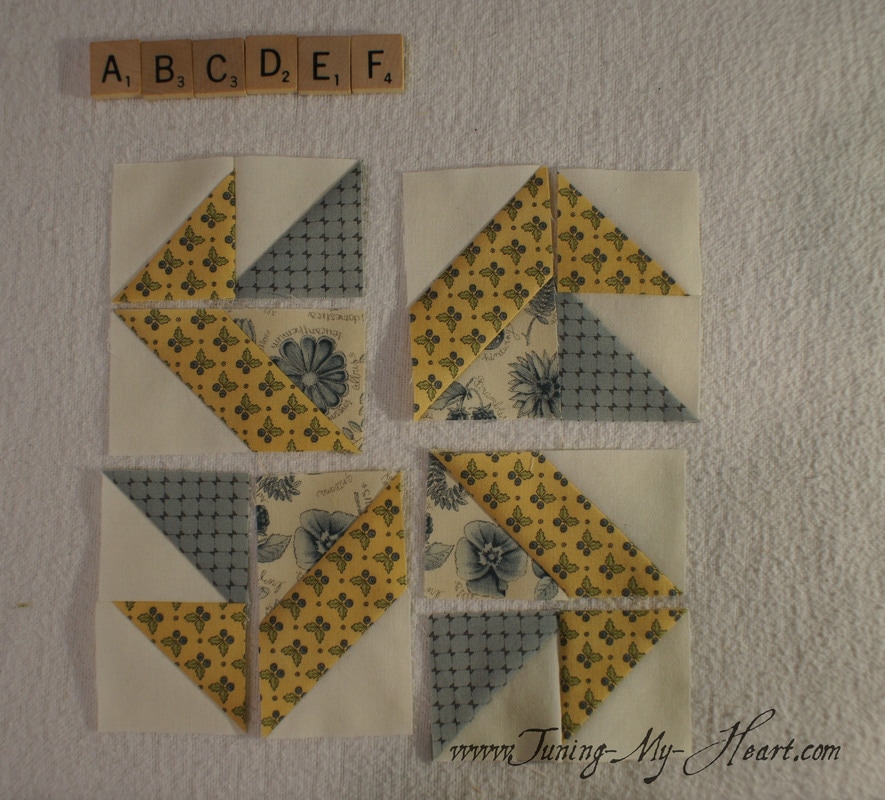 A little trial and error led me to discover that if I sew these units together with the E unit on top everything fell into place much better. Those two diagonals at the bottom sitting on top of each other pushed things out of whack if I started with them at the top. I used the tip of my seam ripper (as my stiletto is still missing in action) to hold those two diagonal seams together, helping to feed them under the needle as they got close. Tip: Sew very slowly! I pressed these seams open rather than to one side, something I usually try to avoid. 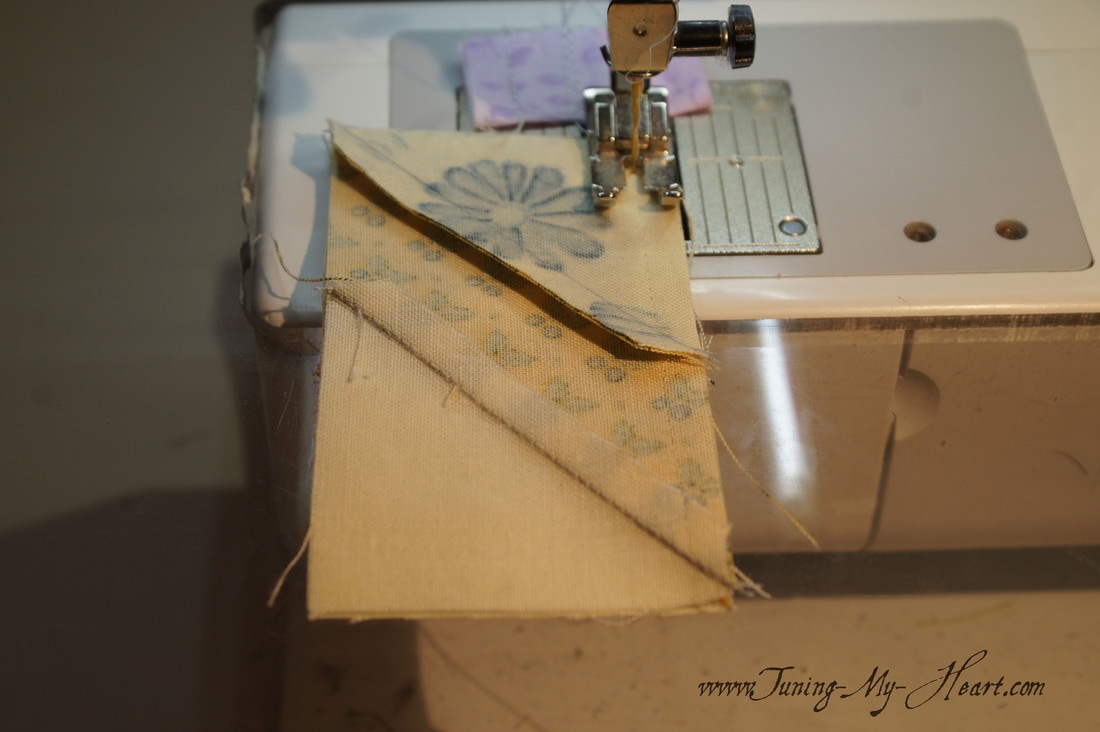 Laying my units out to make sure I have them the way they should be before proceeding. I pressed the resulting two units in opposite directions so that I can lock the seams together. 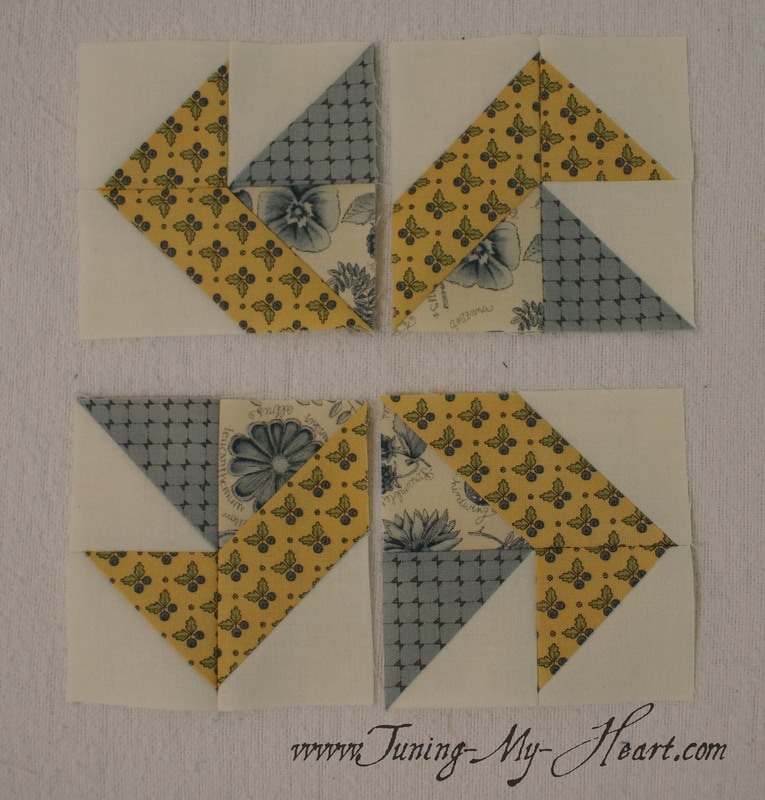 At this point they look like a pair of legs going for a walk. I placed a pin at the seam and then sewed them together. 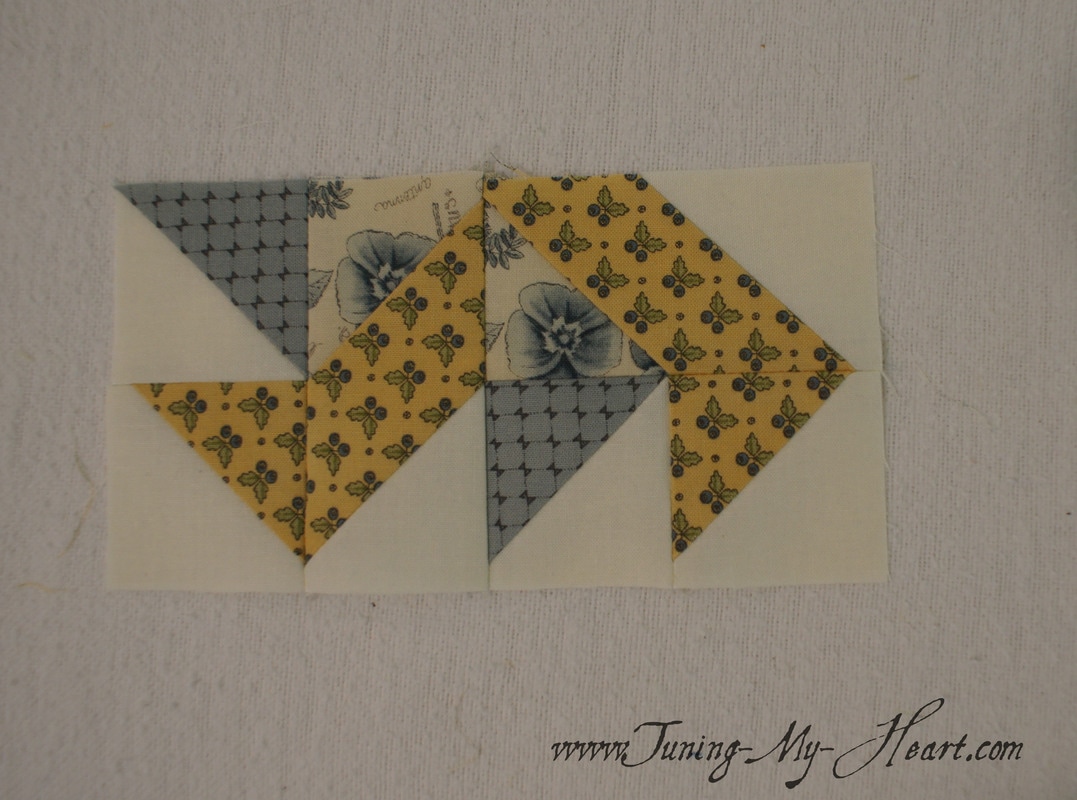 Here is the back of my block. The final seam I fanned open-with each side falling in the opposite direction. 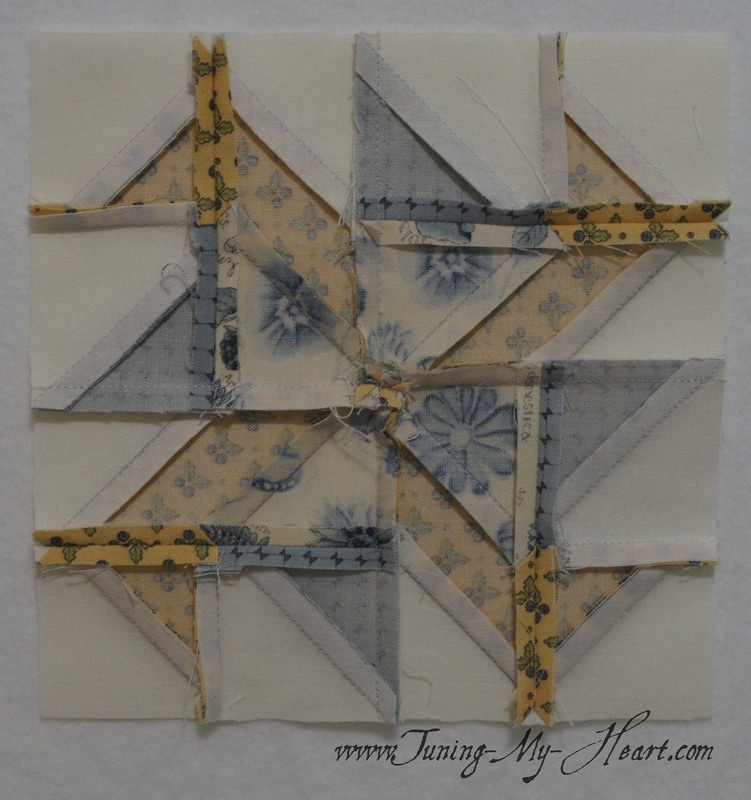 This was fun! 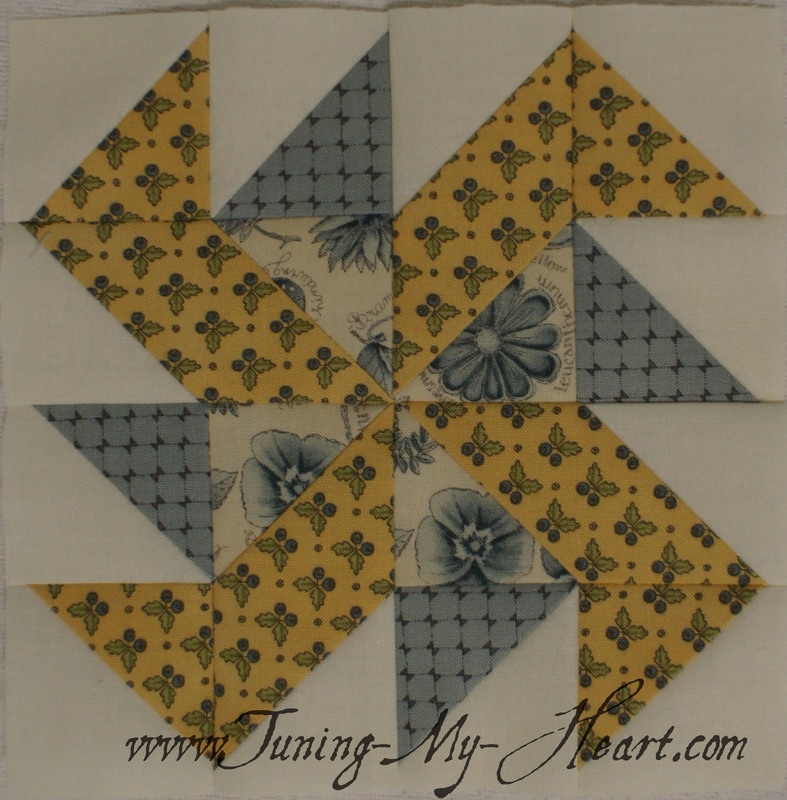 I have enjoyed hearing from so many of you about how you are doing with your blocks. Thank you for sharing your struggles and successes-I am delighted to be on this journey with you! Until next week... Happy Quilting!!!  Lisa Bongean has this weeks block. She certainly know how to challenge us! You can read Lisa's blog post here and get the pattern for Block 11 by clicking on this link: https://bearcreekquiltingcompany.storage.googleapis.com/uploads/2017/05/17/files/block11lb_lisasstar.pdf. I have always shied away from sewing triangles on the bias, but have learned that sometimes it is best to face the things that scare you head on. So here we go...Oh, and starch is our friend for these itty bitty pieces. 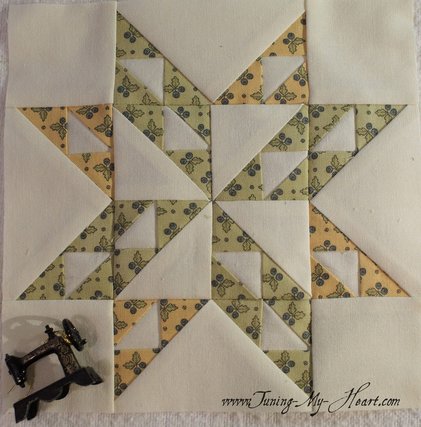 I want to use two colors for my star. In order to achieve that I have cut 12 green blocks and 6 yellow ones for my "B" fabric. I also cut them a little larger in order to be able to trim them to size. Cutting the A and B squares to 1 3/4" gives me a little wiggle room. You can cut them to 1 7/8 inches for a more generous trim amount. 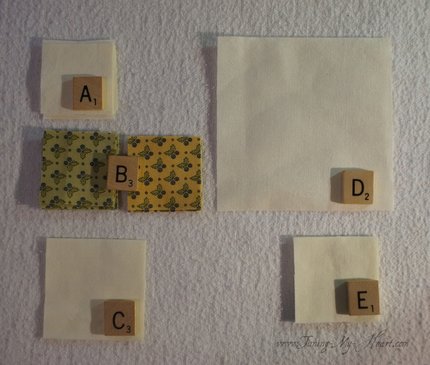 I am starting with my A and B squares. For this step I only need 4 green squares and 2 yellow squares. I have drawn a diagonal line down the middle of the A squares. 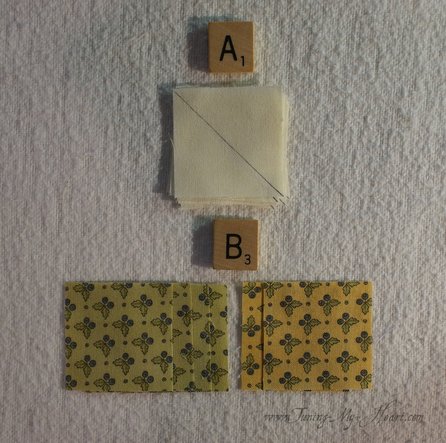 With right sides together I sew 1/4 inch from both sides of the drawn line. I always place the pieces to be sewn touching the needle which is in the down position.
Now I just cut on the drawn line to give me two Half Square Triangle units. 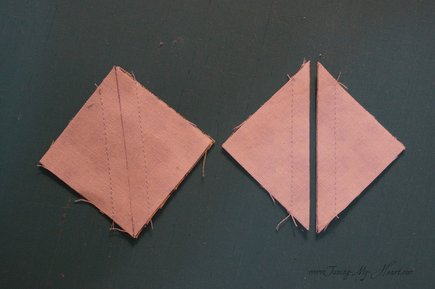 I am pressing these two the dark side.
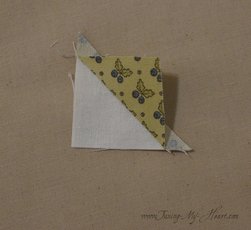
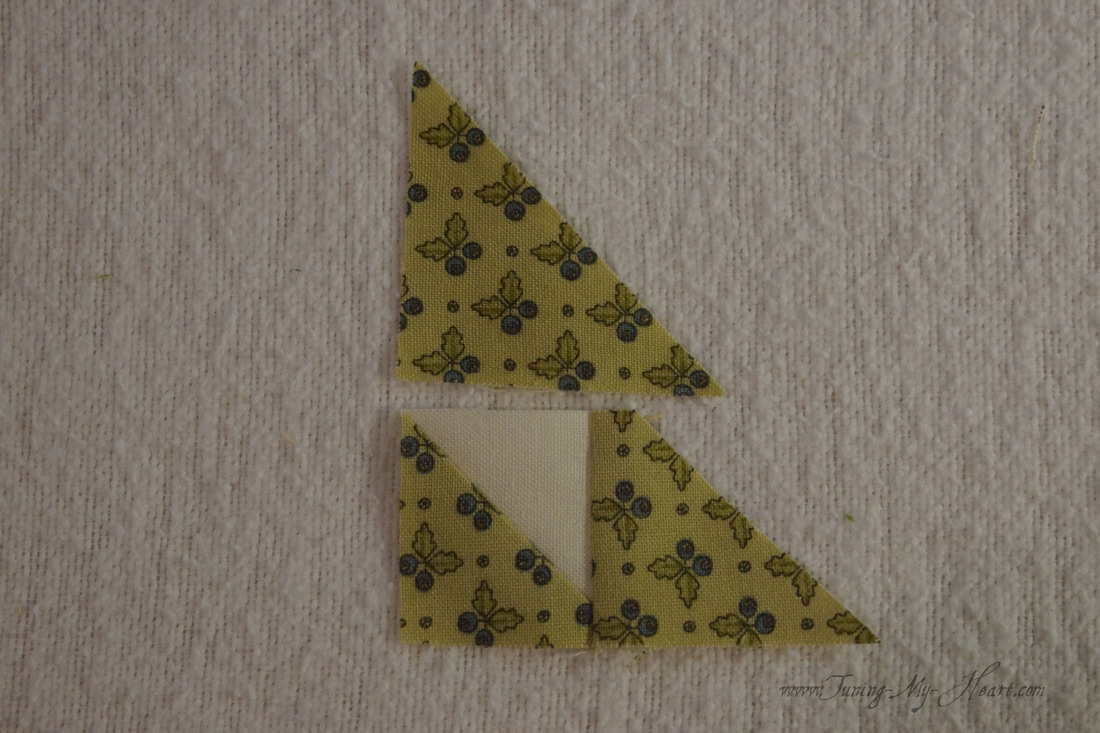
With the diagonal line of my ruler on the seam line I need to trim these units to 1 1/4 inch. 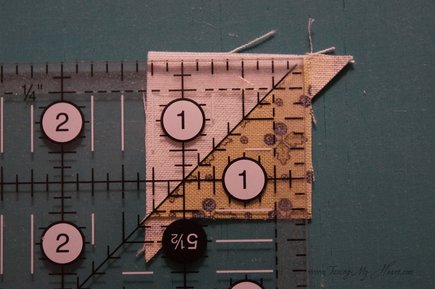 Just have to take a moment and admire my cute little HST's. 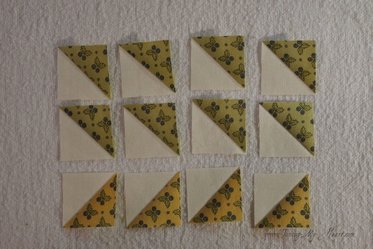 For this next step I need to cut the rest of the B squares in half diagonally.  Time to sew these little triangles onto the little Half Square Triangles. 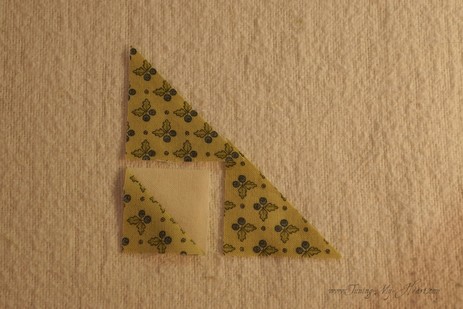 To sew these together I just need to align the edges of the triangle with the edges of the square. It leaves a bit of the triangle poking up but that is okay.
After pressing towards the triangle I trim the extra bit off, lining the ruler up with the 1 1/4 inch mark and the seam lines in the Half Square Triangle. 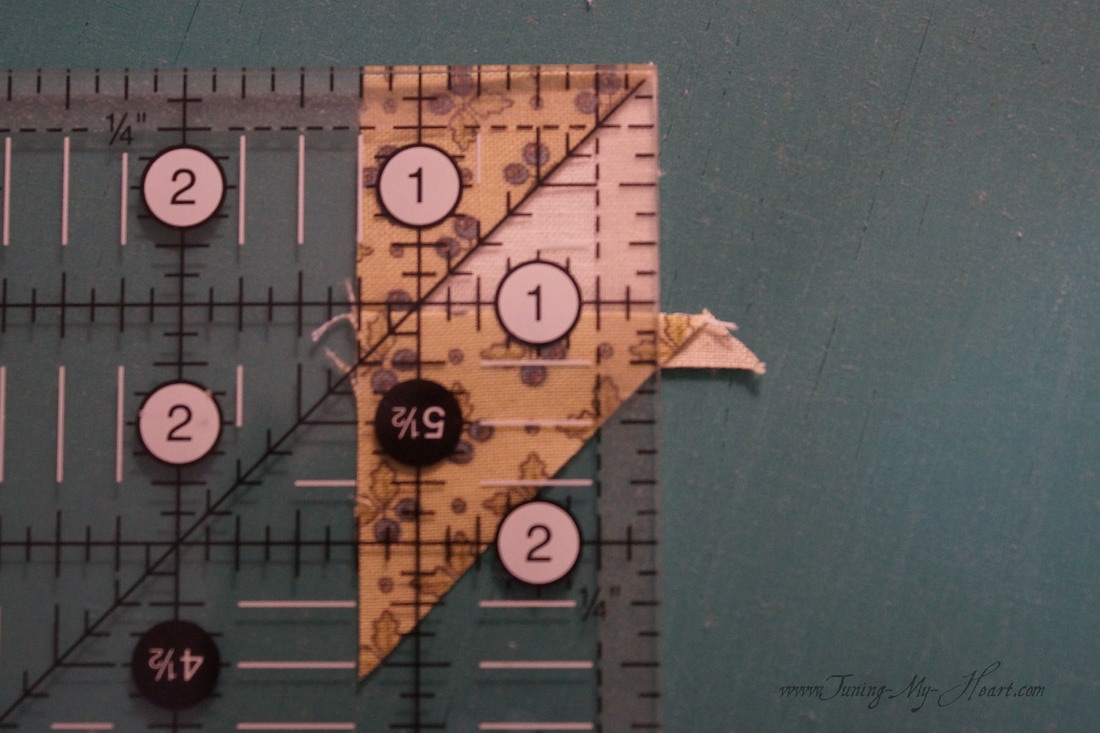 Same thing on the other side now.
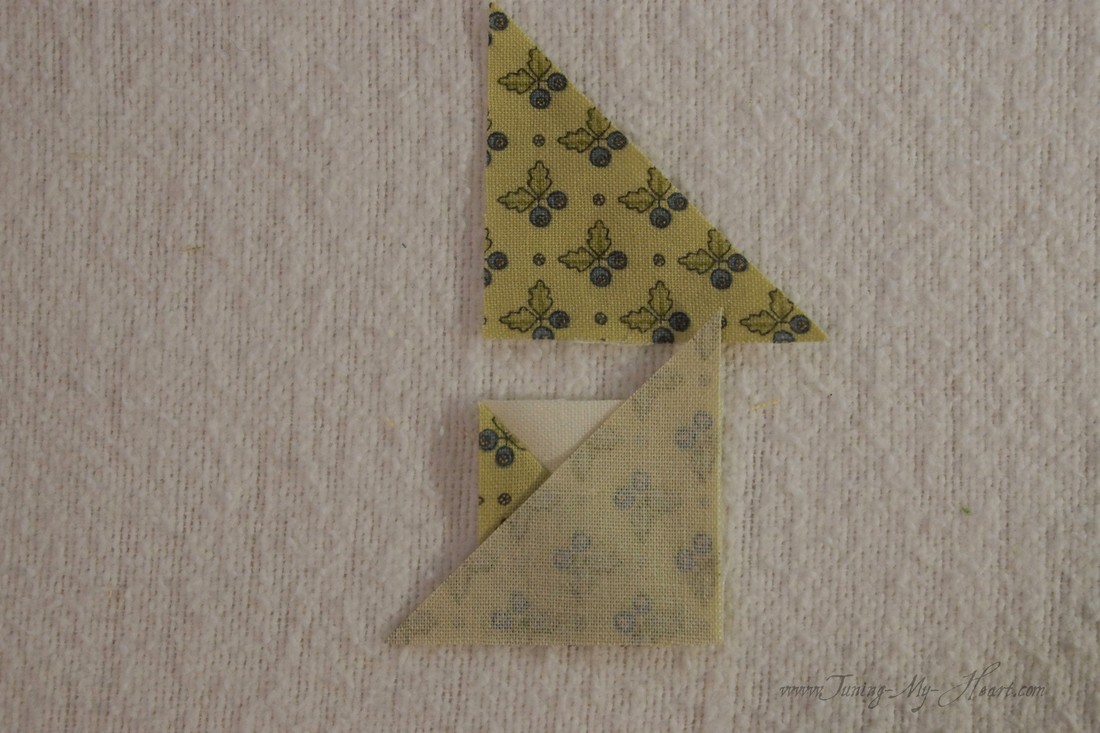
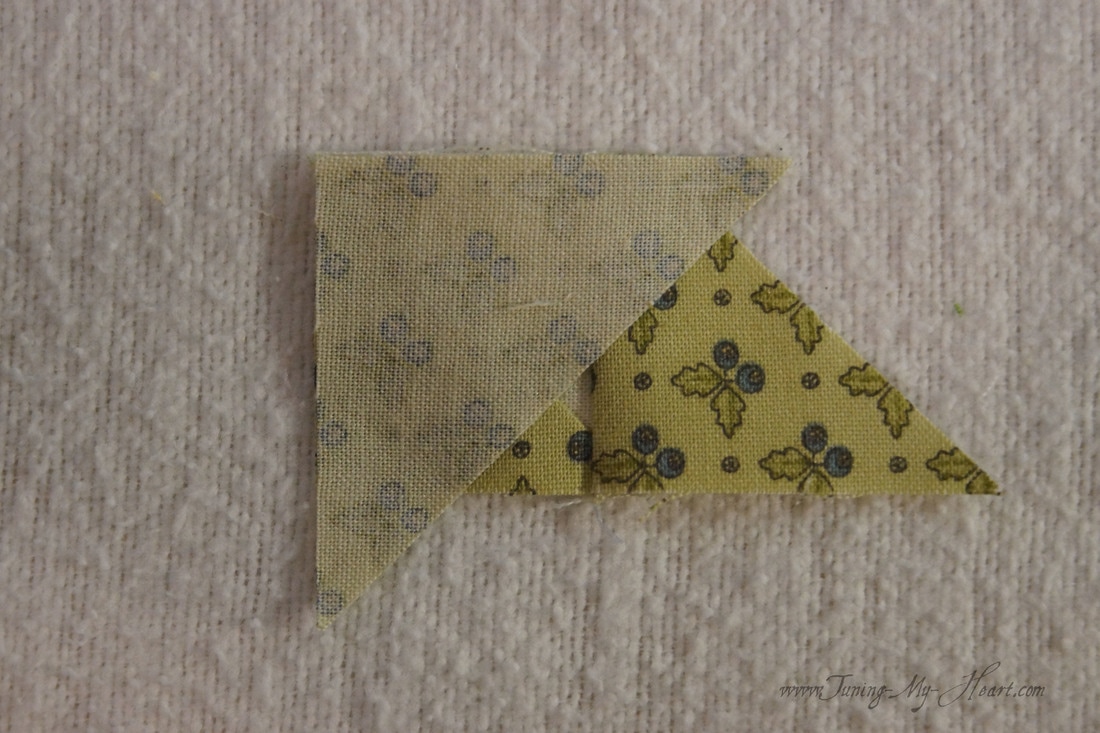
 This unit needs to be trimmed making sure that there is 1/4 inch from the bottom point of the inside triangle. 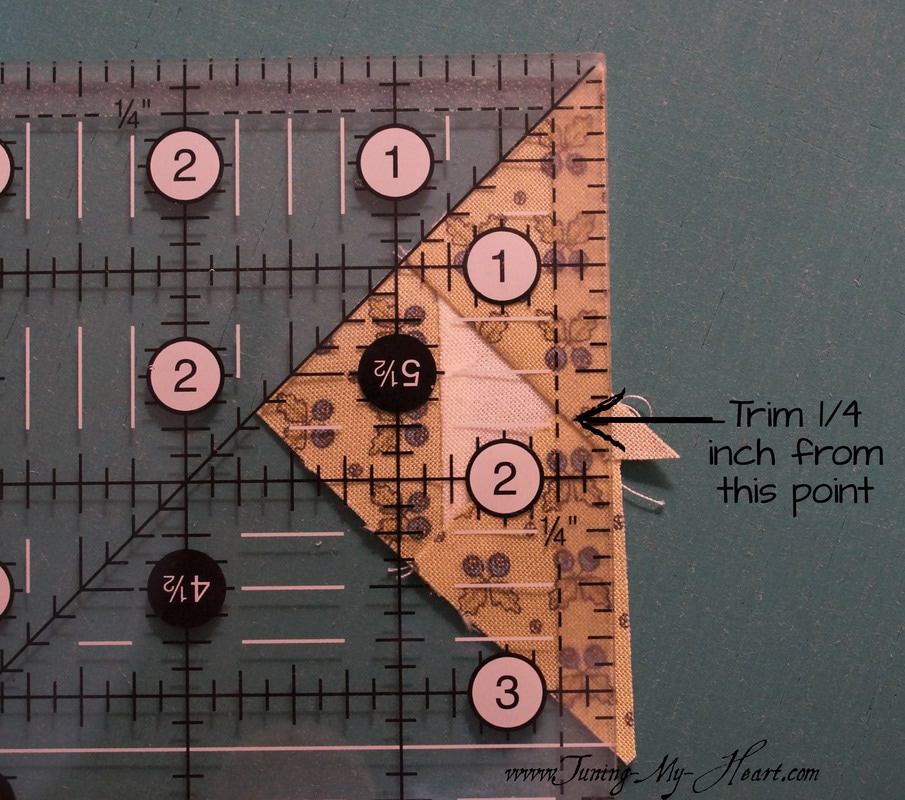 For the next step I need to cut the C squares in half. These will be added to four of the units I just made.
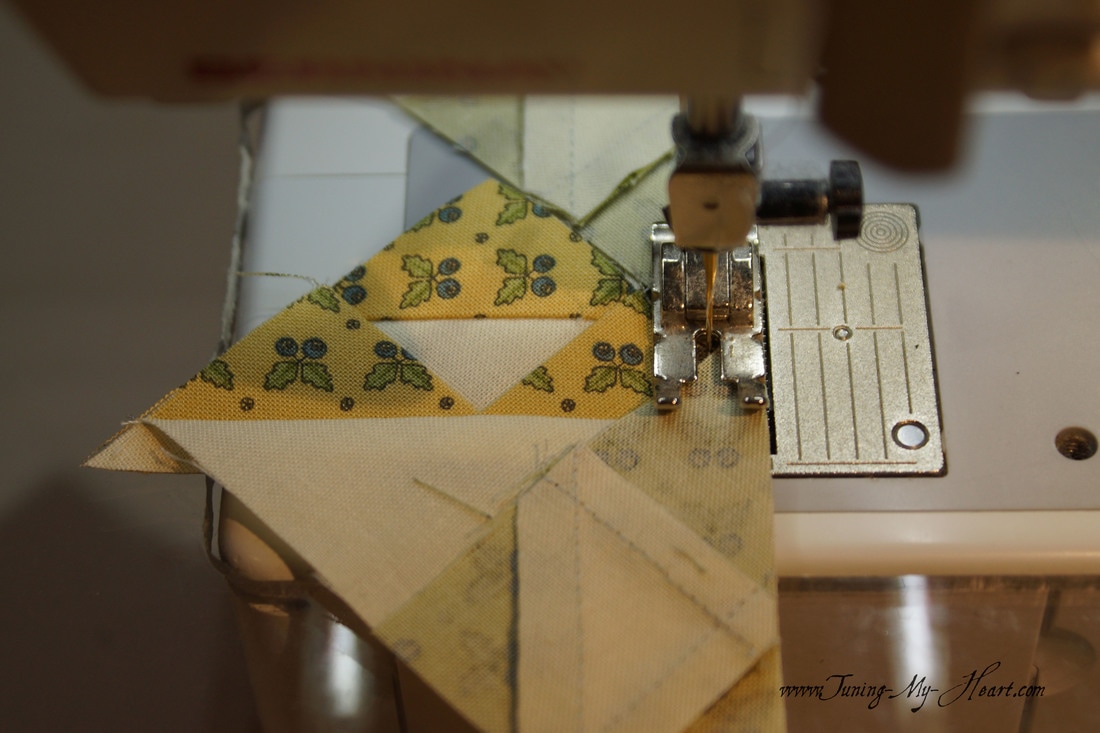
It is important to go sew carefully here as this is the bias edge of the triangle and can be stretched out of shape. I try not to tug or pull it as I feed it through my machine. 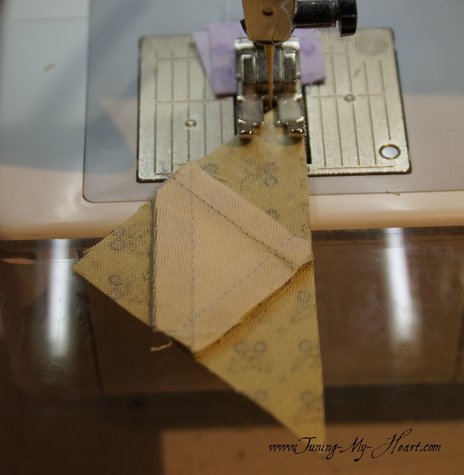 I am breaking pressing rules here and pressing towards the C triangle. Again, I am lining the diagonal line on my ruler up with the seam line. These units need to be trimmed to 2 inches square. 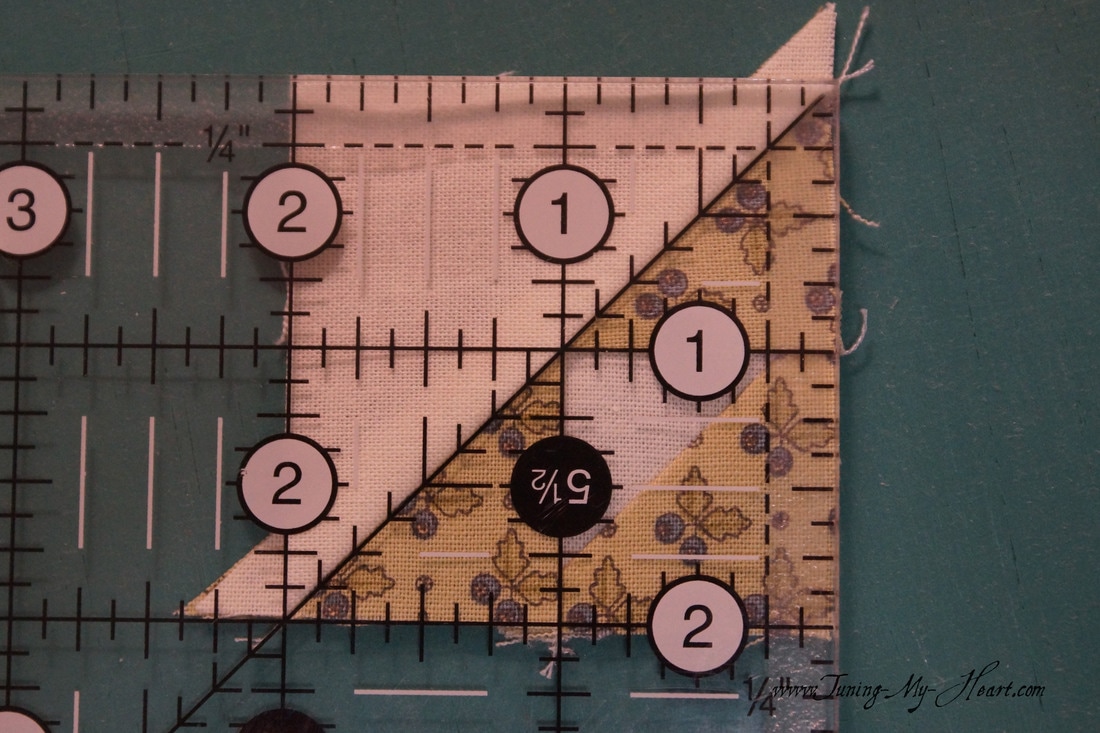 The four units need to be arranged in a windmill pattern. 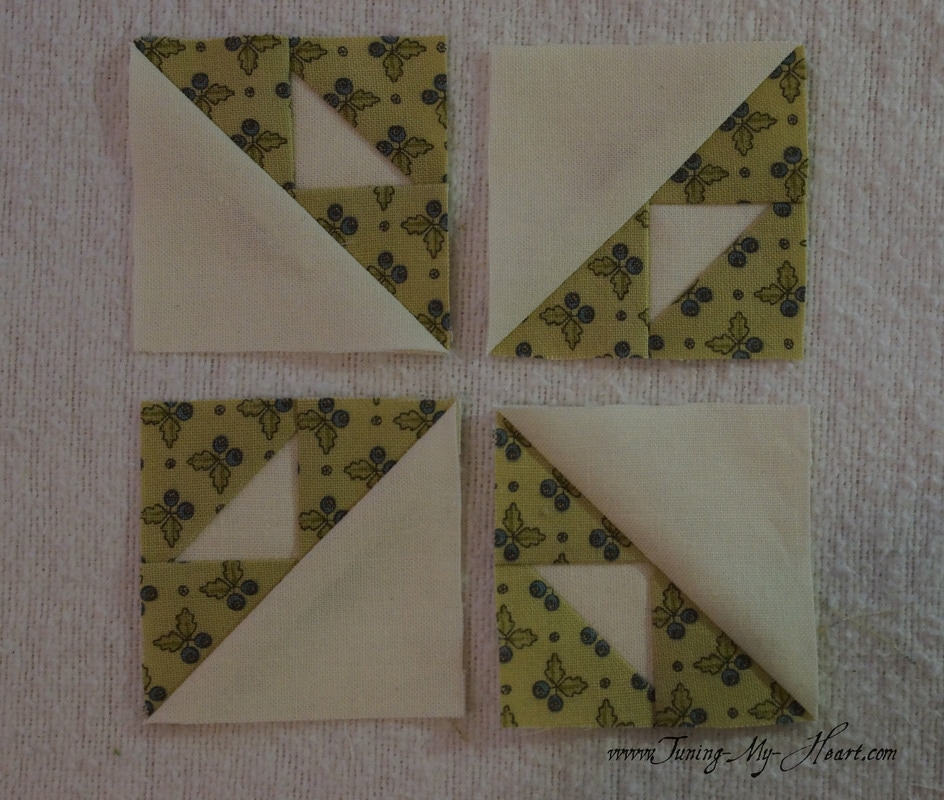 Sewing the rows together going slowly over the bulky seams. 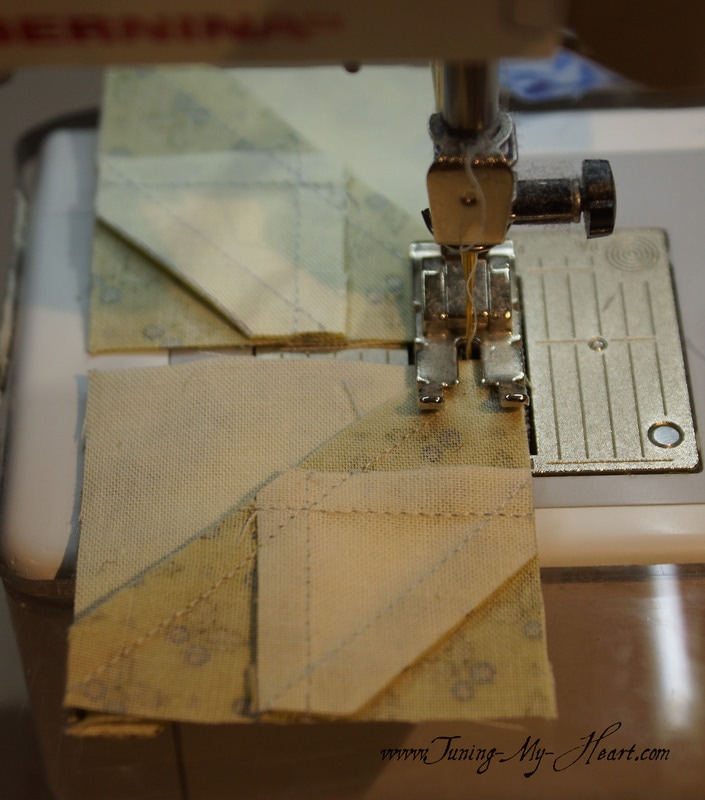 The seams are pressed in opposite directions so that they nest together for the next step.
I find a pin at the matching seams helps. It is important to take your time when sewing these pieces together.
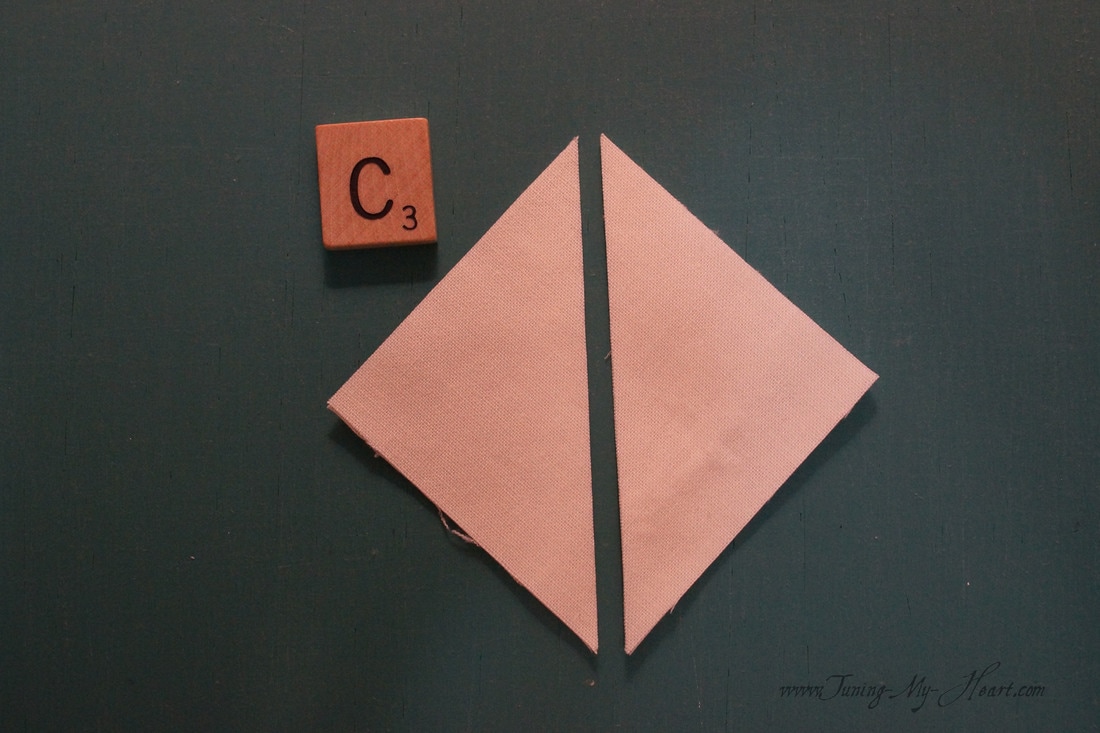
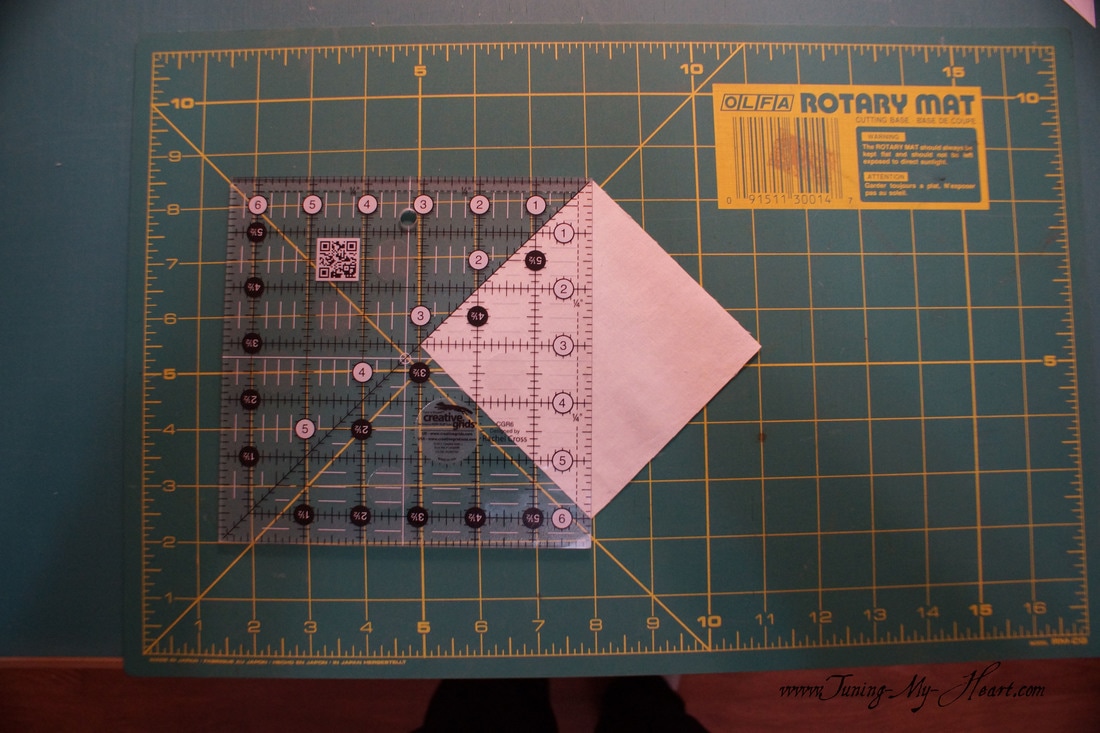
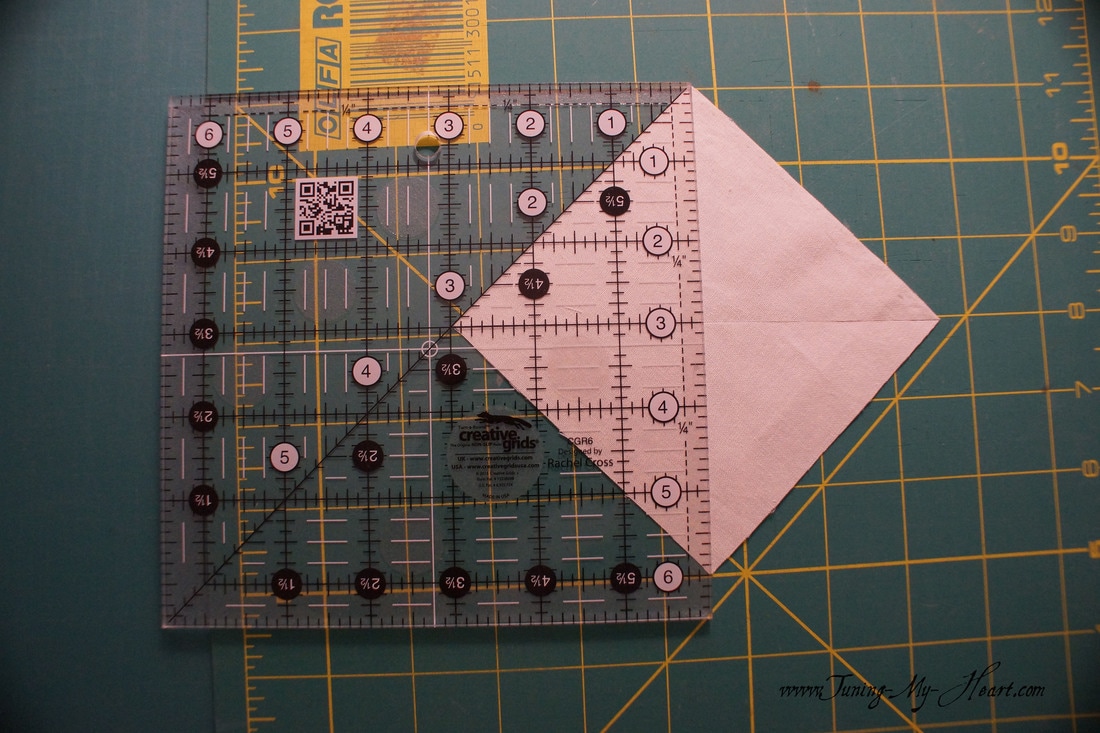
The seam here is going to be bulky so I have opened it up allowing the seams to fall in opposite directions. 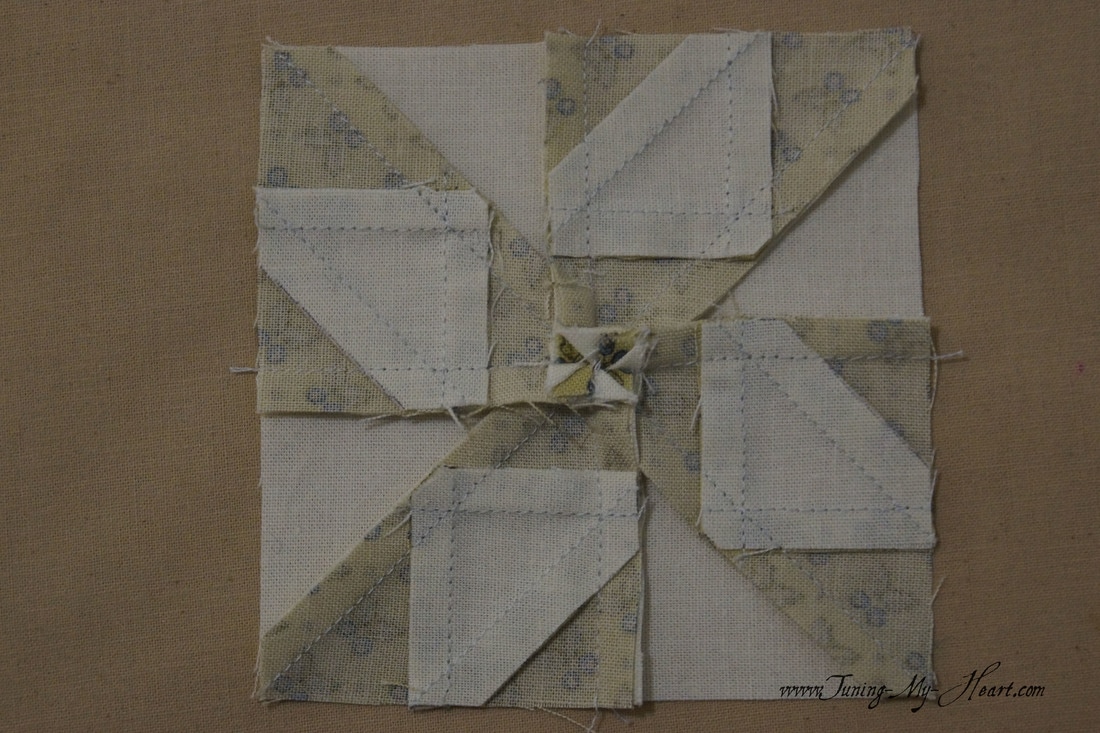 And the front side. 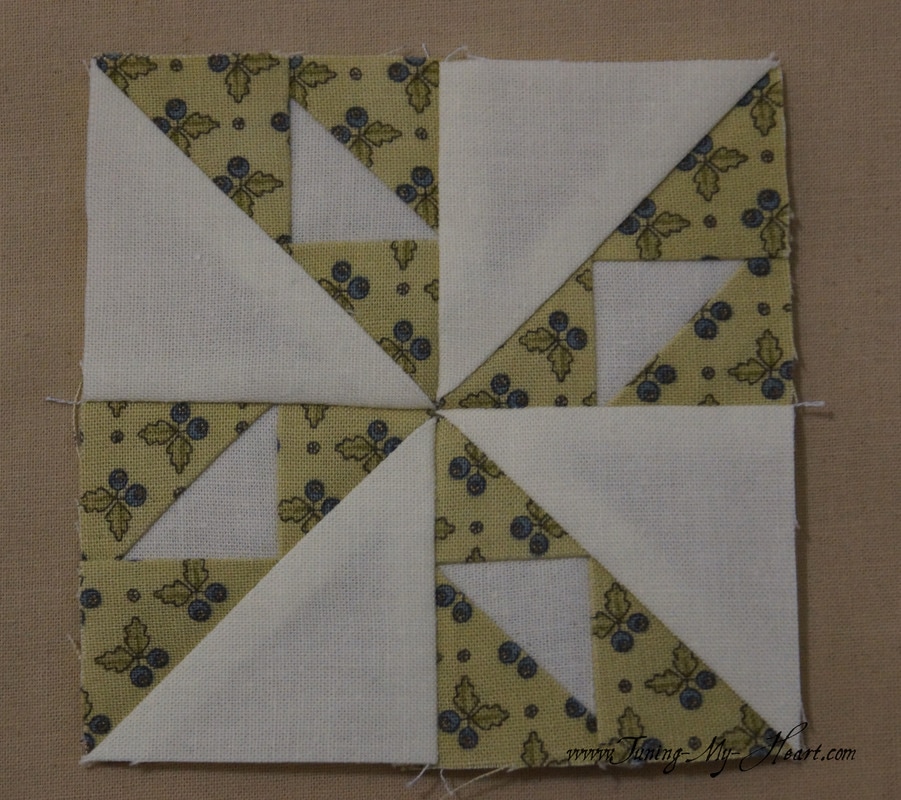 This unit needs to measure 3 1/2 inches. By lining up the diagonal line on my ruler with the diagonal seam lines and placing the 1 3/4 inch ruler line on the horizontal and vertical seam lines I know right where the middle of my block is. Now I just trim all of the sides. 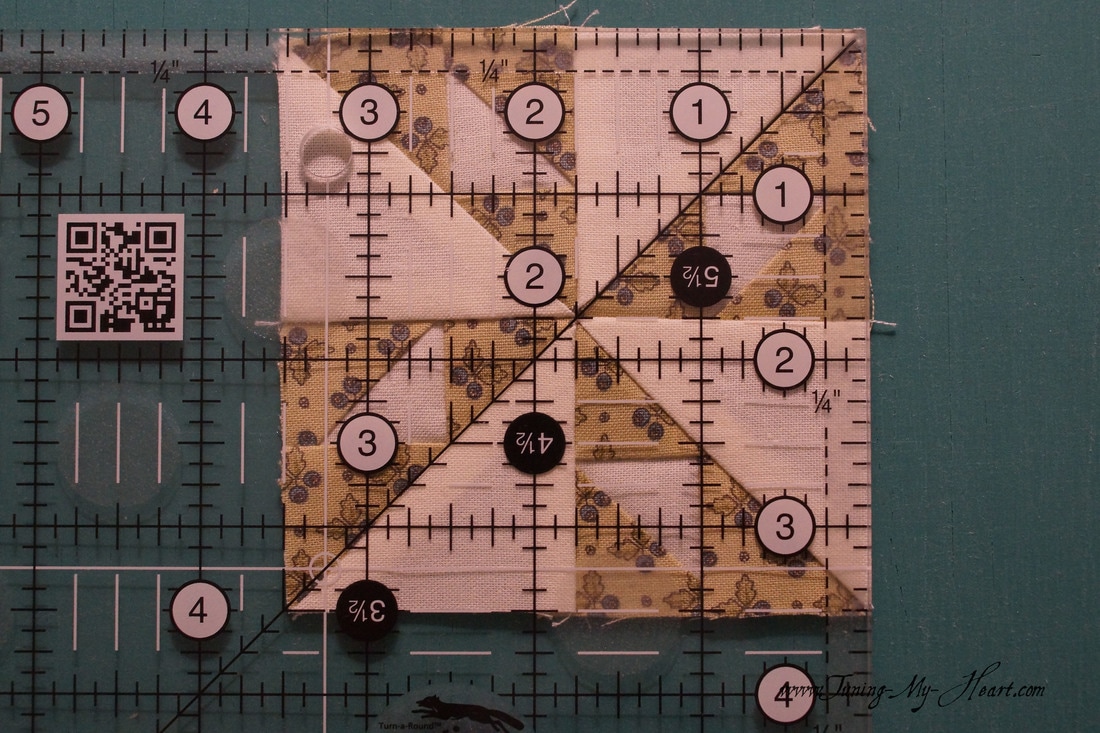 The D square needs to be cut twice on the diagonal. A small cutting mat works well for this as I can turn it after making the first cut without disturbing the fabric.
Time to pull out the rest of those triangle units I made earlier and place them with the D triangles I just cut. I need to have my green units on the left in order to achieve the star look I am going for . Sewing on the bias again, hang in there, we can do this. 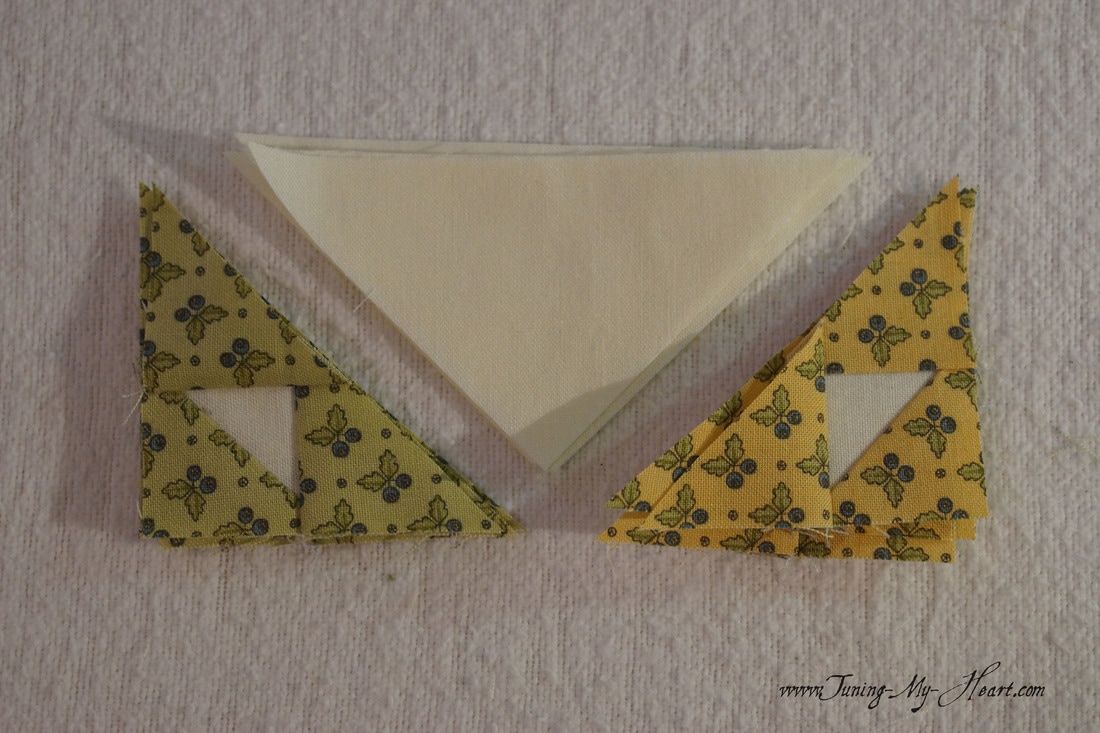 These need to line up together a little differently than before.
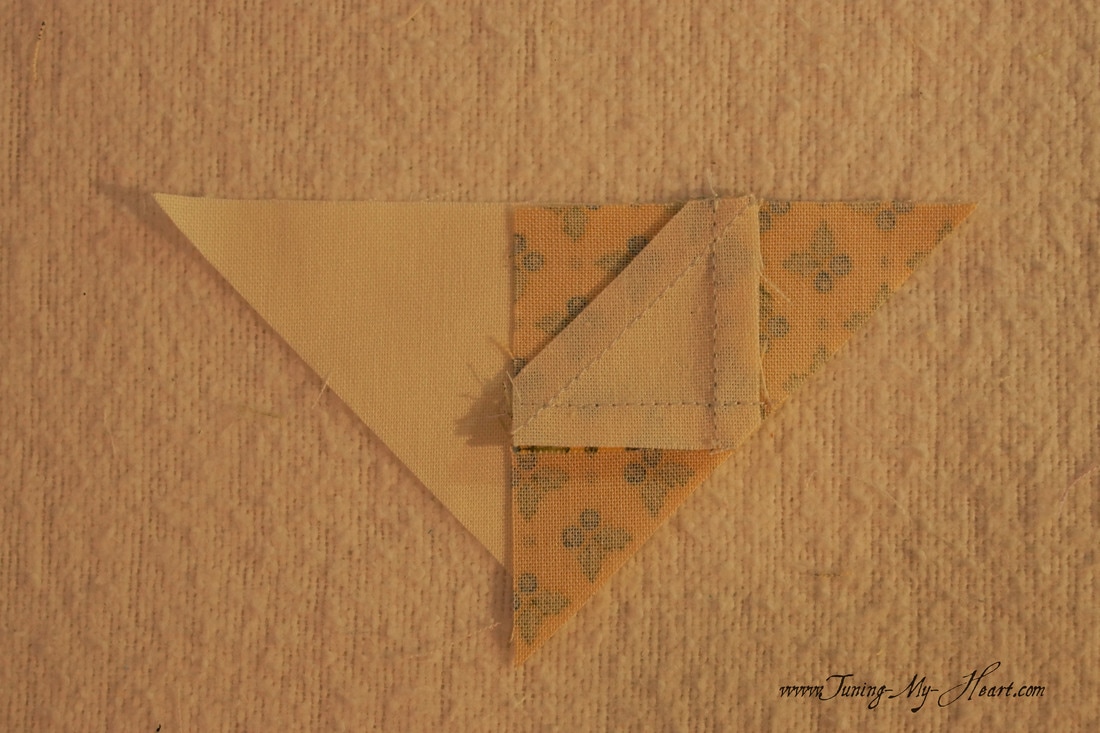
One tip while sewing is to aim for that X where the seams cross-that will give you the sharp points you are looking for. This one looks like it is going to fall right on my 1/4 seam which is just what I want. It doesn't always work out so well, but with practice I am finding more and more of those perfect points in my blocks. 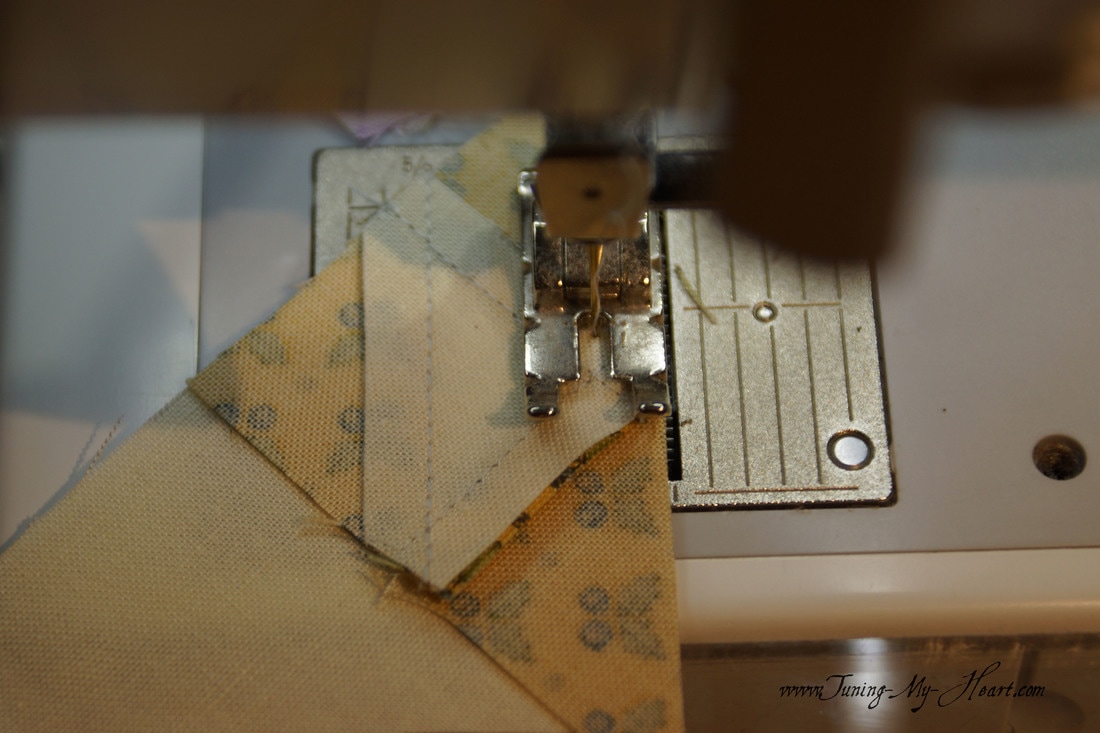 I have chosen to press towards the light triangle. 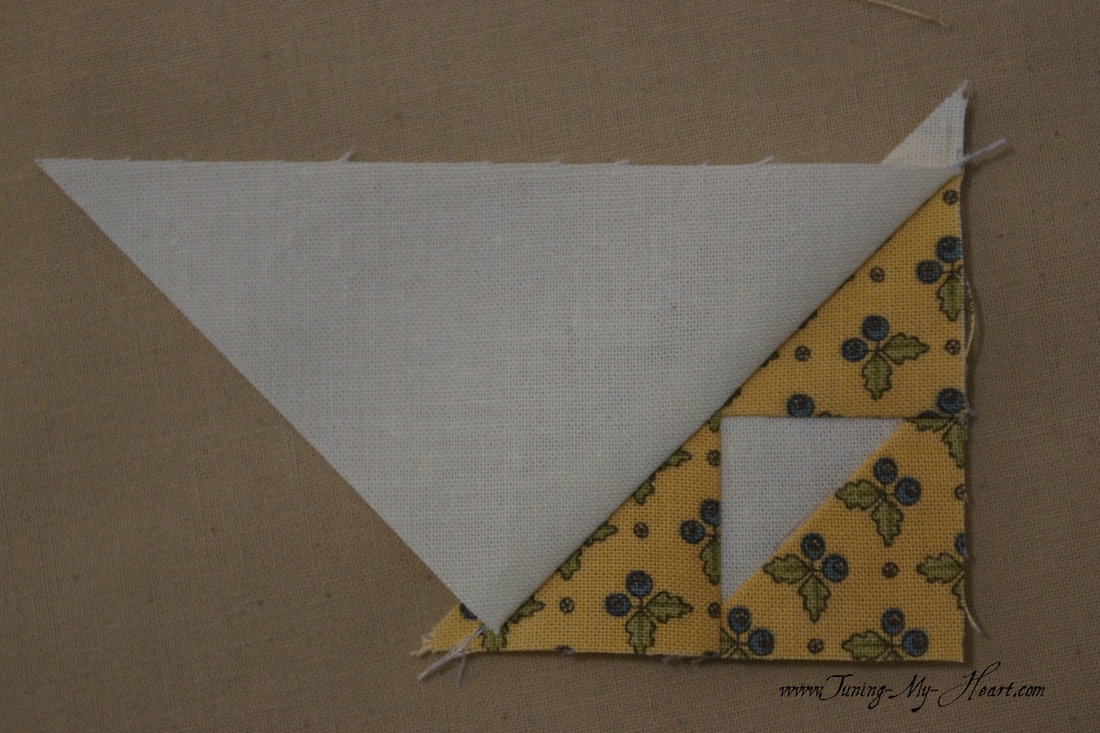 I am trimming off the little extra bit just on this one side for now. 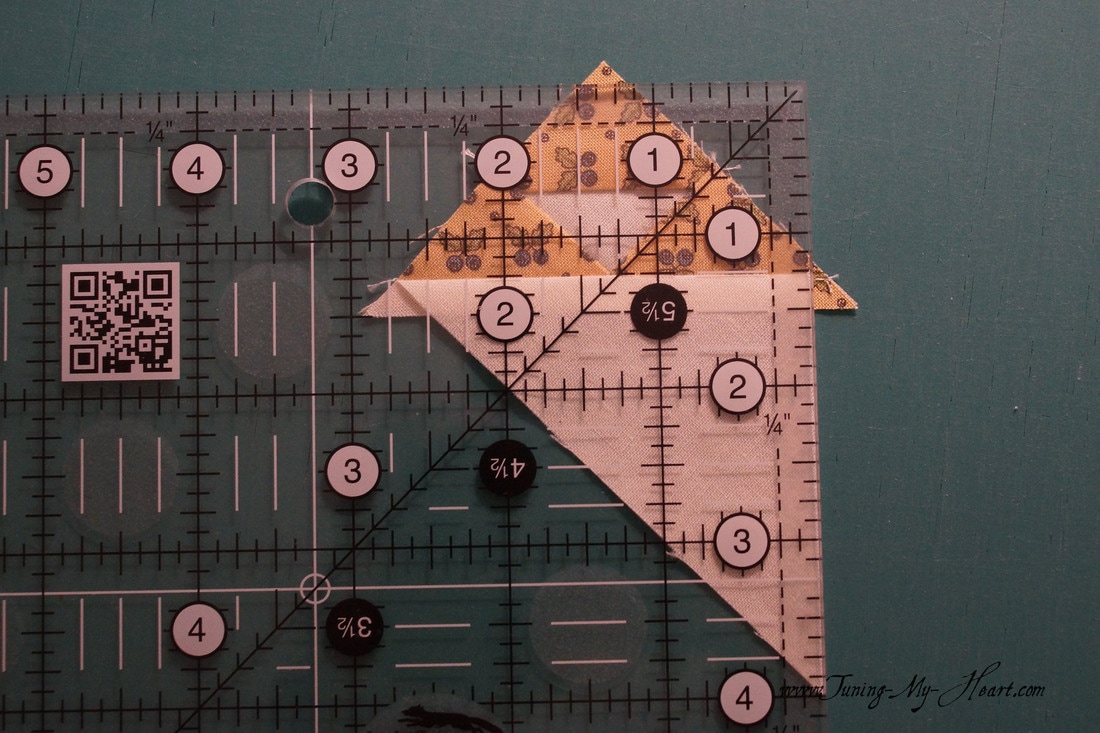 Time to add the the green units to the other side.
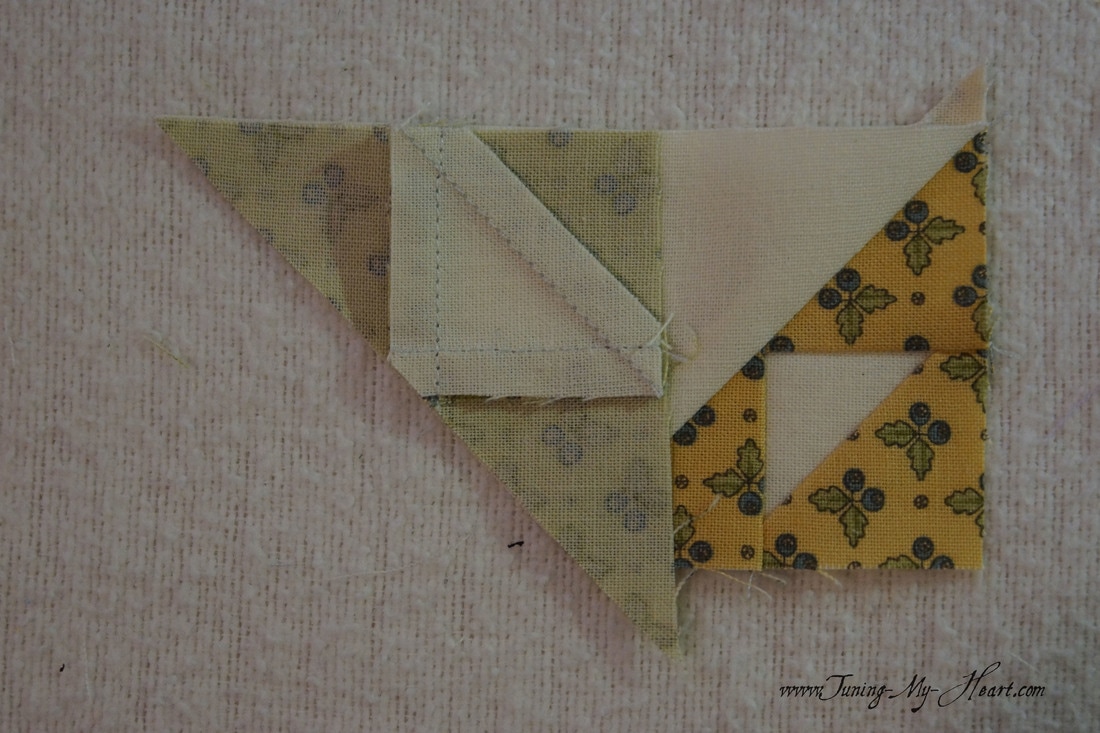
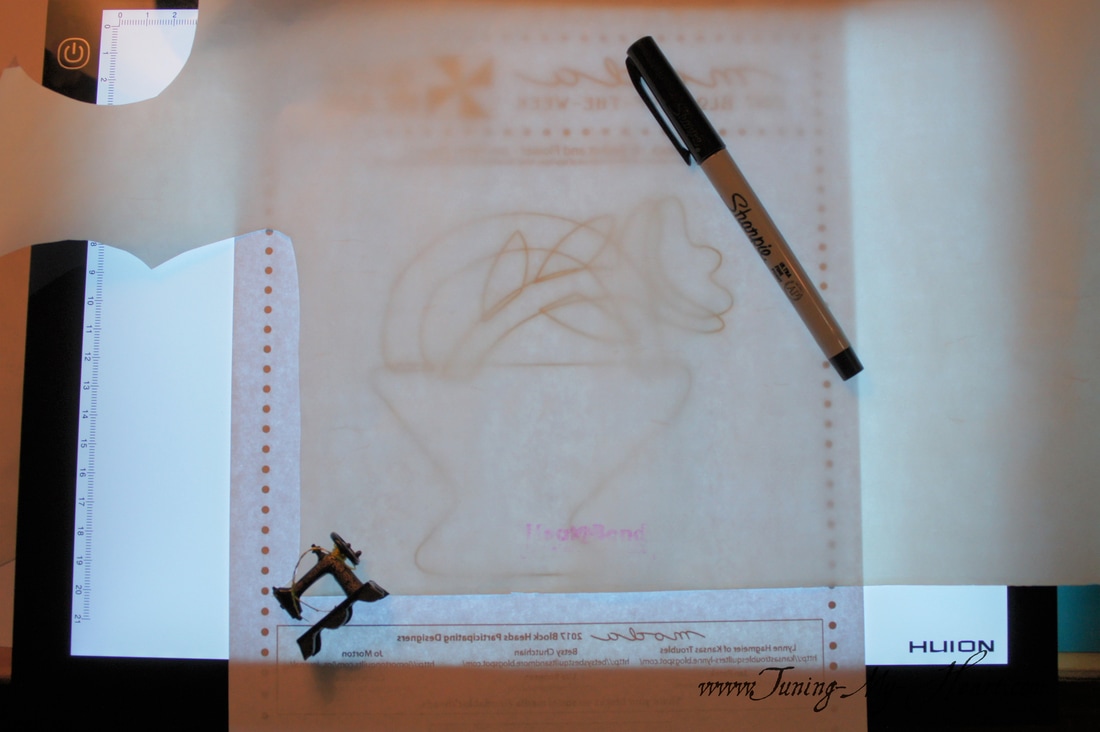
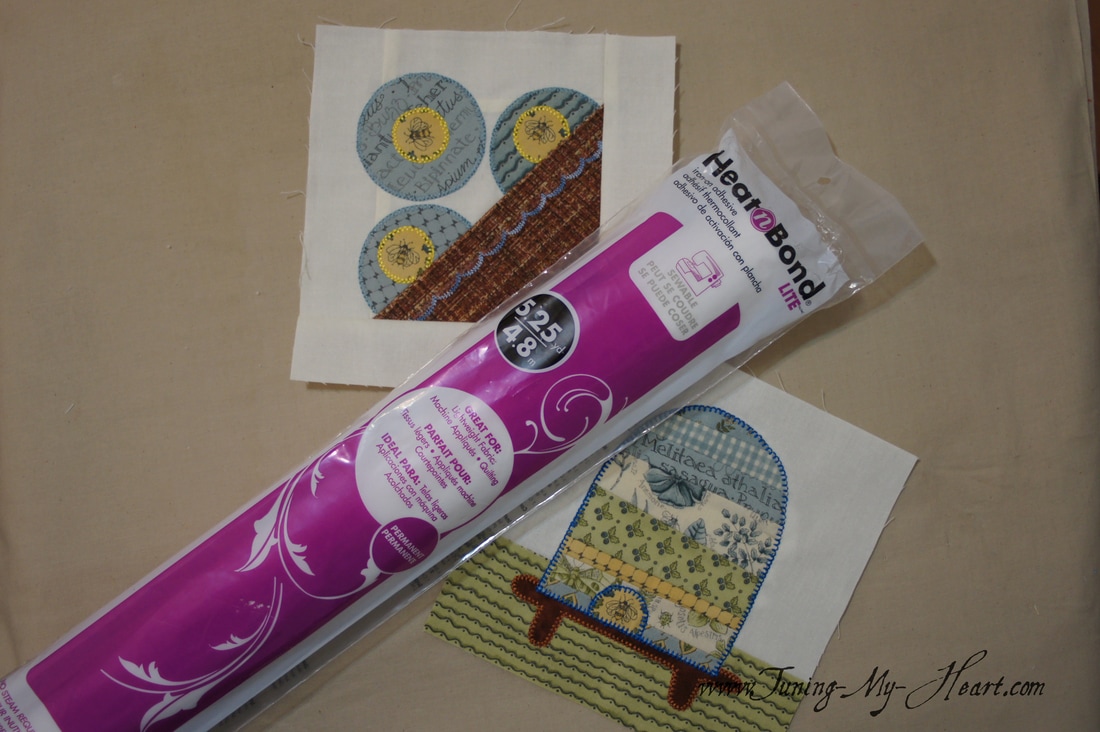
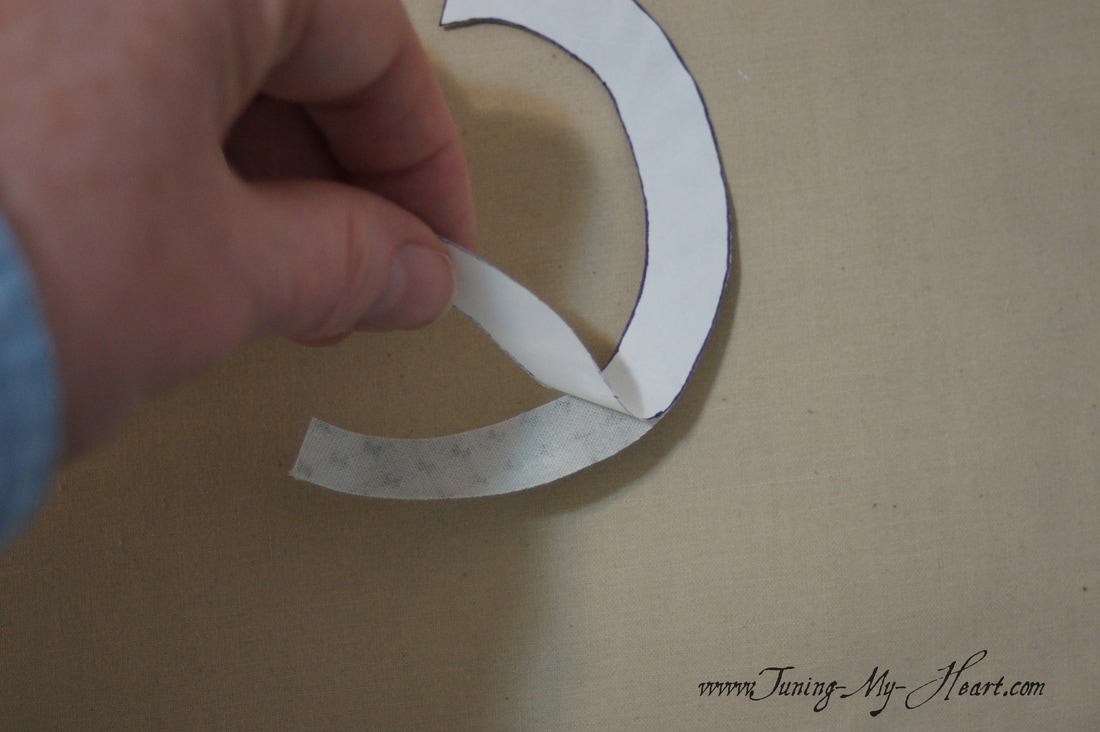
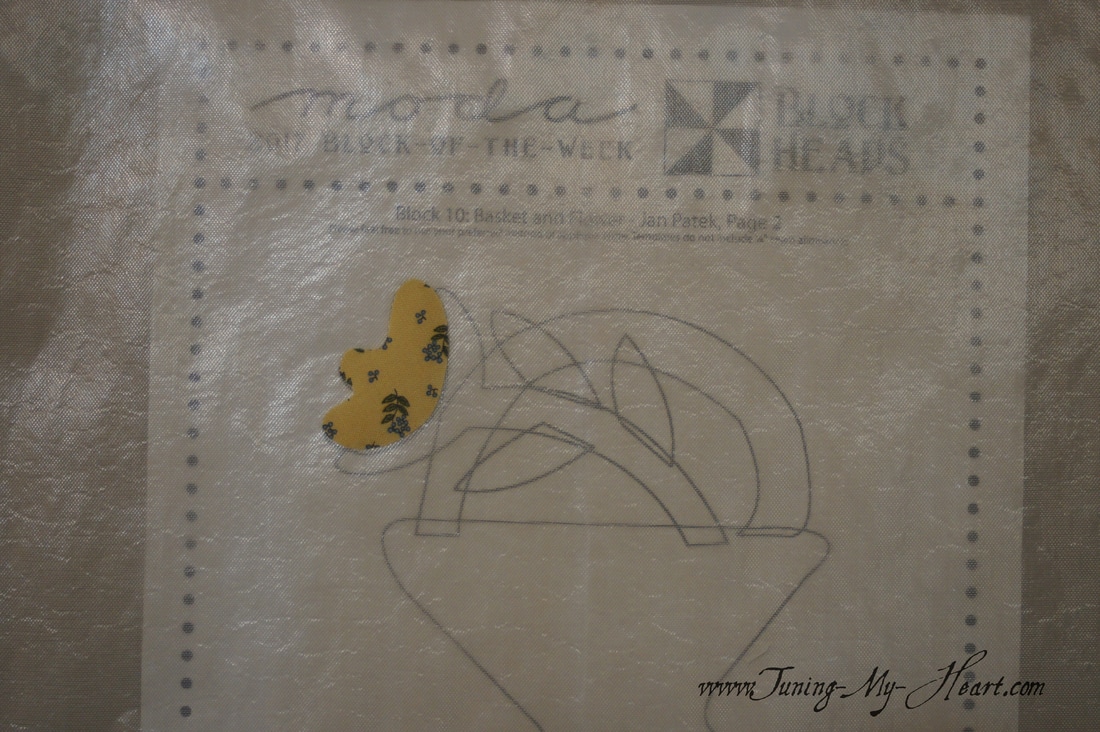
Before I press these I am trimming off the little extra point. 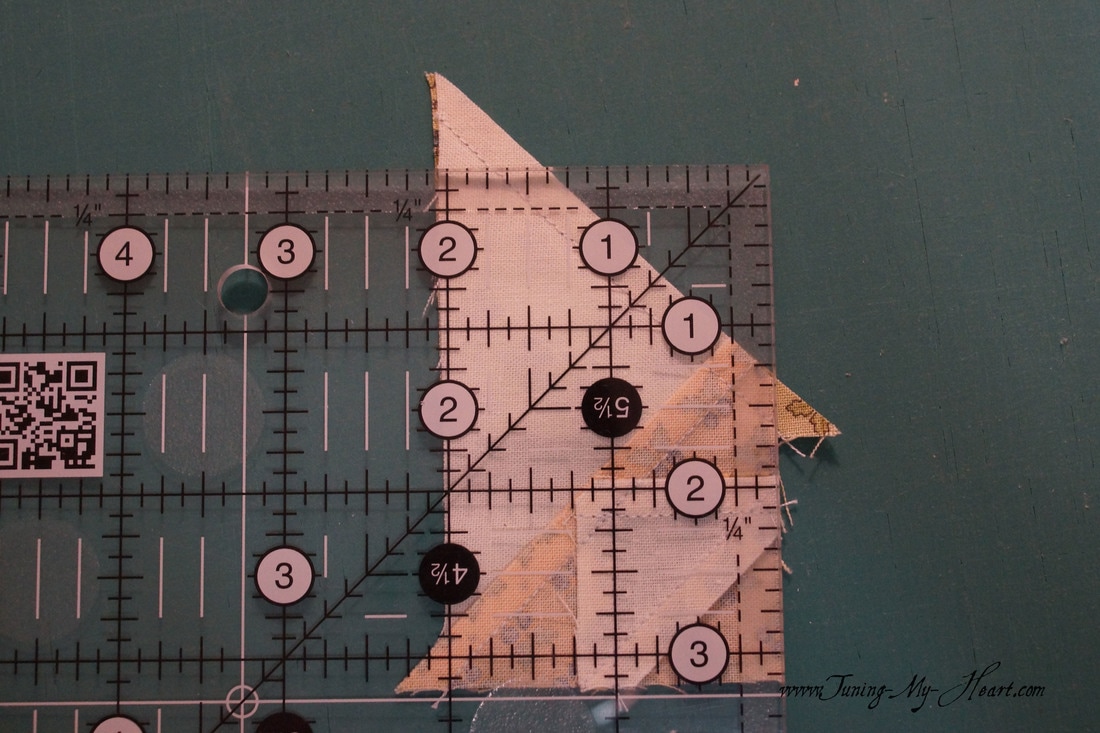 Once again I am pressing towards the light triangle. These units need to be trimmed to 2" x 3 1/2" The diagonal lines come in handy again and I need to make sure I have a quarter inch from the point of all three light triangles to the edge of the unit. 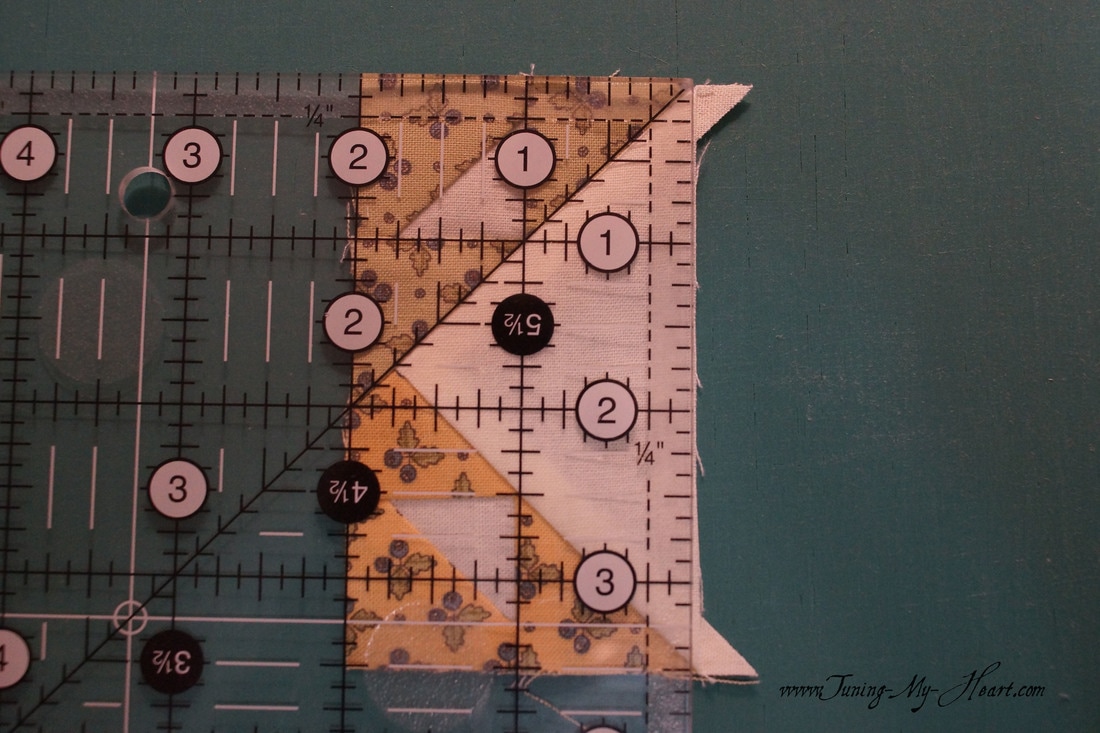 Laying it all out to make sure everything is as it should be before sewing the rows together. 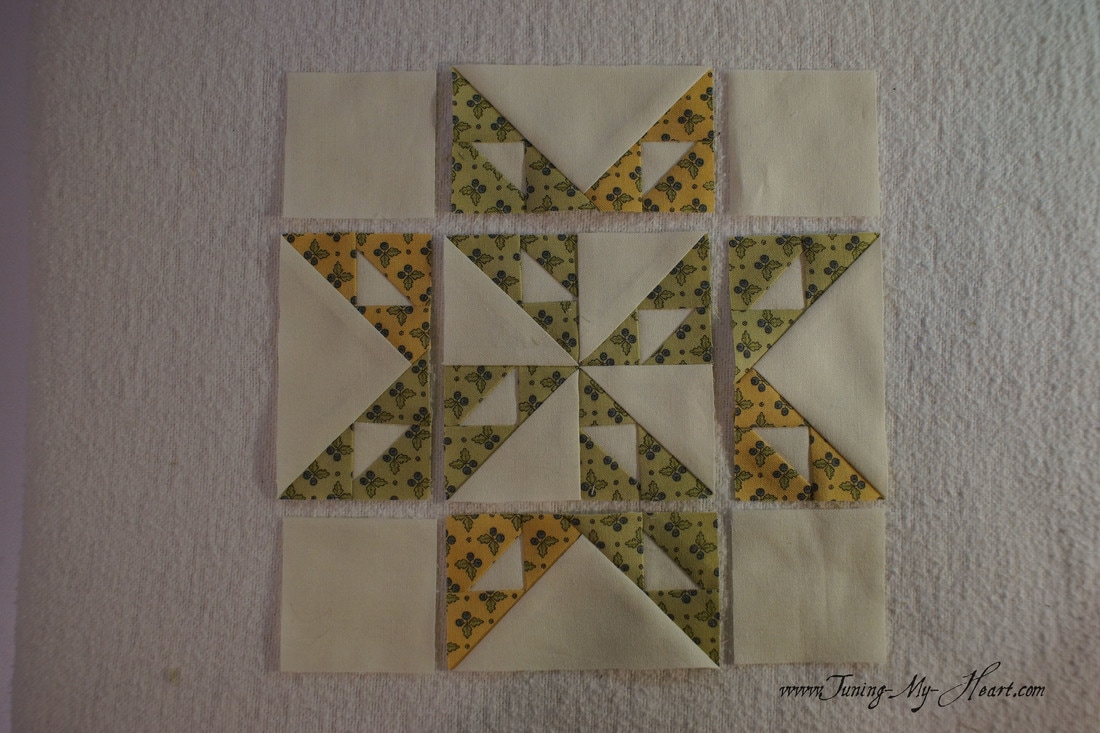 Going slow. 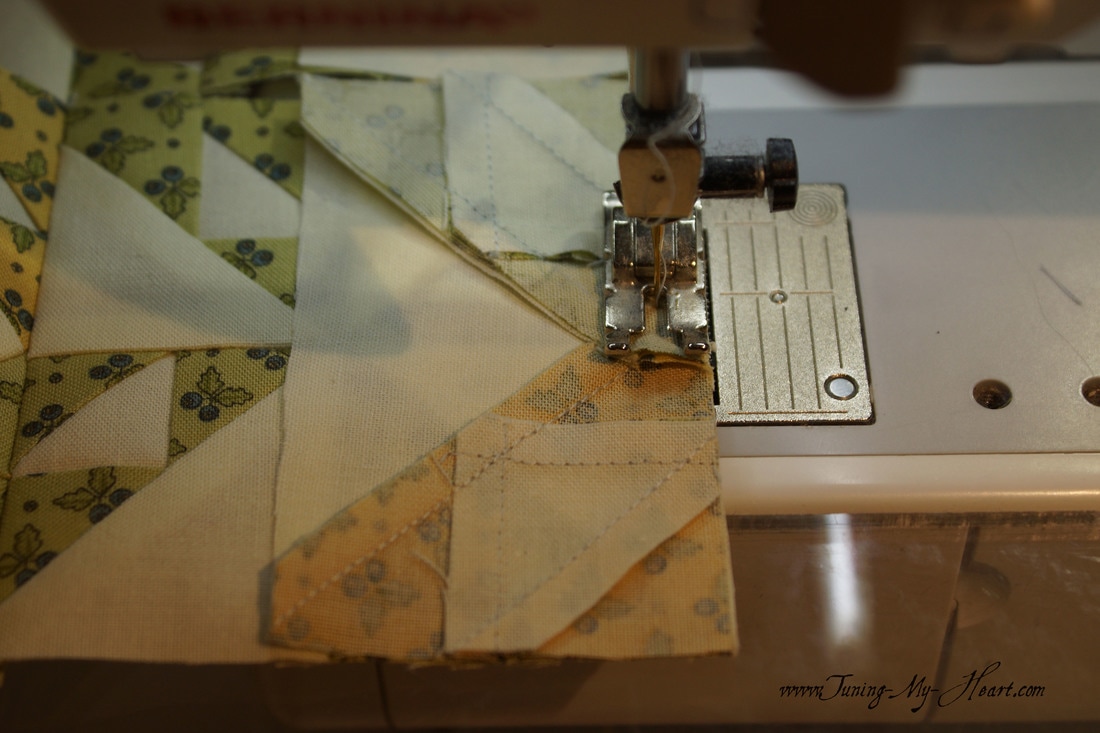 To make the seams go together nicely I have pressed the seams on the top and bottom rows towards the E squares. The middle row is pressed towards the center unit. Now I can nest those seams, hold them in place with a pin and sew my unit together. 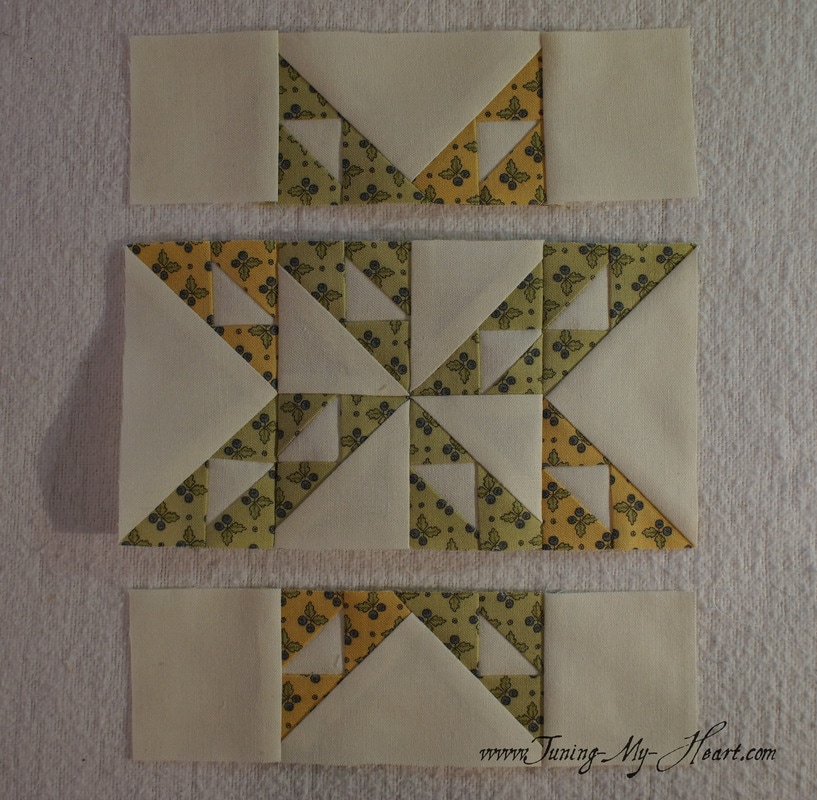 Oh those bulky seams-I have flared them open again.  To get the seams to lay in the best direction for the block I actually took a little snip on both sides of the seam-right up to the stitches. Now I can fold the fabric back in the direction I have determined will help the block lay flat. 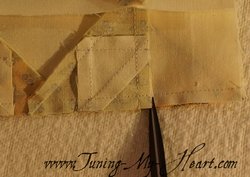 I feel pretty good about this one. 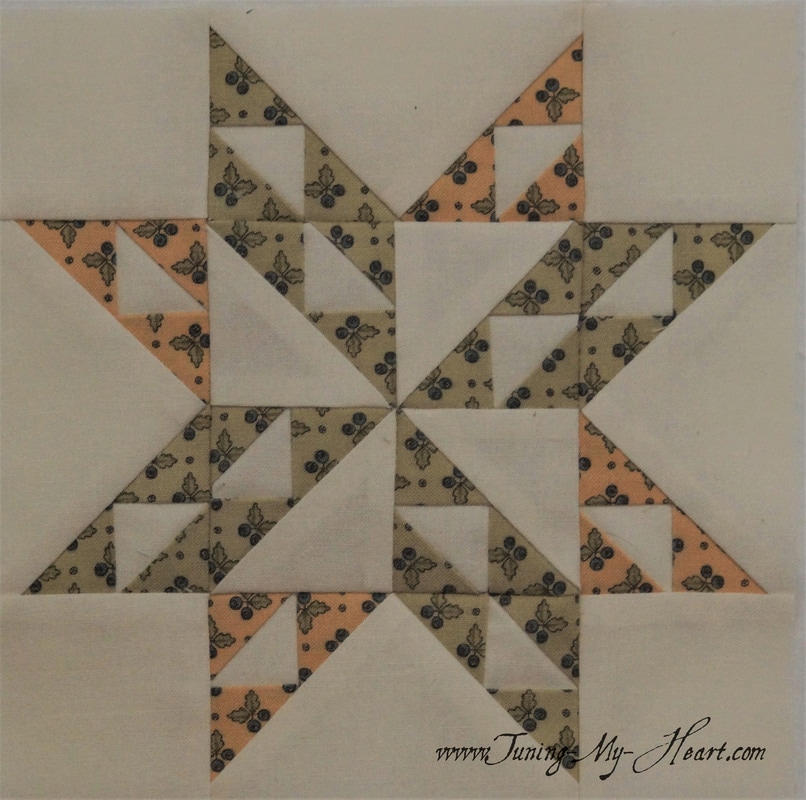 I hope you will be brave and give this a try. I always view these things as my chance to learn and improve my quilting. Just think how good we will be at the end of this project and our quilt blocks will be a testimony to our process. Until next time... Happy Quilting!  Jan Patek has given us another cute applique block for the Moda Blockheads Block of the Week. Jan's directions state to use whatever method of applique we choose so I am sticking with fusible applique for now. You can get a copy of the pattern at this link: http://unitednotions.com/Block10JP_BasketAndFlower.pdf 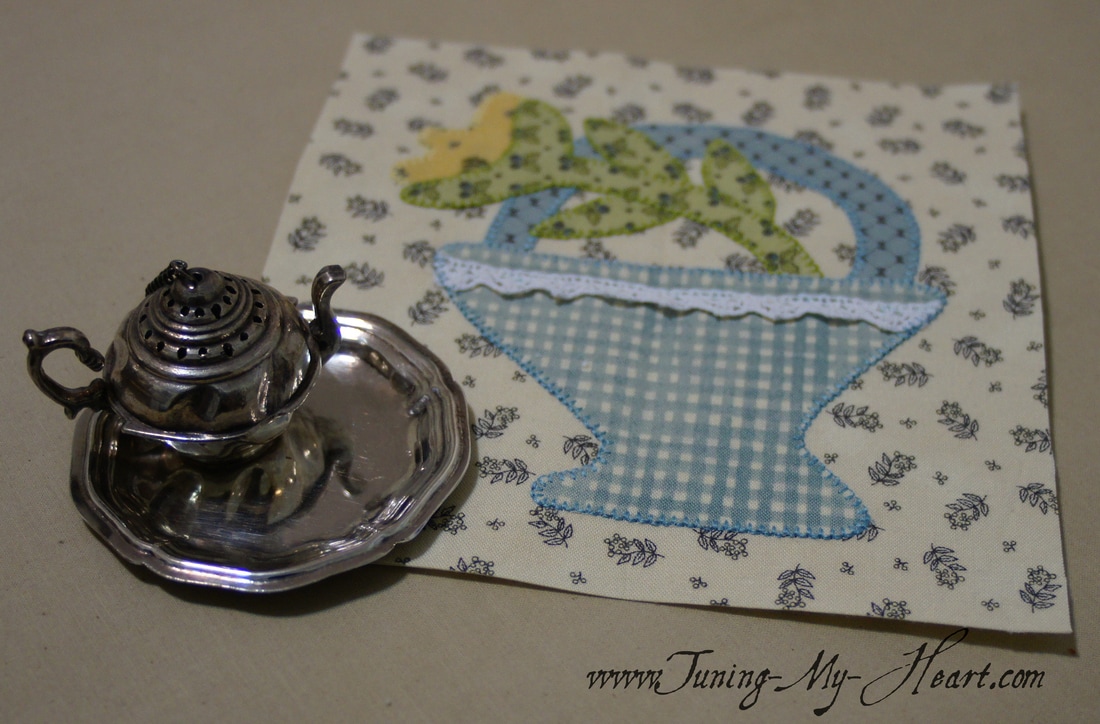 A couple of years ago I was given a light box for my birthday. I love it for projects like this. I can easily see to trace the pattern pieces onto my fusible with it. Sure beats trying to hold it up to the light from my window! The fusible I prefer is Heat N Bond lite. I use a fine tip Sharpie to trace the pieces onto the paper side of my fusible. Be sure and leave space between your pieces as you will not be cutting on the lines at first.
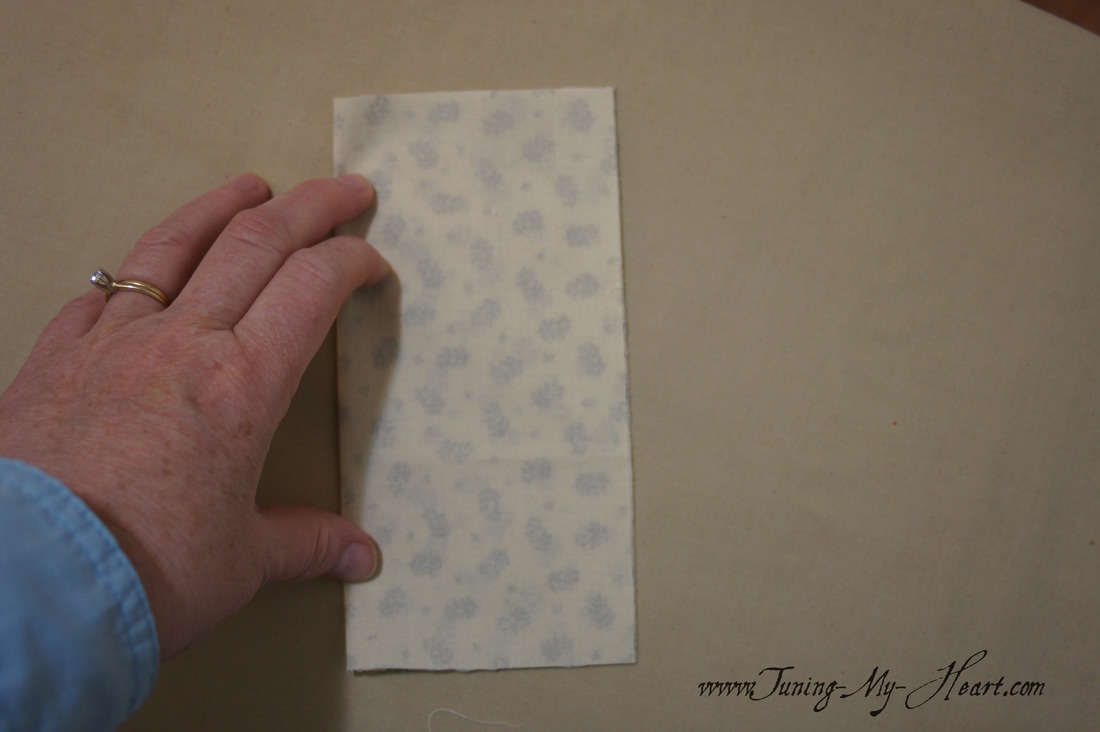
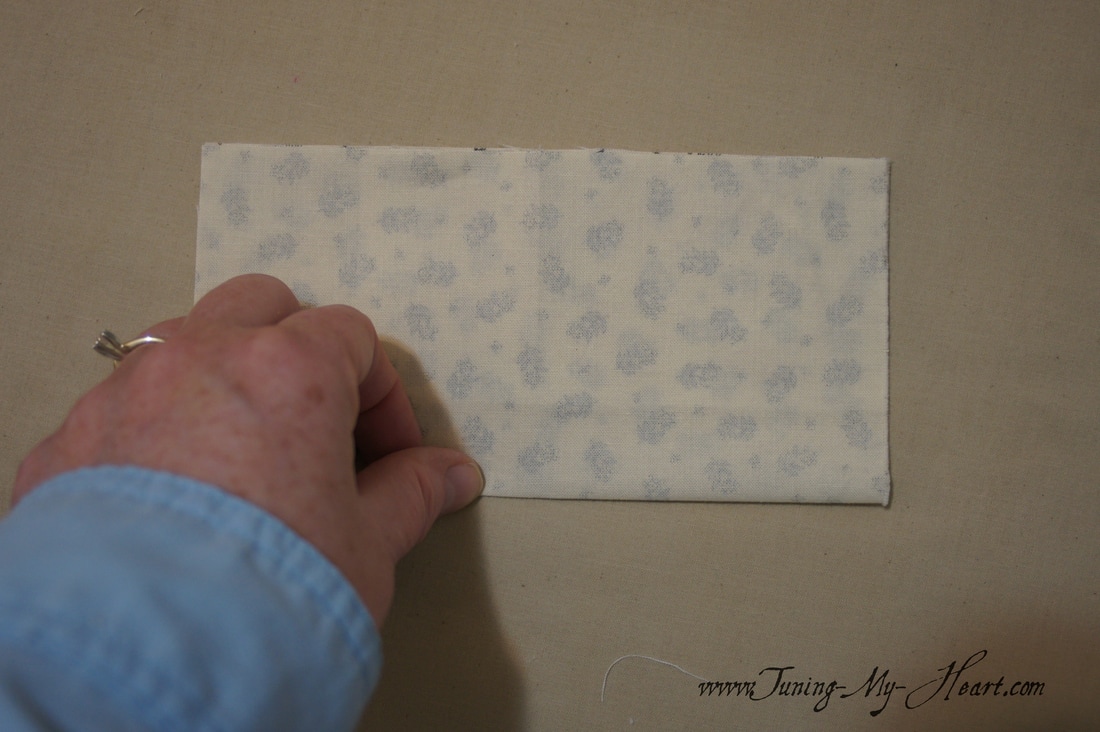
With my pieces cut out I fuse them to the back of my fabric. Now I will cut them out on the drawn lines. 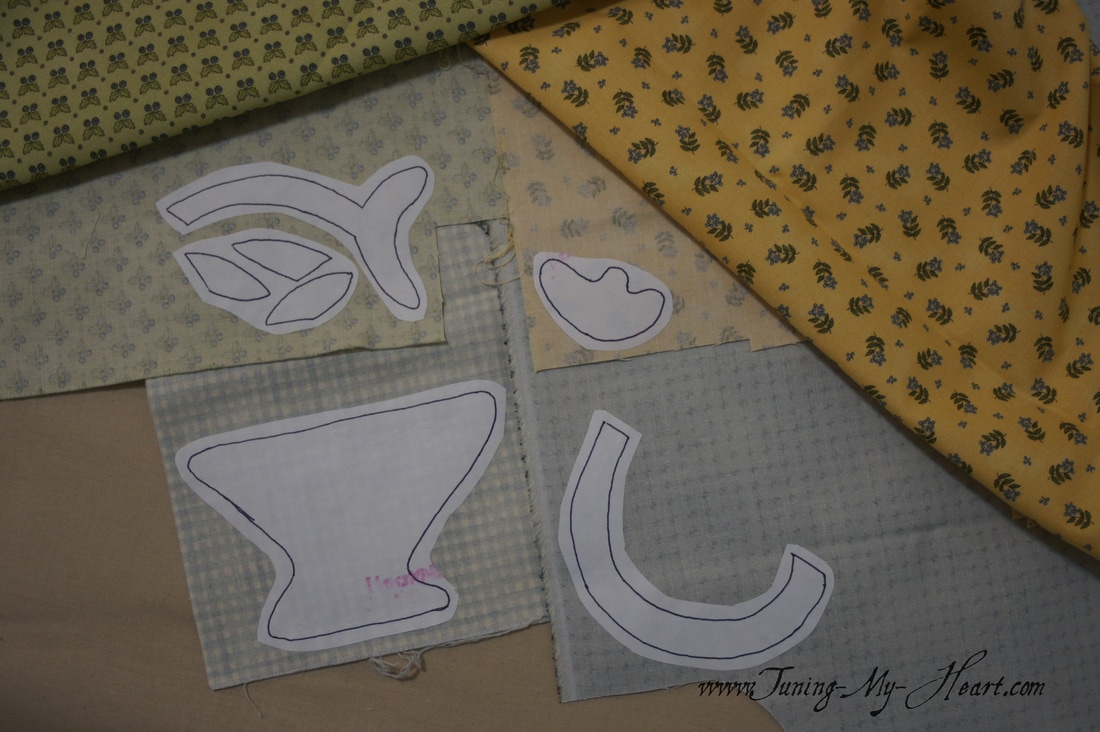 To get ready for placement on my background fabric, which has been cut to 7" x 7", I need to find the middle by folding and pressing with my finger first one direction and then the other.
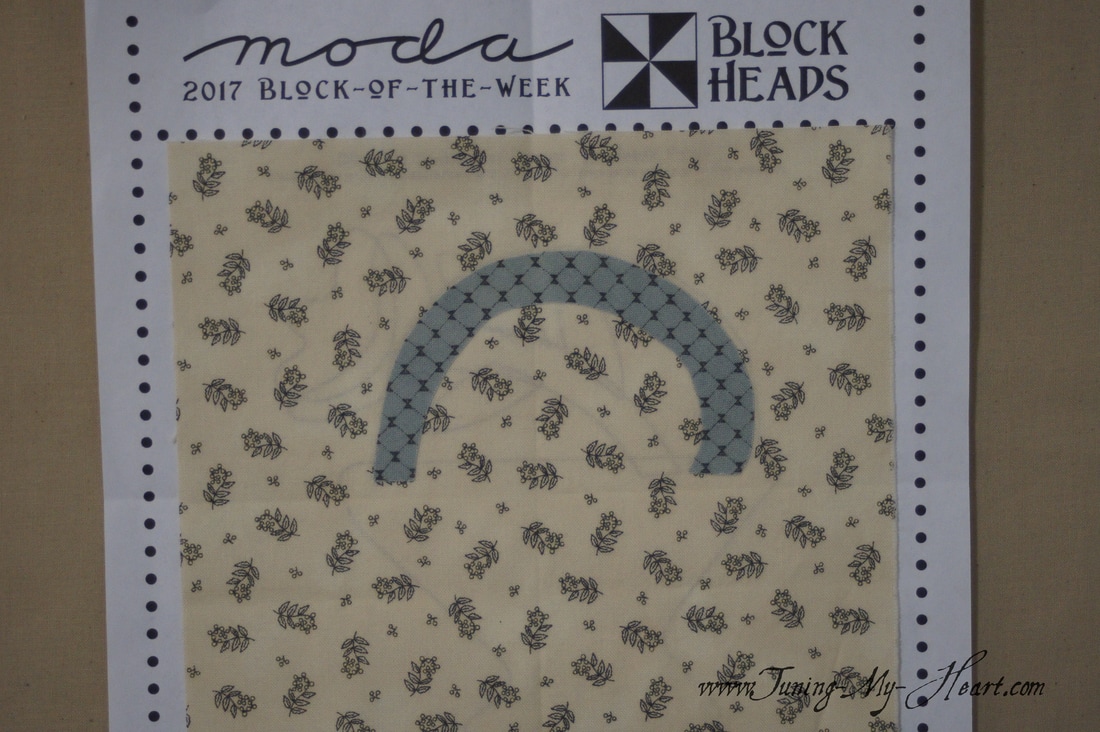
The fold lines will help me in placing the applique pieces.  I have done the same with the pattern. 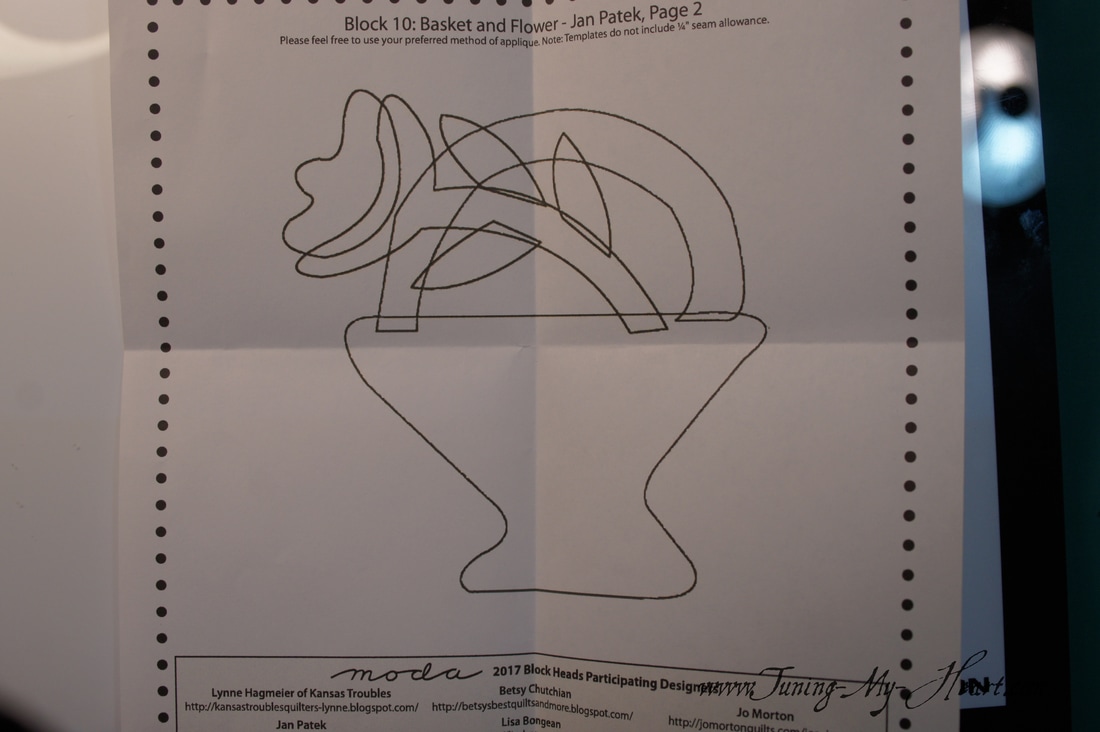 Laying my fabric on top of the pattern I have lined up the fabric folds with the folds on the pattern.  As I looked over the pattern I decided I wanted to stitch the handle in place before adding the other pieces that go on top of it. It is the only piece I am fusing to my background fabric at this point.
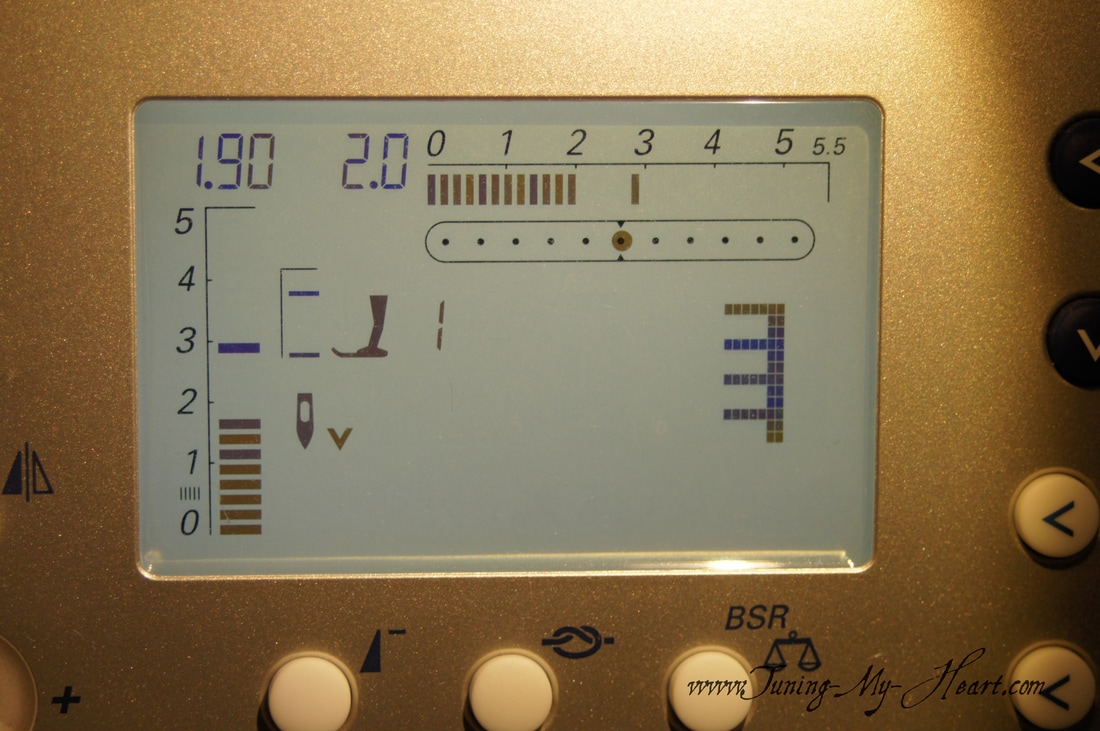
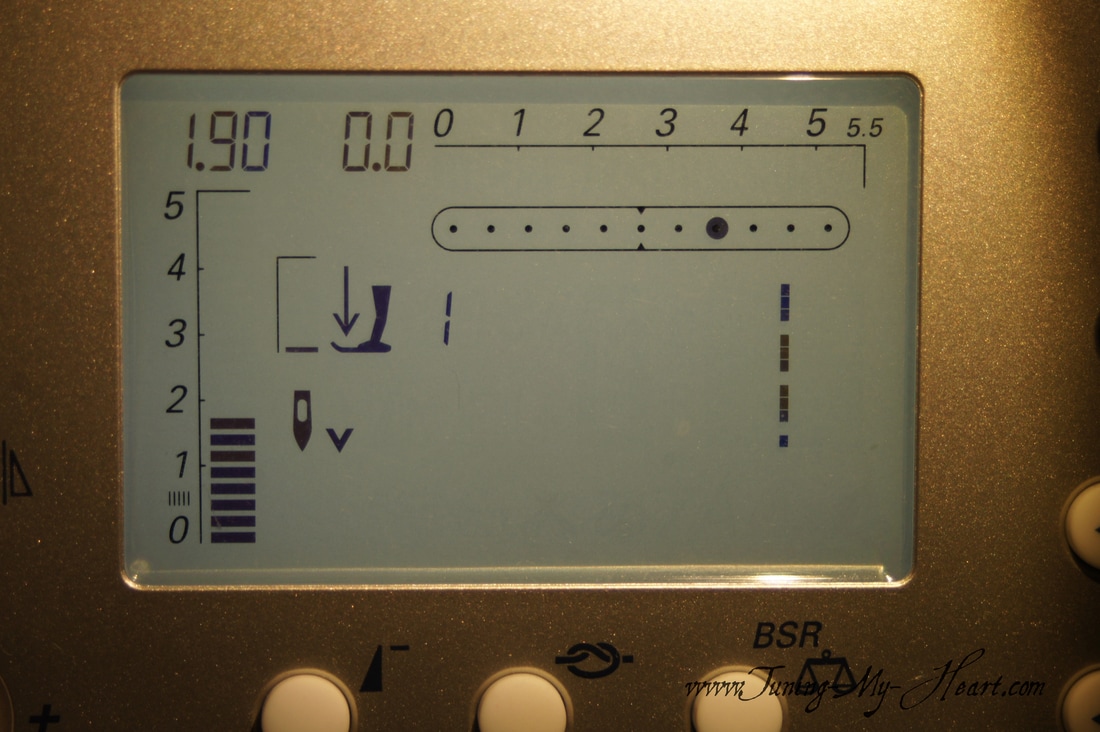
These are the settings I use on my machine
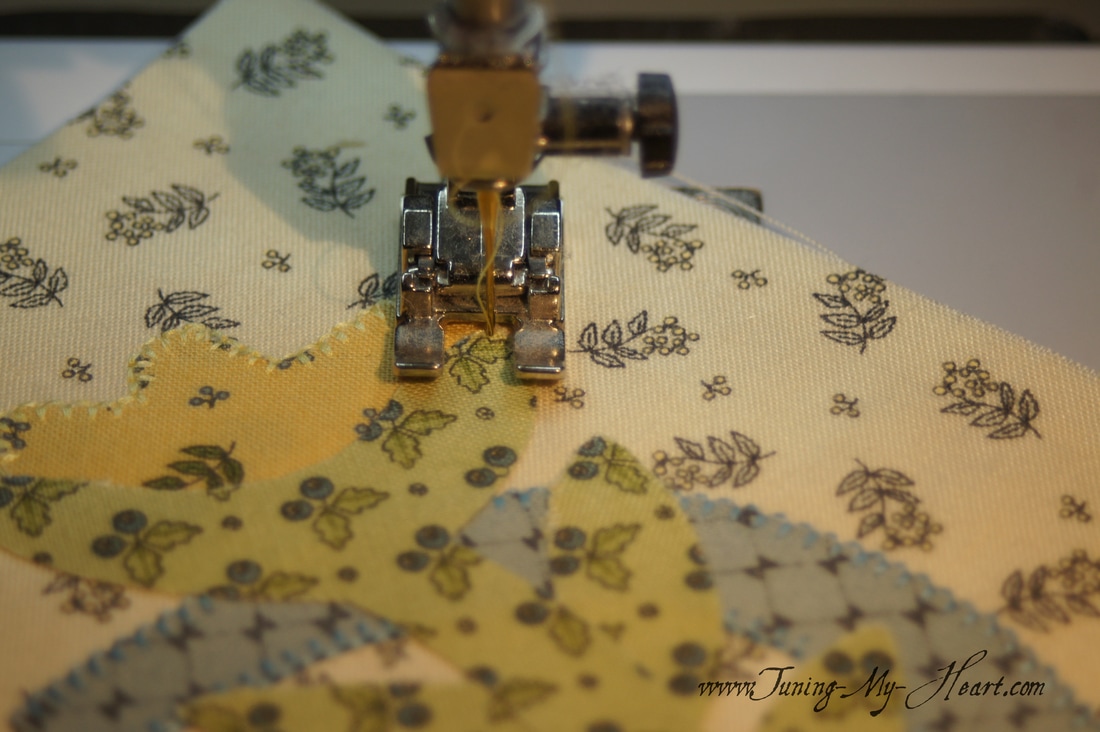
Important Note: For the best results when doing machine applique a stabilizer added to the back makes all the difference. I have actually fallen in love with Floriani's Stitch N Wash Fusible, but any stabilizer will work fine. With my stabilizer attached to the back of my block I begin with a straight stitch along the bottom of the basket handle. I am using Superior Masterpiece thread in my machine for this. My other favorite for machine applique is Superior Magnifico, which has a higher sheen. I use it on the top and Masterpiece in the bobbin. 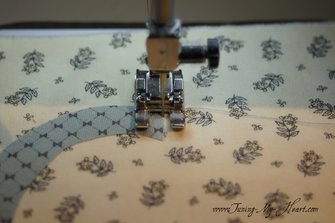 As I turn to start up the handle I switch to my buttonhole stitch. I want the straight stitch part of the buttonhole to be right at the edge of my applique, not on it. 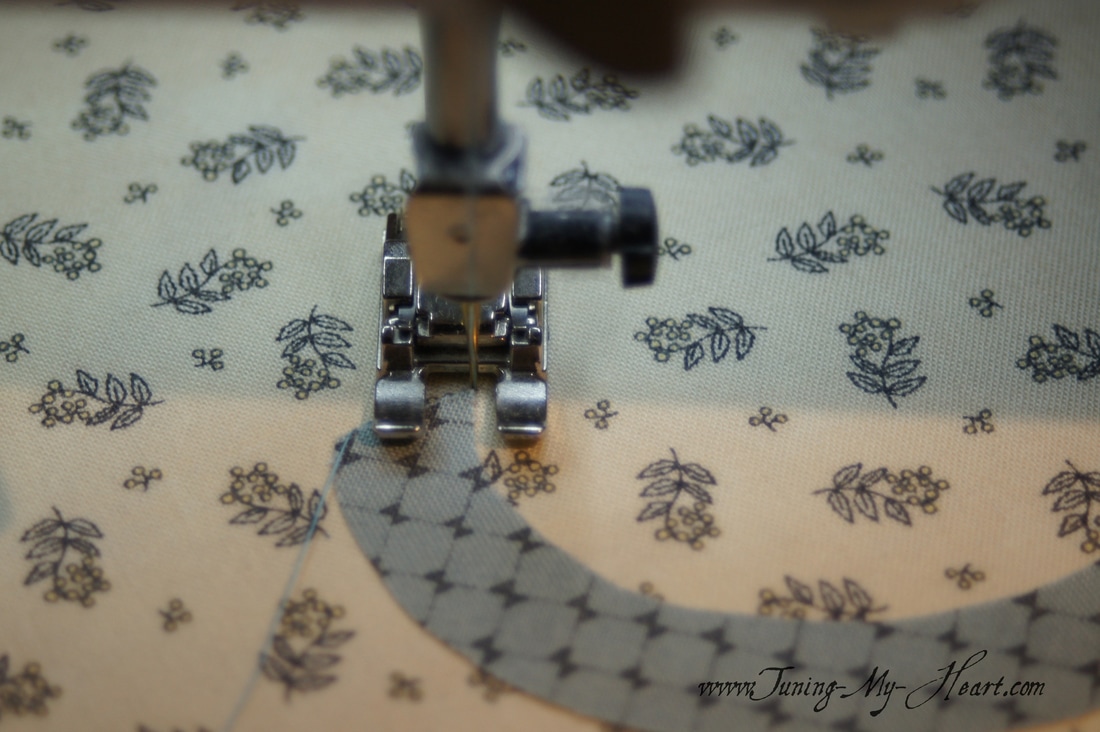 You can see here how the buttonhole stitch takes a bite into the fabric. When I need to make adjustments for curves I have my needle in the down position, lift the presser foot, adjust the fabric just a bit, lower the presser foot, and resume stitching. 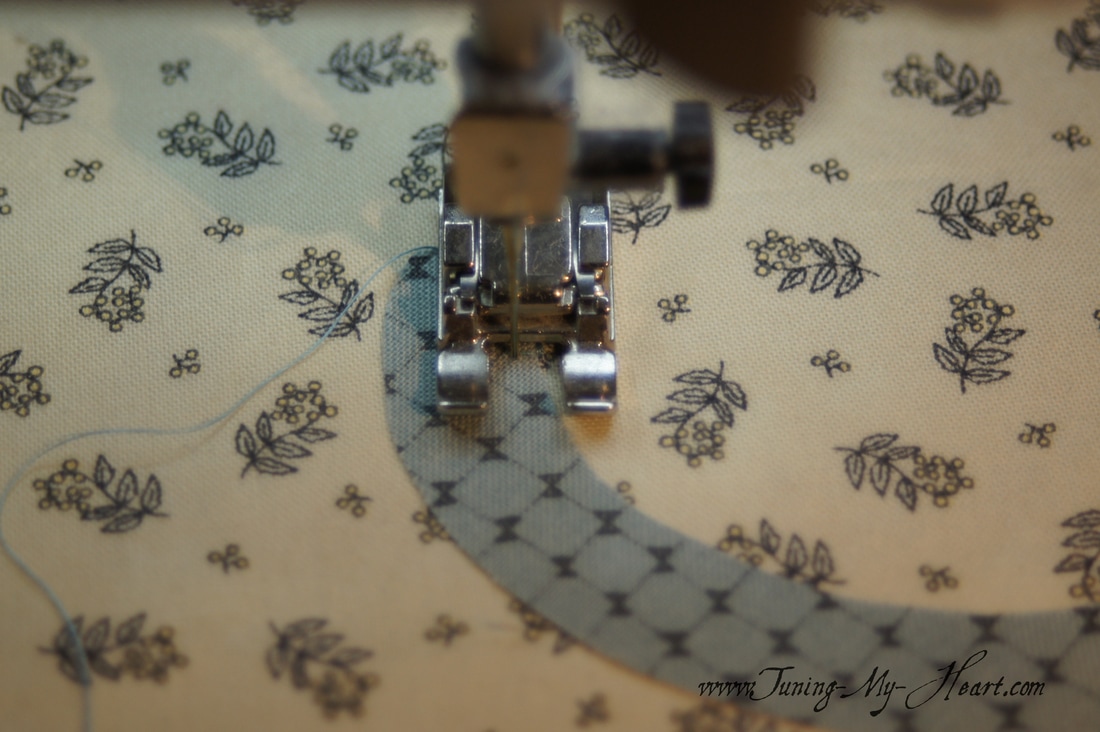 When I came to the other end of the handle, in order to keep bulkiness to a minimum, I switched to my straight stitch to go across this bottom edge and back to the buttonhole stitch for the rest of the handle. 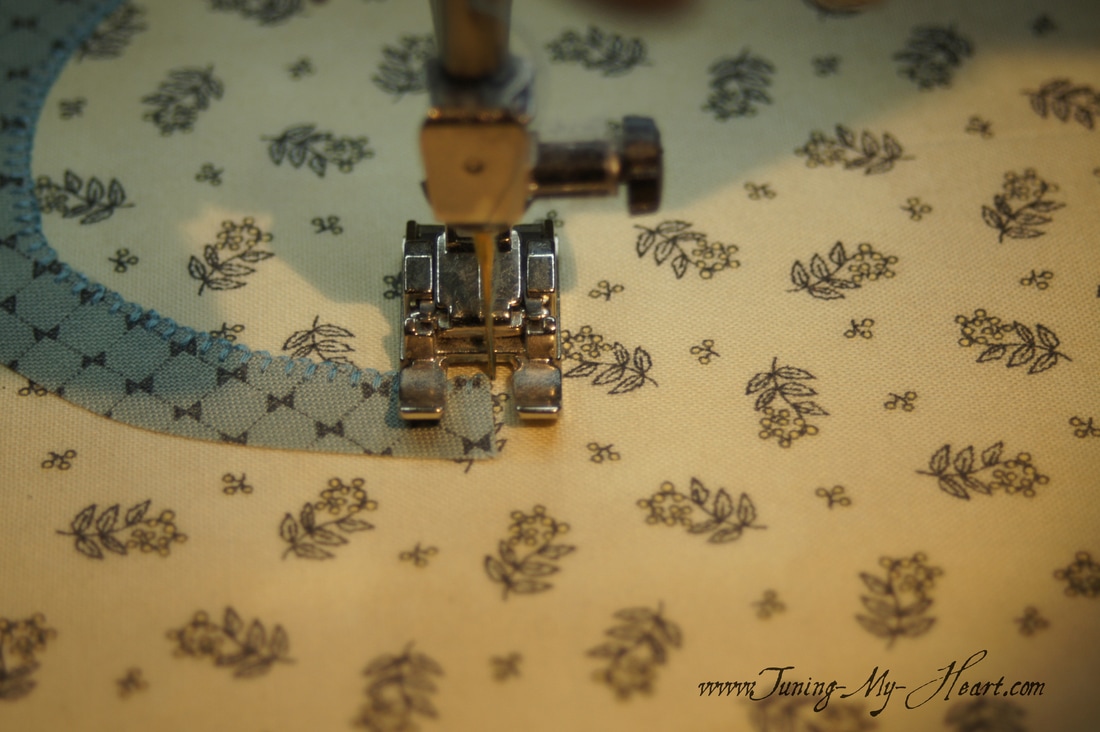 Back to the beginning location, I switch to my straight stitch and sew across the bottom edge again. Not really necessary since this will be under the basket, but sometimes I believe in overdoing it. Those stitches are NOT coming out-lol. 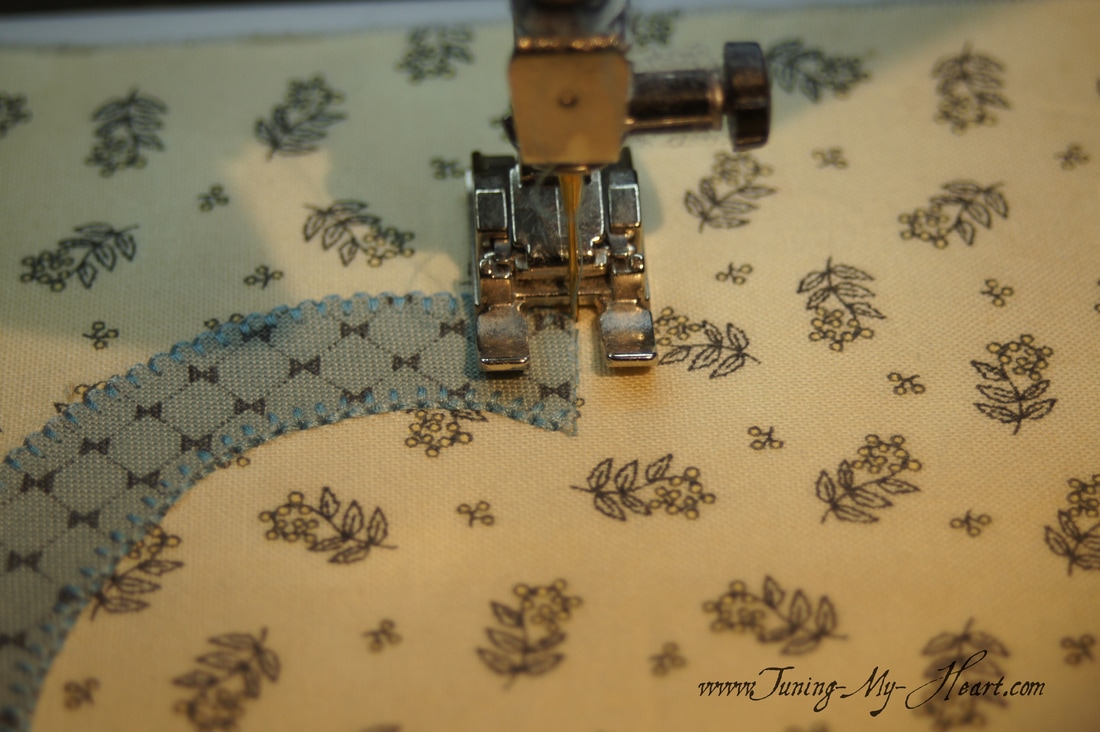 Back at my light box I need to put the flower together next. There is a handy little thing called a pressing sheet that is heat resistant and you can see through it. A light touch of the iron holds the applique pieces in place while I put the pieces of the flower together. When my flower is all fused together I carefully peel it off of the pressing sheet.
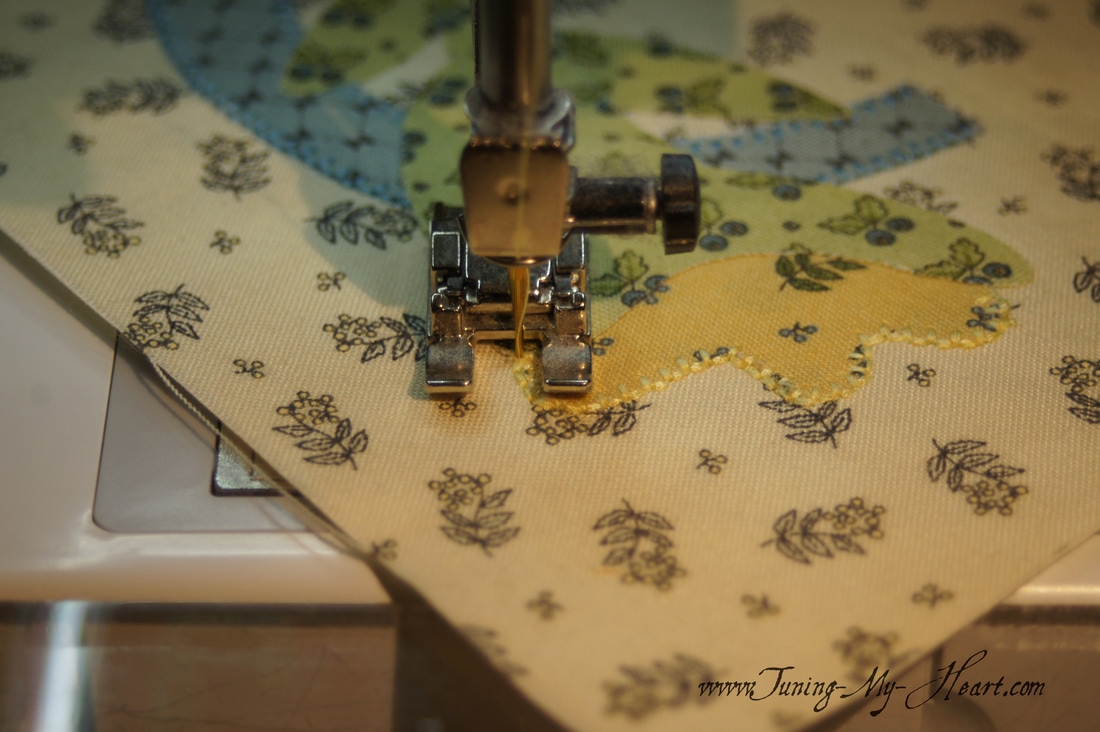
At the ironing table I have the pattern underneath my block in order to see where to place my little flower along the handle. 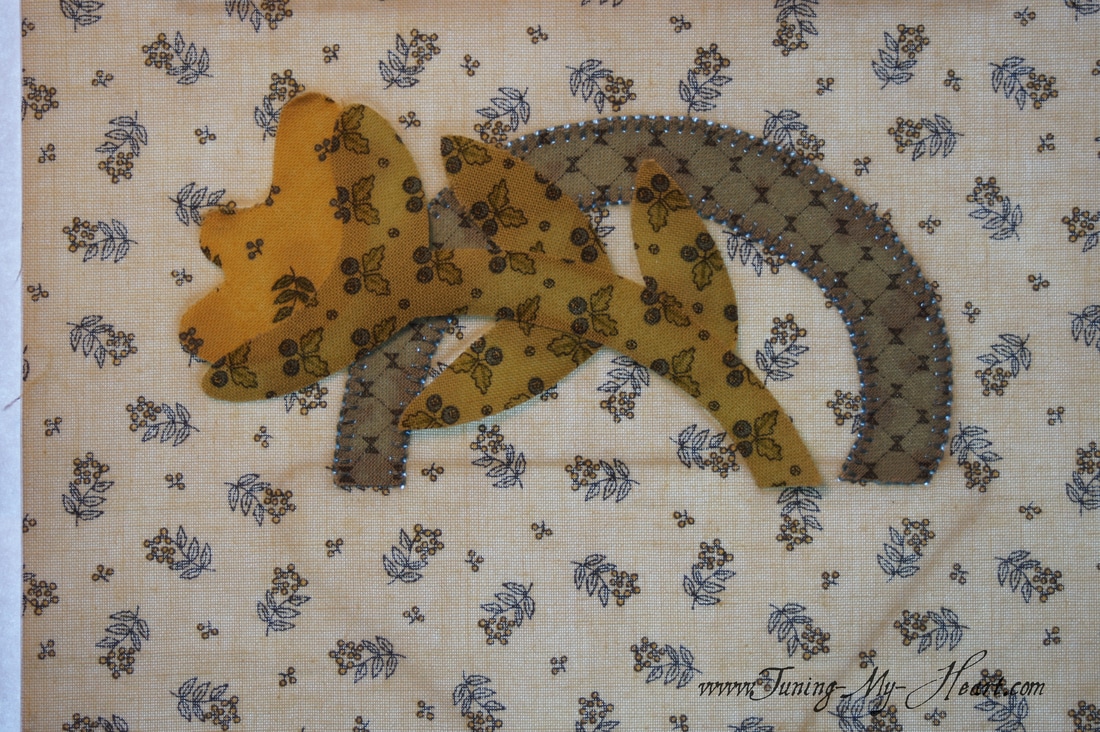 Back at my machine I begin by taking 4-5 straight stitches towards the point at which I want to begin my buttonhole stitch. I will be working from back to front on the flower, so the stem that is on top will be done last. 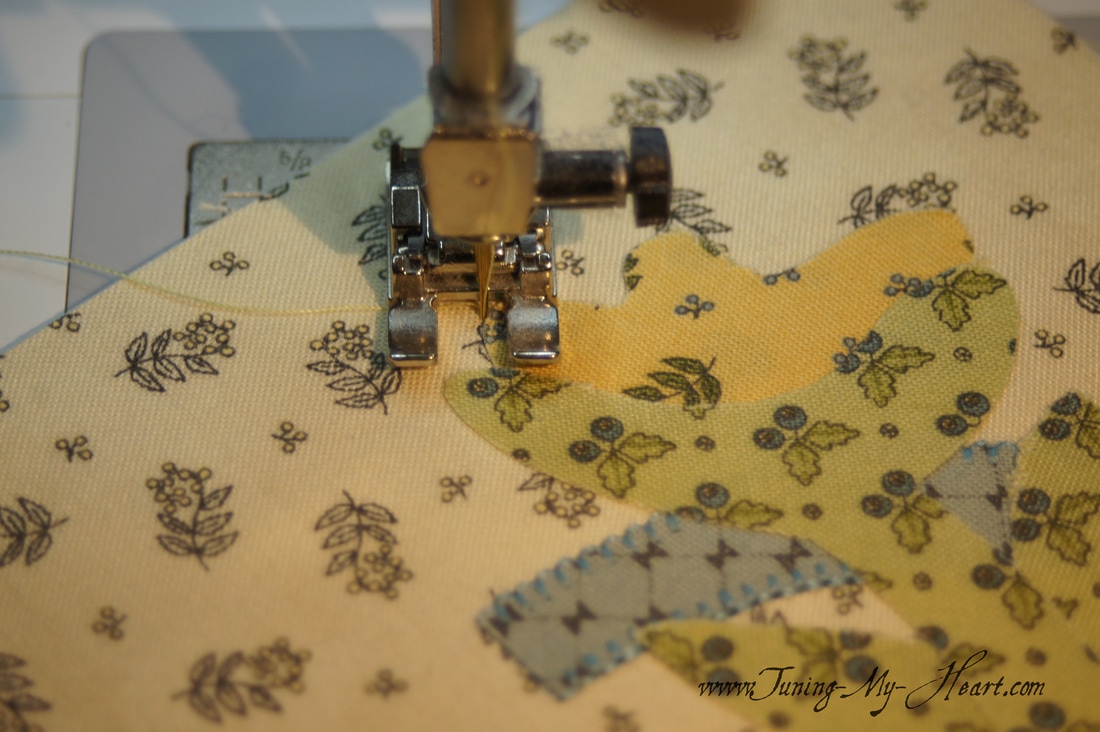 I turn my work around now and begin the buttonhole stitch. This will "lock" my stitches in as I go over the straight stitches I just did. 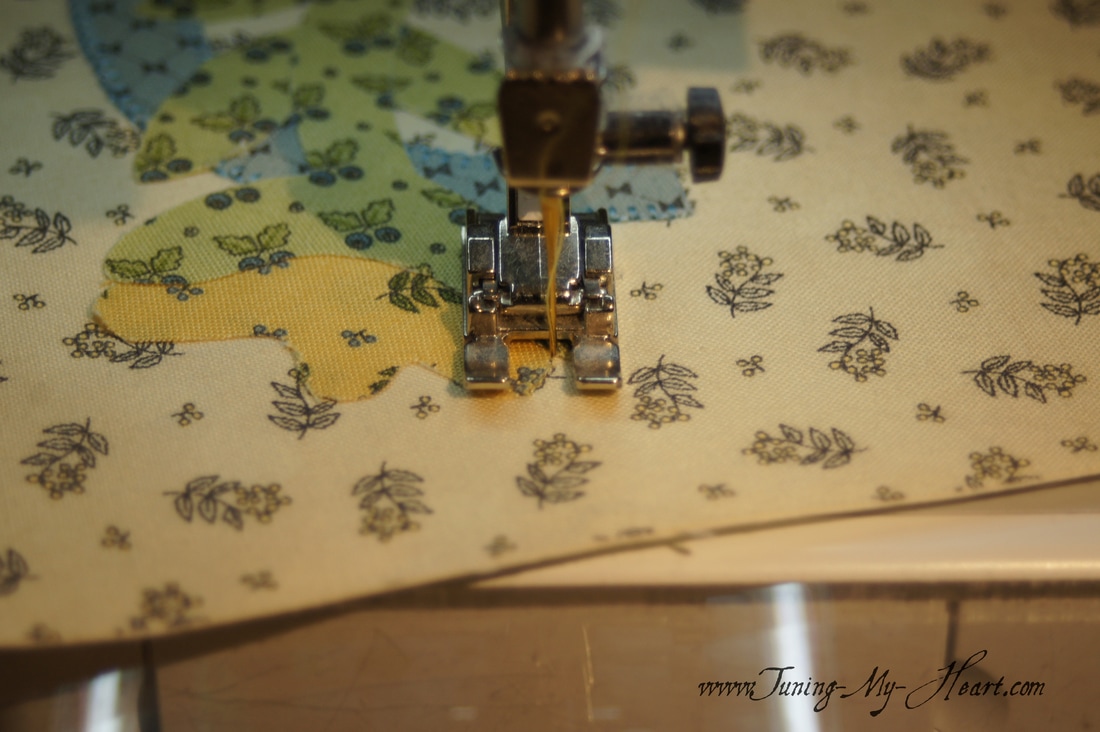 I finish off the flower in the same way that I began, turning the applique and going back over the buttonhole stitches with a straight stitch and ending with a locking stitch.
The leaves will be done in the same way; taking a few straight stitches towards the point where I want to start my buttonhole stitch then turning and doing a buttonhole stitch around each leaf.
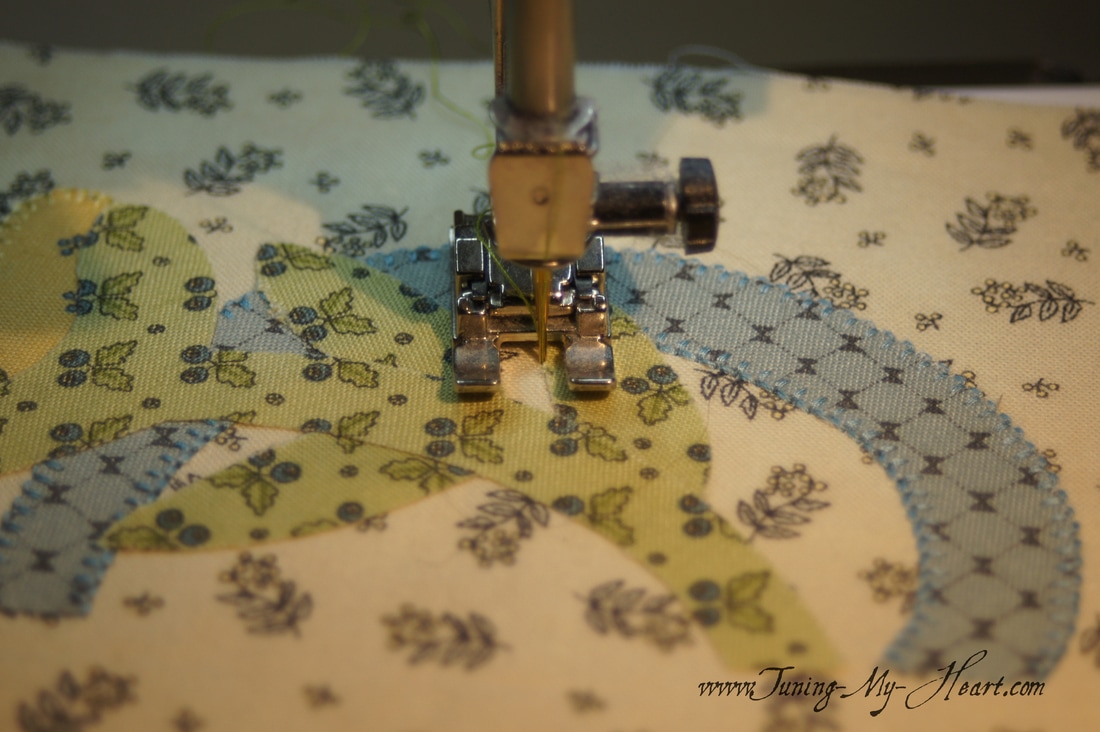
And I end the leaves in the same manner as the flower, going over the buttonhole stitch with a straight stitch and ending with a locking stitch. 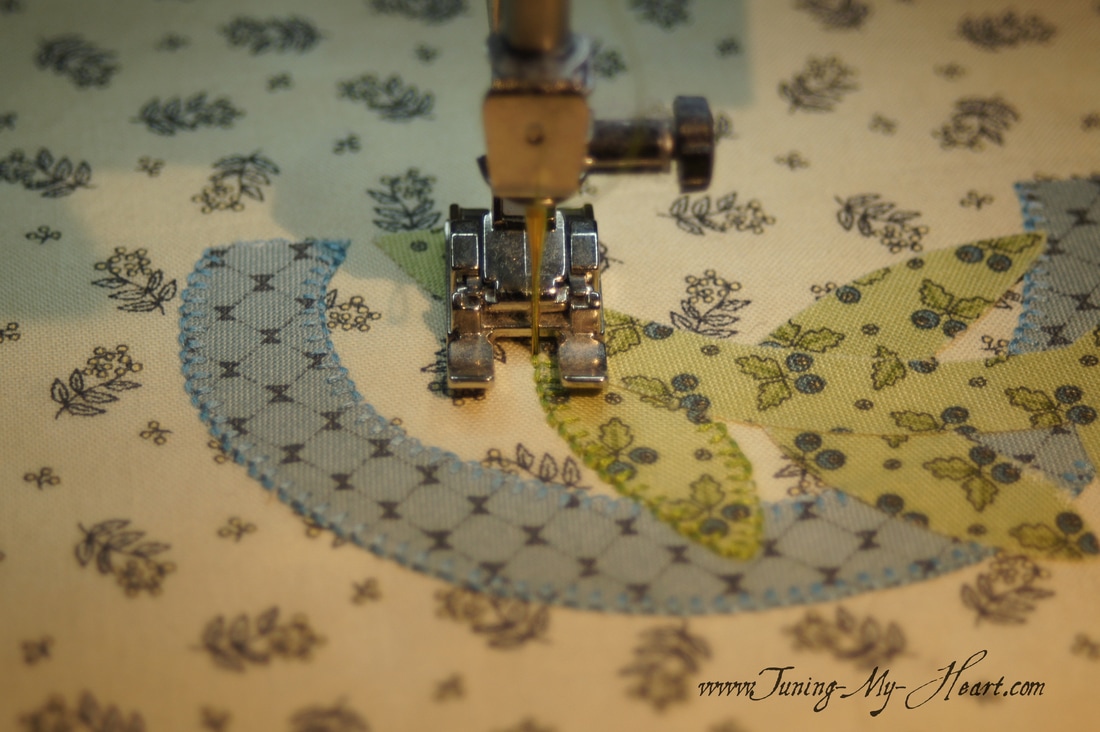 Now for the stem. I start by using a straight stitch across the bottom that will be hidden by the basket then proceed with the buttonhole stitch around the rest of the stem.
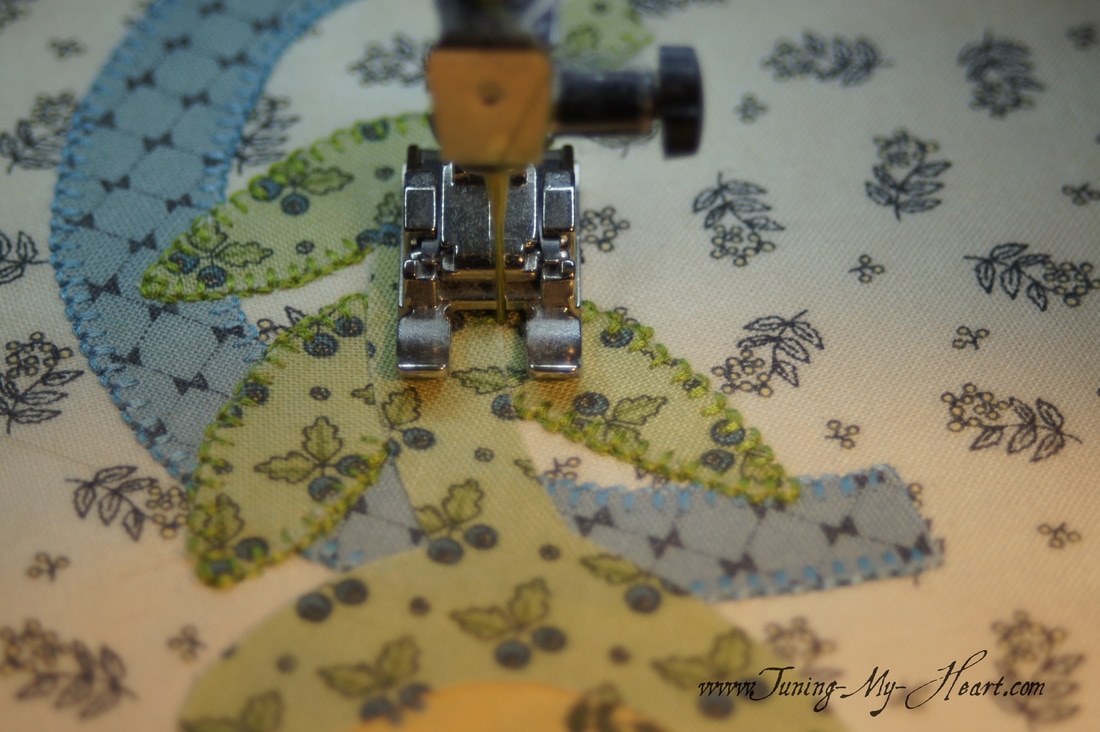
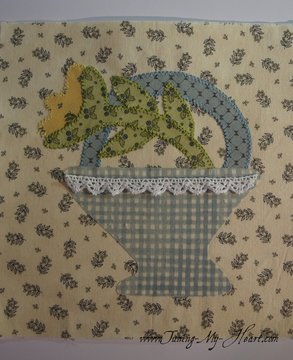
Just like with the basket handle I finished the stem with a straight stitch across the bottom. 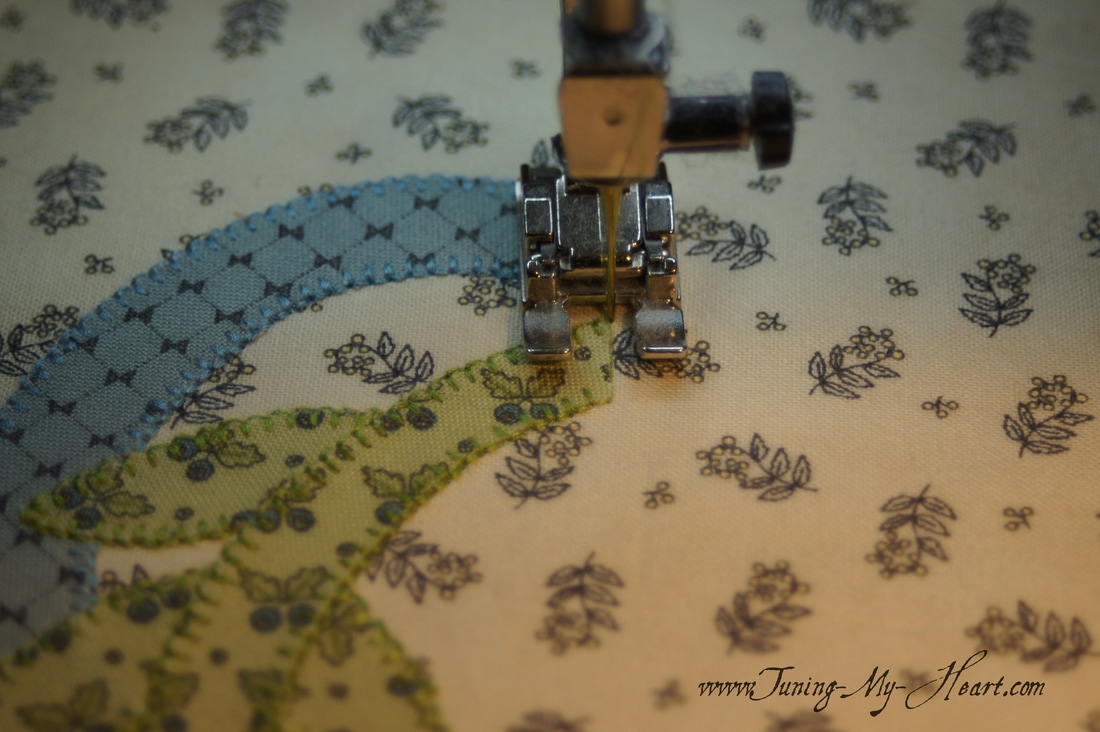 This is how my block looks so far-now for the final piece. 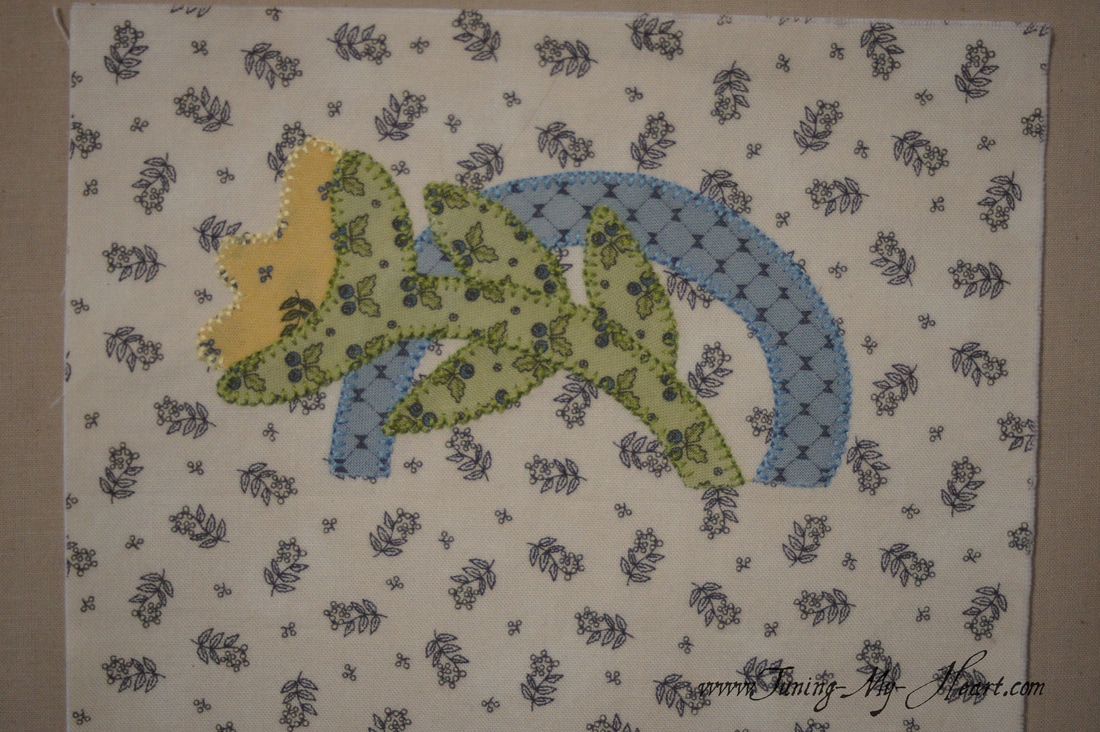 After fusing the basket in place I was hit with inspiration...so with a glue stick and a piece of lace I added a special little touch to my basket. I am pretty new to the whole idea of embellishing a quilt so have no idea if I approached this correctly but it worked out fine for me.
With the lace in place I used a zig zag stitch to attach it to my basket. 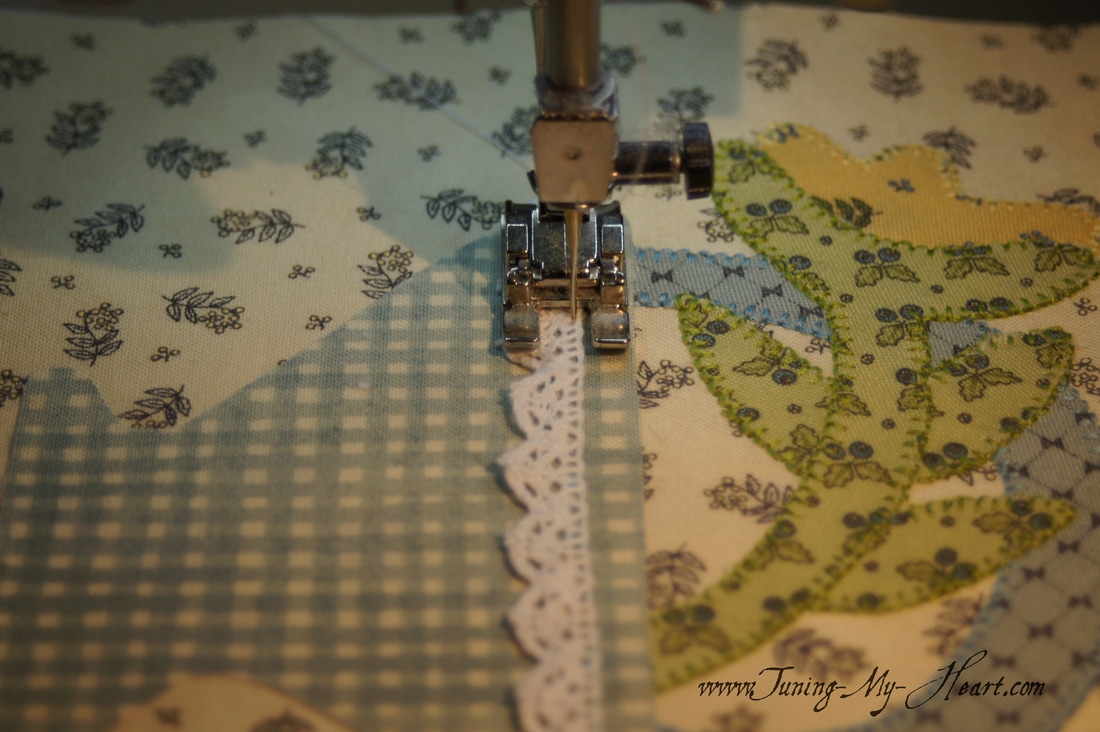 For the basket I started with a few straight stitches along a section that was fairly straight. 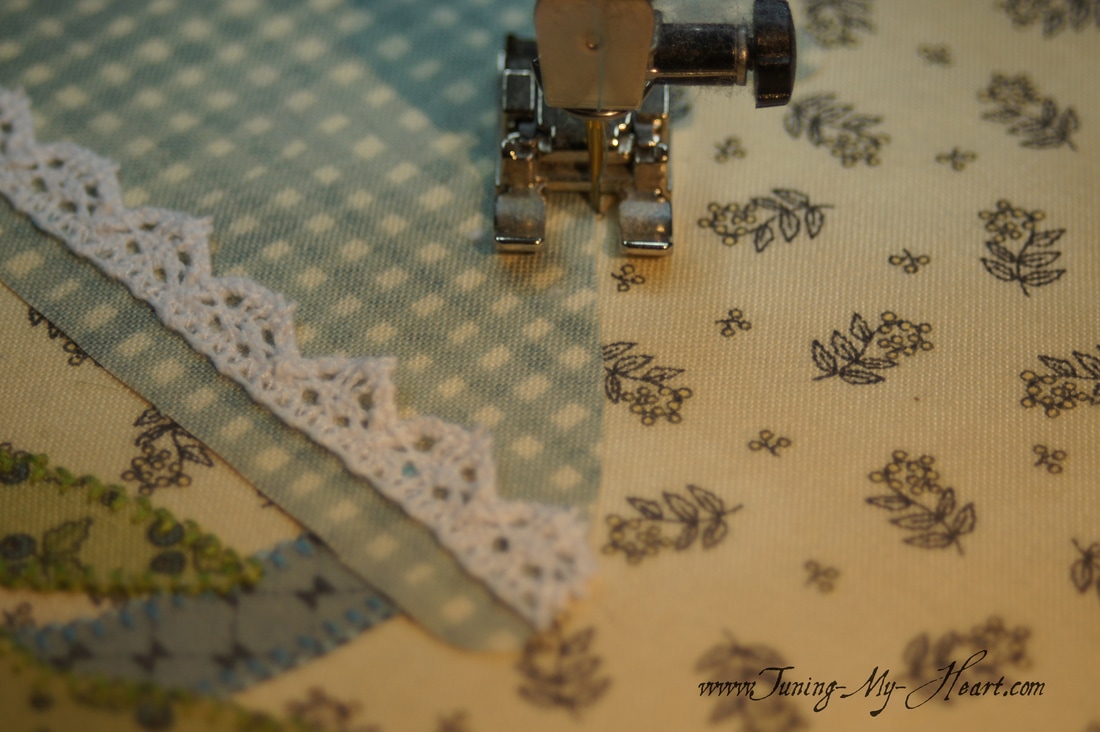 I then proceeded with the buttonhole stitch all the way around the basket, going right over the lace as well. 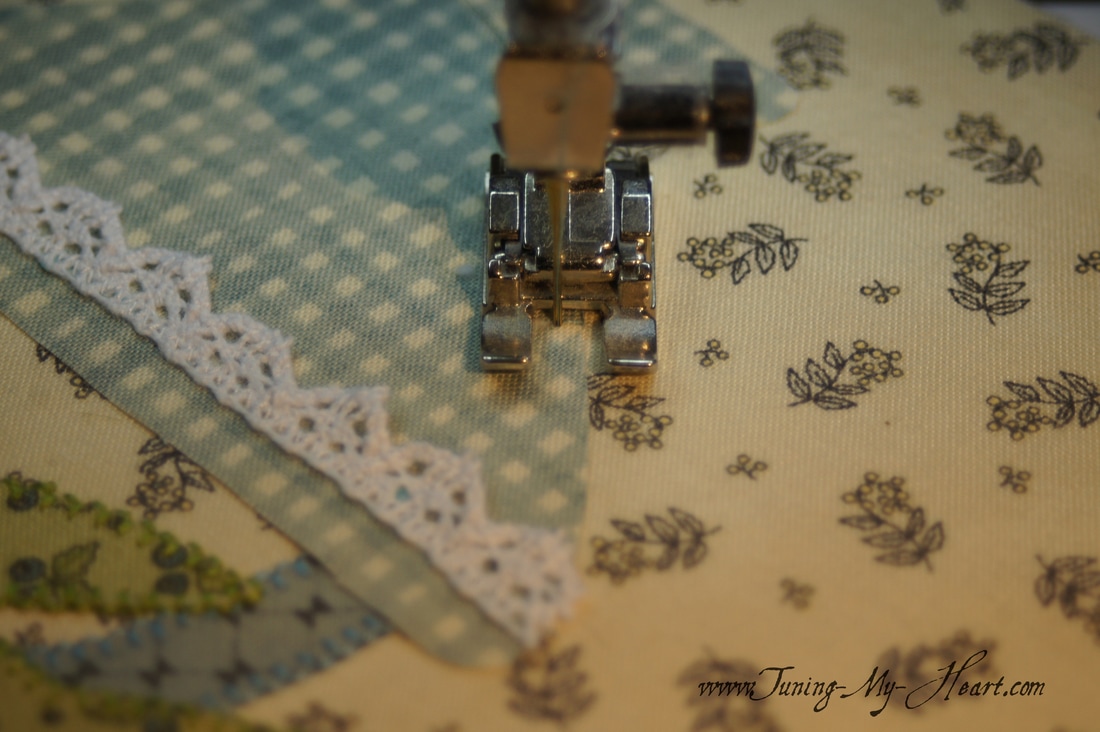 I have made it back to my beginning straight stitches and will sew right over them with the buttonhole stitch. 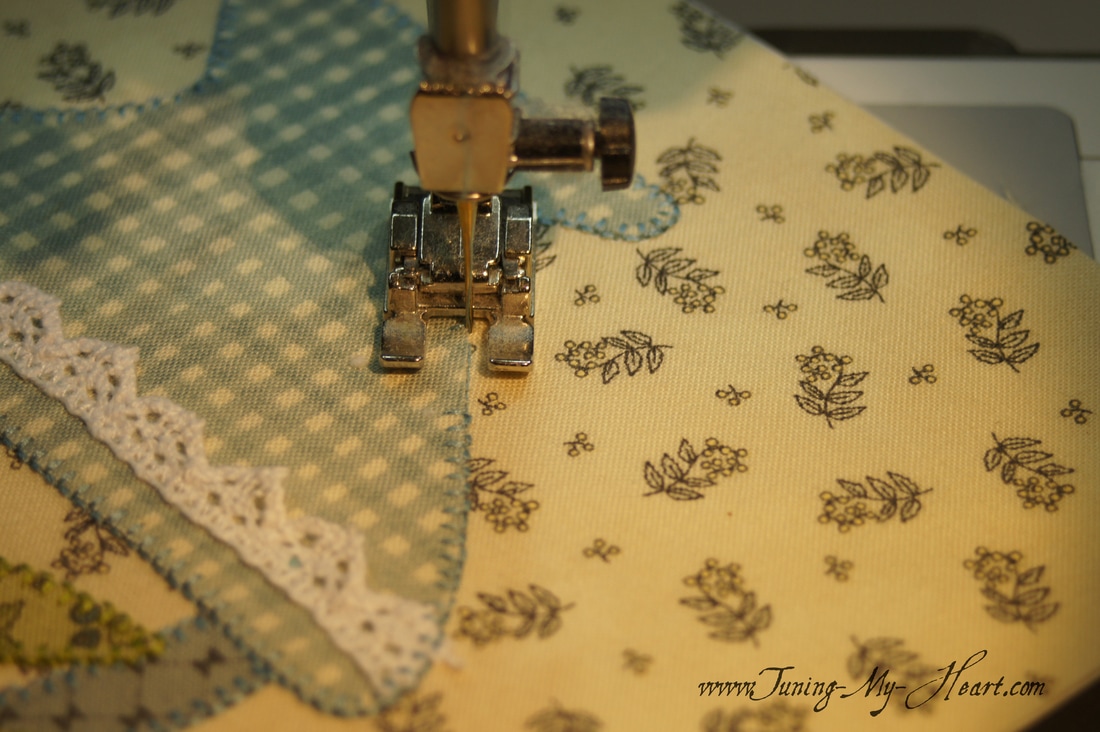 When I reach the point where my buttonhole stitches began I switch back to the straight stitch and finish off with 5-6 stitches and a locking stitch. 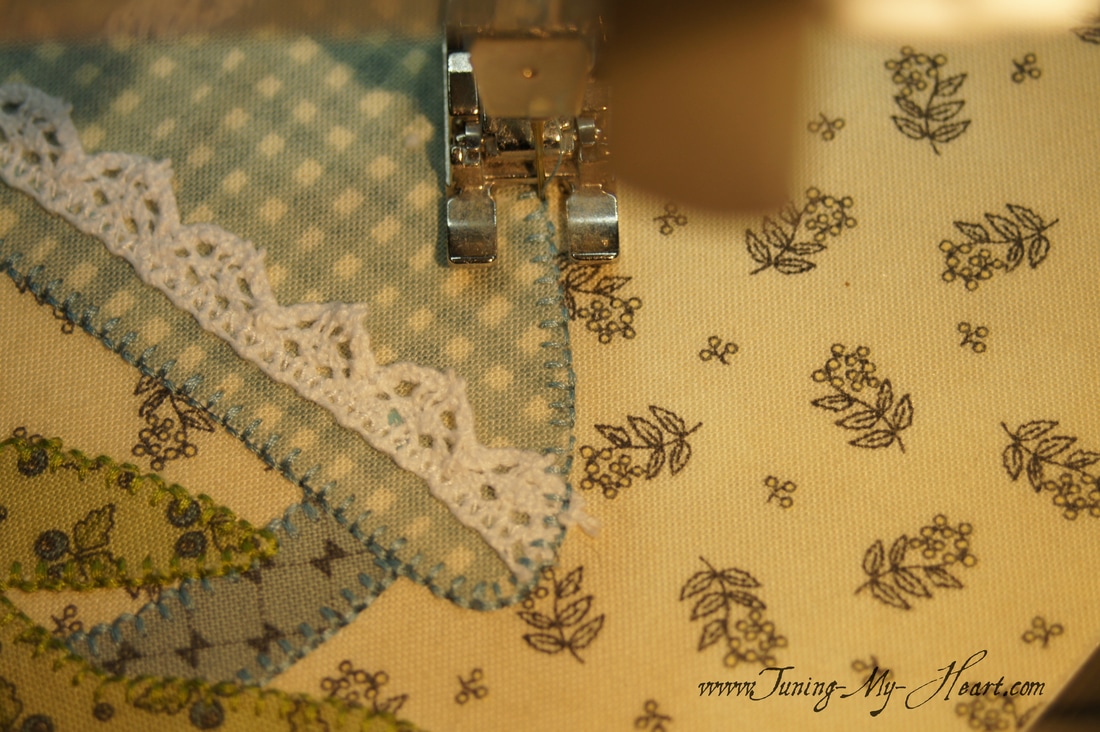 Just for fun here is what the back of my block looks like. 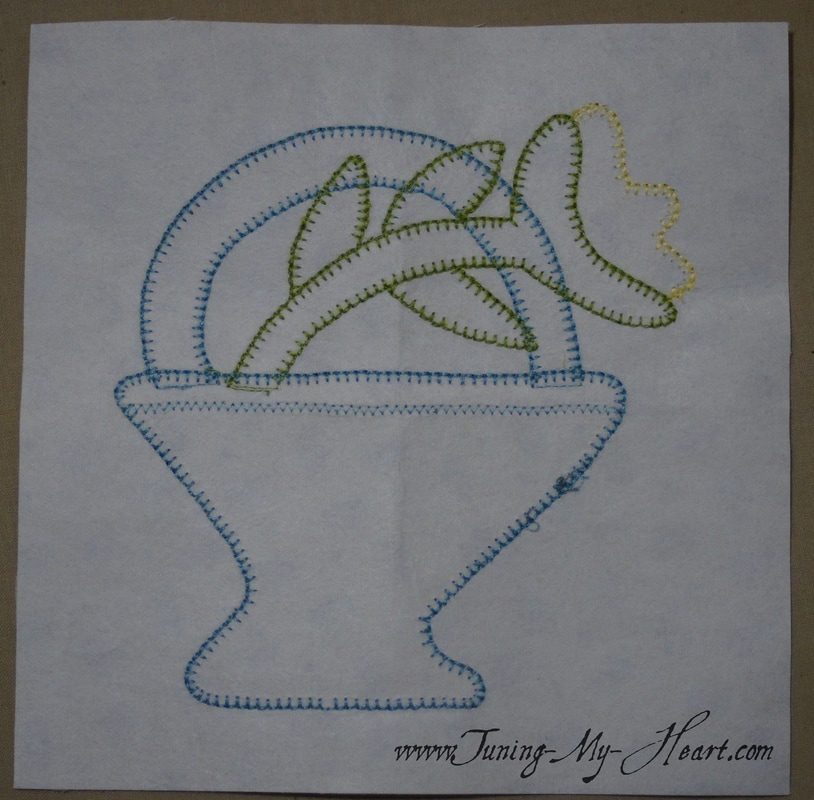 Since I started with a 7" x 7" piece of background fabric I need to trim it to 6 1/2" x 6 1/2" Time for a little math: Half of 6 1/2 is 3 1/4 so I need to place the 3 1/4 marks on my ruler in the middle of the block to know where to trim. Just like I did when figuring out the placement of the applique pieces I have finger pressed fold lines into the block using the applique piece as my guide. 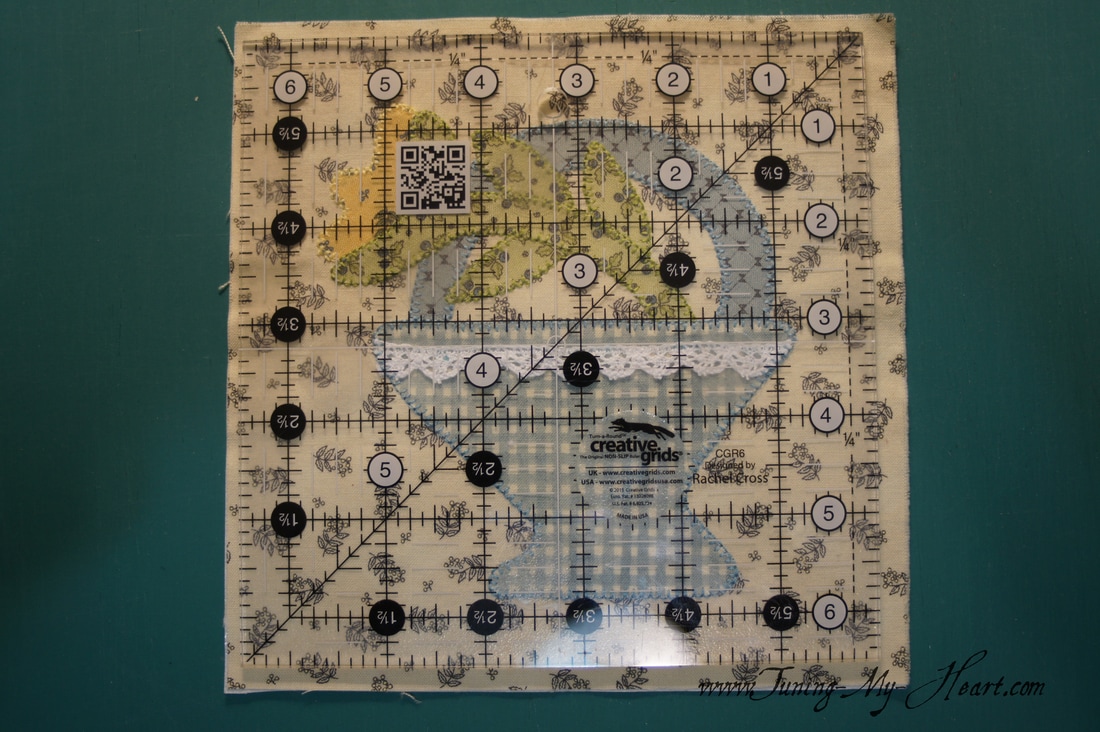 A close up of the placement of the 3 1/4 inch lines. 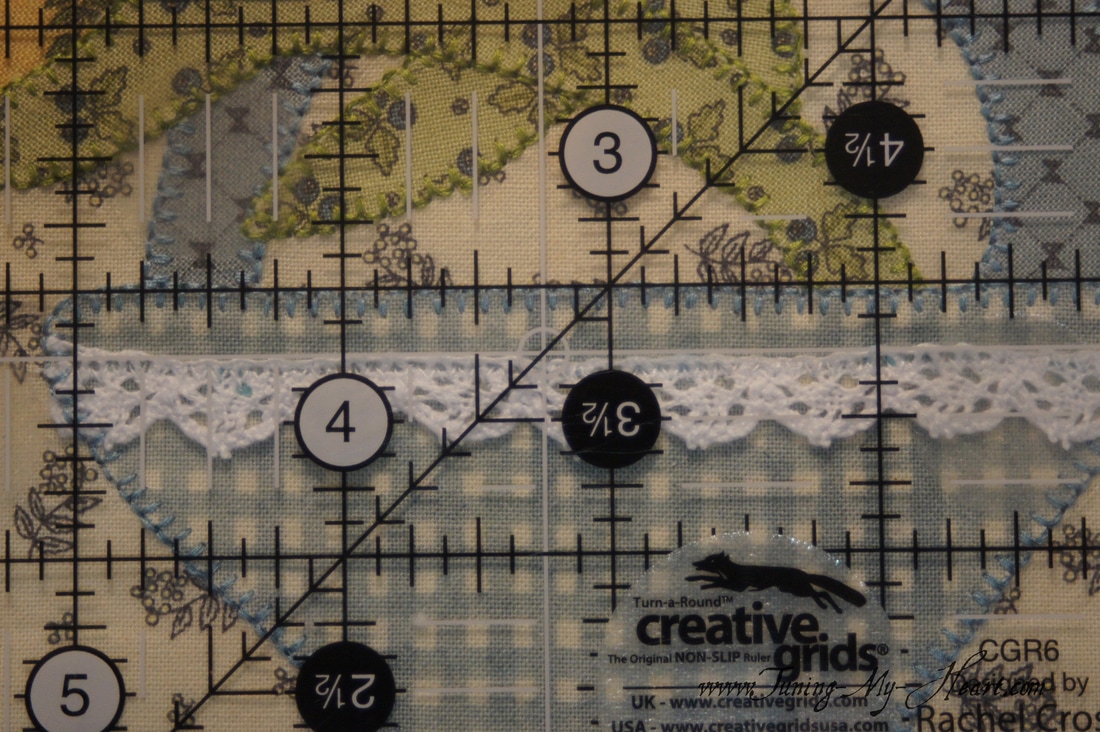 I have been watching the snow fall off and on while making this basket. Yes in the middle of May it is snowing here again after several warm summer like days. Ah Spring in the mountains! 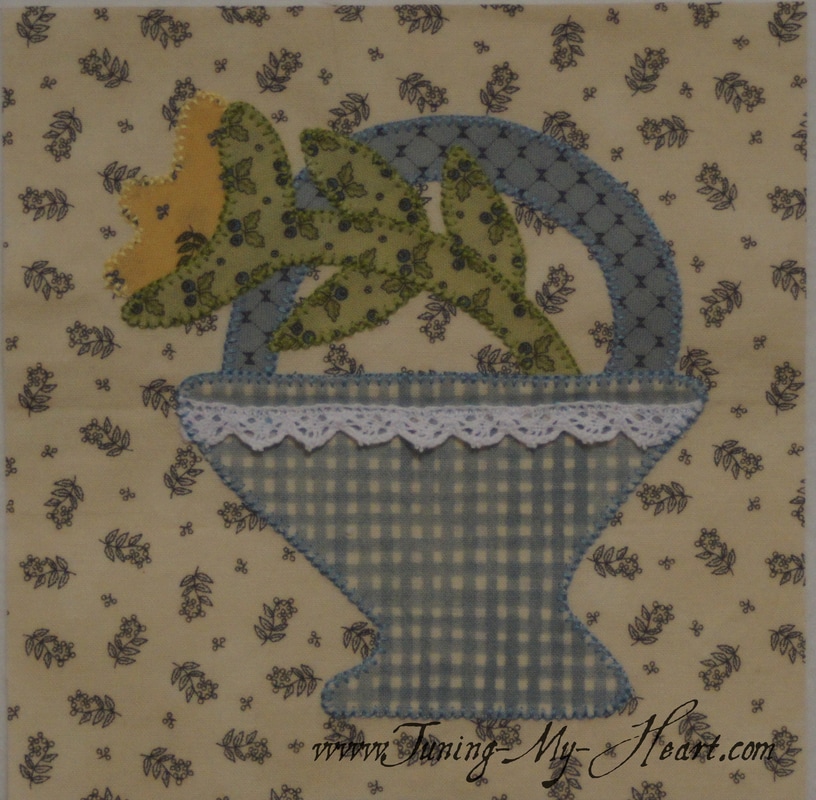 I hope this post will encourage you to give applique a try. I stayed away from applique for years but, maybe like me, once you try it you will be hooked too. Until next time... Happy Quilting!  |

Welcome to the site of Debra Davis-a woman who loves the Lord and loves to quilt.
My other blog where I share about my walk of faith:
Sitting at His Feet 
|


 RSS Feed