|
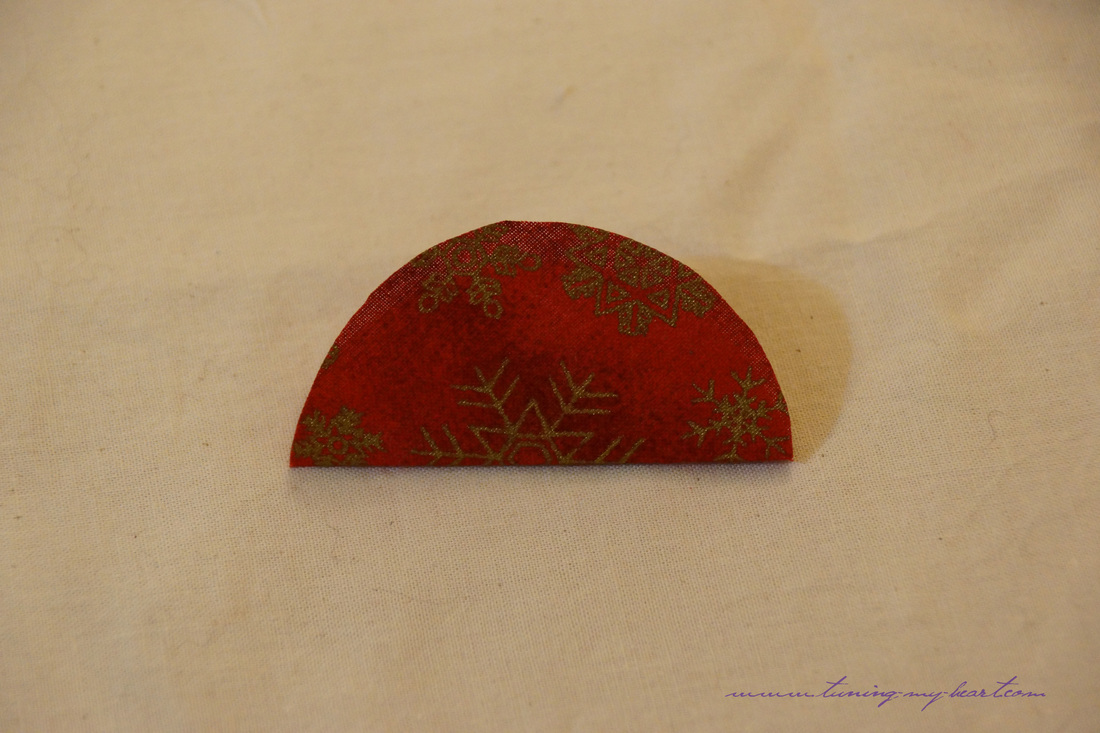
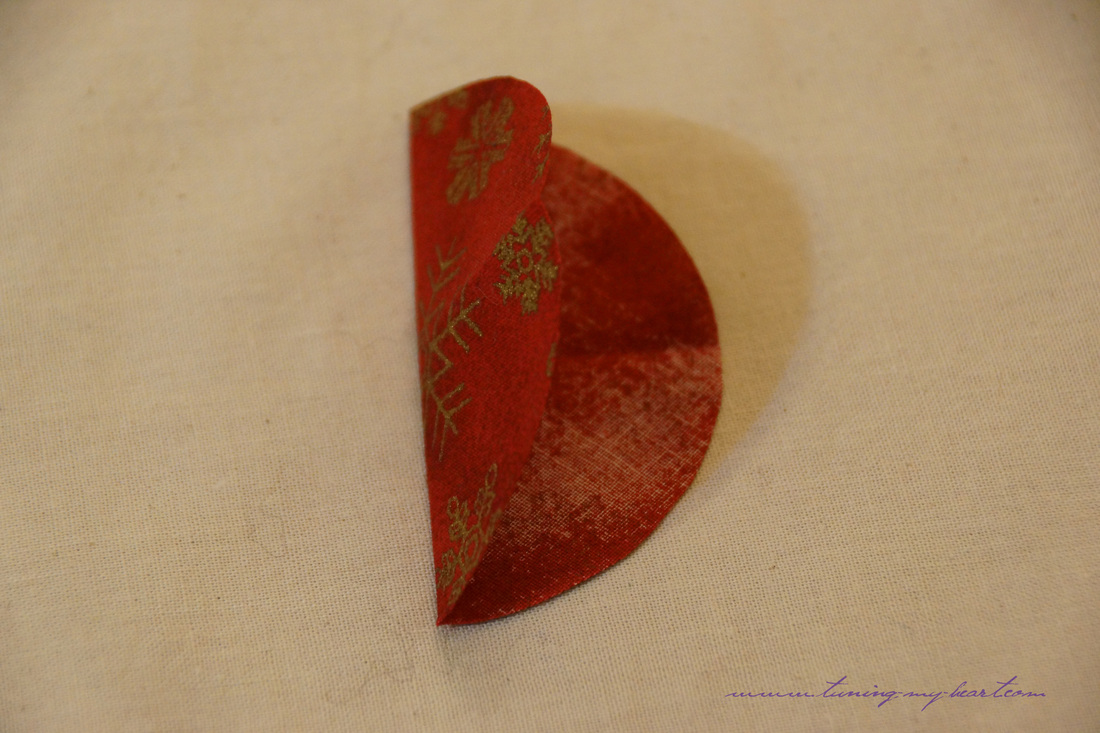
I was inspired by Pinterest once again. This time a wreath made with hexagons caught my attention. We had a lesson in hexies this year from one of our quilt guild members and I thought it would be a perfect way to play with them. 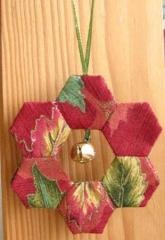 The wreath patterns I found all used a template, but I wanted to try the technique we had learned which involved using a circle to create the hexagon. I used my pencil holder to trace a circle onto my chosen fabric which gave me a diameter of 2 5/8 inches. I liked this for my finished size. 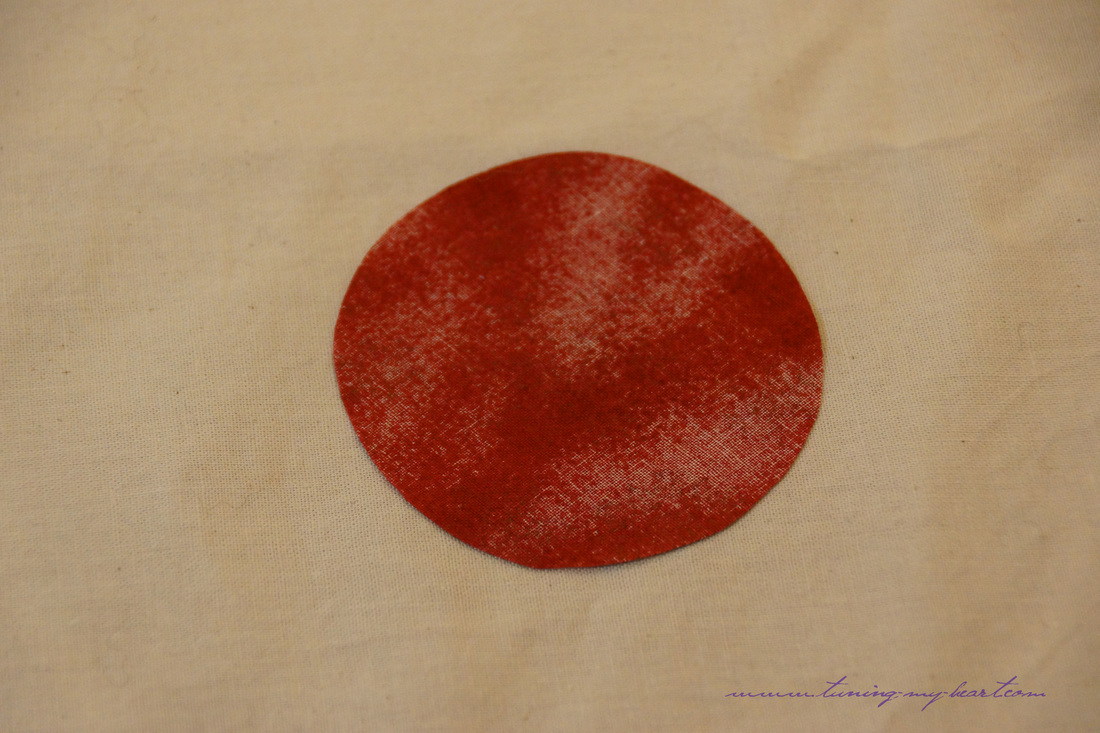 The first step is to lightly press fold lines into the circle. Fold in half one way, then in half the other.
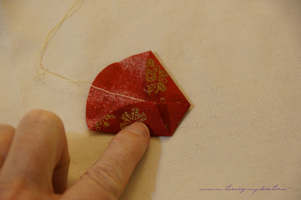
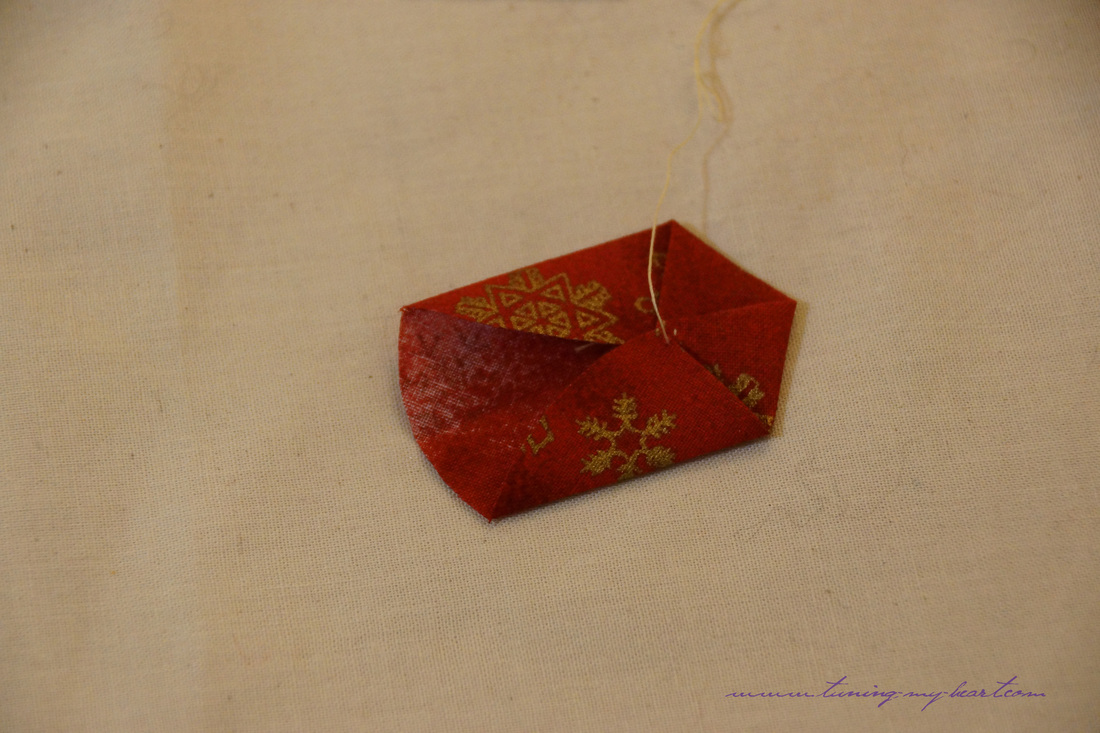
Next I take a stitch picking up just a thread or two from the middle. Normally I would use a thread that blends in but I wanted to be sure you could see what is happening here so I am using white thread which stands out for the photos.  Now for the fun part. I begin folding, starting at one of the fold lines I created, and bring the edge of the circle to the middle point where I took my first stitch. 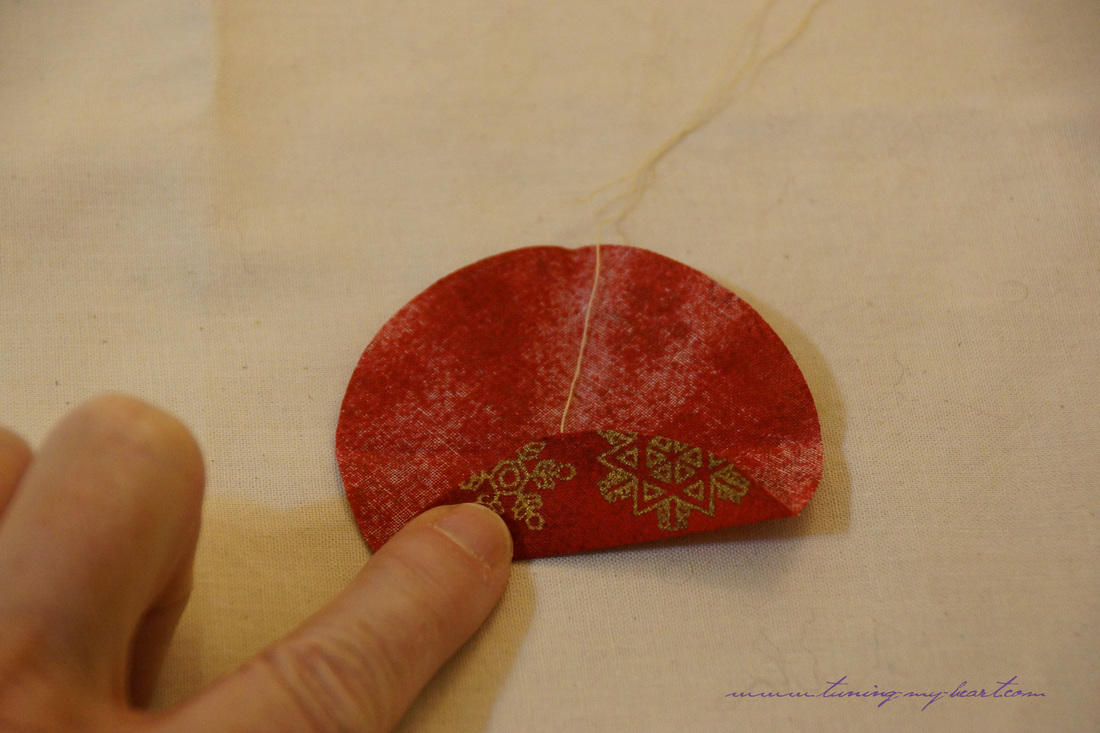 I take a little stitch with each fold to to hold things in place. 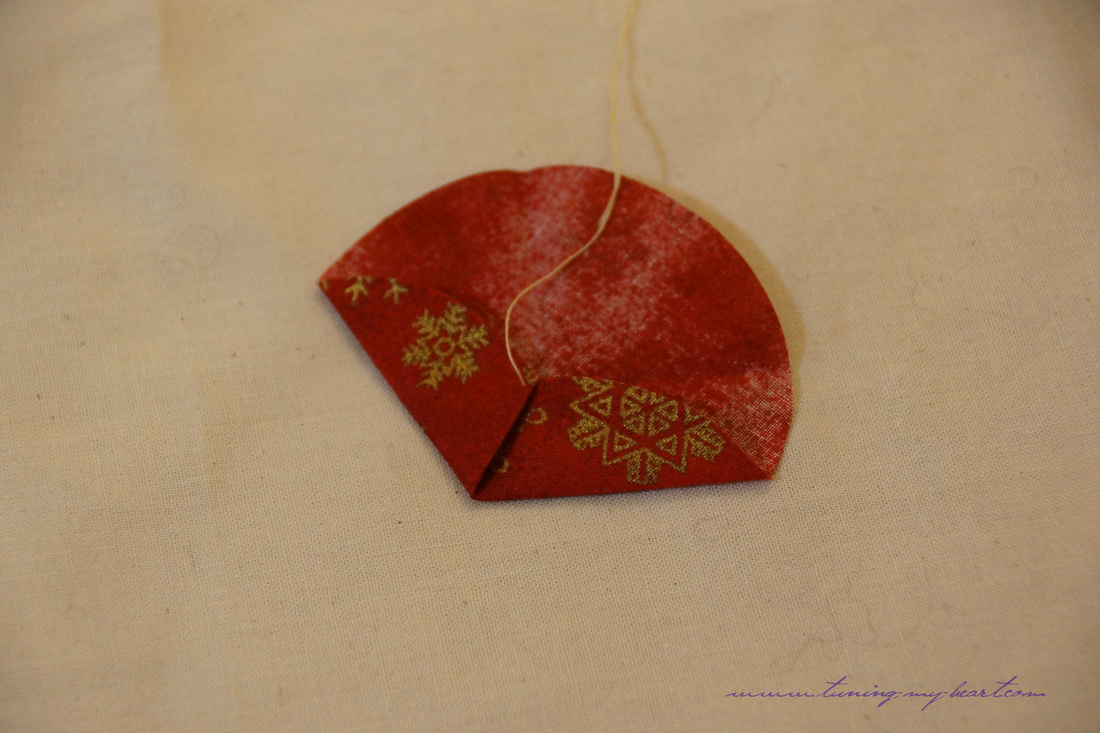 Continue around the circle in the same manner...
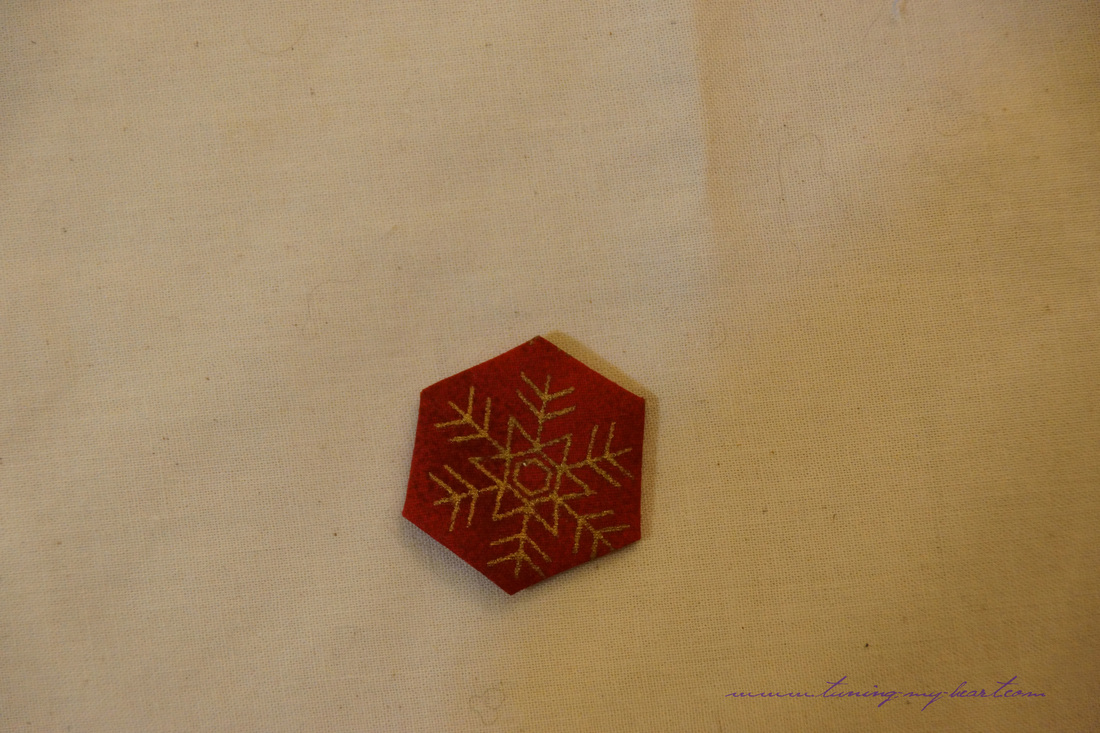
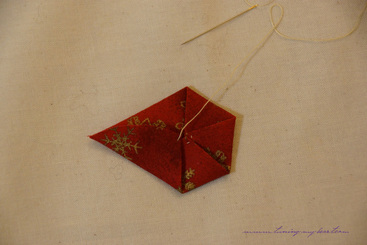 When the last fold is made I secure everything before cutting my thread-and there you have it-a little folded hexie.
Once all of my hexies are made, they get stitched together. I added a little bow and hanger made of floss because that was all I had, but a little ribbon or some twine would be nice I think.  It is a pretty quick little project for those last minute Christmas gifts/decorations.   Design Wall TuesdayA month ago I started playing Handel's Messiah and getting to work on Christmas gifts. The party season has started so I can begin showing the finished products. I used several blocks from a pattern by Bunny Hill Designs to make quilted cards this year. 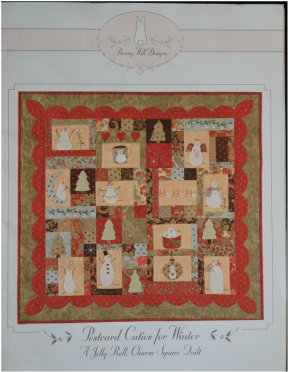 I noticed there is a new version available on Bunny Hill Designs website. Since these were going to friends at the university where I work I incorporated our school colors; purple and gold. 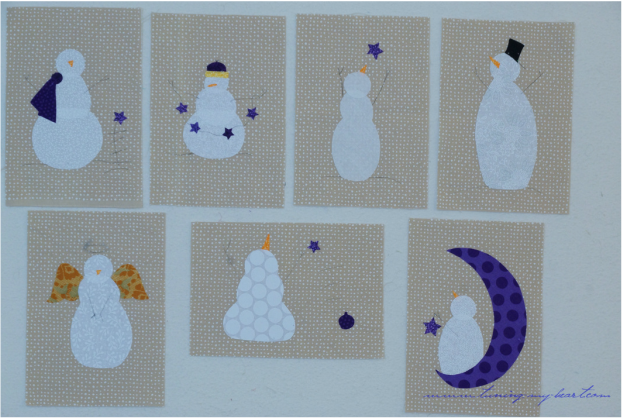 Here they are ready for embellishing... 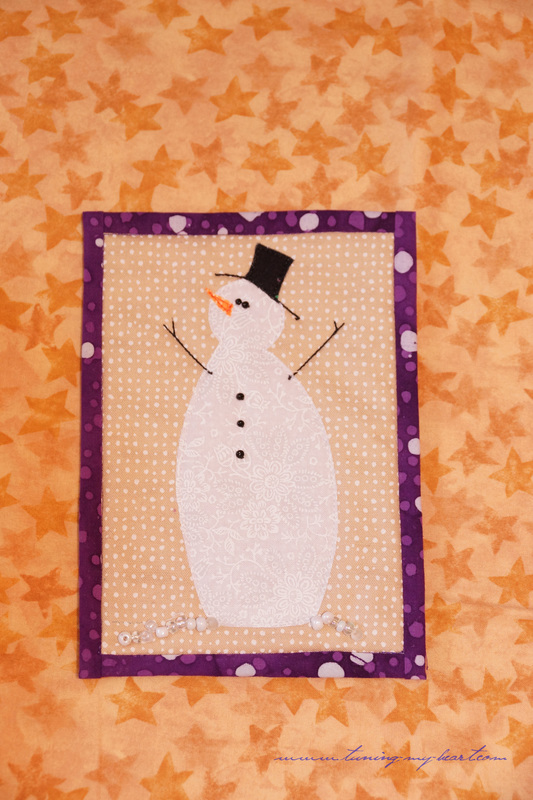 I quilted around each snowman and added arms and other details with my sewing machine so they went pretty quickly. The eyes, buttons and snow I were added using seed beads. 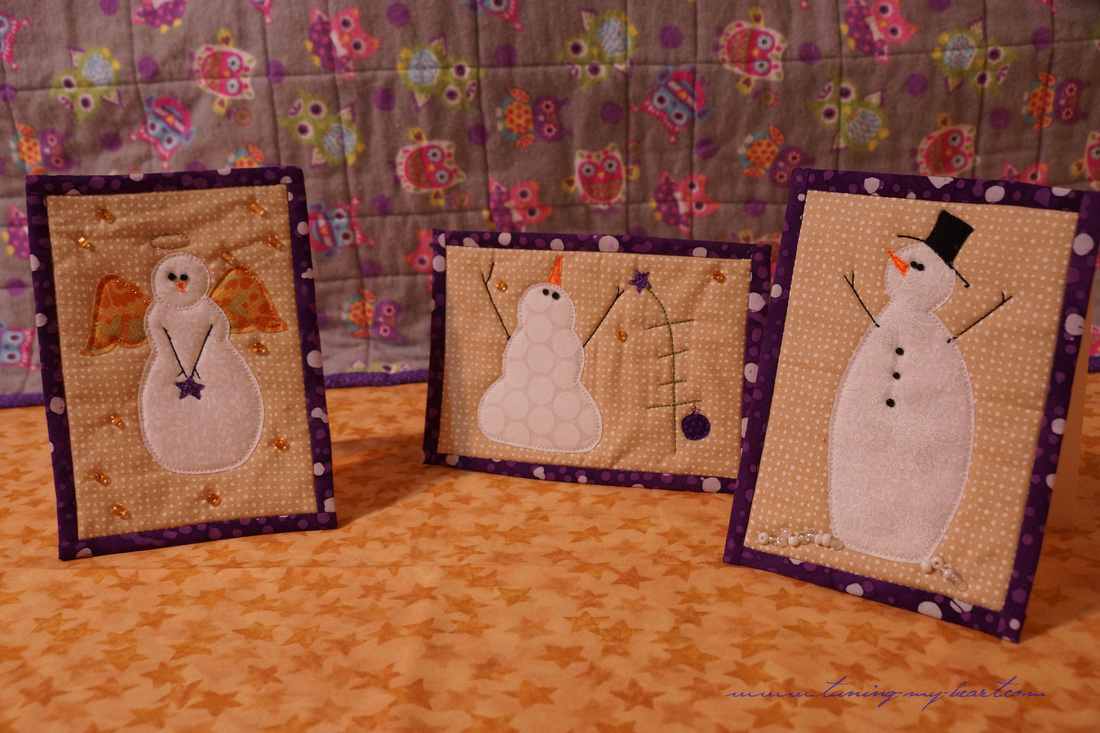 I wanted these little quilts to be able to stand on their own so I adhered a piece of folded cardstock to the backs using fusible interfacing. 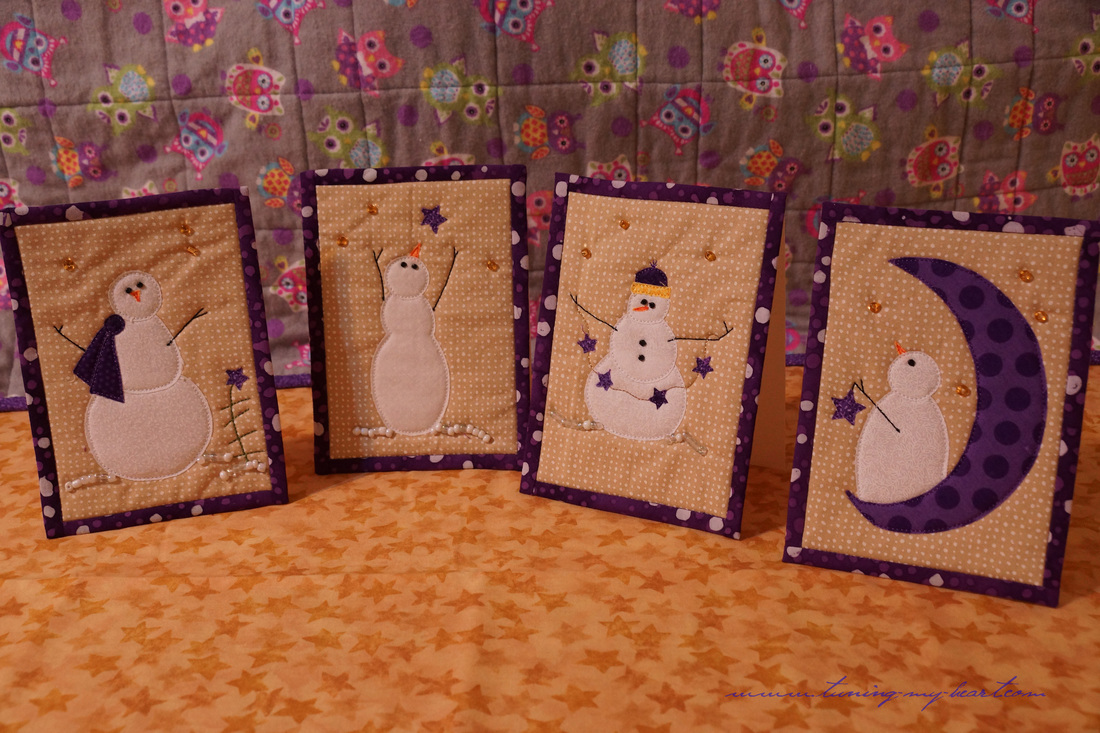 These were so much fun to make I am having a hard time moving on to other projects-I keep looking at more ideas for snowmen. I did come across free patterns on Bunny Hill Designs page for a snowman a month! I do not know how long the patterns will be available but for now this link works...https://bunnyhilldesigns.com/index.php/free-patterns.html    |

Welcome to the site of Debra Davis-a woman who loves the Lord and loves to quilt.
My other blog where I share about my walk of faith:
Sitting at His Feet 
|


 RSS Feed