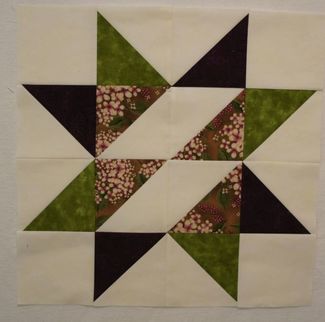
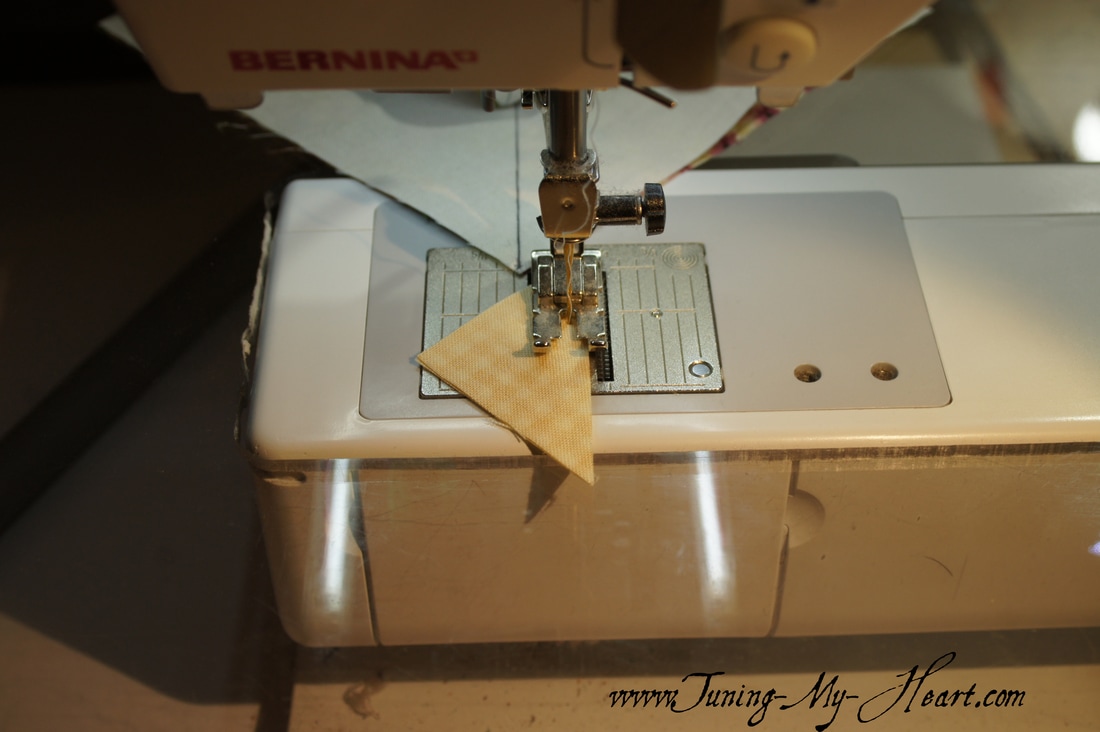
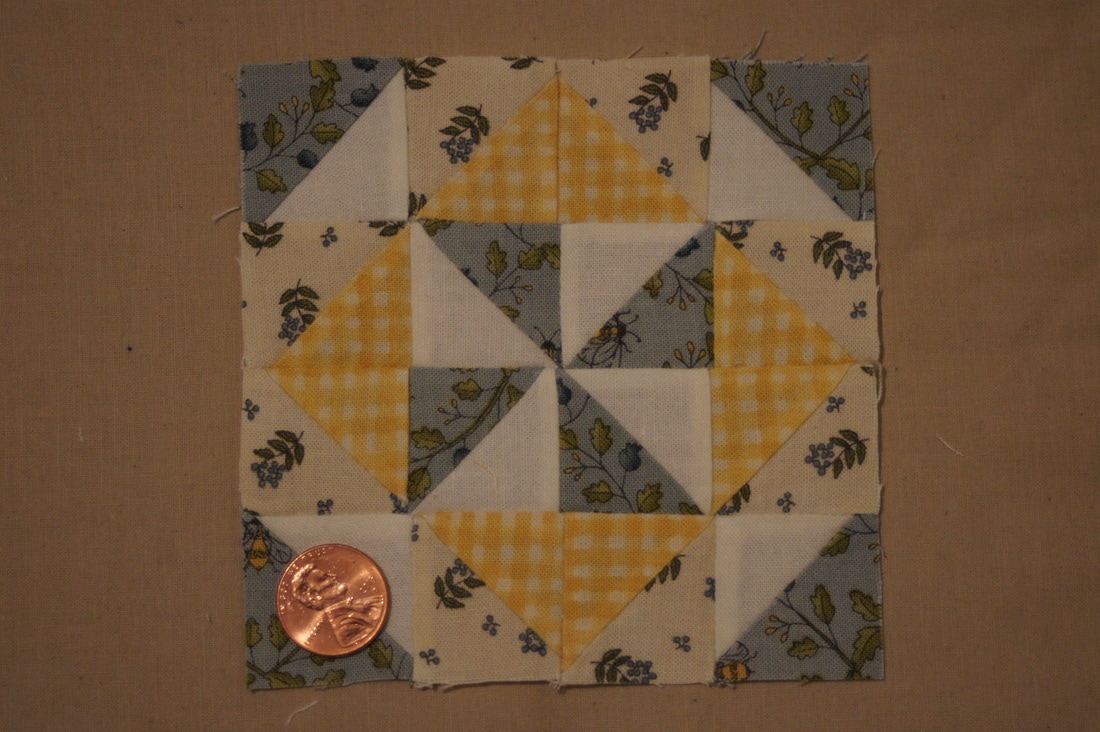
 Block 5 of the National Quilters Circle Challenge is here. We are over the halfway mark now!! Time to get to work on those Half Square Triangles. I am starting with my fabric all starched and pressed. First thing to do is draw a diagonal line on all of the 5.25 inch squares of my D fabric. 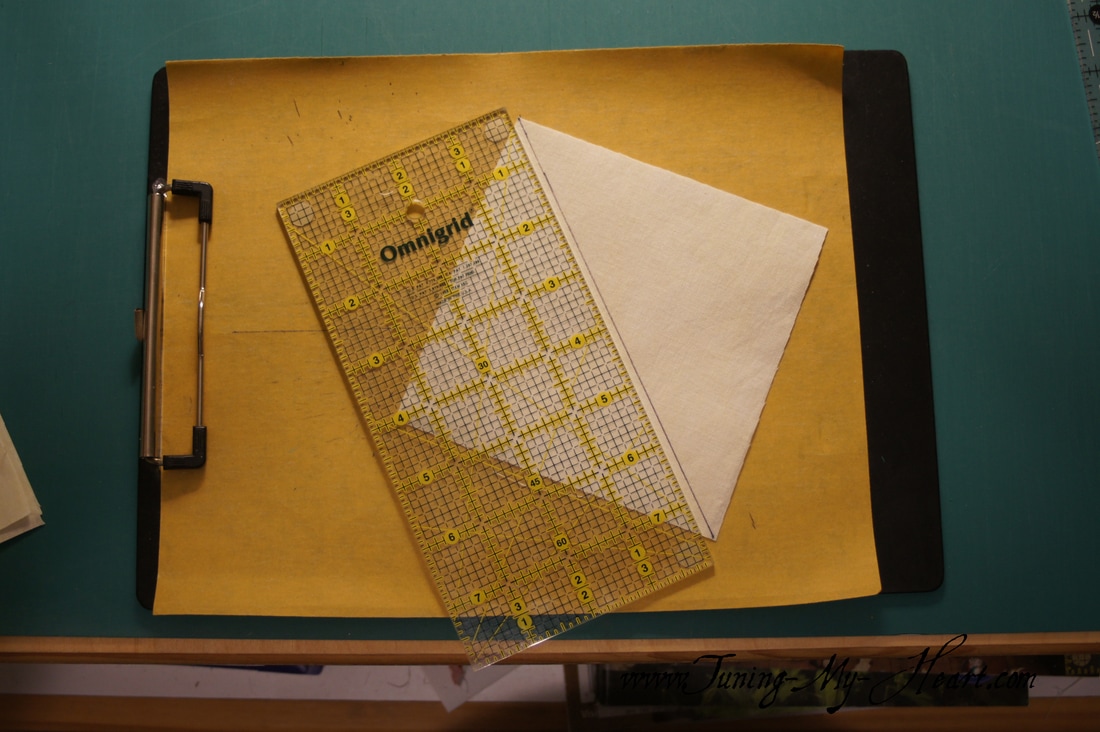 With right sides together place the 5.25 inch A, B, and C fabrics with the marked D fabric squares and stitch 1/4 inch from the drawn line. I like to chain stitch as much as possible. When I come to the end one piece I take a few stitches with my machine and then start stitching on the next without cutting the thread. 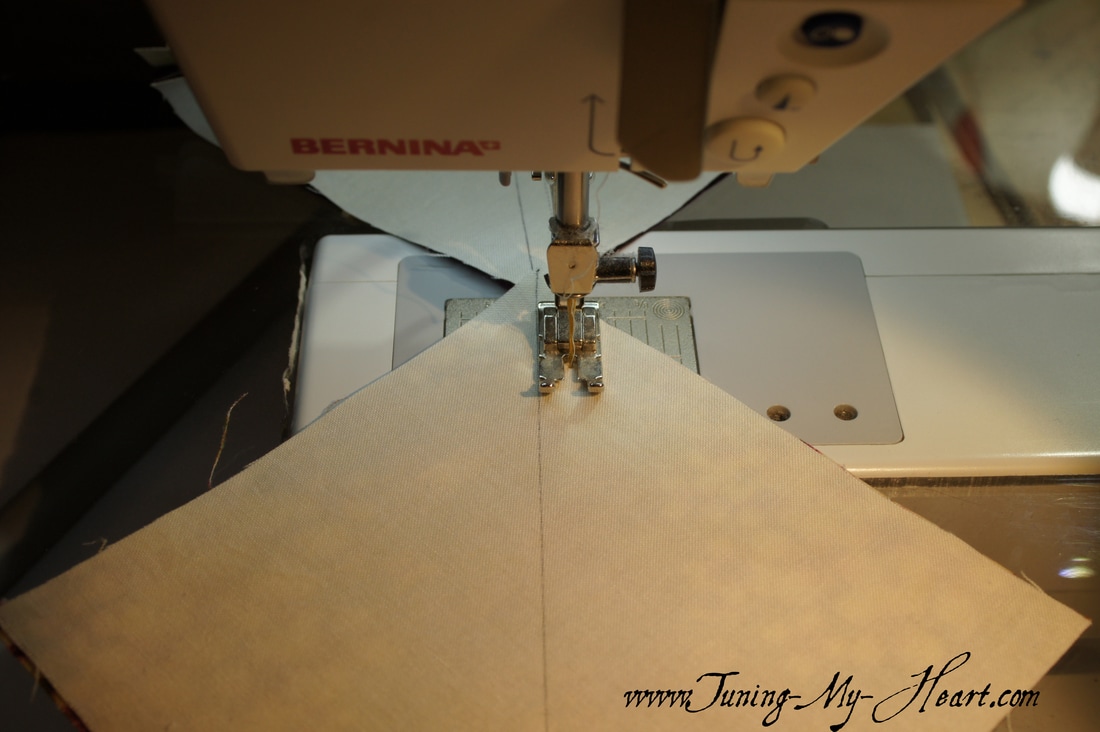 Once I have sewn all of these together, I snip them apart, turn them around and stitch down the other side of my drawn line, again 1/4 inch from that line. 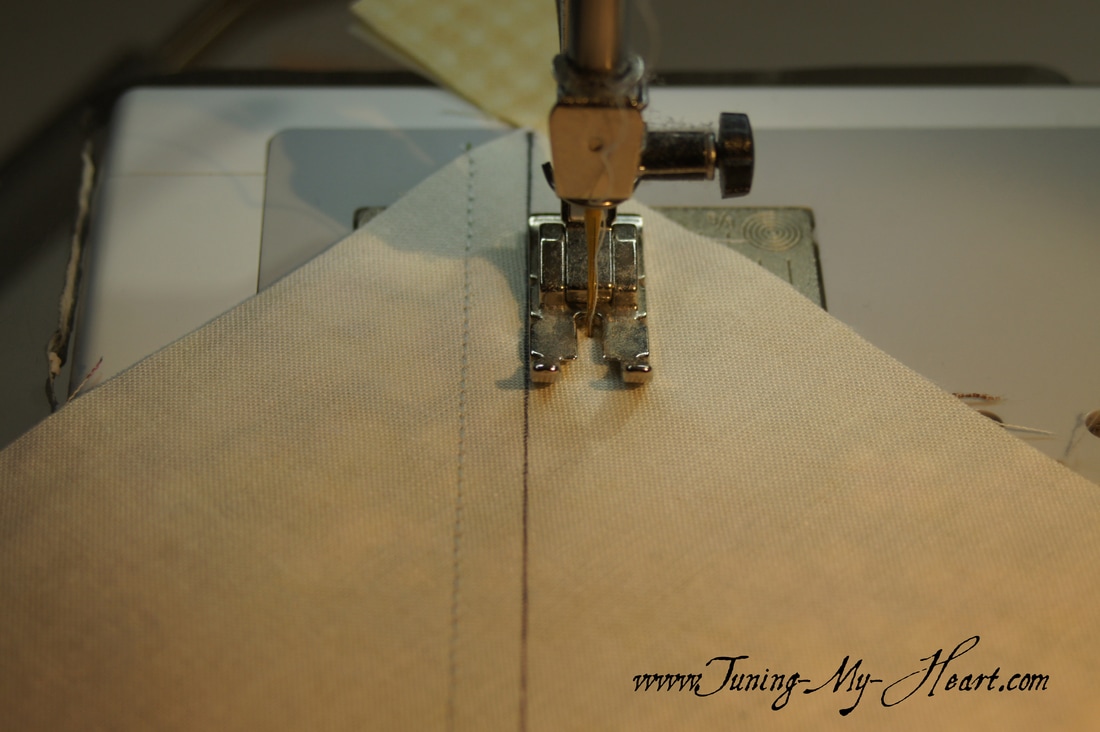 This time instead of using scraps of fabric for my leading and ending pieces I am stitching some itty bitty triangles together using a 1/8th of an inch seam which is the inside of my narrow presser foot. These will be used to make a mini block like the one pictured here. The individual squares measure just 1" finished and the entire block is 4 1/4 inch in size before finishing. To achieve these tiny squares start with fabric squares that measure 2" and then cut them in half to give you two triangles. After sewing two triangles together to make a half square triangle they need to be trimmed to 1 1/4 inch squares. Sewing with 1/8 inch seams will result in a 1" finished size. I will work on a little tutorial in the coming days that should help make my process clear. But the process for making the mini blocks is the same as the regular size.
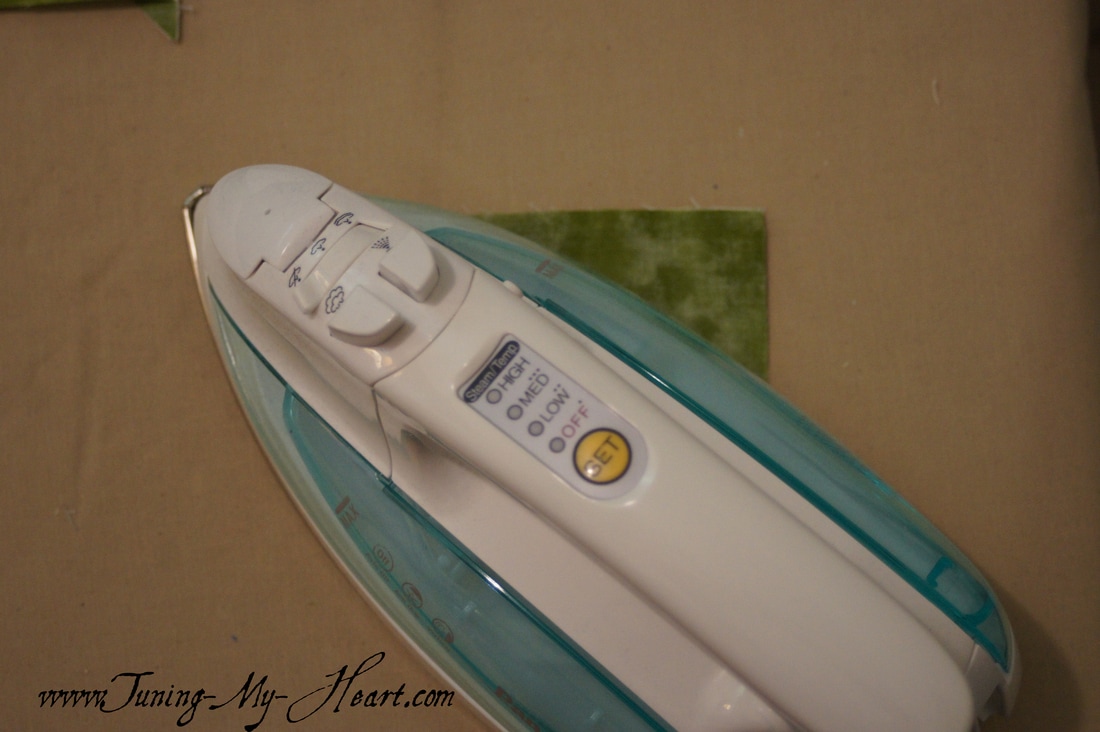
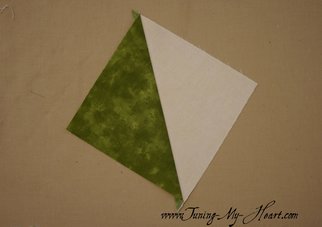
Now back to my regular size. Once both seams are sewn I cut on that diagonal line I drew to give me two Half Square Triangle blocks. 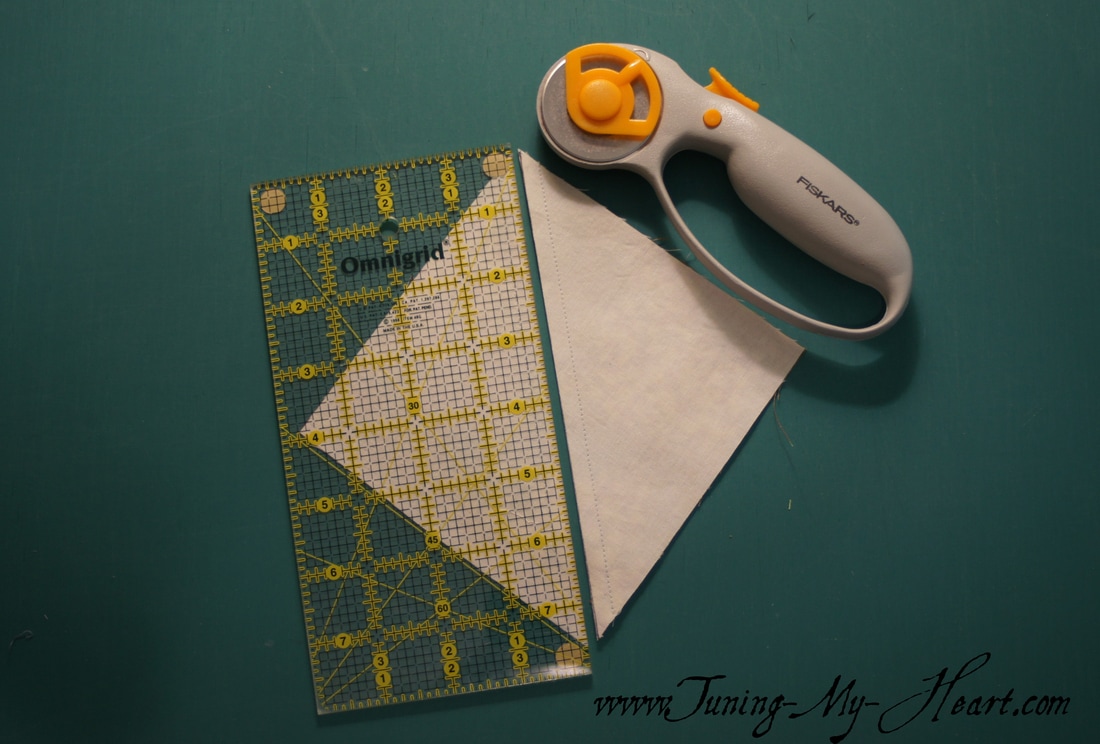 I have talked about what it means to press rather than iron before. Remember to set your seams first by just setting your hot iron on the block before opening it up. Then carefully press the seam open after finger pressing it open.
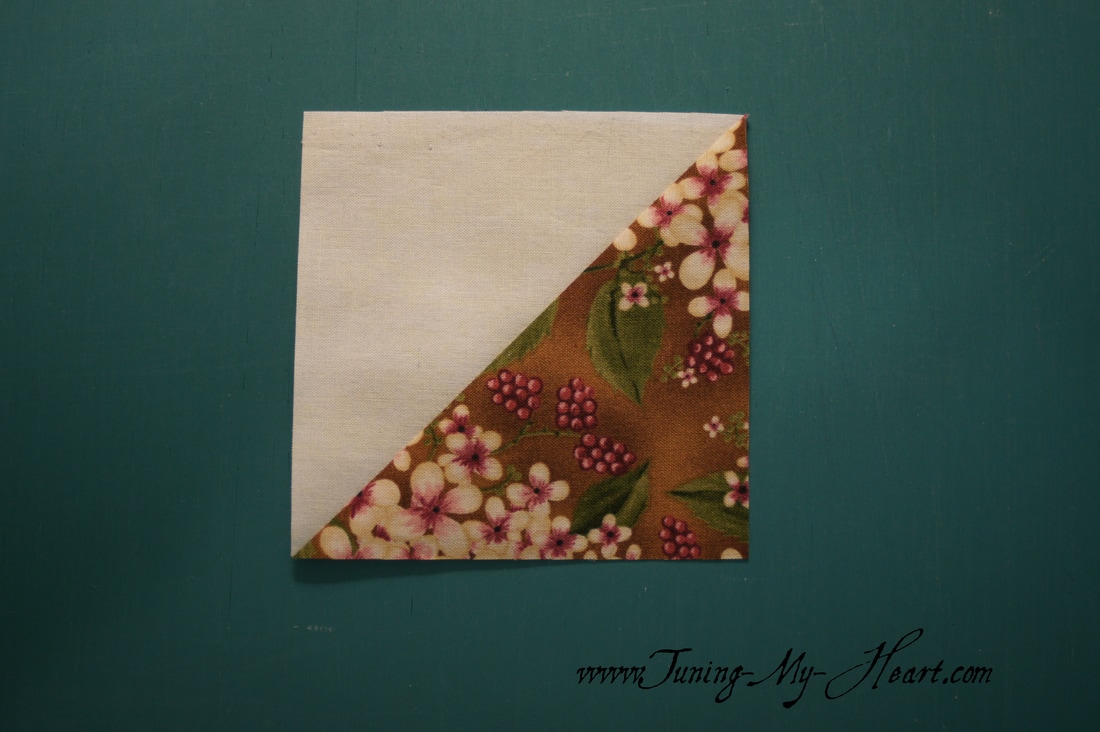
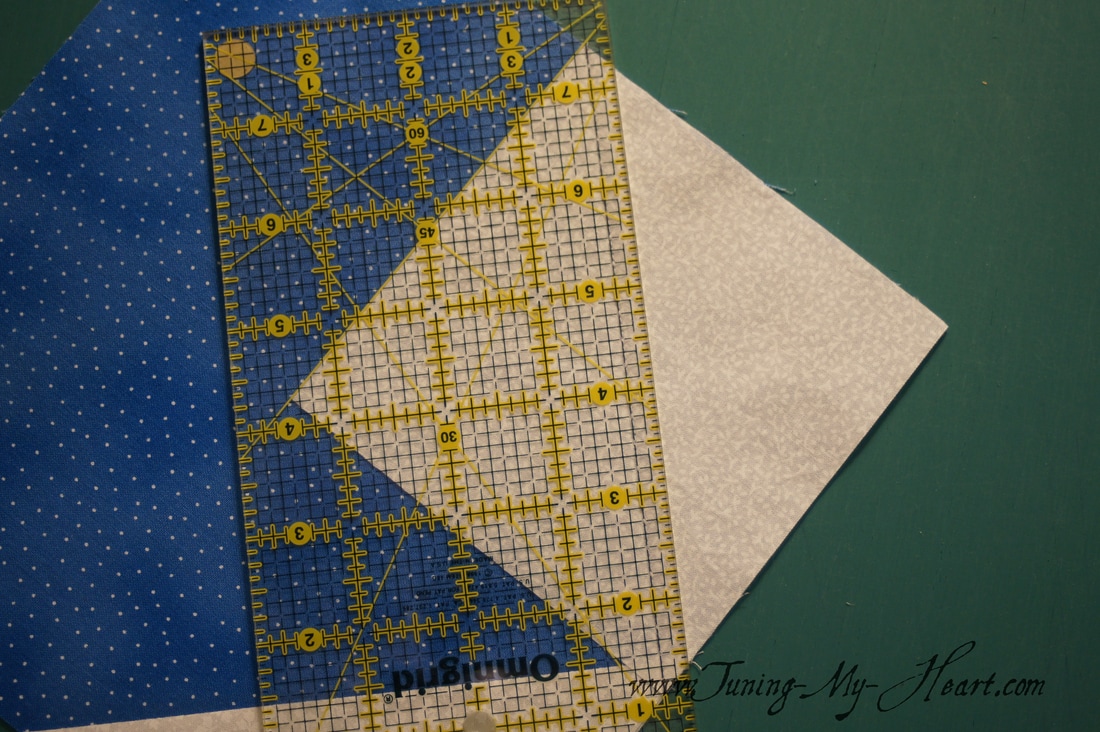
Now that the blocks are pressed they need to be trimmed to 4 1/2 inches. Being sure to place the diagonal line of my ruler right on the seam line of my block gives me a nice finished result where the two fabrics meet perfectly at the corners.
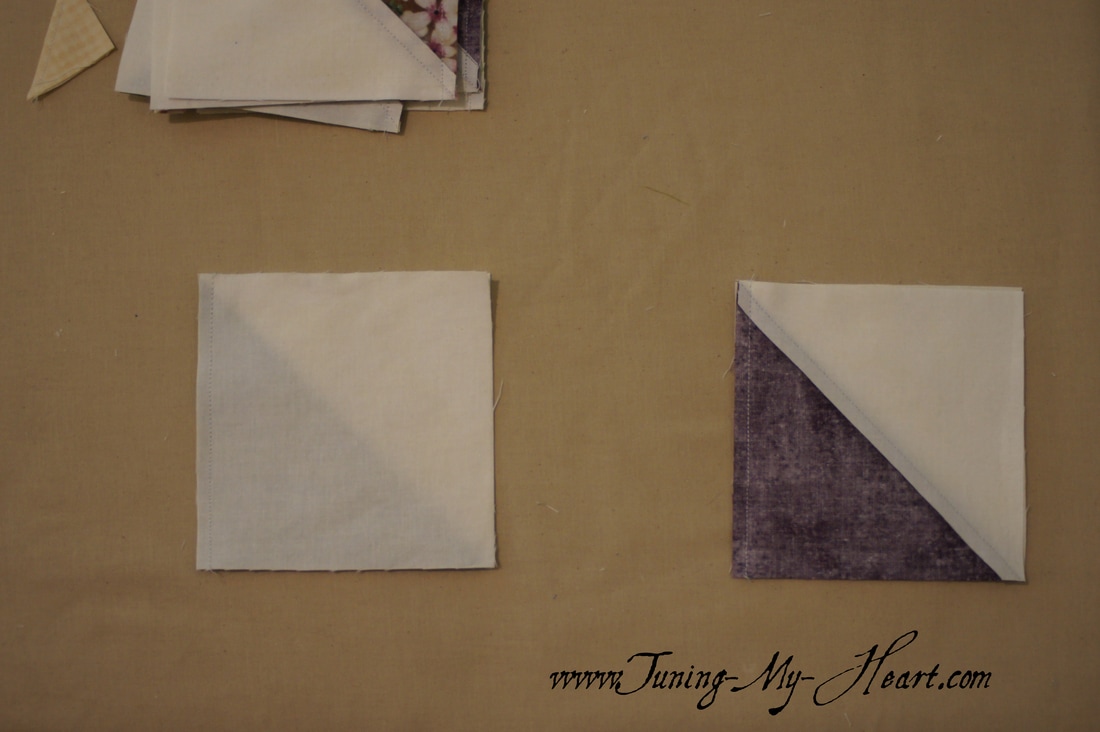
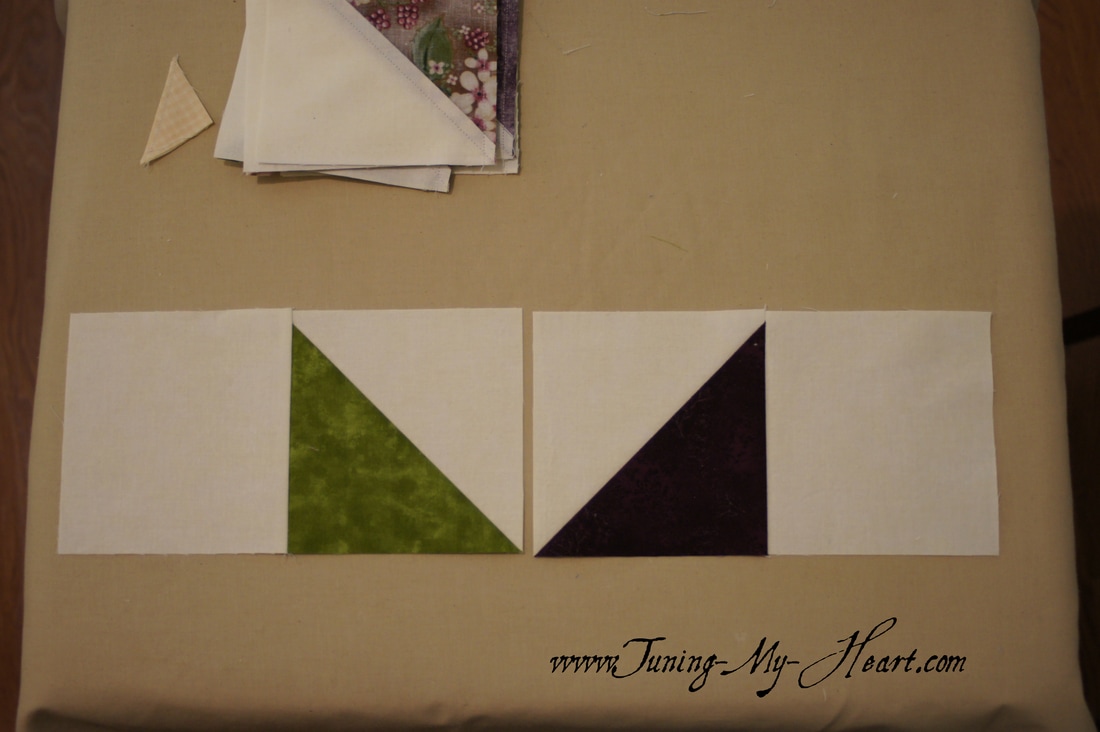
All pressed and looking good for the layout, so time to sew these lovelies together. 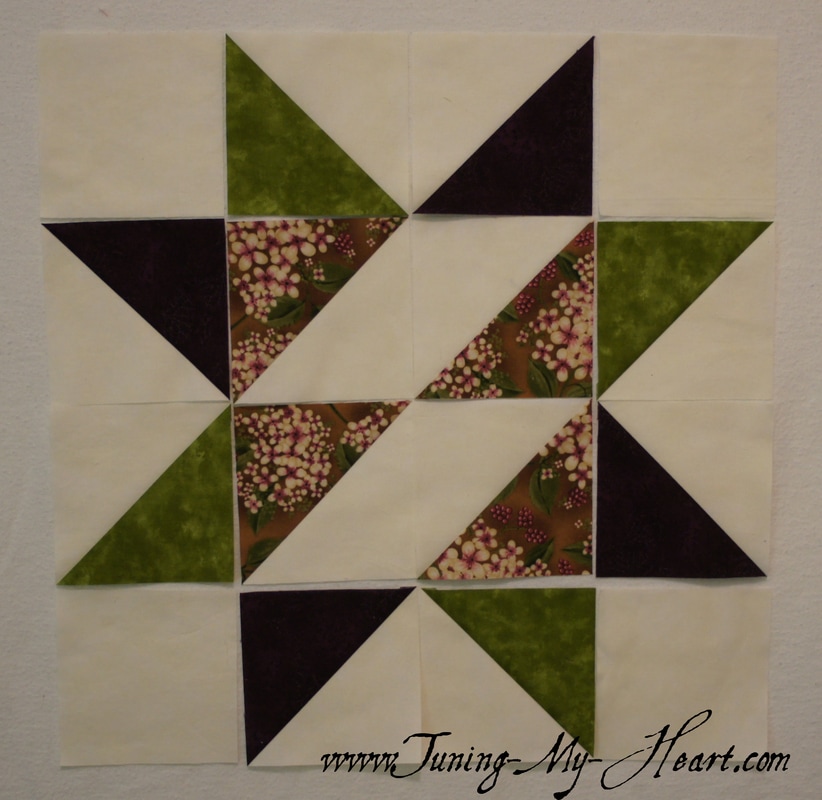 I decided to streamline my process at this point and sew two units together for each row. Here row one is laid out by my machine. Anytime I can take advantage of chain piecing it just speeds the process up. 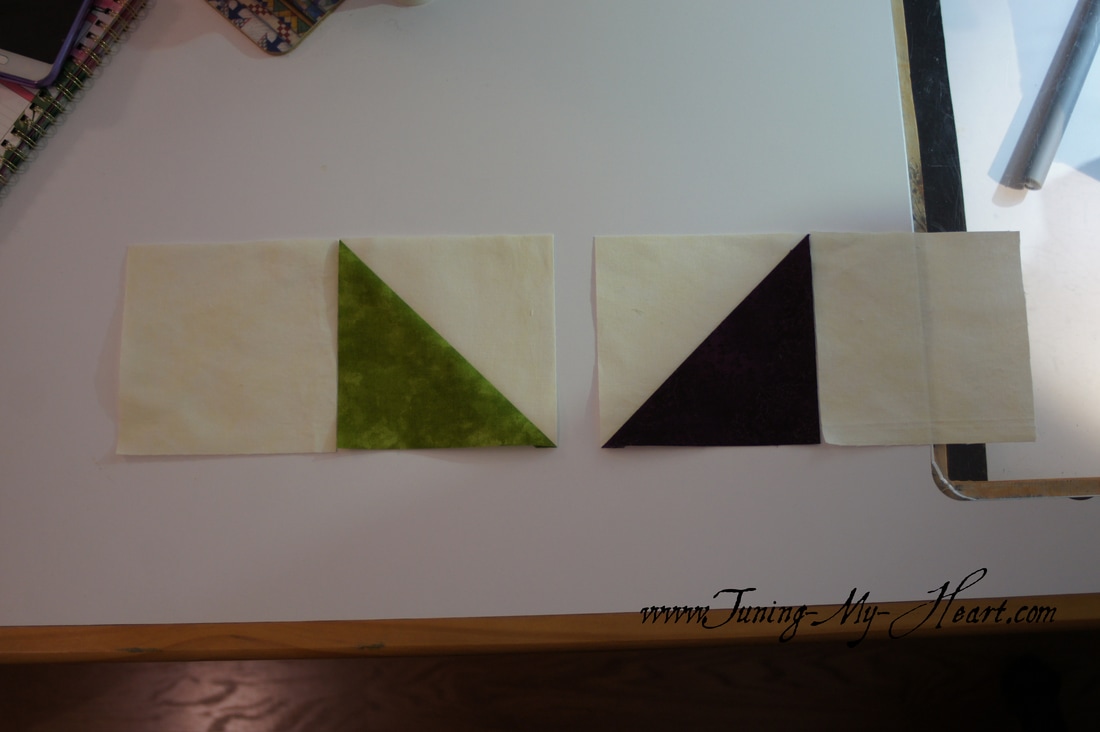 Chain piecing all of the units together. 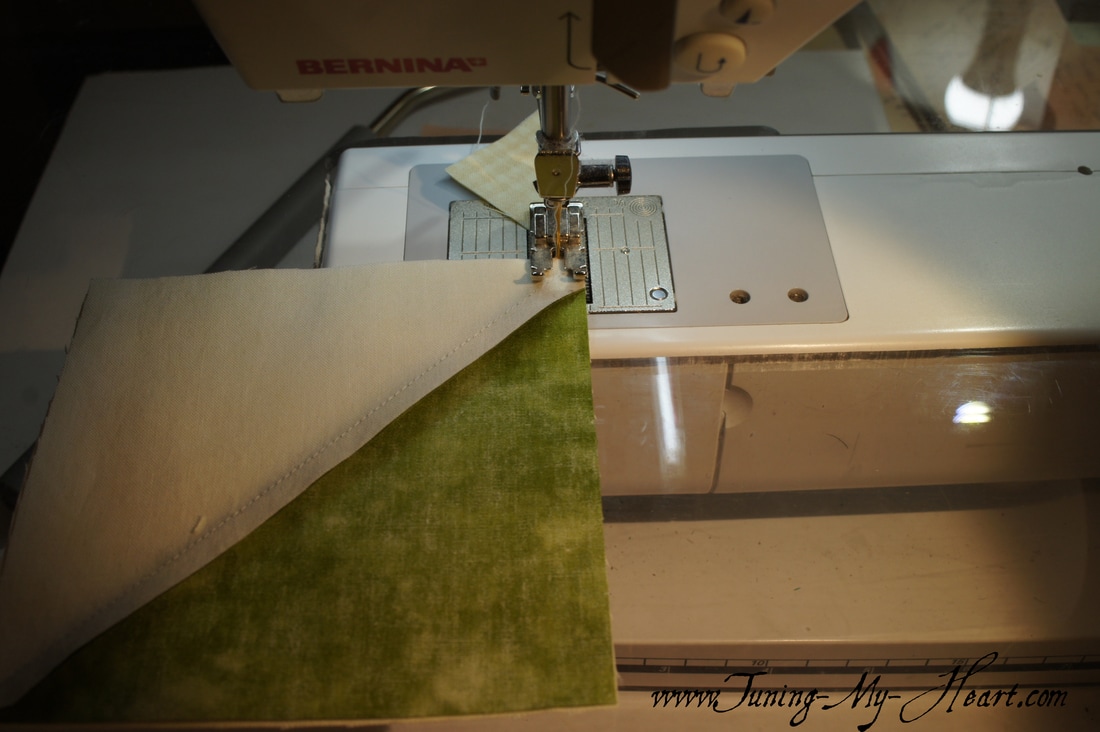 To keep everything organized, as I cut the units apart I stack them up in the order in which they were sewn. 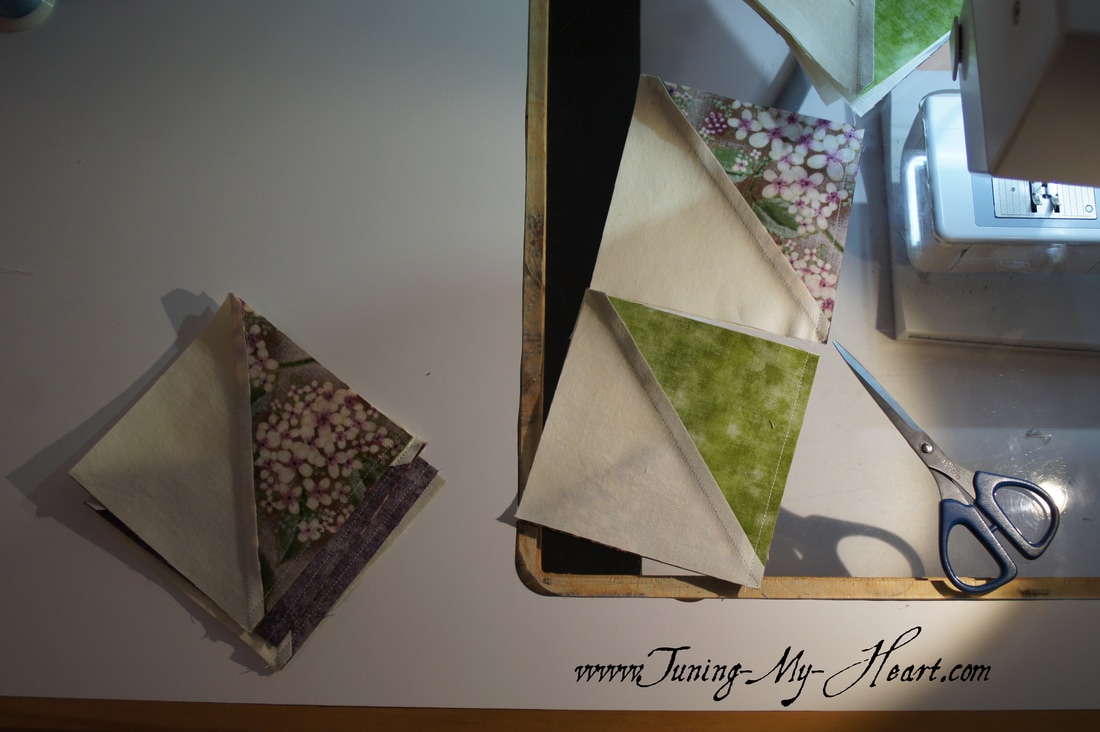 Taking the top two units off of the stack I press as usual. The seams for Row 1 are all pressed in one direction. The seams for Row 2 will be pressed in the opposite and so on. These two units will be sewn together next to complete the rows.
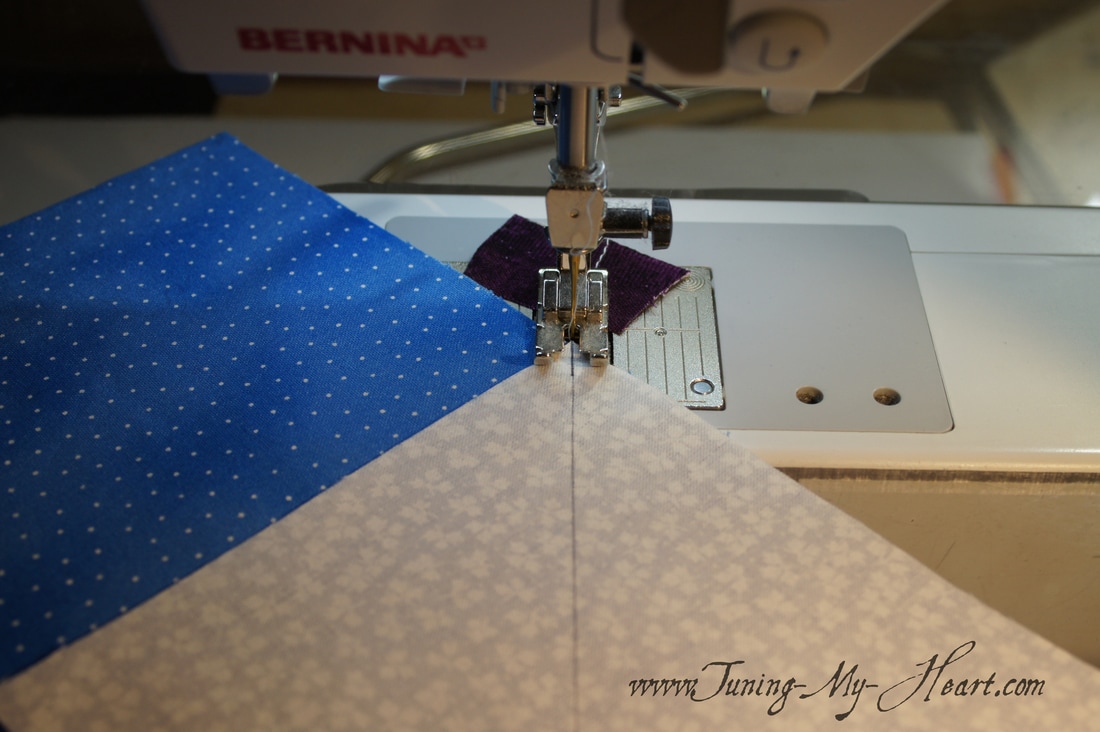
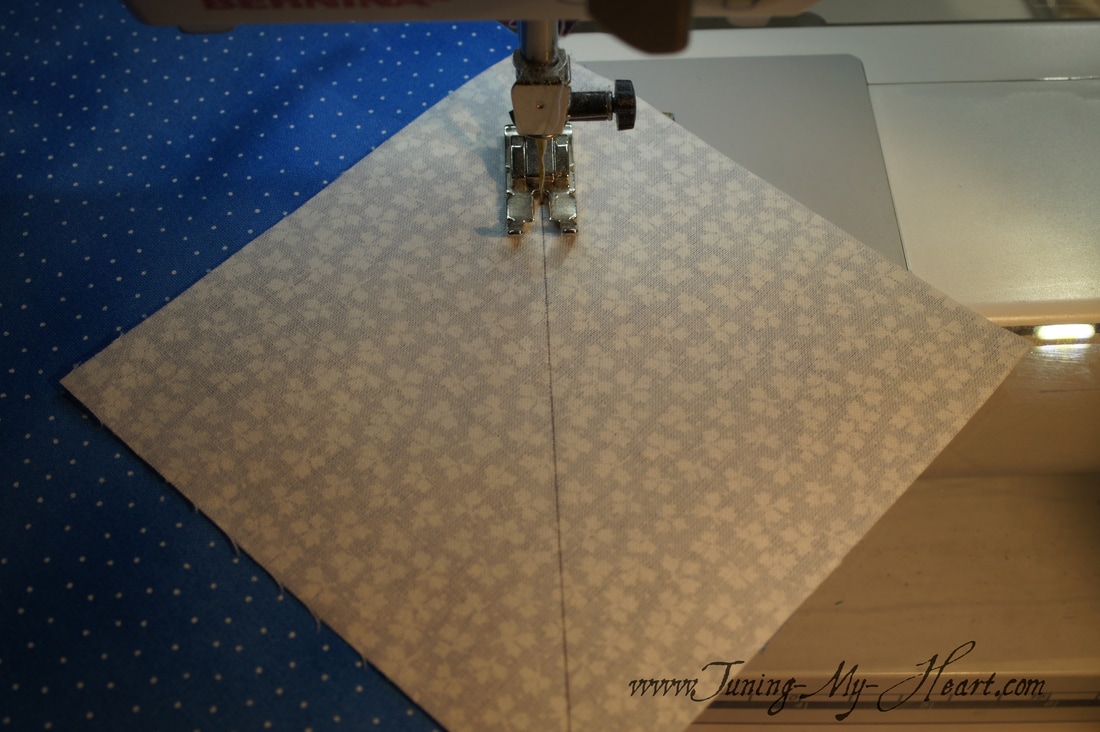
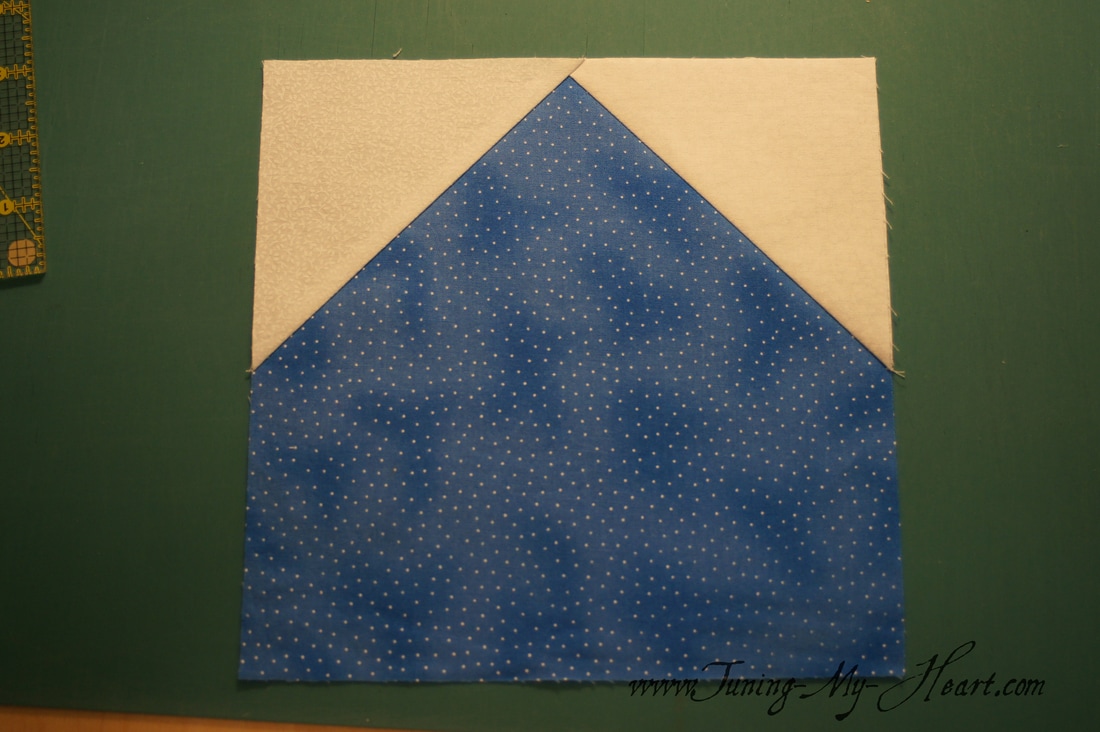
The rows are all laid out and ready to be joined- each row has two units that need to be sewn together then pressed. 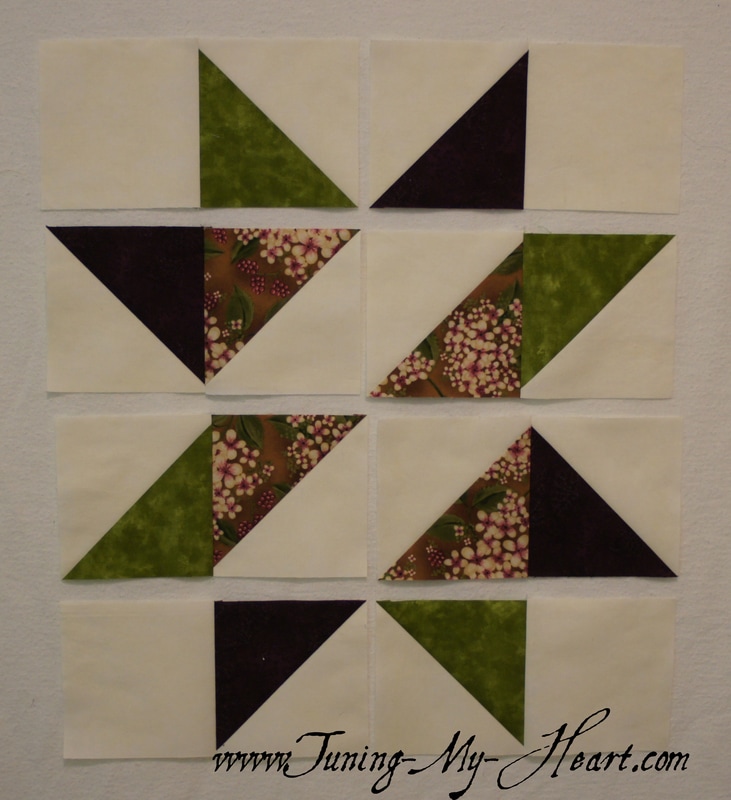 My rows are all stitched so I am going to join the rows together. 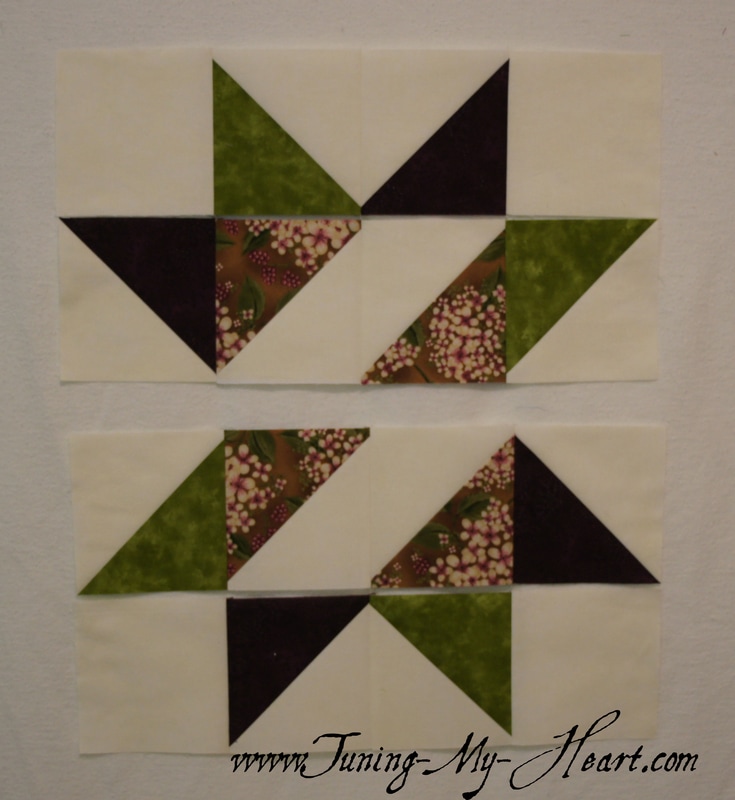 Carefully placing pins where the seams join helps to keep things just where I want them to be. I like to stitch right up to my pin then carefully remove it, keeping my needle in the down position as I do so. Whenever I come to bulky seams, or when I am just starting a seam or coming to the end of one I slow way down. I have found things look much nicer and I can keep my seams a lot straighter this way. If you have ever sewn over a bulky seam and ended up with your stitches curving at that point going slowly over those seams will help eliminate that. 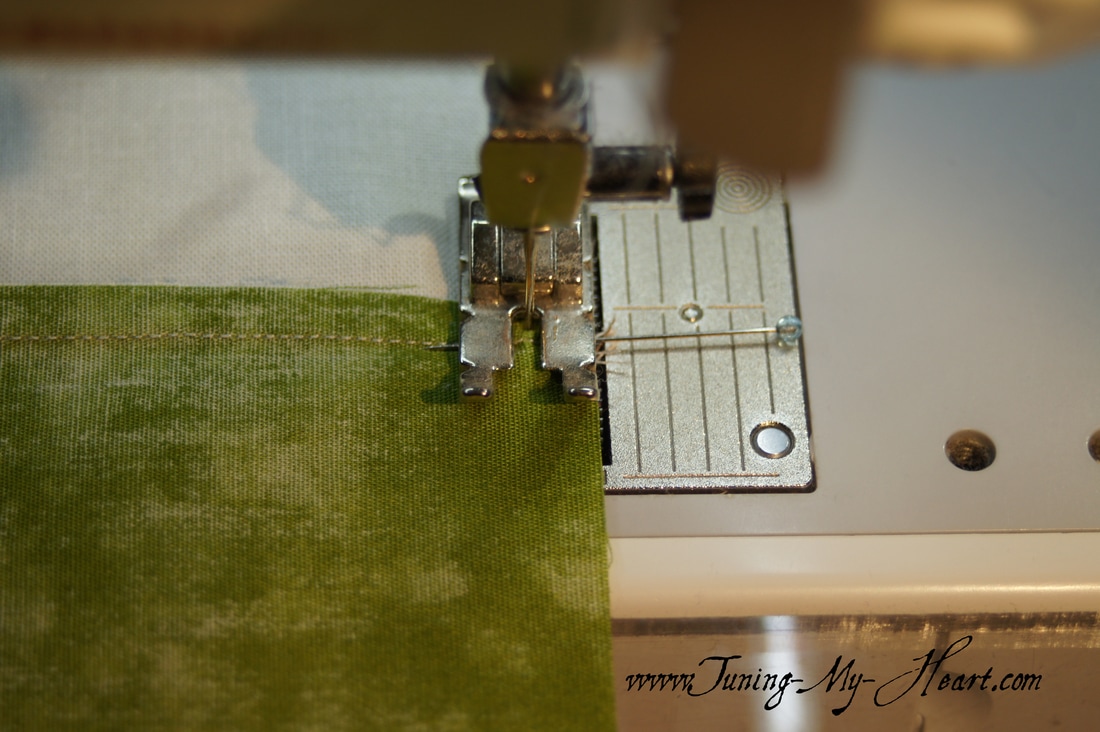 Okay, the top and bottom sections are pressed and ready to be sewn together.  Block 5-both my regular and mini version! I have been told that if one can master the mini quilt it really improves your piecing skills-I don't know if that is true or not, but it is quickly becoming an addiction. They are just so cute. 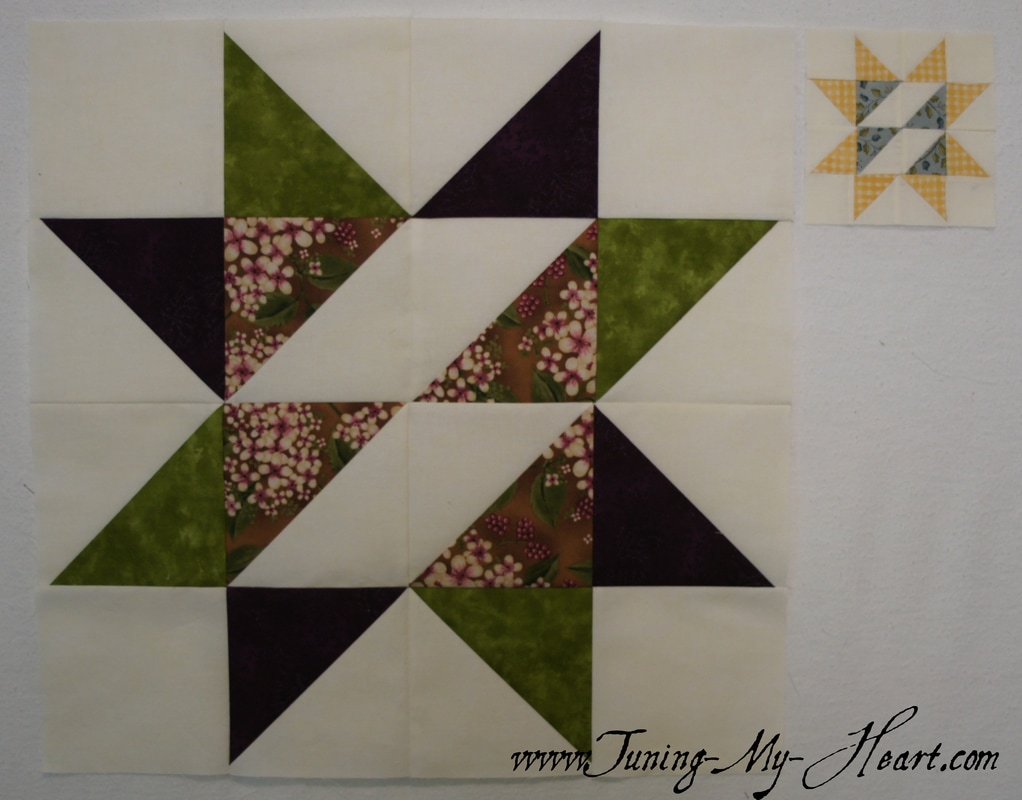 Are you going to give the mini's a try? Leave me a comment and let me know. I would love to see what you are doing and get to know you better, so please feel free to join me on my Tuning My Heart Facebook page and share with me there. In the meantime... Happy Quilting!  It is snowing again this week after a brief taste of spring. We are also celebrating 33 years of marriage, thus my inspiration for Block 4 of my Snowman Version of the National Quilters Circle 9-week Challenge quilt. I want to add some applique to that center block and decided to simplify the four half square triangles with a square in a square block. To do that I need to cut my main fabric 8.5 inches by 8.5 inches. The white background fabrics are 4.5 inch squares and I need four of those, one for each corner. 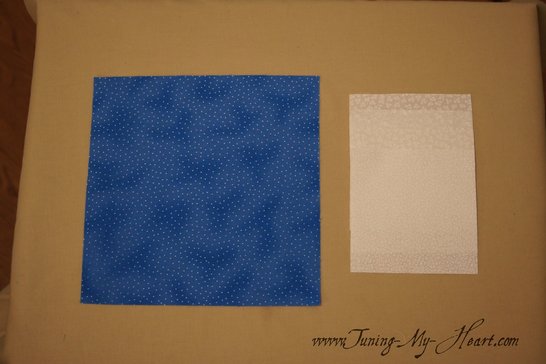 Just like with the HST's I begin by drawing a diagonal line down the center of each of the light colored background pieces. 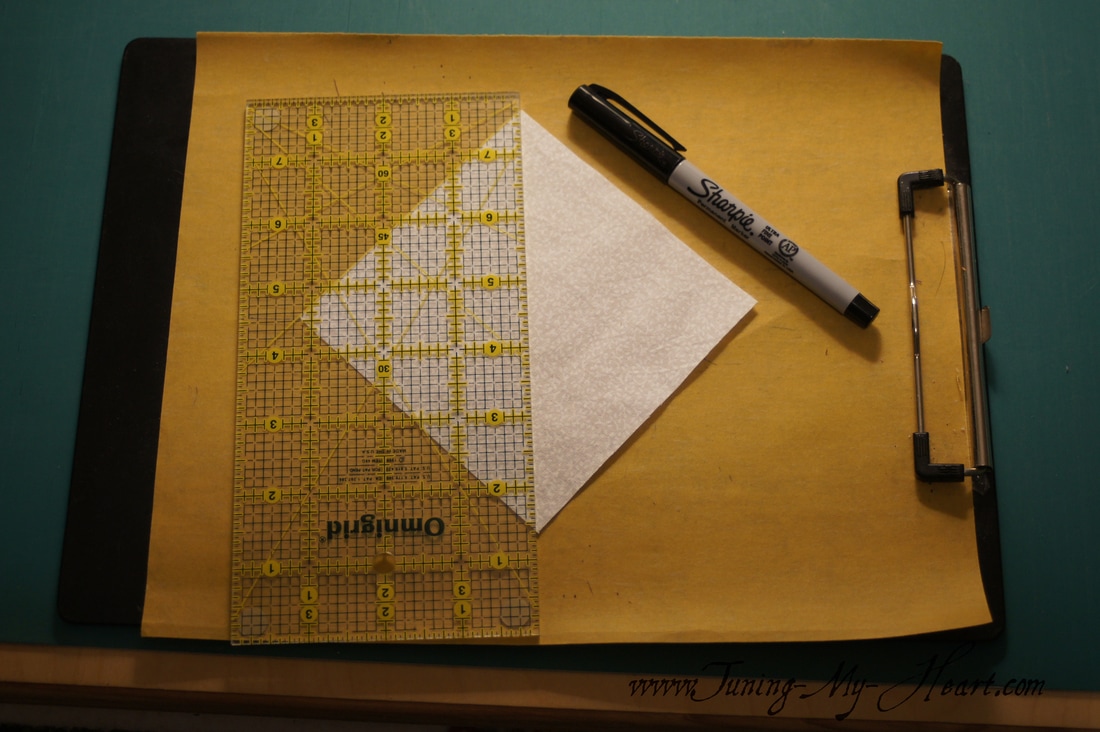 Now this is where things change up a bit. Placing one corner square on my main fabric, being careful to place the diagonal line the correct way, I will stitch right on that line. 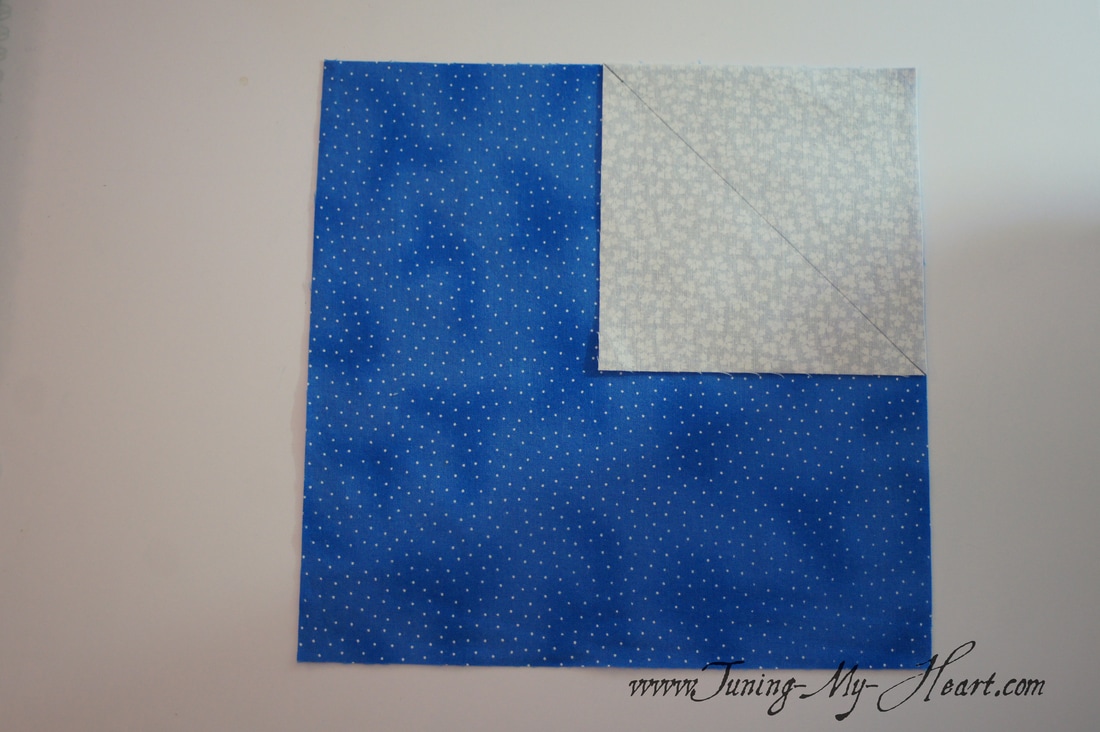 All lined up and ready to stitch on the line.
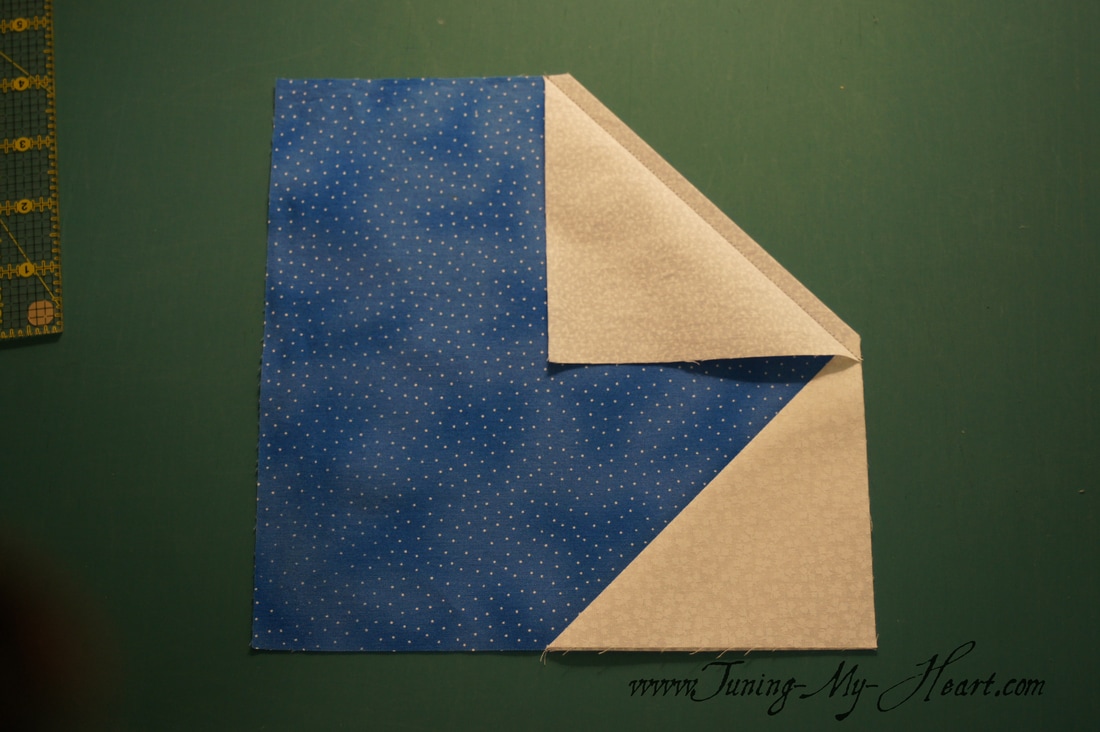
Tip: Even when just sewing one piece I still us "leader" and "ender" scraps to start and stop my stitching. 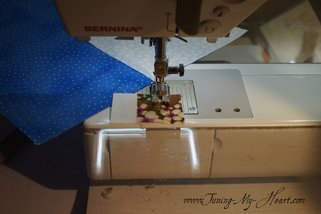 Before cutting away the extra fabric underneath I check to see if my edges line up. Sometimes the square underneath will show a bit and it that happens I do not trim it off, but leave it in place and stitch over both layers so that I will have a nice straight edge. (There are actually three layers here after pressing so I will trim the extra white fabric away to reduce bulk.) 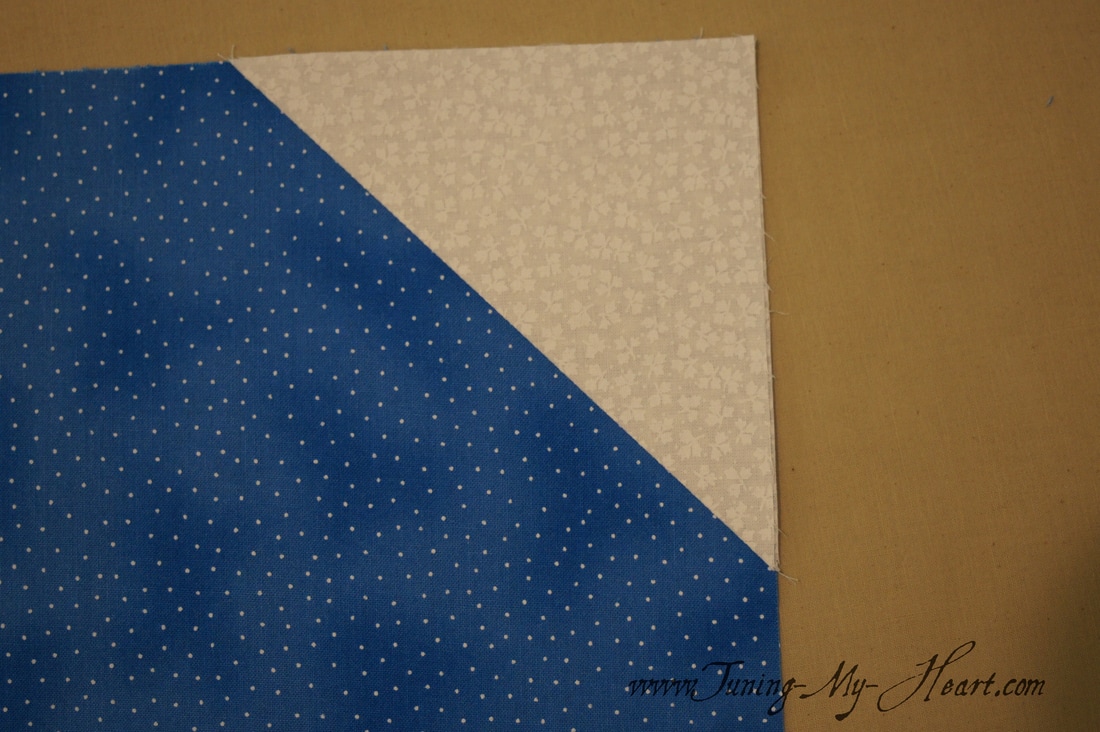 Repeat the process with the next corner making sure the diagonal line is going in the right direction. 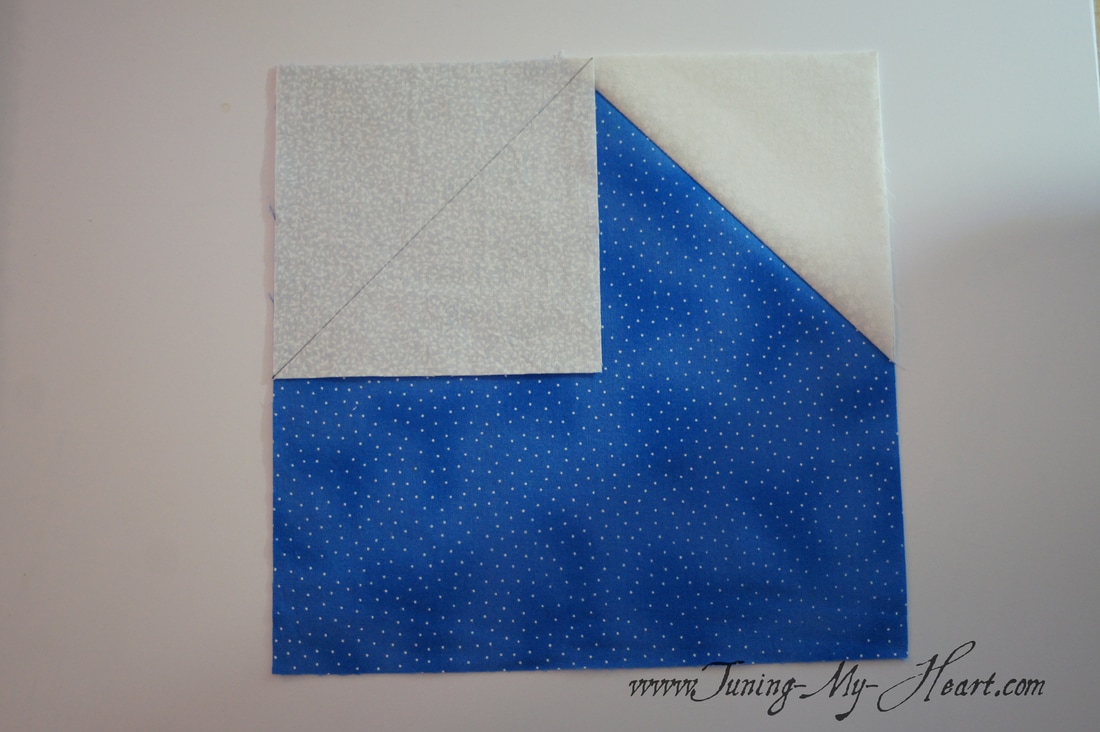 After checking to see if the white triangle lines up with the edges of the blue square I trim 1/4 inch from the seam and then press it open.
On to the third corner... 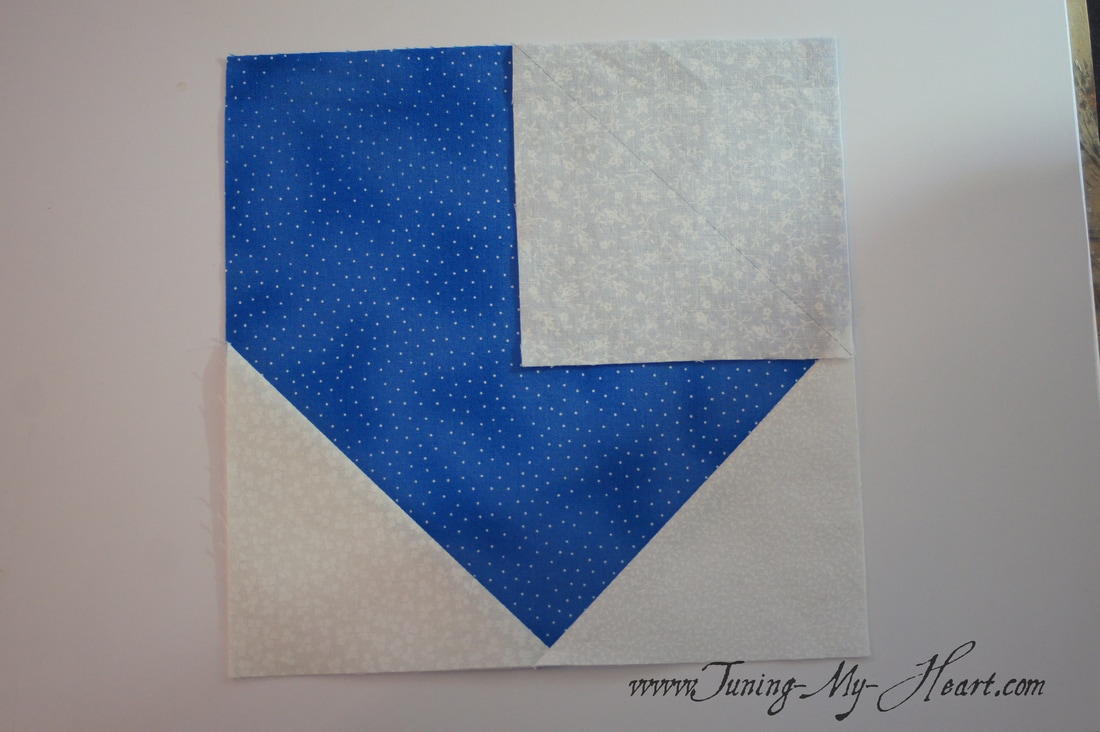 And the fourth. 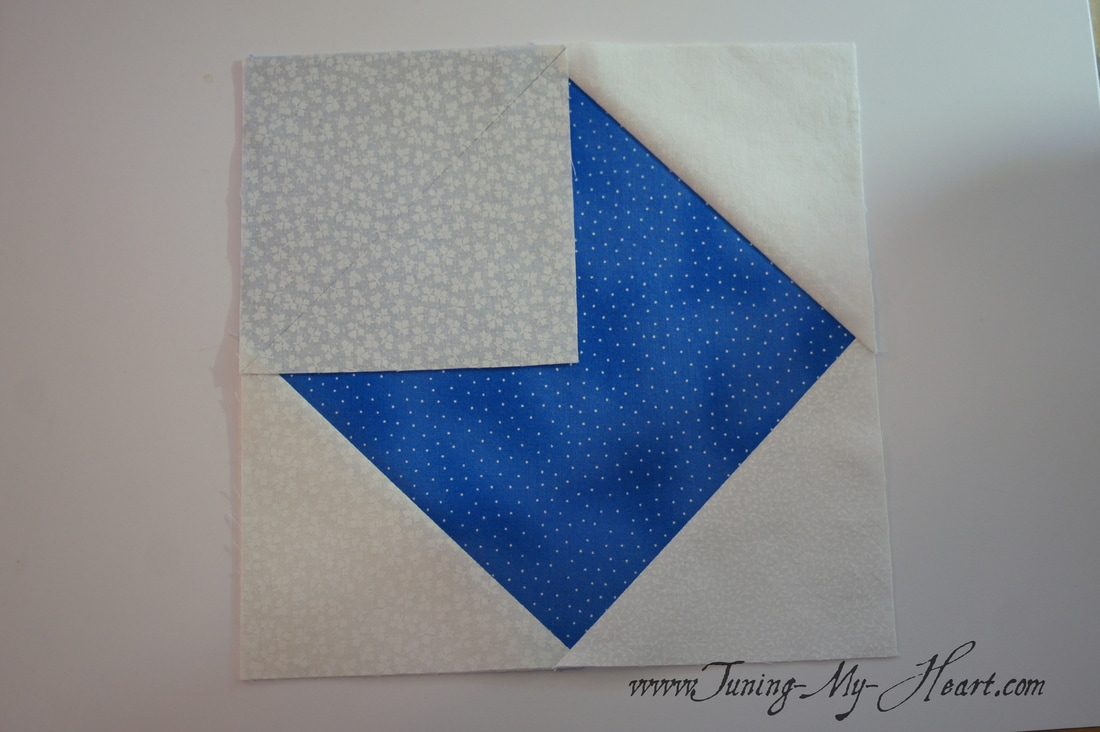 The square in a square that will become the center of my block is now ready for some snowmen... er, people. 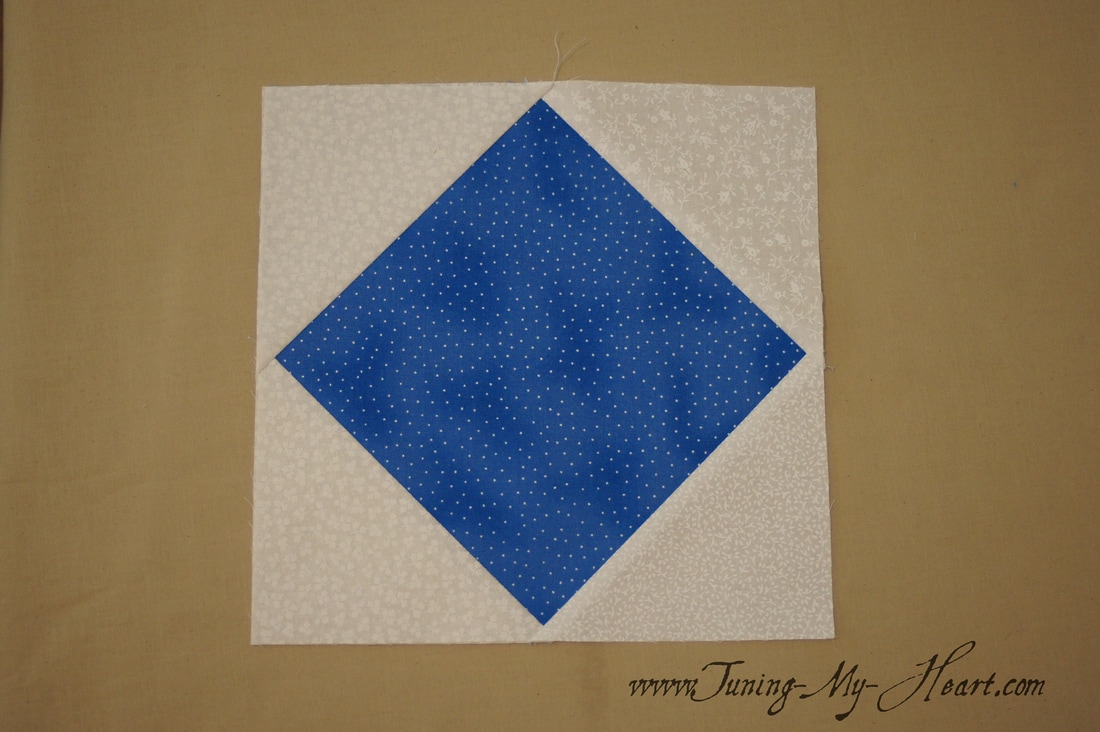 Since I have covered the fusible technique I use in earlier posts I will just show how I approach an applique that has little pieces to put together. Using a pressing sheet, which is a heat resistant see through plastic, I lay my sketch underneath and put the pieces of the snowman together before fusing to my square. 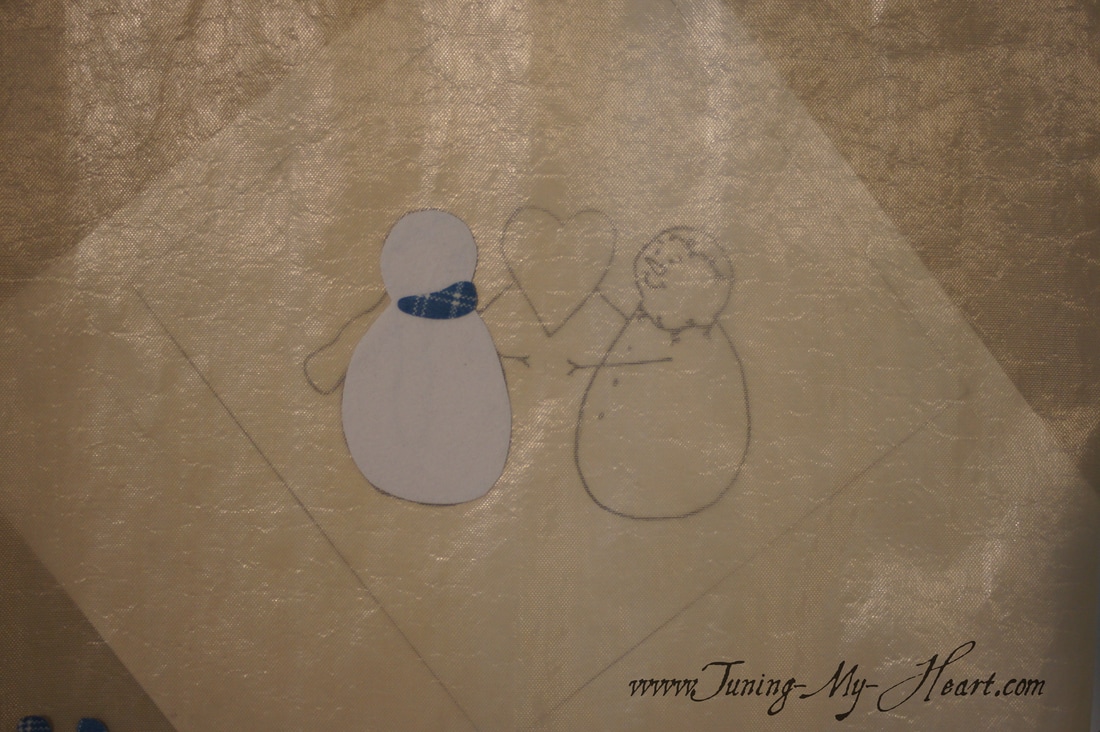 Once I have his scarf in place the way I want it, I press it while still on the pressing sheet. This snowman will peel right off of the sheet and can be placed on my fabric square without worrying about having to reposition those little pieces. 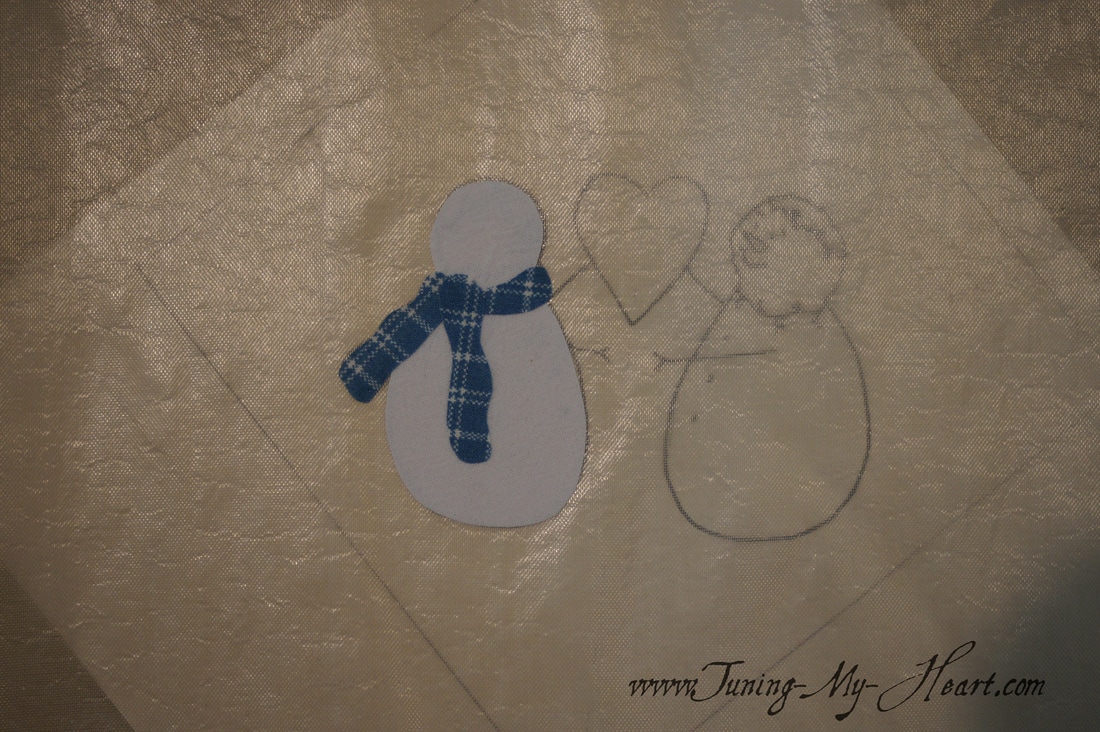 All the pieces in place and ready to be pressed. 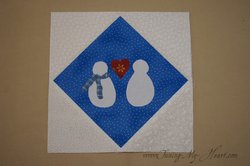 With these smaller snowpeople I am using two strands of DMC floss. The noses are done with satin stitch; the eyes, buttons and berries are French Knots, and everything else is backstitched. 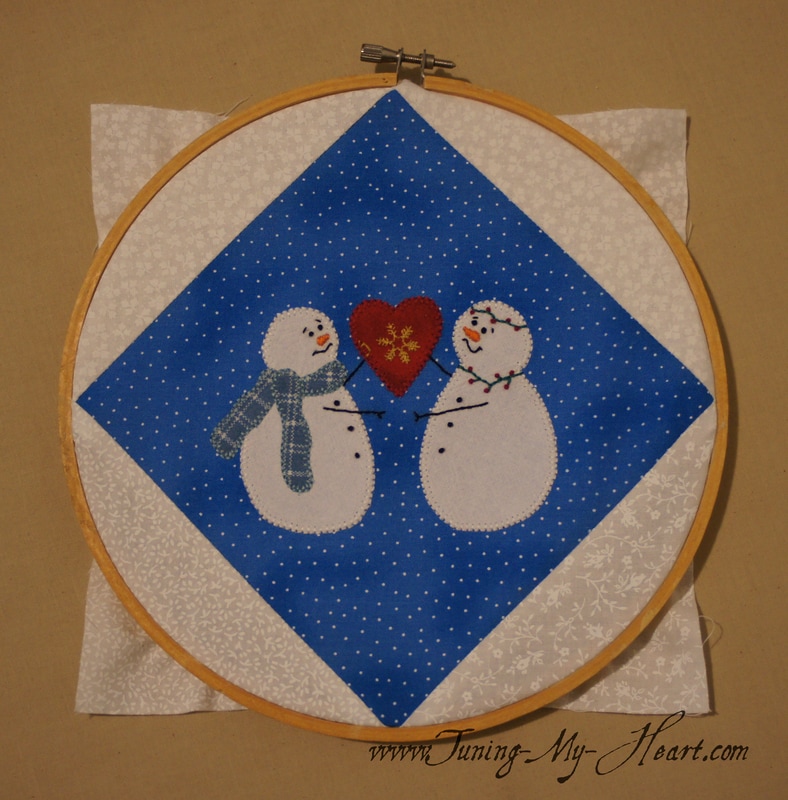 Now I can add the Half Square Triangles. With my bigger center block I will end up with three rows to sew together instead of four. 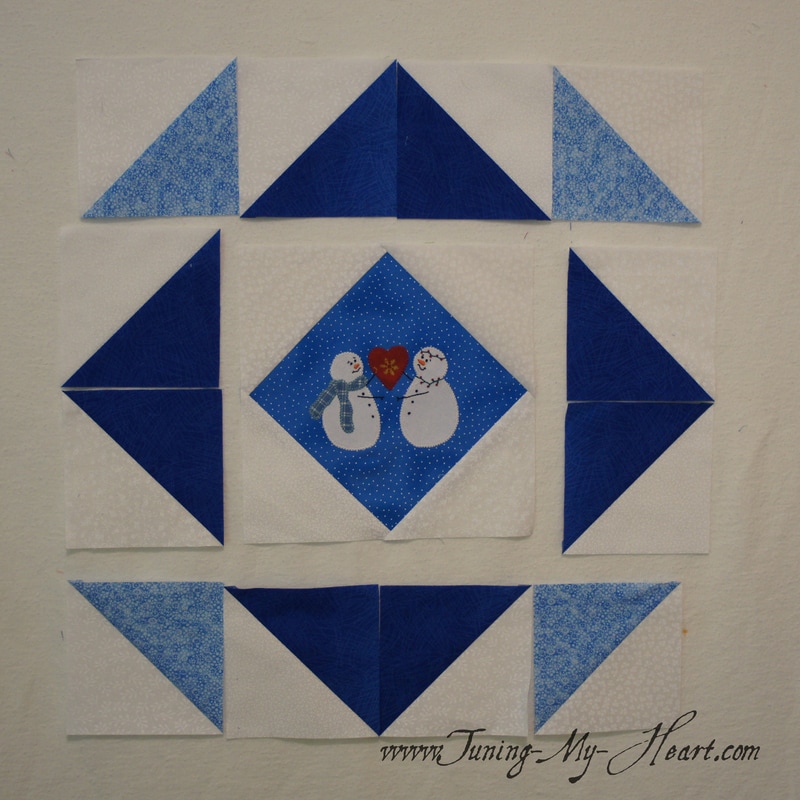 The center units ready to be sewn together. 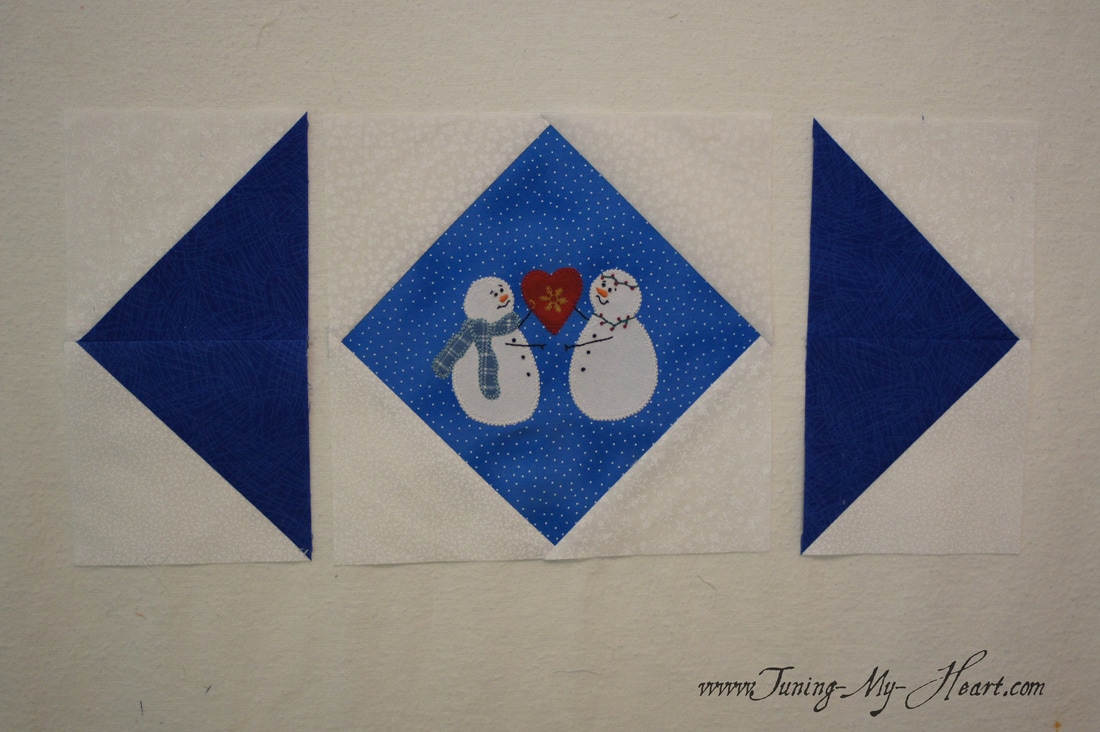 The top and bottom rows are both sewn and ready to add now too. 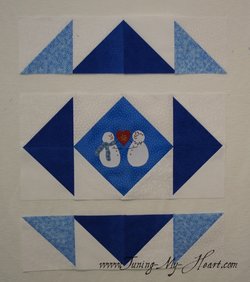 The top row went on pretty nicely. 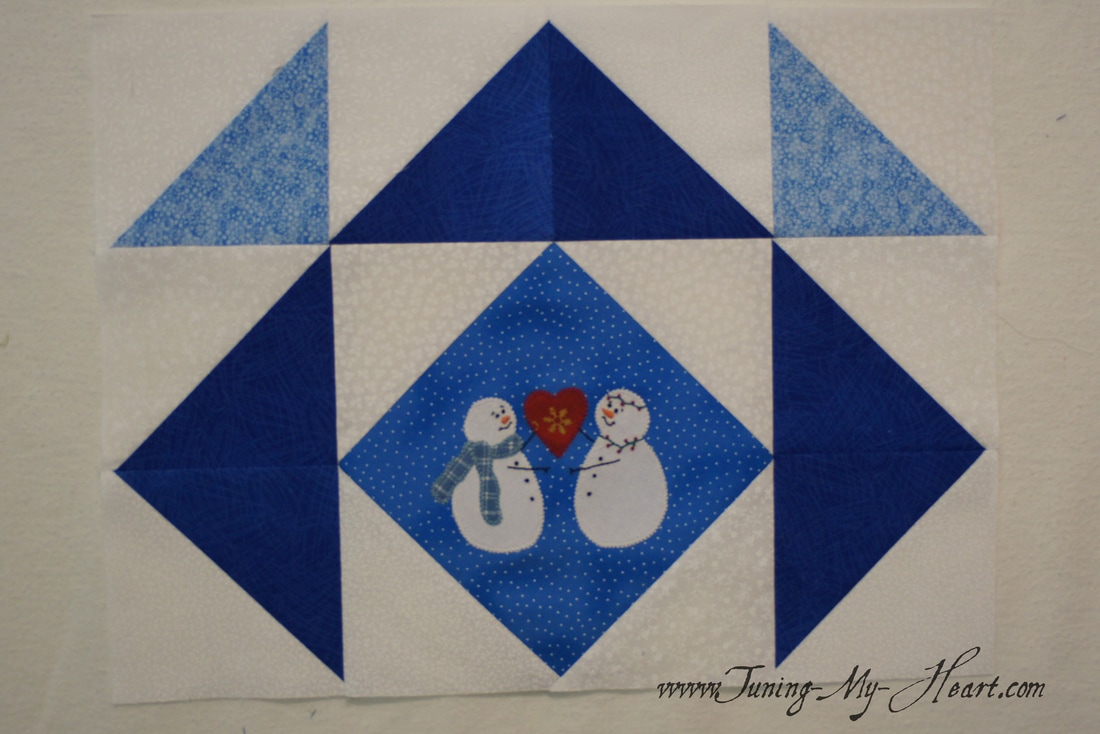 Tip: To line up the point on the center block with the seam in the middle I stick a pin from the back to the front of that point-right at the very tip of the point-and then pin through the seam of the row I am attaching. 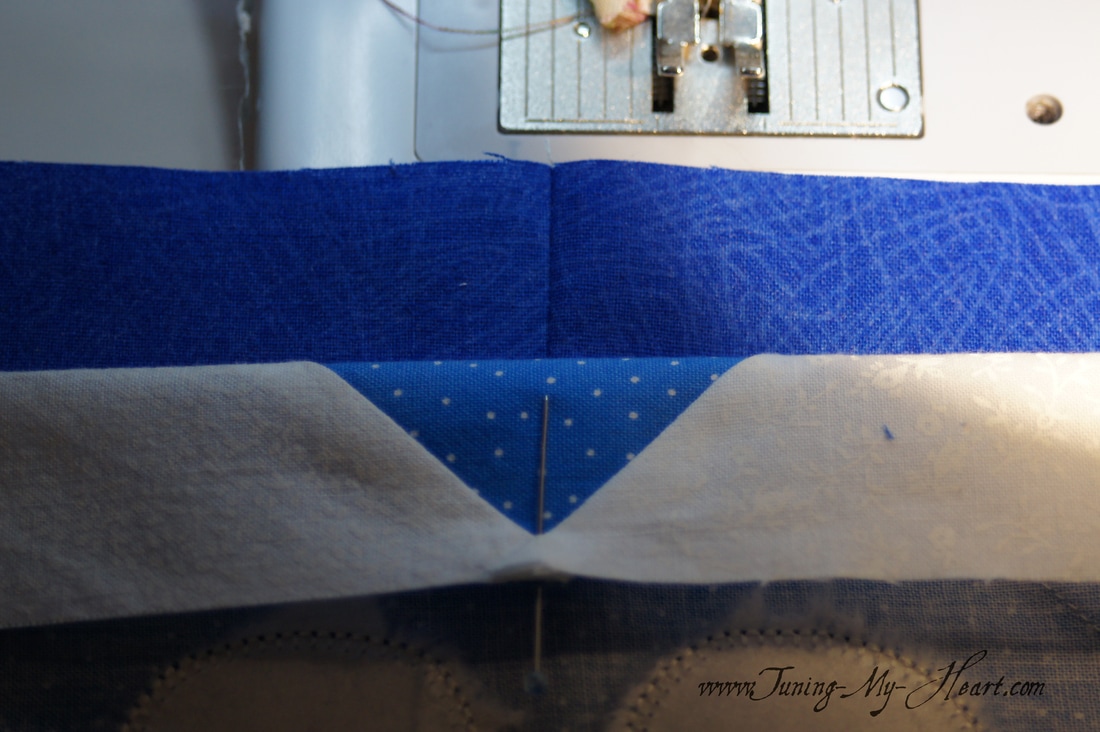 And there we have it...love is in the air...  Oh, and here is a very young looking couple from 33 years ago about to embark on the adventure of a lifetime. 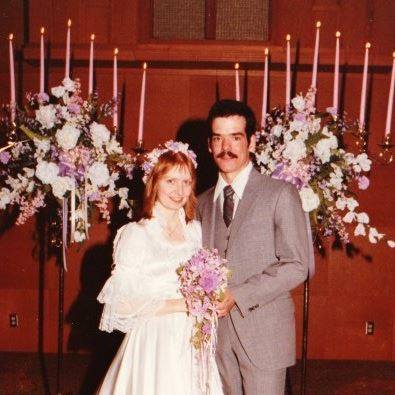 Thank you for joining me on this fun journey with my snowman quilt
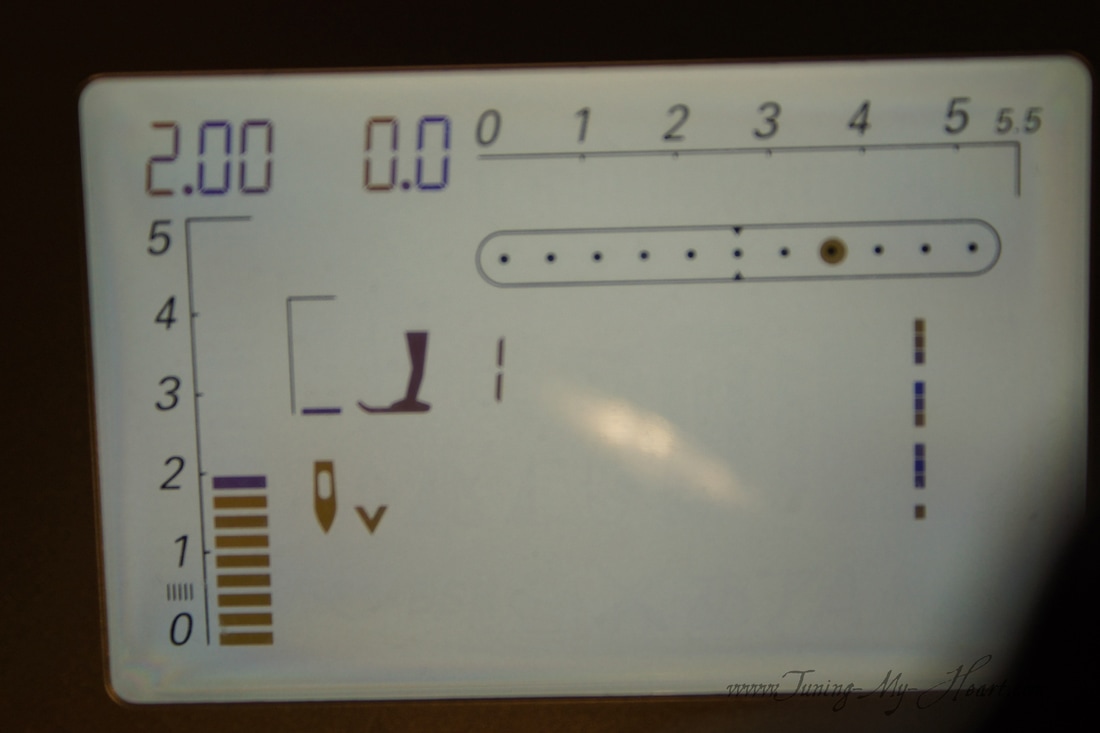
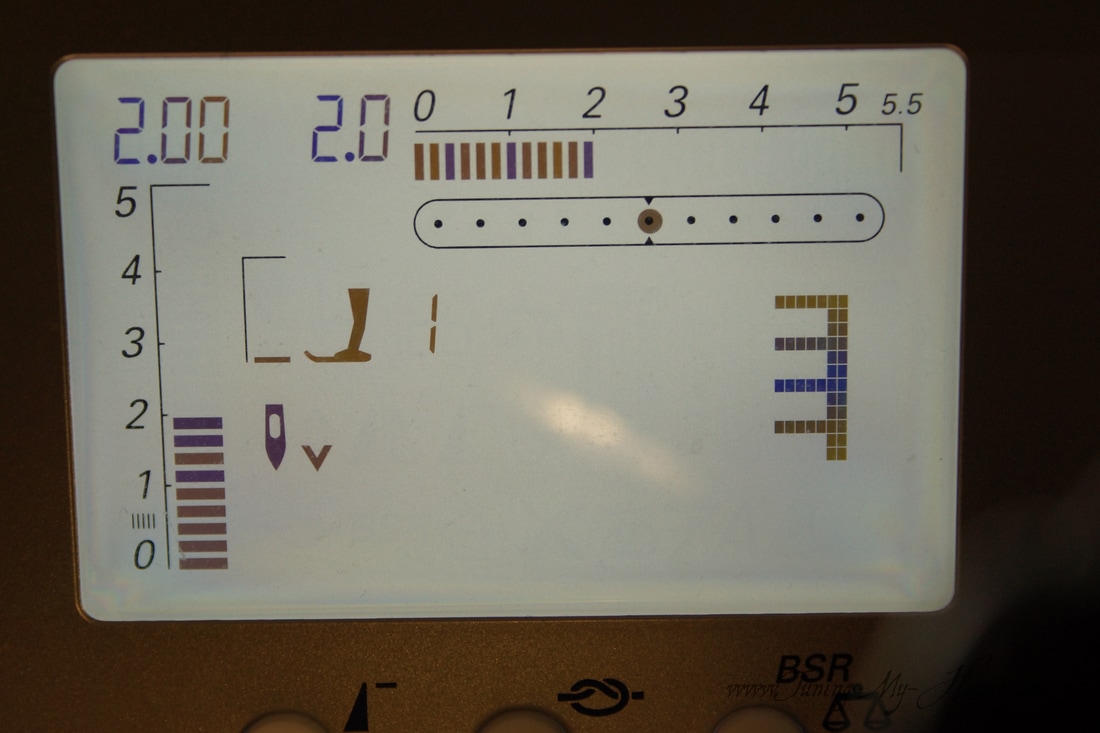
Debra My fun with snowmen continues in Block 3 of the Snowy Day Sampler Quilt. 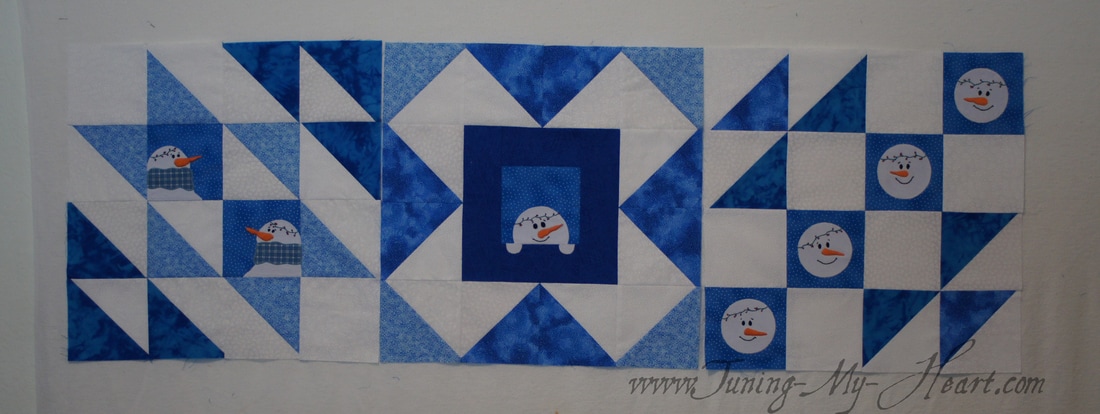 These were pretty simple to design...grab a circle maker and trace onto fusible web 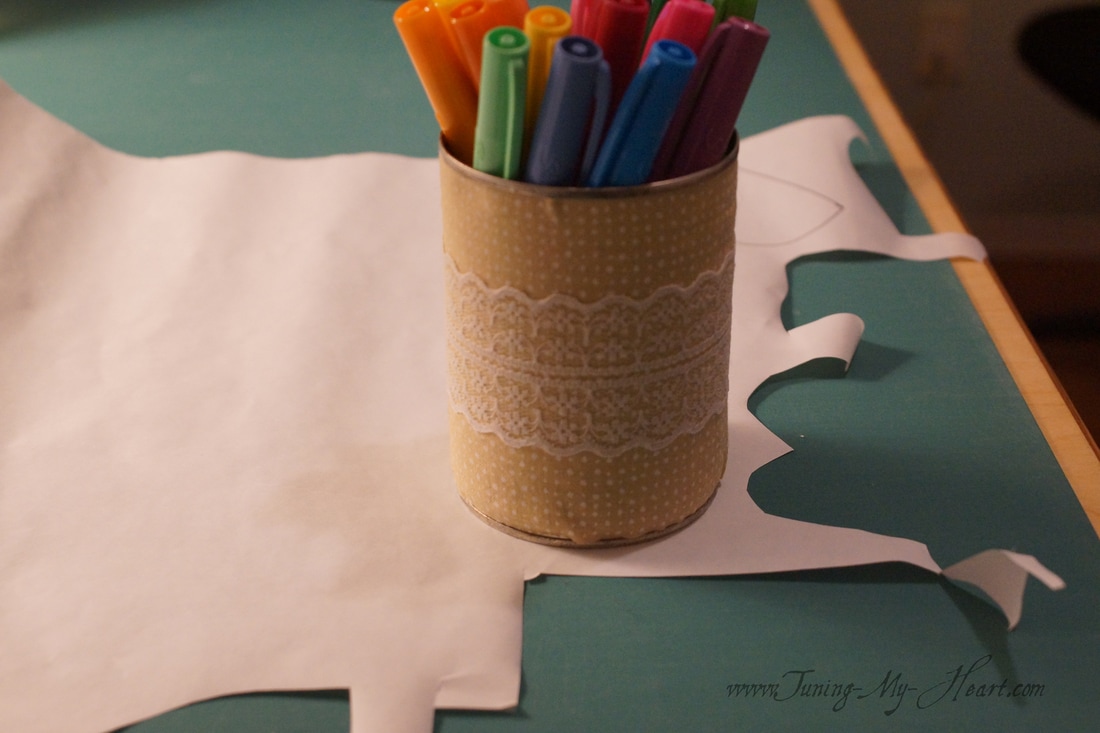 I decided I want each face to be unique so played around with that and then pressed them onto my fabric. 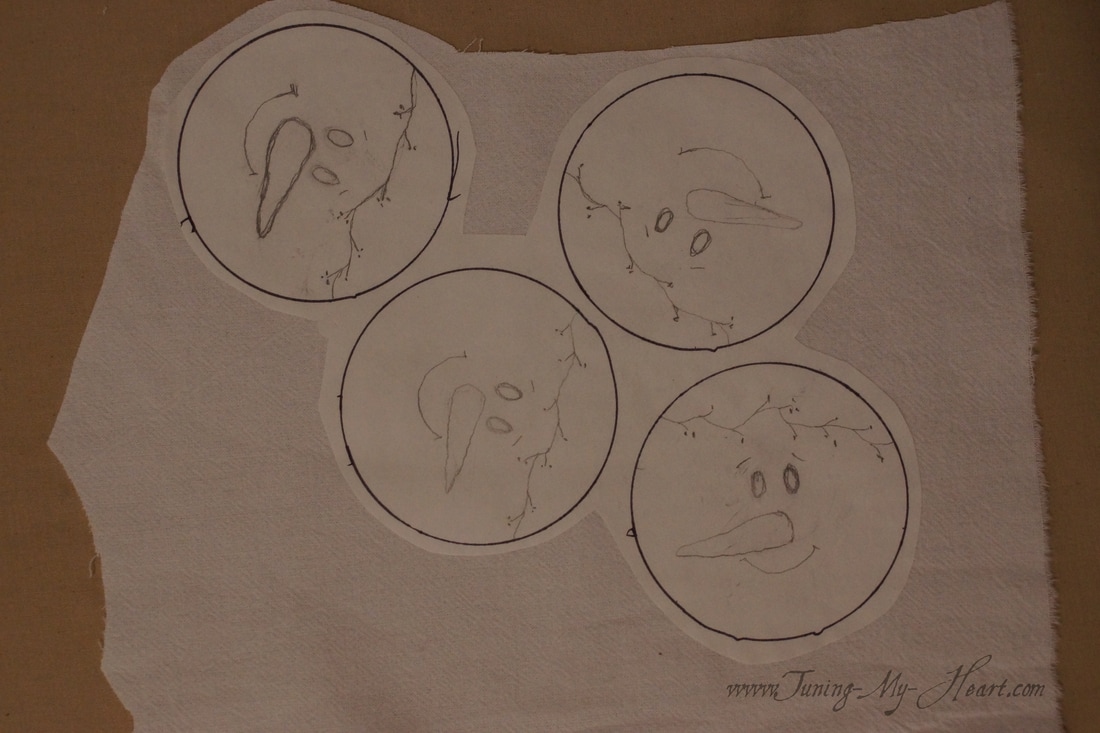 Time to practice cutting on the lines. I love Karen Buckley's Perfect Scissors for cutting out applique as they have a very fine serrated edge which kind of grabs the fabric and are sharp to the very tip. 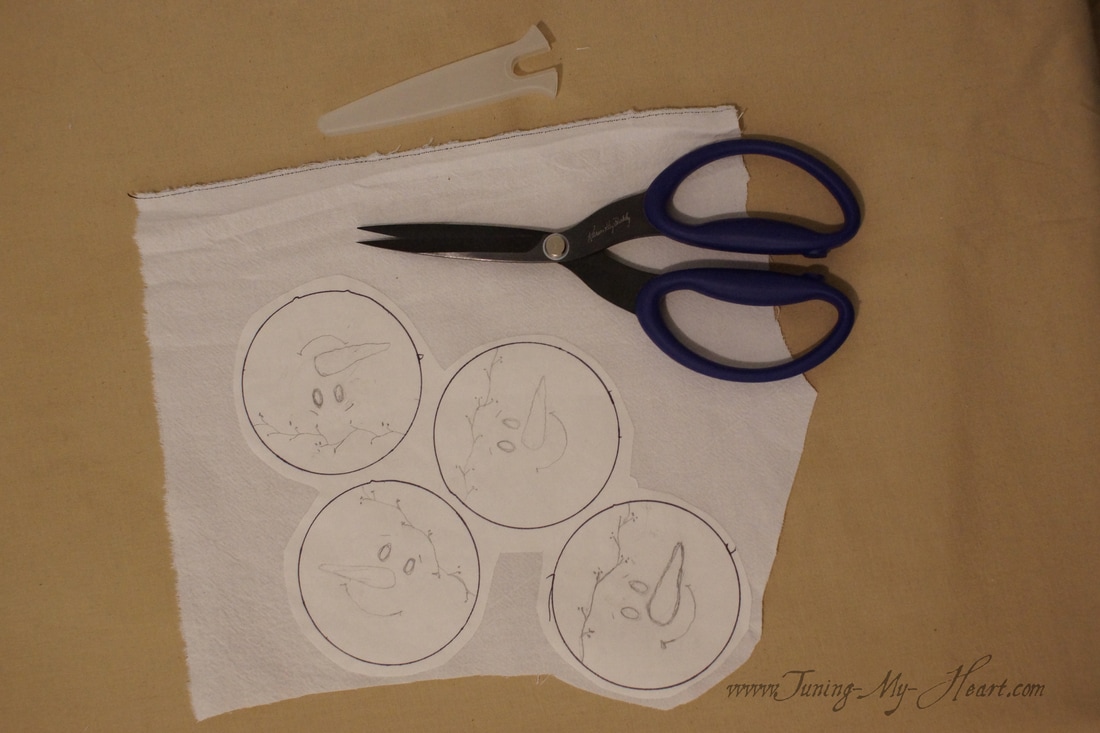 I decided to use my lightbox to trace the face designs onto the fabric before fusing them to the background. 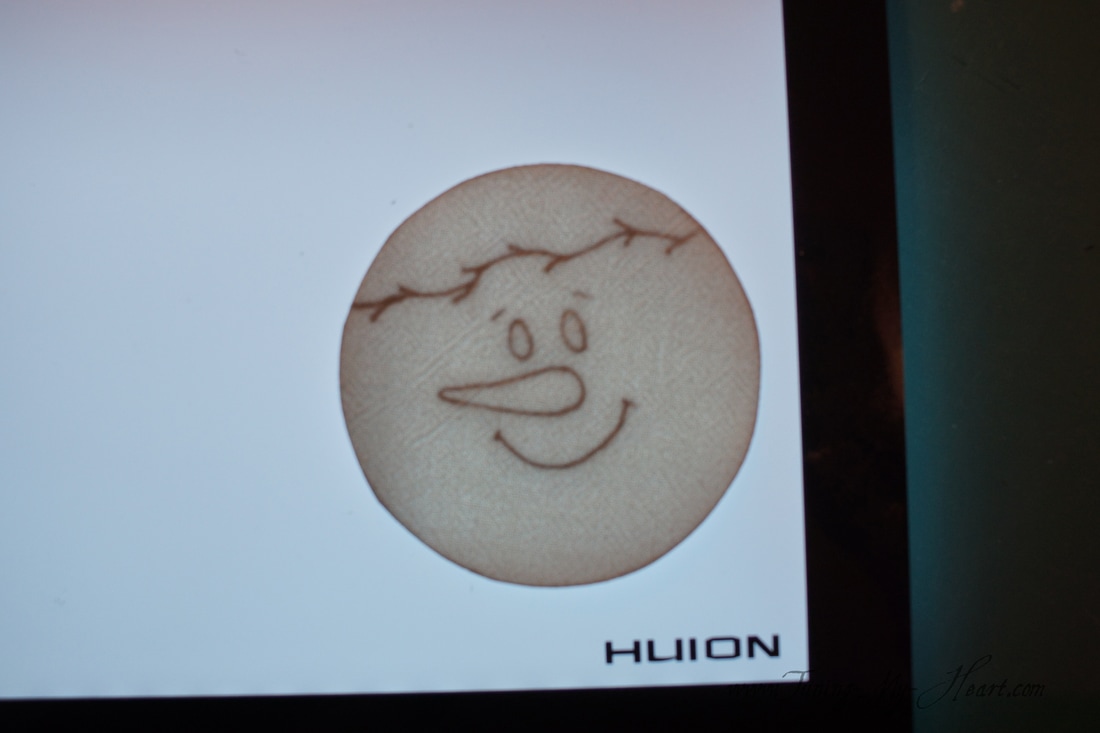 I wanted the faces centered on the squares so had to remember the 1/4 inch seam linefor those on the corners. 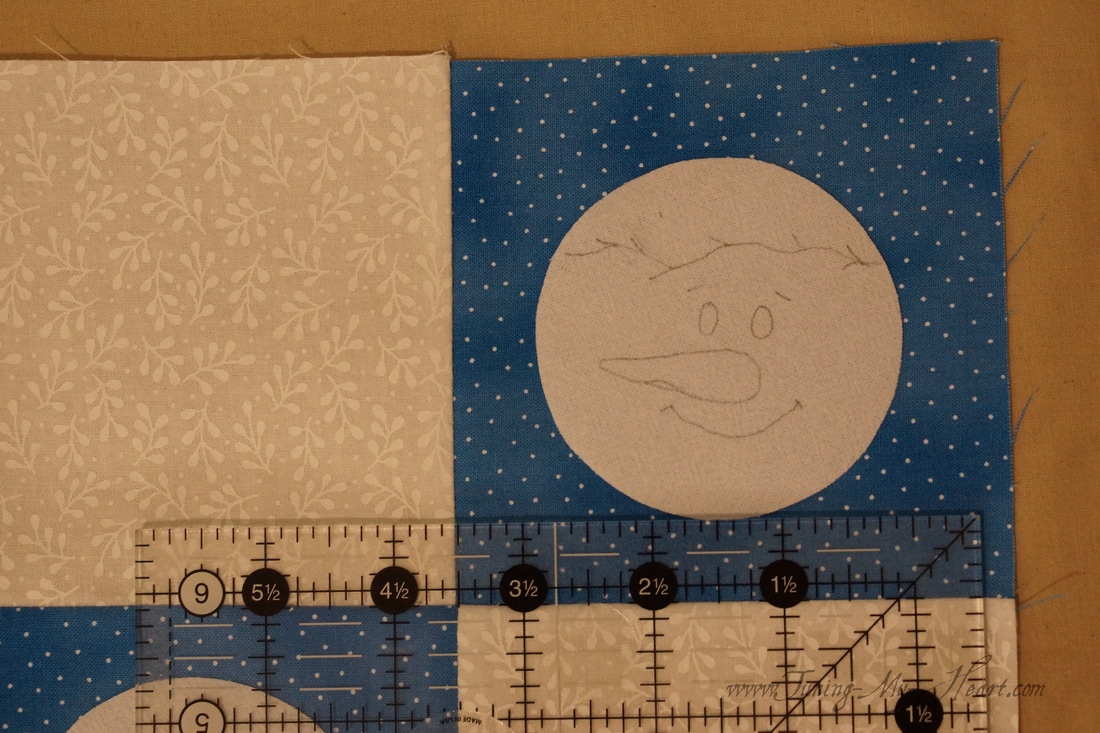 I always place a piece of stabilizer on the back of the area I am going to machine applique. This is one of my favorites as it washes out over time leaving a soft feel to the applique. 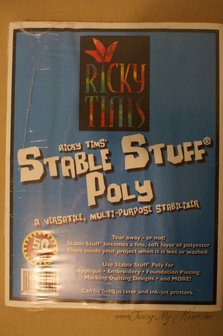 These will be very easy to stitch in place. (The fusible pieces would be fine without being stitched but I like the look and it means I can wash this quilt without worry of them coming loose over time.) I start by taking 4-5 straight stitches right along the edge. 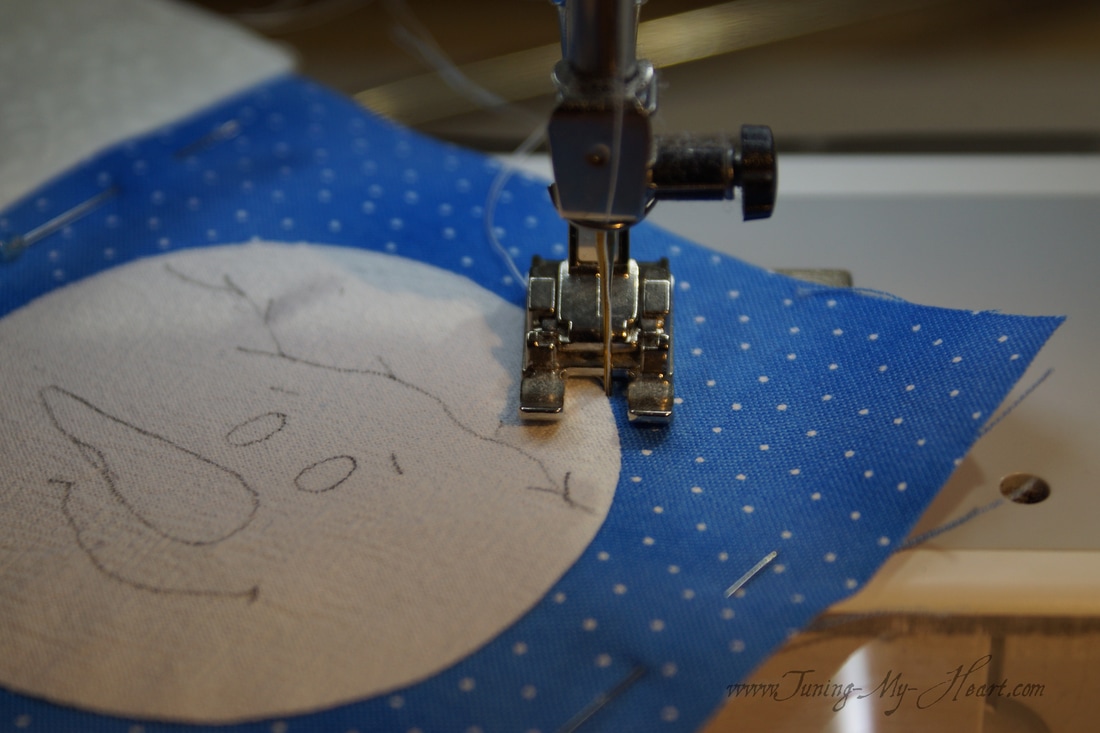 My machine is able to remember recent stitch settings which comes in handy as I now switch to my favorite Double Buttonhole Stitch 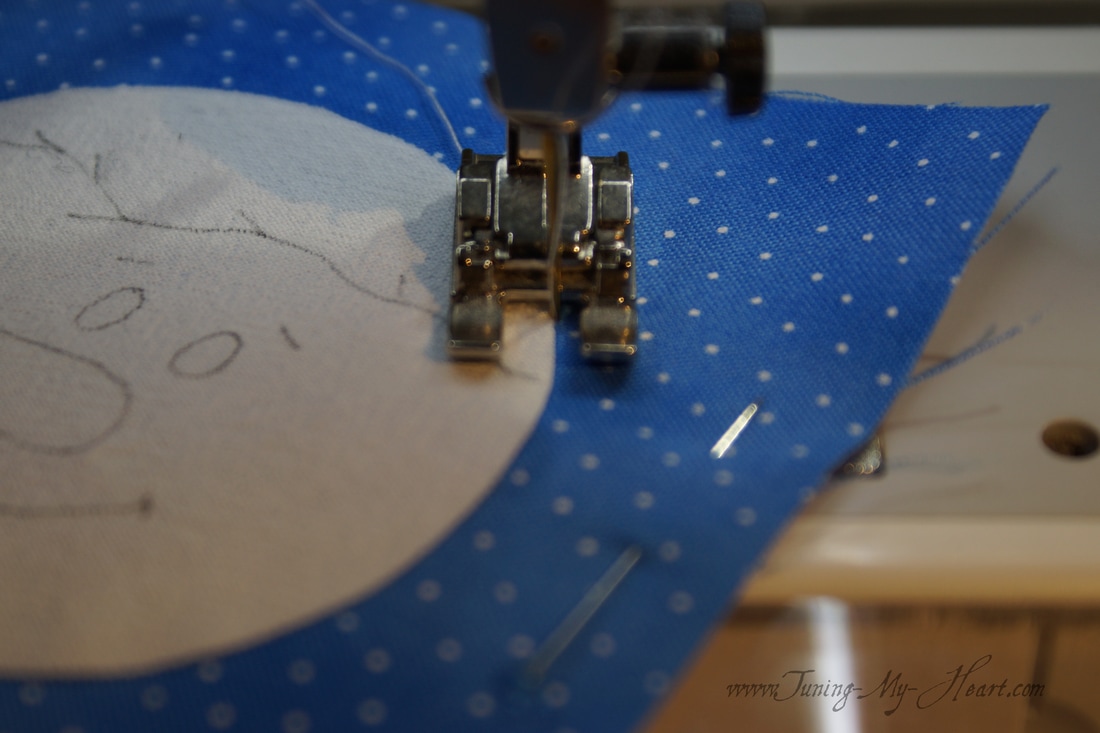 Here you can see my stitch settings for the straight and buttonhole stitches. I keep the stitch length the same on each.
After working my way around the circle I continue with the Buttonhole stitch right over my beginning straight stitches. This works to lock those stitches in place. 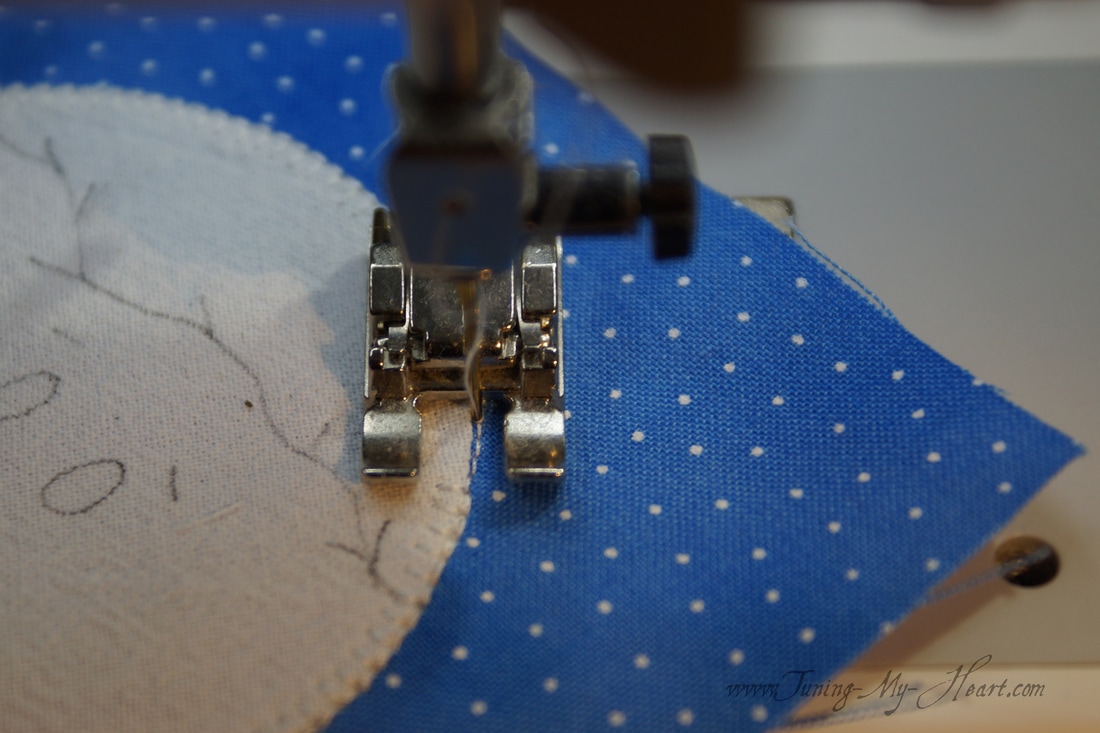 When I come to the beginning of the Buttonhole stitch I switch back to my straight stitch. Taking another 4-5 stitches and then a lock stitch finishes off the applique. 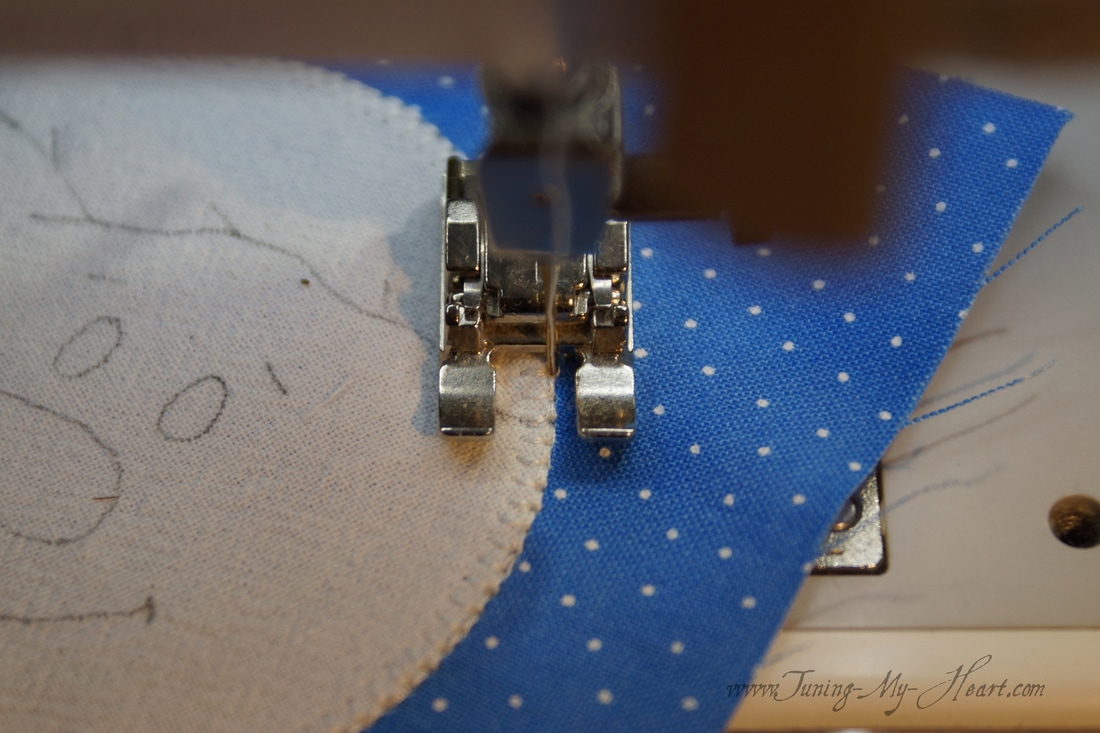 Time to add those hand embroidered details. 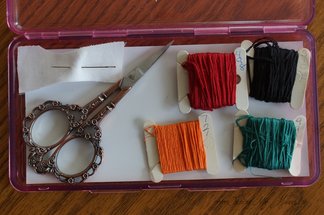 The noses are satin stitched using three strands of DMC floss. 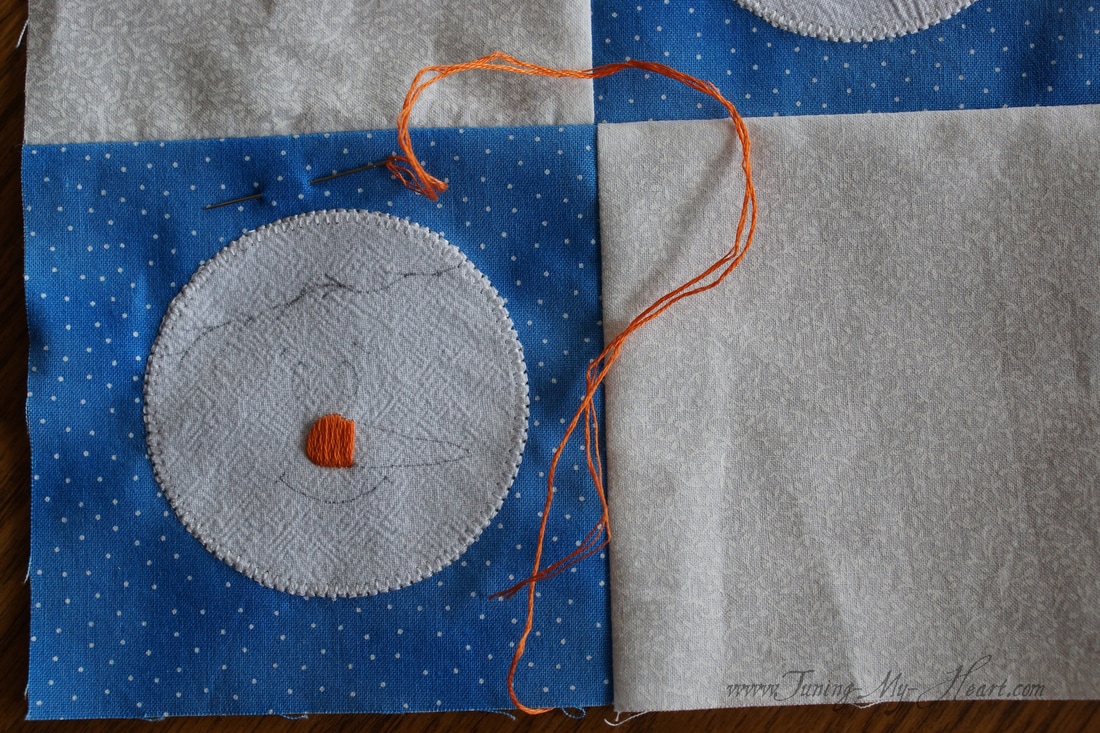 The eyes are also done with a satin stitch, and a backstitch is used for the mouth and eyebrows. 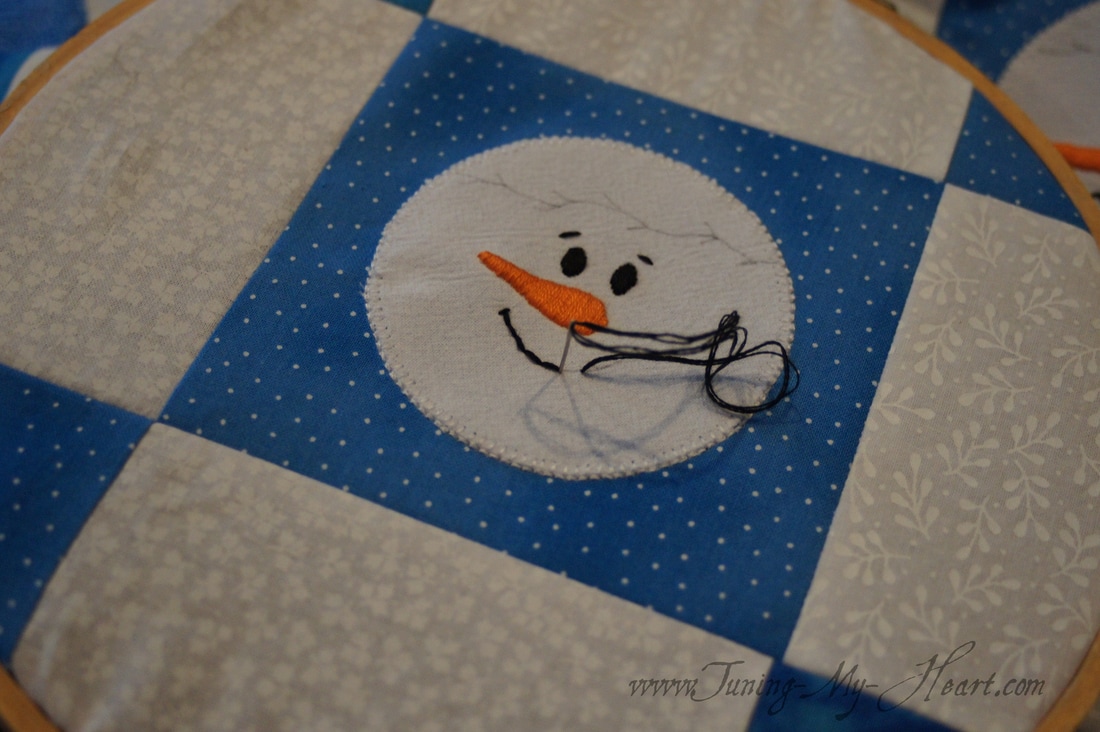 I use a backstitch for the green vine. 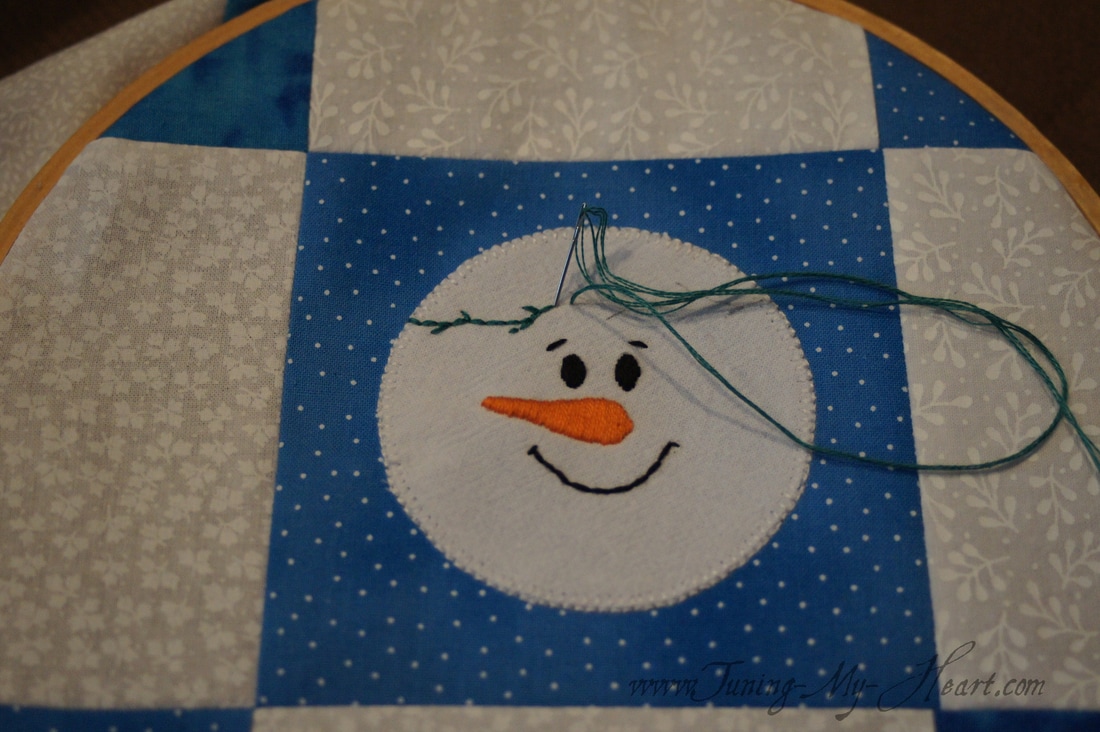 Finally, French Knots are used to make the little berries. 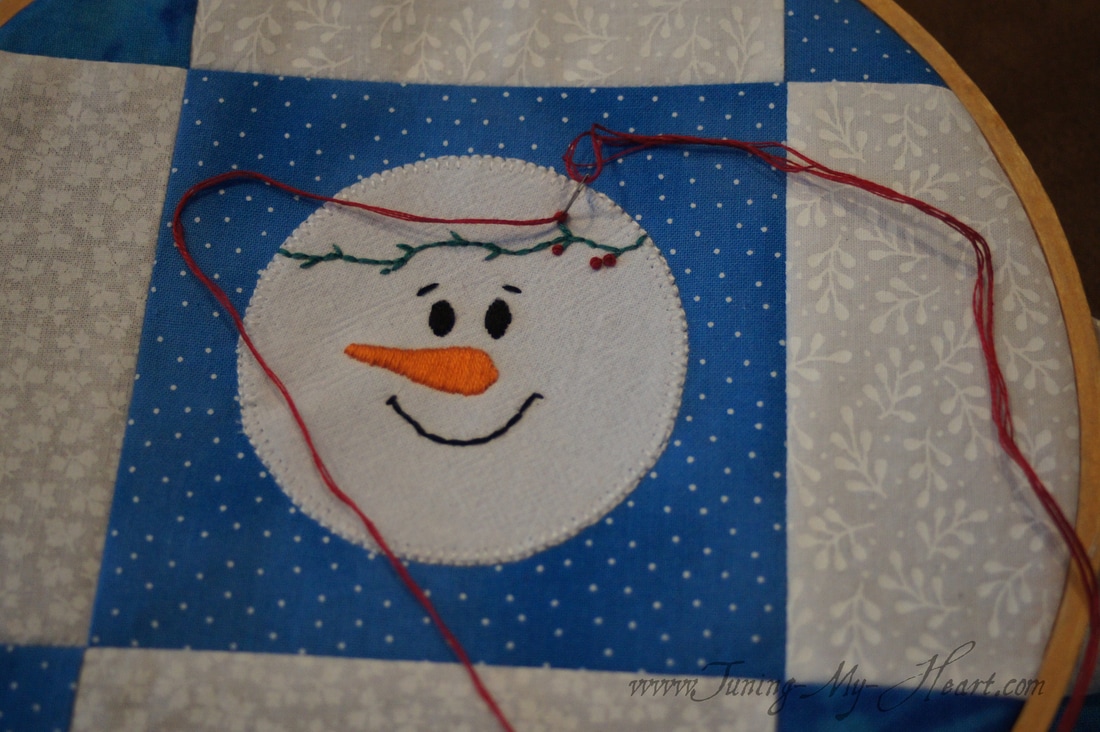 There we have it, four snowman faces to adorn my block. 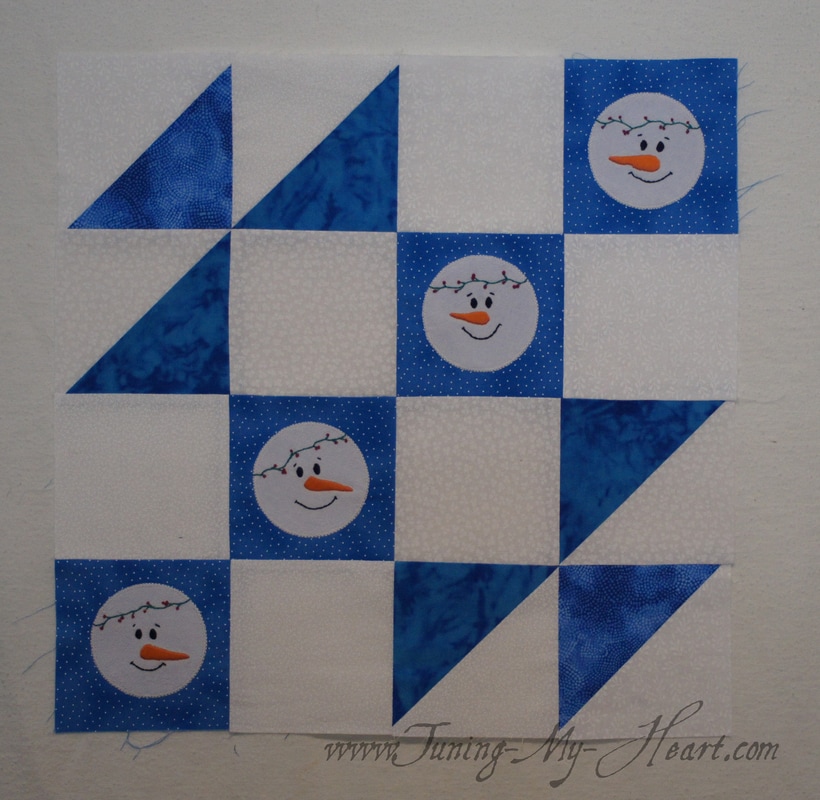 So until next time...Happy Quilting
Debra |

Welcome to the site of Debra Davis-a woman who loves the Lord and loves to quilt.
My other blog where I share about my walk of faith:
Sitting at His Feet 
|


 RSS Feed