|
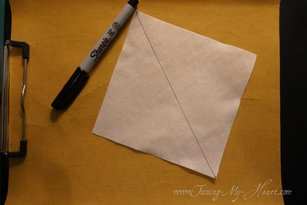
I decided to jump in and do my first ever quilt challenge. This one is being sponsored by National Quilter's Circle. You do not have to be a member to join in the fun. There is a lot going on in the Facebook group as well. We were given the first block today so here is my tutorial of how I created my version. 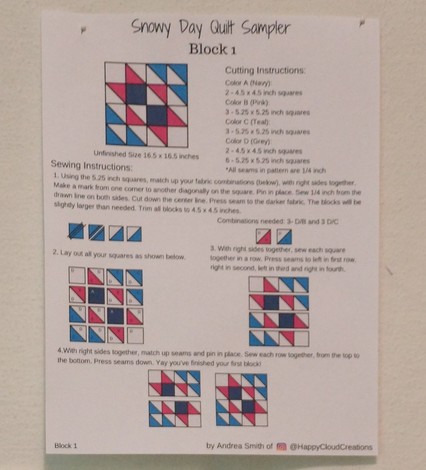 I have spent the days leading up to the release of the first block looking at my stash and trying to decide what to use-scrappy or more planned. I finally decided this morning. I started with the floral print and added the others from there. I am going to use a variety of greens as I did not have enough of any one for the whole quilt. 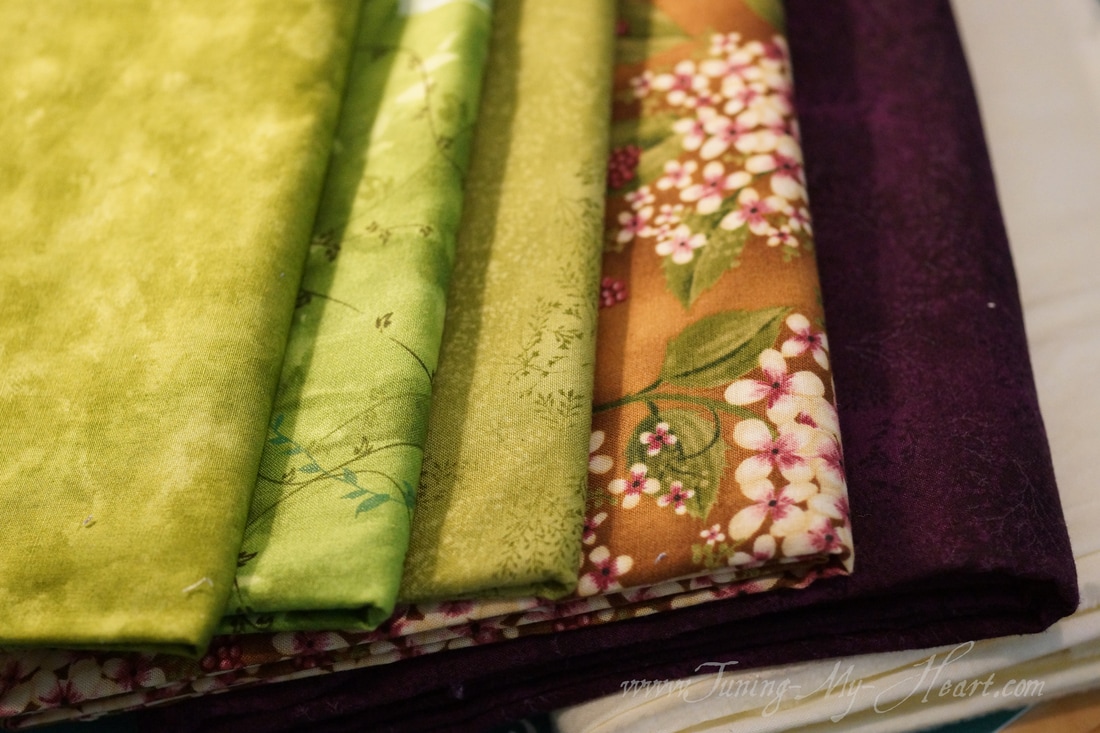 After pressing and cutting my fabric I like to starch the pieces. I find they play better with me if they have some stiffness to them. So here are my 4.5 inch and 5.25 inch squares ready to go. 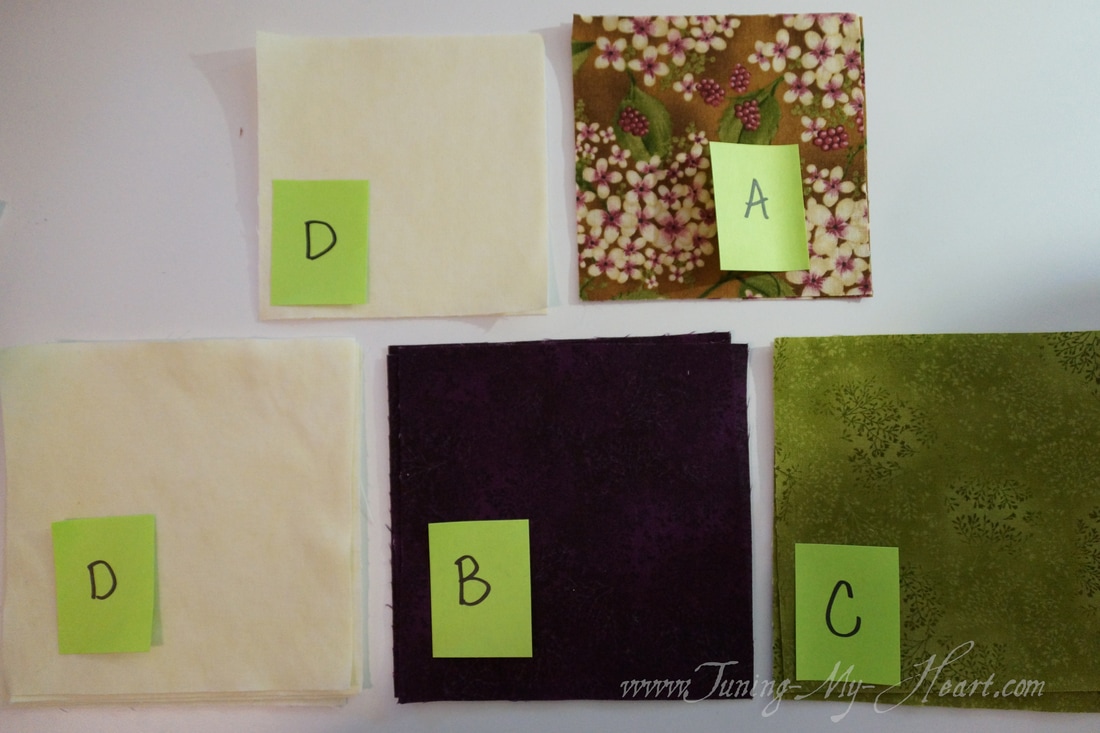 The first step is to draw a diagonal line on the 5.25 inch squares. This line goes on the back side of your fabric. I use a piece of very fine sandpaper when marking my pieces as it keeps things from slipping while drawing my lines. Since the lines will not be a part of the finished blocks I use my fine Sharpie pen for this.
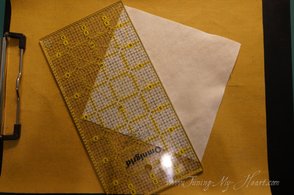
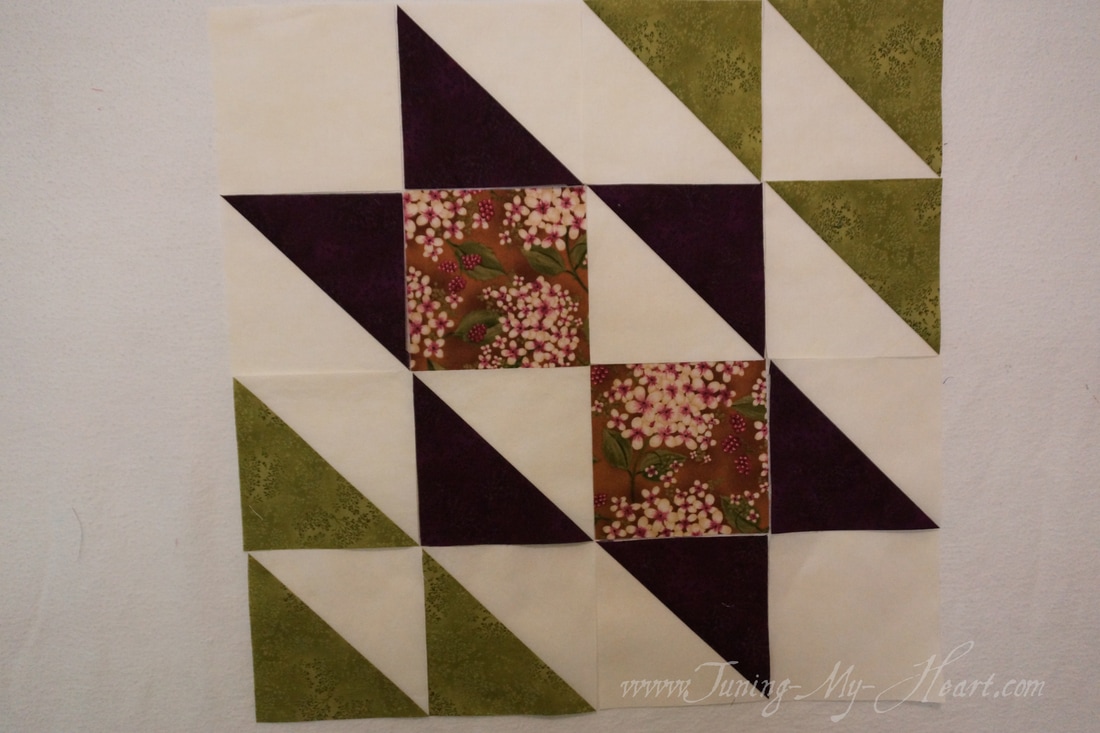
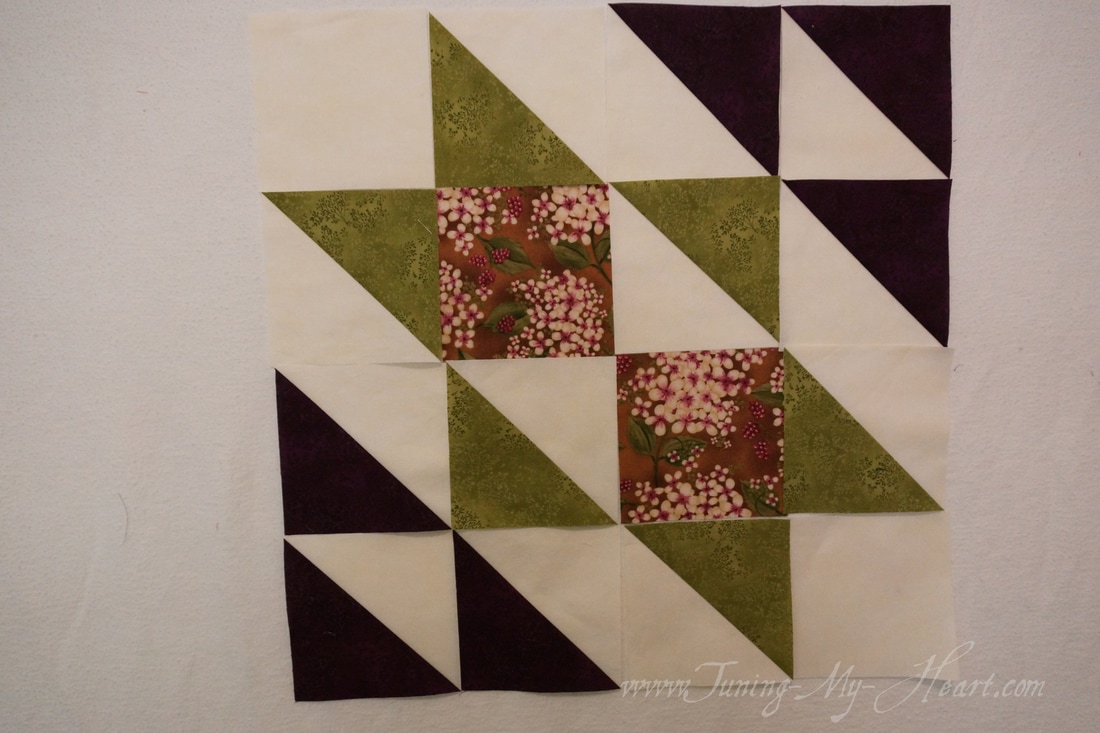
Place these marked squares on each of the B and C squares. I like to use the chain-piecing method for this. A note about my machine settings and thread. I sew with my needle in the down position and use a 2.10 stitch length, a little smaller than the normal setting on my machine. When piecing my go to thread is gray-it seems to blend well no matter what fabric I am using. 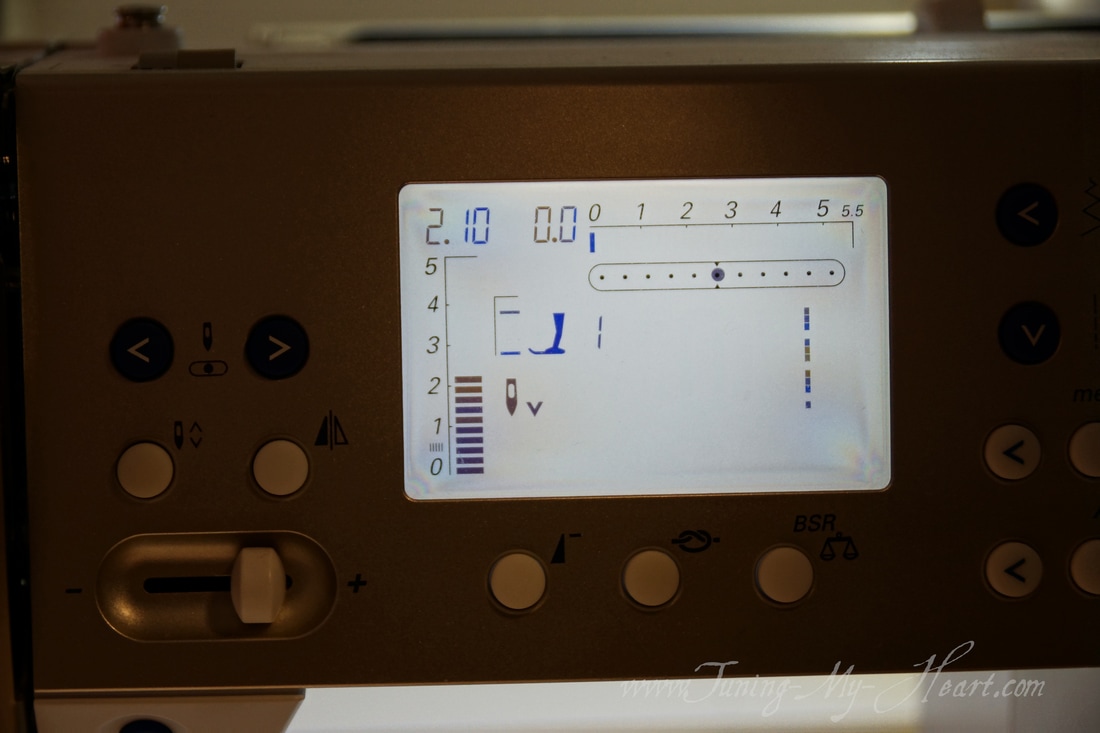 Now time to sew, for chain-piecing I start with a "leader"- just a scrap of material to get things started. Now for the fun part. I am using a 1/4 inch quilting foot so all I need to do is run the line I drew right along the edge of my foot. This will give me a stitched line that is 1/4 inch away from my drawn line. Here goes the first stack of squares.  When chain-piecing you continue to stitch right off the end of your material, take a few stitches and then add your next stacked pieces and just continue sewing. 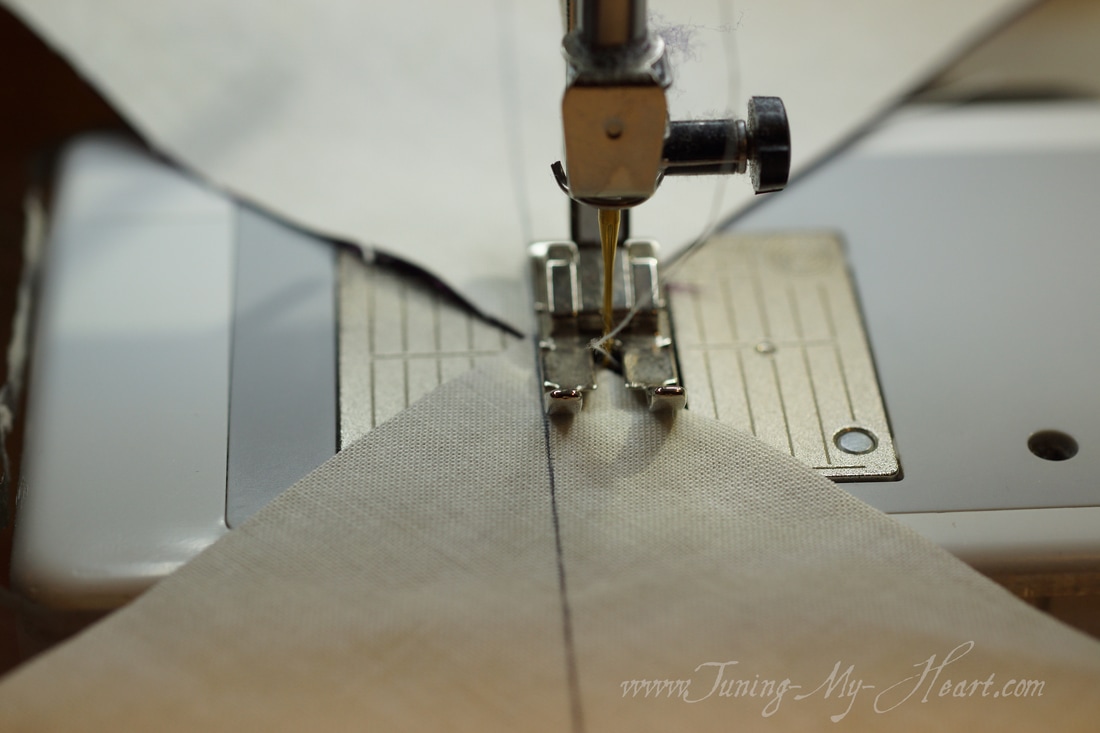 When I have sewn all of the squares together, I end my chain with another little scrap of fabric. I clip the threads from my chain of squares and leave this "ender" in place to become my "leader" next time.  Now I have six squares that have been stitched together. At this point I do not cut them apart. 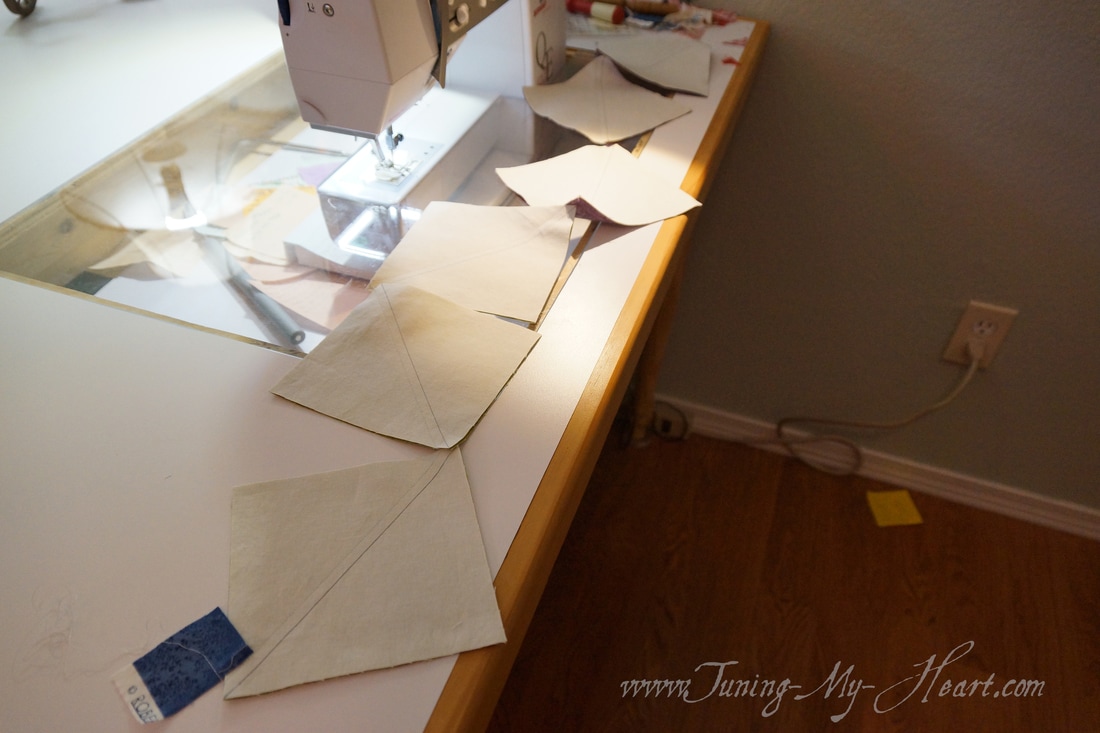 Now it is time to turn the squares around and sew 1/4 inch from the other side of the line. 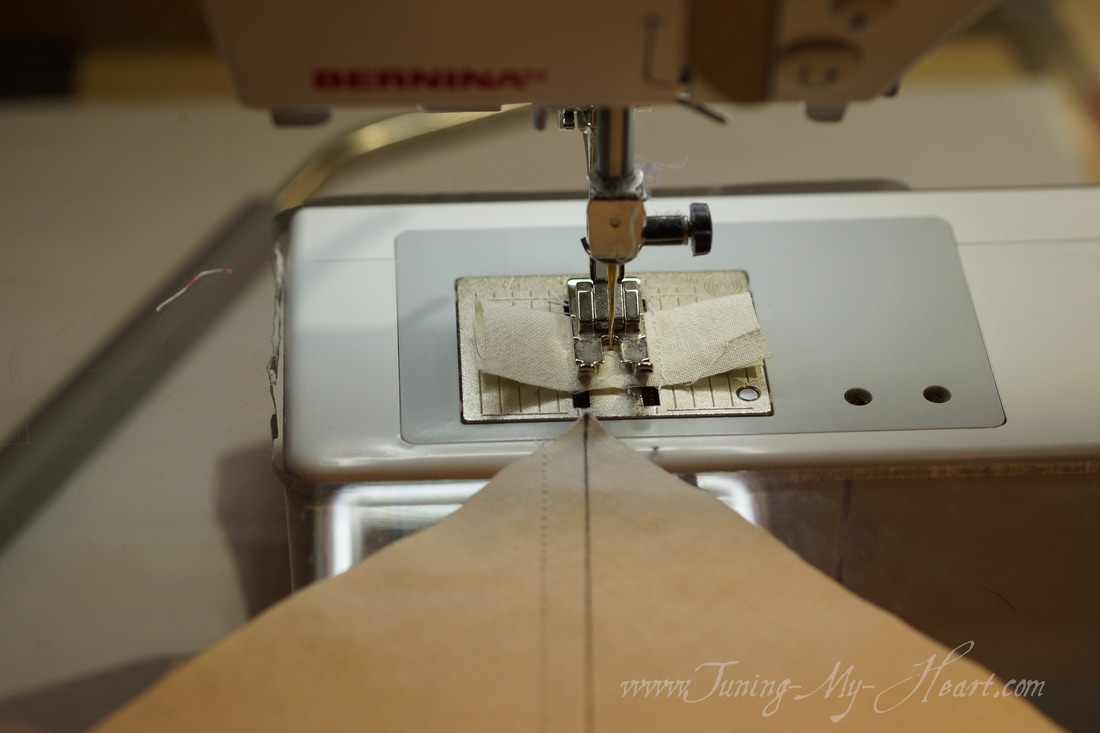 Once that is done, I cut the pieces apart. Now it is a simple matter to cut on the line you have drawn previously giving you to half-square triangles.  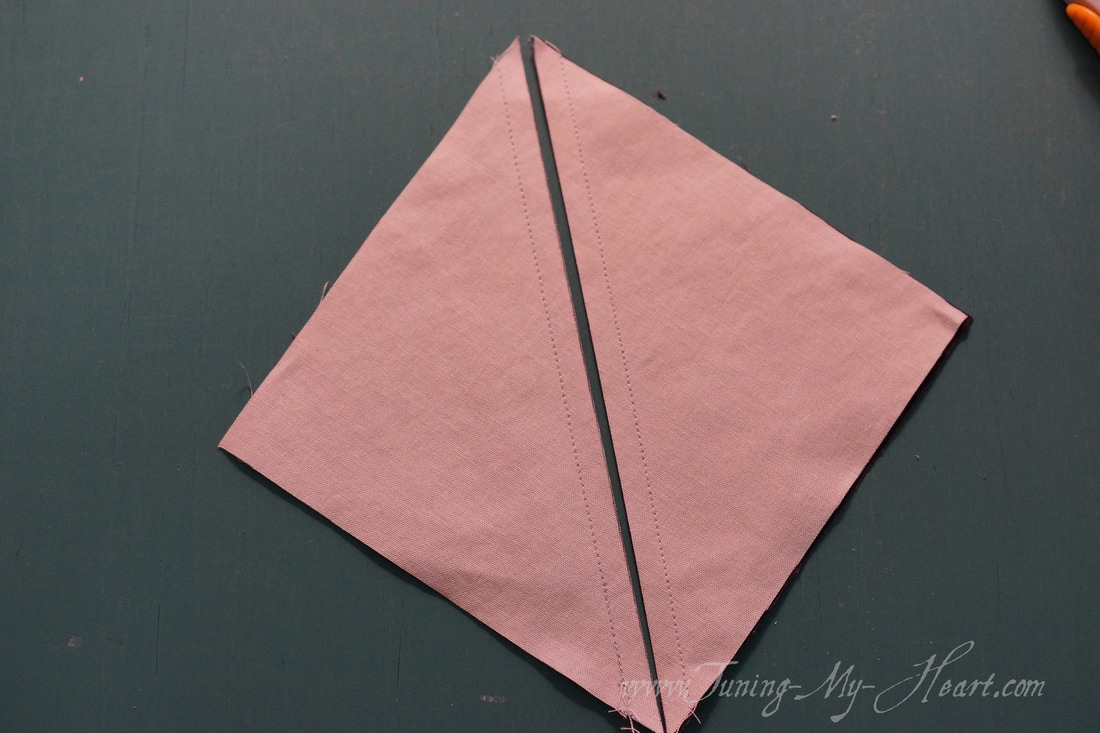 Time for some pressing at the ironing table. When quilting you use a different technique to iron your pieces. Start by simply setting your iron on top of the seem to set it. 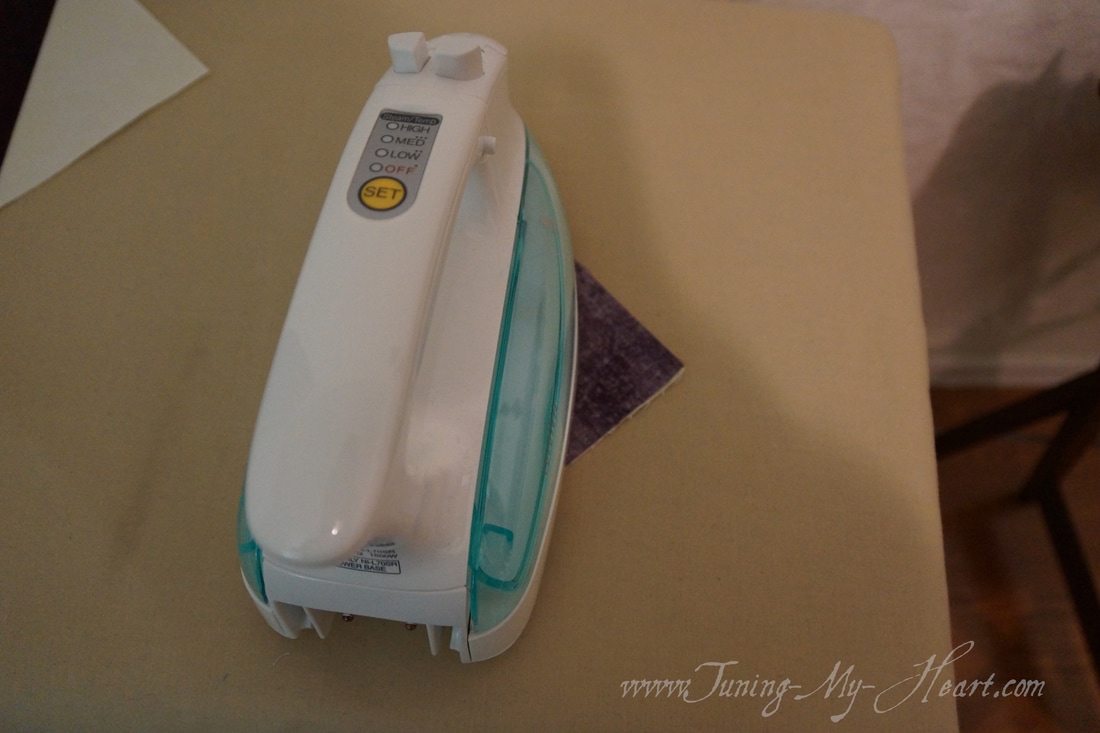 Next, very carefully open your block-I like to do a little finger pressing to accomplish this. 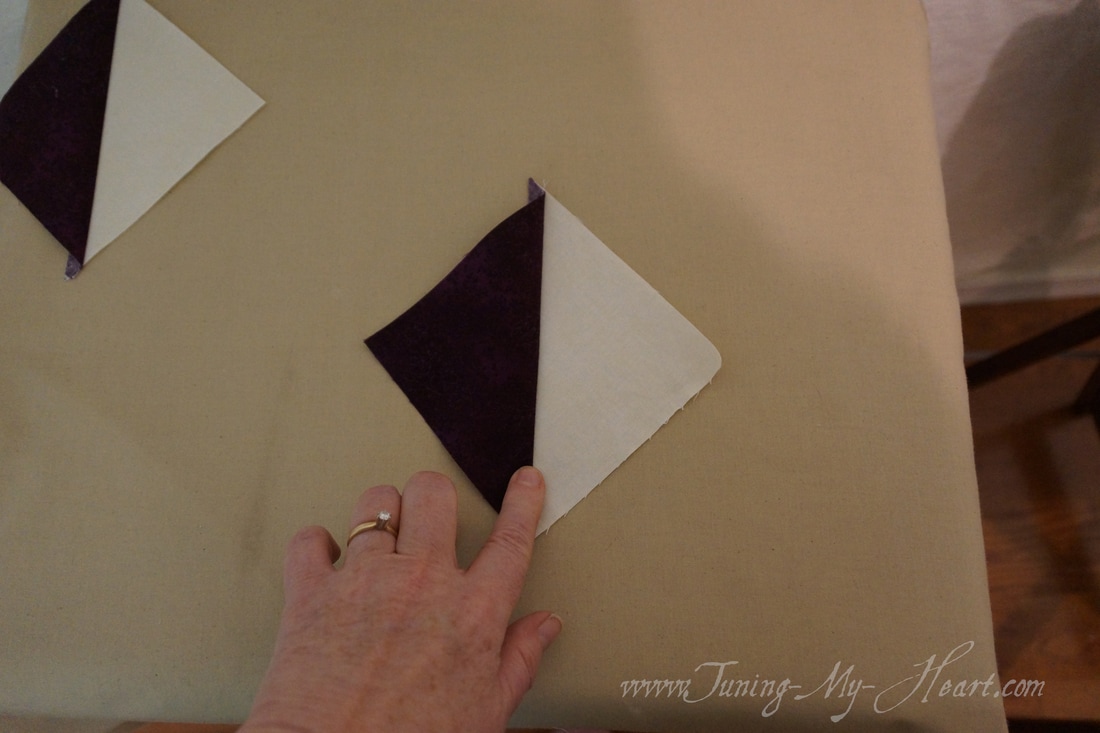 Finally, just set your iron on the open seam. You do not want to slide it around your fabric as this can distort your block. Rather you lift and set it down on the pieces. This is especially important when working with triangles as they can be stretched out of shape. 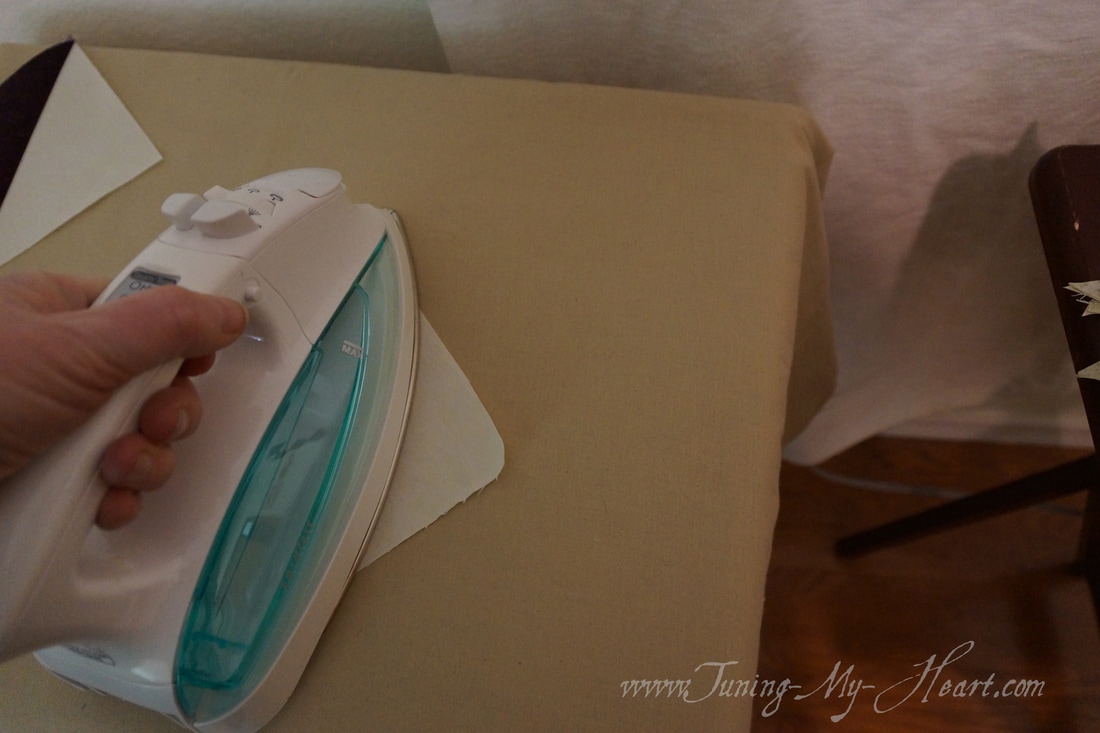 Okay, now it is time to trim our pieces to that 4.5 inches called for in the directions. I have two rulers I prefer for this. One is called a "Block-Loc" which has a groove running through it that nestles into the seam of block to keep it from slipping as you cut. Today I am using a new love- a ruler by Creative Grids which has a non-slip surface that works very well. First I line up that diagonal line on my ruler with the seam of the block. I trim the right and top side and then flip it around and do a final trim to the finished size of our half-square triangles. 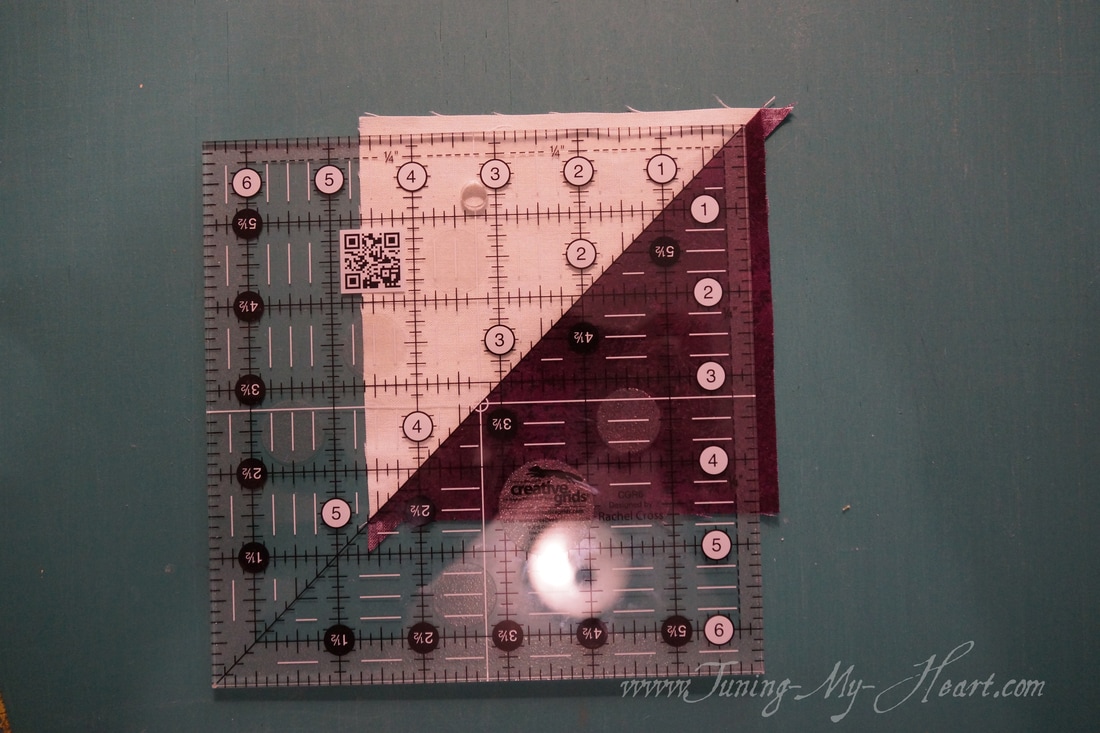 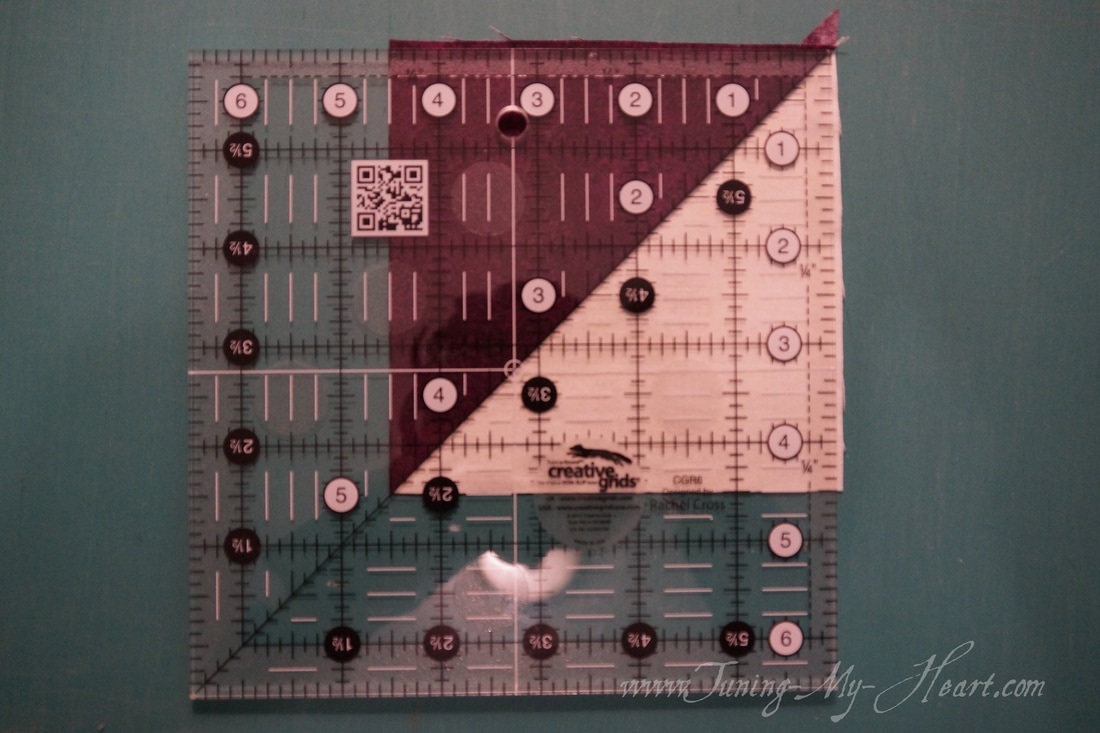 A little note about rulers...they can slip when you are making cuts, which is very frustrating. I have tried all sorts of things over the years to try and combat this. While I am now using Creative Grids rulers for that very reason, I came across this idea which works quite well too-for a fraction of the cost which is always good news. Having just lined the shelves in our new home I still have some leftover pieces too-yay me. Back to our block-Time to lay out our pieces and see how they look. I was not sure which way I wanted to go with the maroon and green so I tried both to see what I liked best.
Once that was decided it is time to start sewing the pieces together. 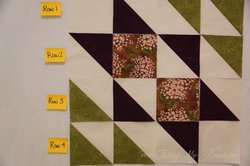 Starting with Row 1, flip the second block in the row on top of the first and sew along the right edge using a scant quarter inch seam allowance. 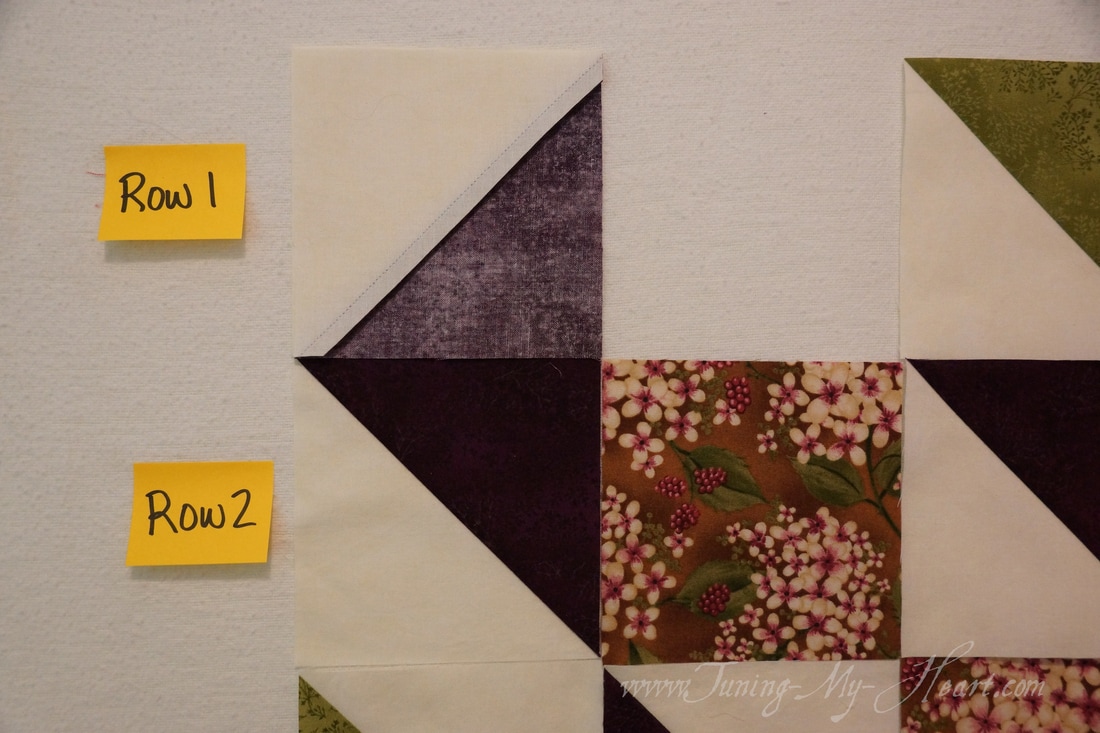 It is important that you check your seam allowance for accuracy. There are plenty of videos on youtube which can show how to make sure you have this set correctly on your machine. It amazed me when I first started quilting that my seam allowance could even be affected by the thread I was using, so it is a good idea to check. I am sharing a link of Pat Sloan's tutorial on 1/4 inch seams. She is a great teacher. Click here 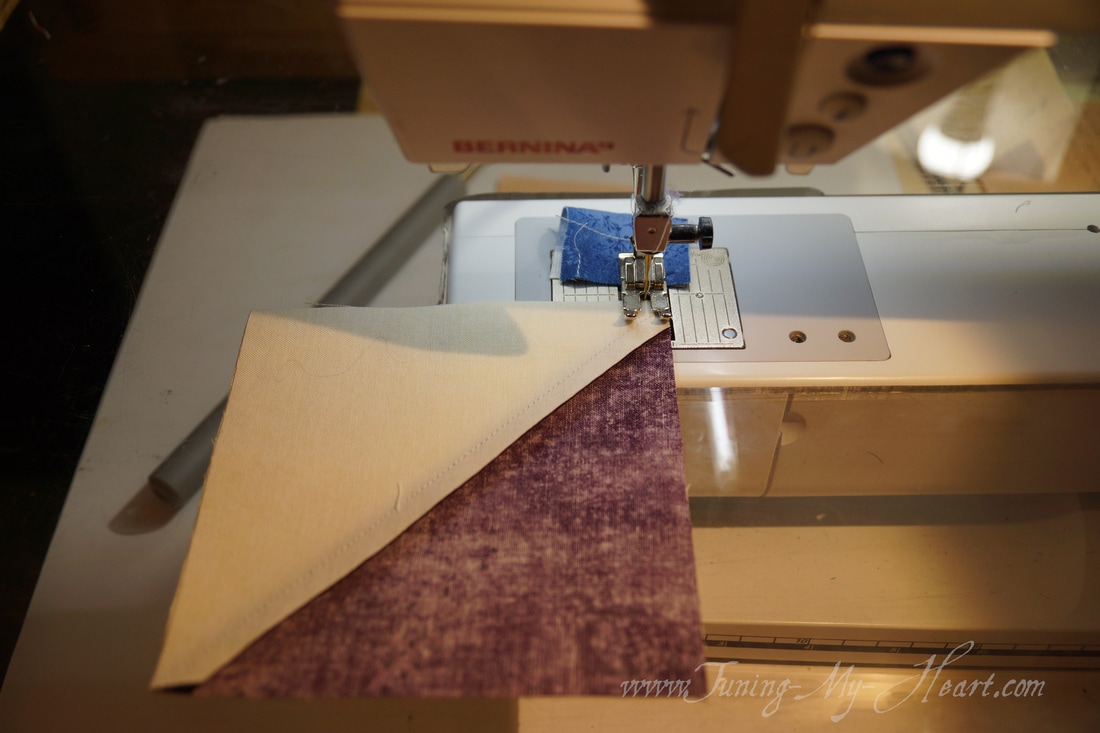 I am going to chain piece these just as before, being careful to keep everything in order as I do. And here they are all ready for pressing. 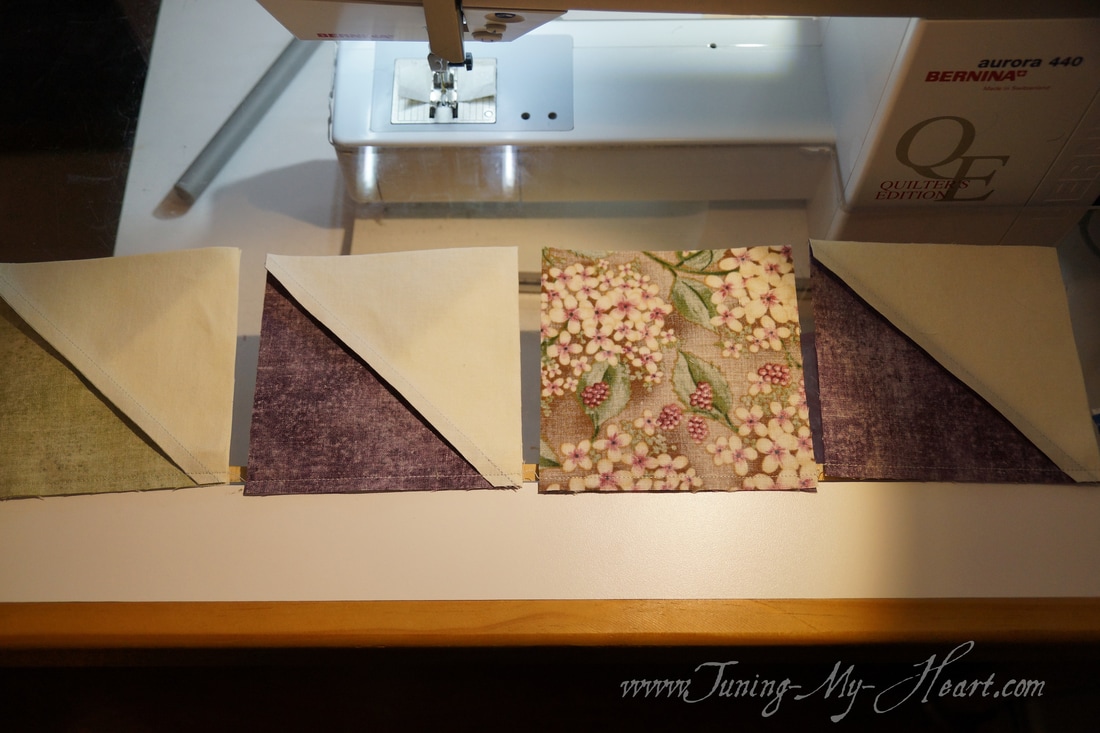 The directions say to press rows 1 and 3 to the left and press rows 2 and 4 to the right. This is an important step that will help to line up your blocks in order to get those perfectly matched seams later on. I have laid my blocks out ready to press to get them to lay the correct way. Remember to set your seams first and then gently finger press the blocks open and finish by setting your iron on top for a last press. 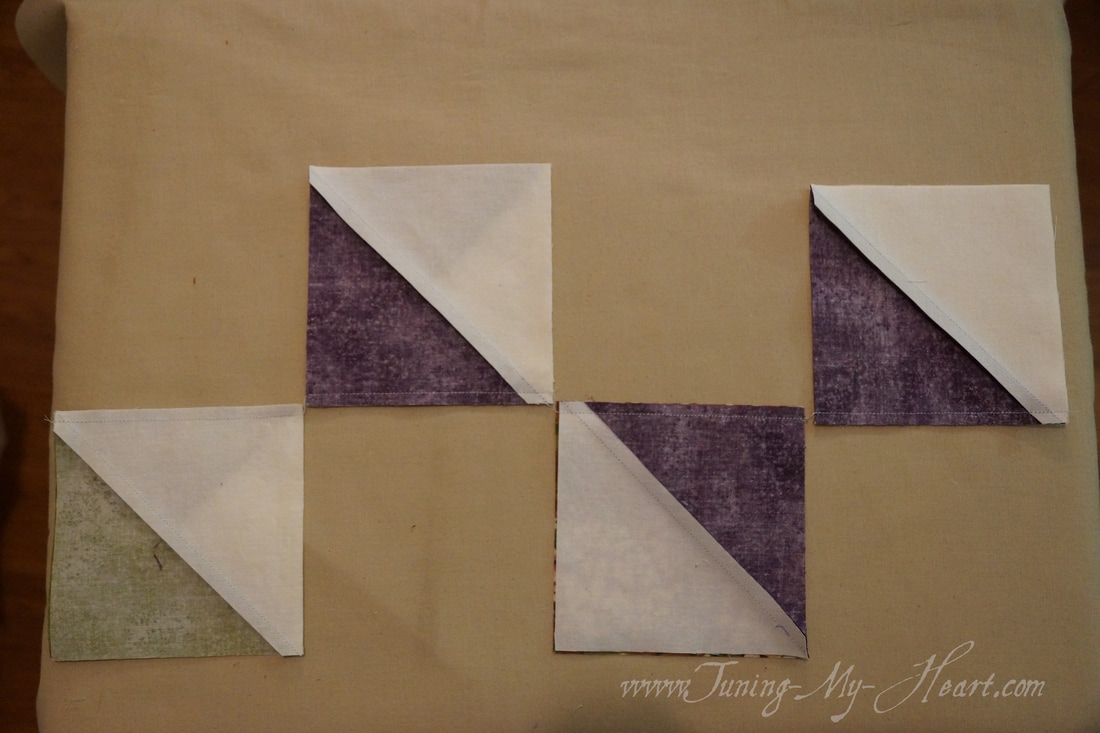 After pressing I lay out the sewn pieces in place, making sure it looks as it should before proceeding. 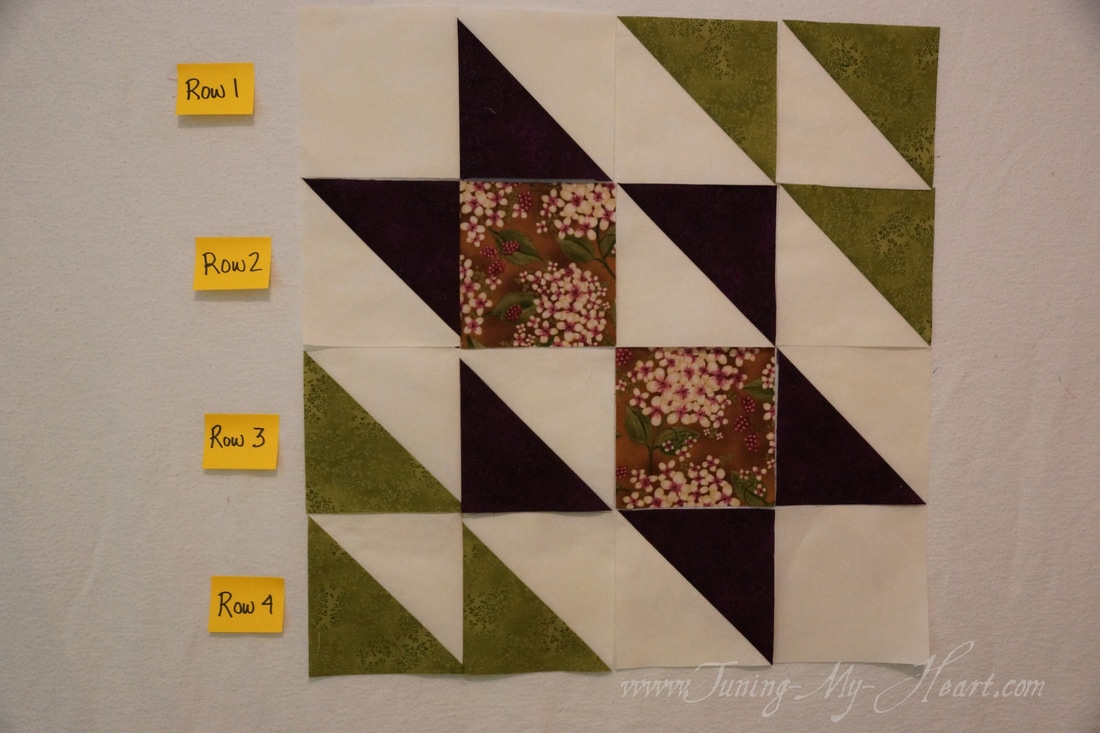 Now I am going to place the third block on top of the rows that I have already sewn. ONce again carefully taking them in order to my machine and chain piecing. 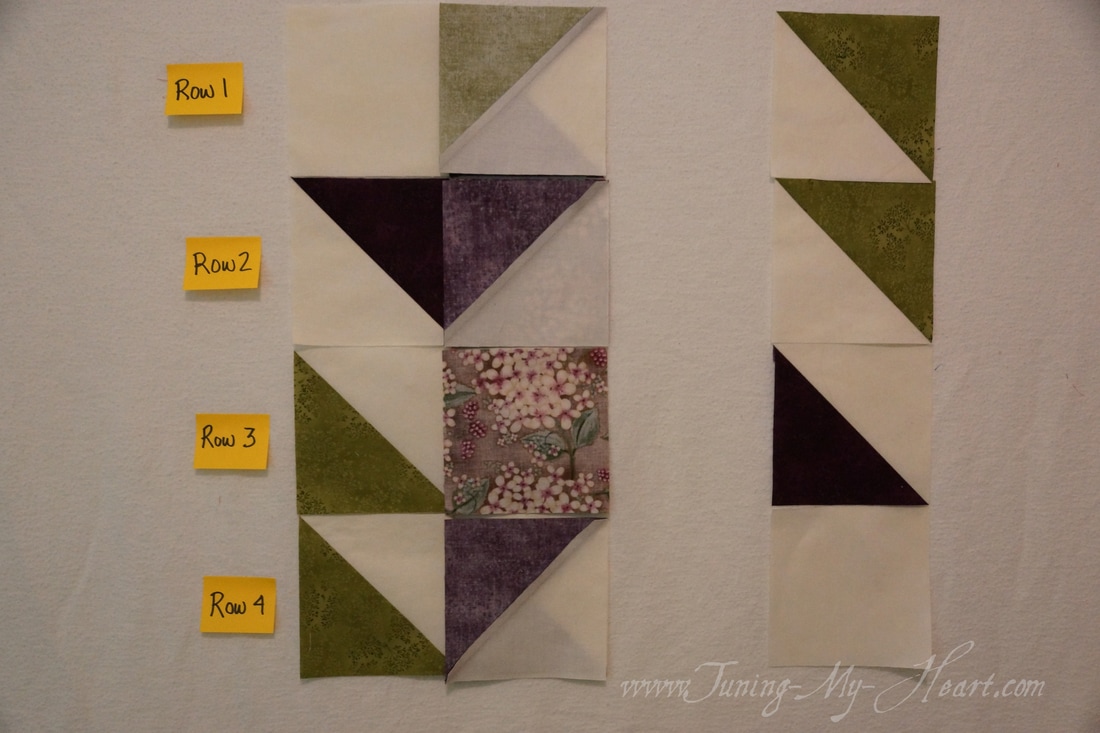 Ready for pressing. 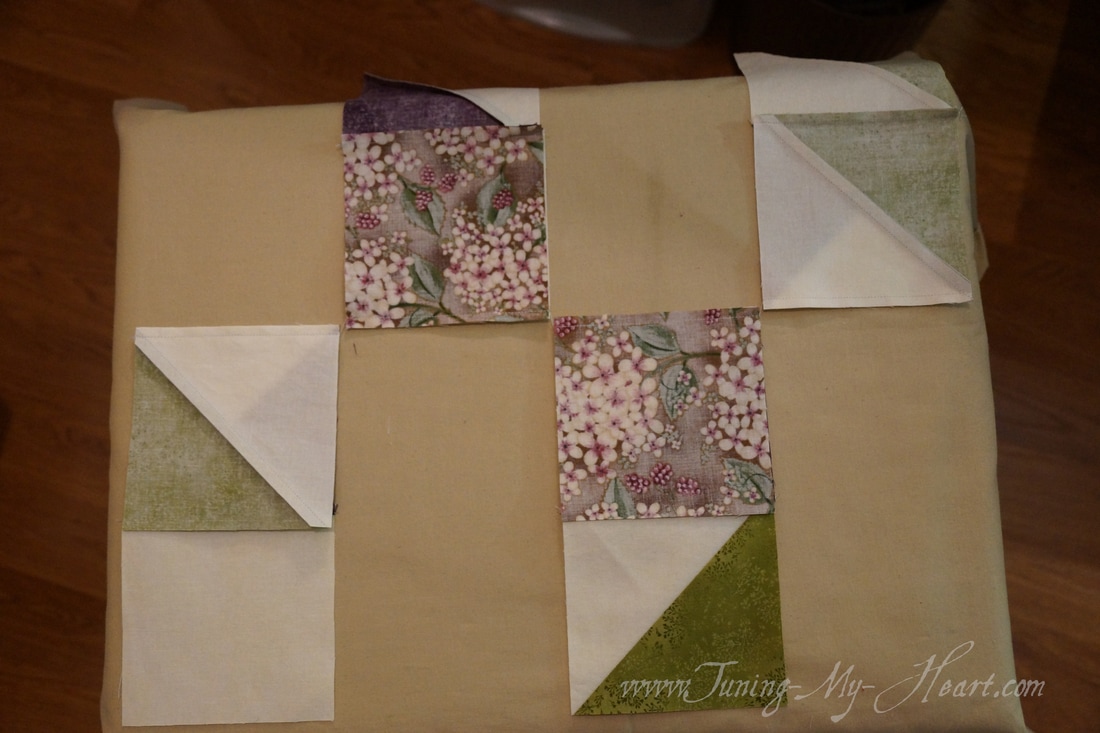 Repeat the process to finish sewing the four rows together. Once again I have laid them out to make sure everything is in the right place. It is very easy to get a piece turned around and I often do not catch a mistake until I look at a photo of my work. Sometimes I correct it and other times I decide I like the new block just fine as it is. 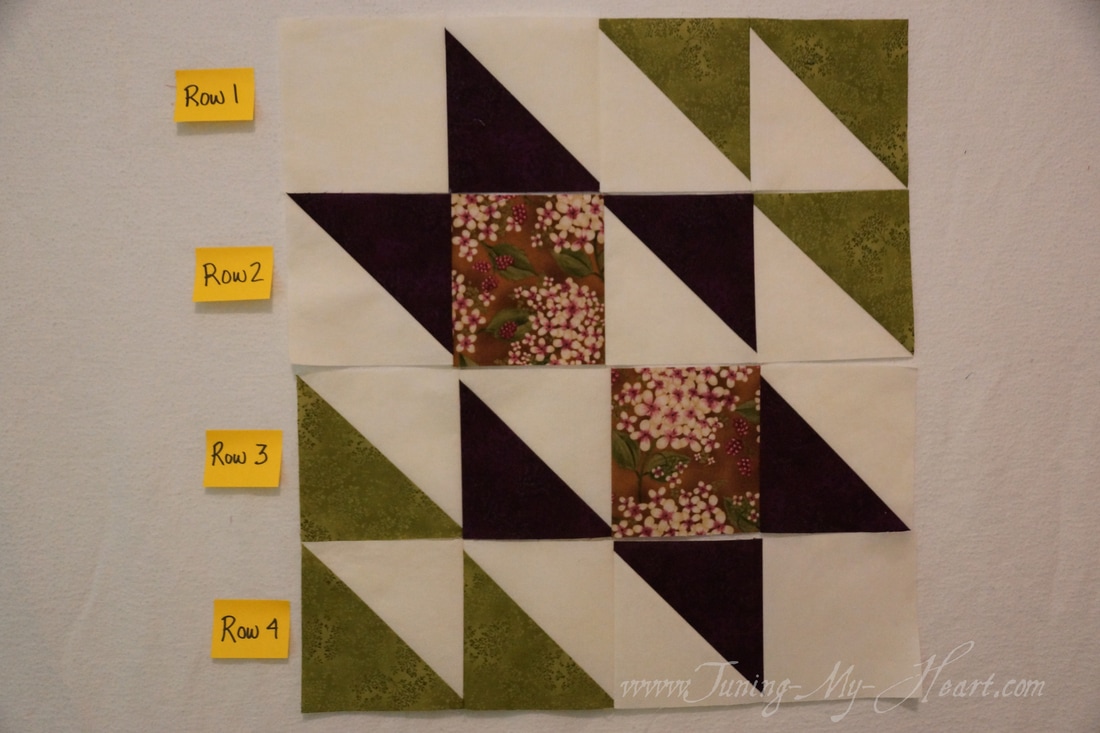 It is now time to sew the rows we have pieced together. This is where you will reap the benefit of "locking" seams. I hope you can see how the two seams are facing in opposite directions. They will Lock into place as you slide them towards each other. At this point I place a pin in the seam for try as I might they always come out better if I pin rather than just rely on the seams to hold each other in perfect place. 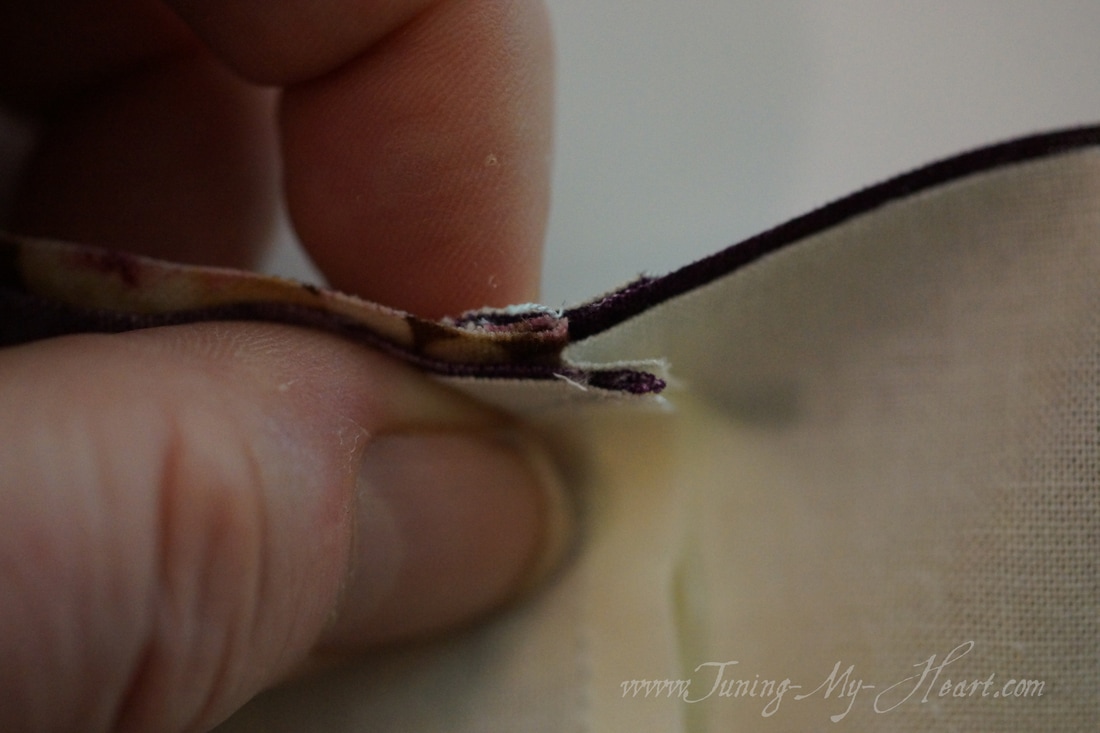 This is how I pin my seams together. It makes it quite easy to remove the pin as it approaches my needle. 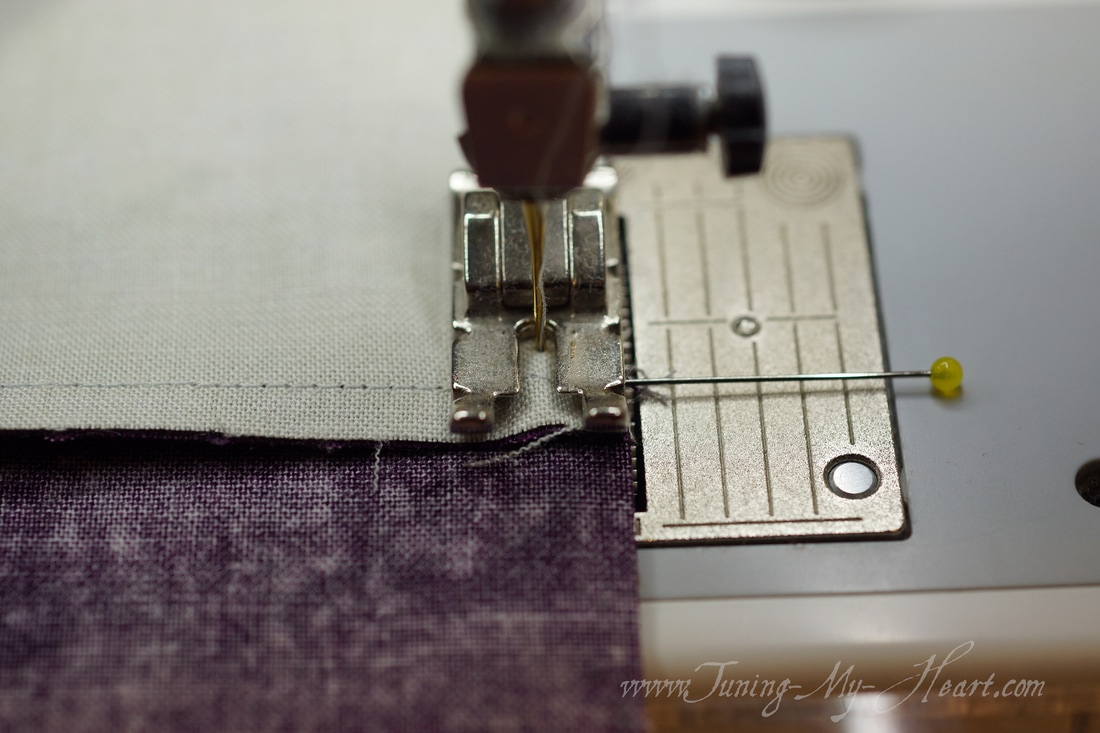 Here is where this block gets a little tricky. Those points on our triangles can get easily lost. As you sew you want to make sure that your needle goes right over the intersecting lines you have sewn-looks like I am in good shape on this one anyway. I should hit right at the intersection. Of course the ones on the bottom side we can only hope for as they are hidden. 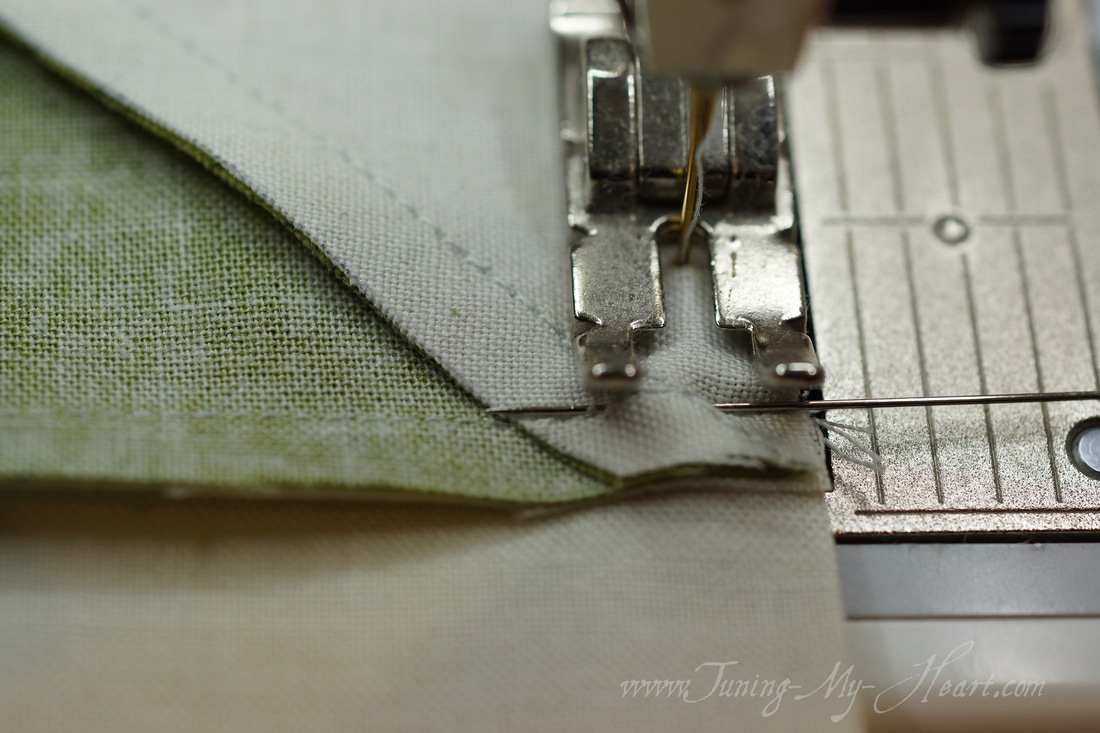 Not too bad...I am pleased with how this section came out. I love seeing sharp points, but they do not always happen. 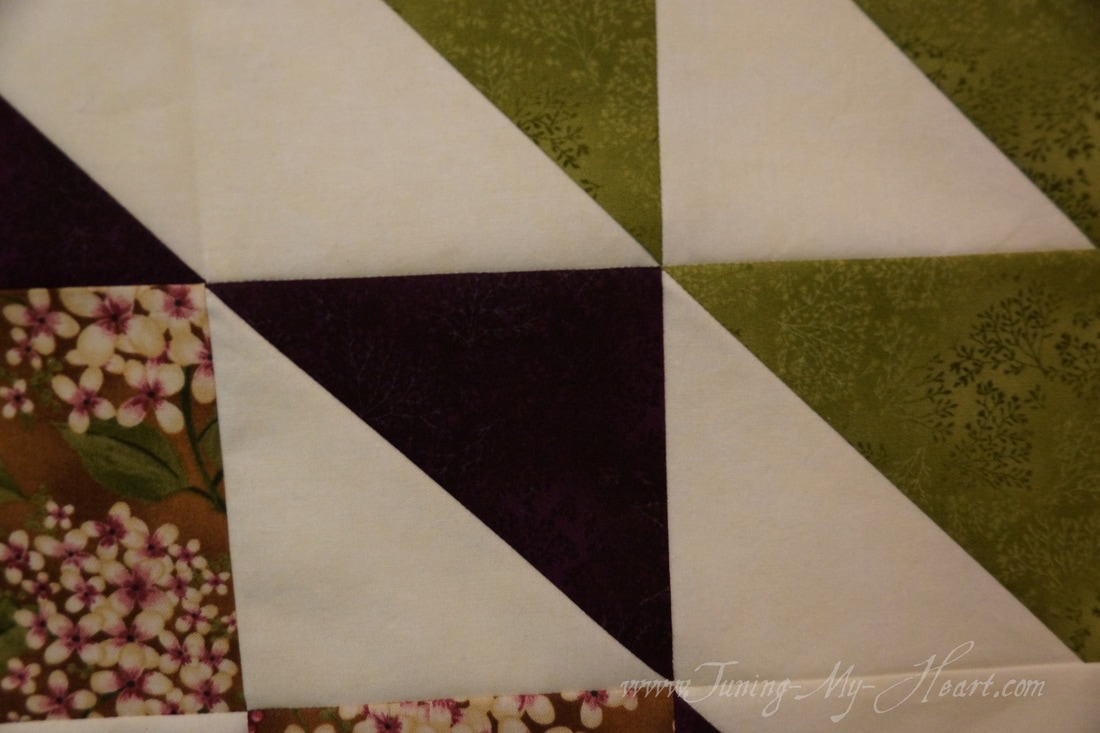 And here is the completed block. 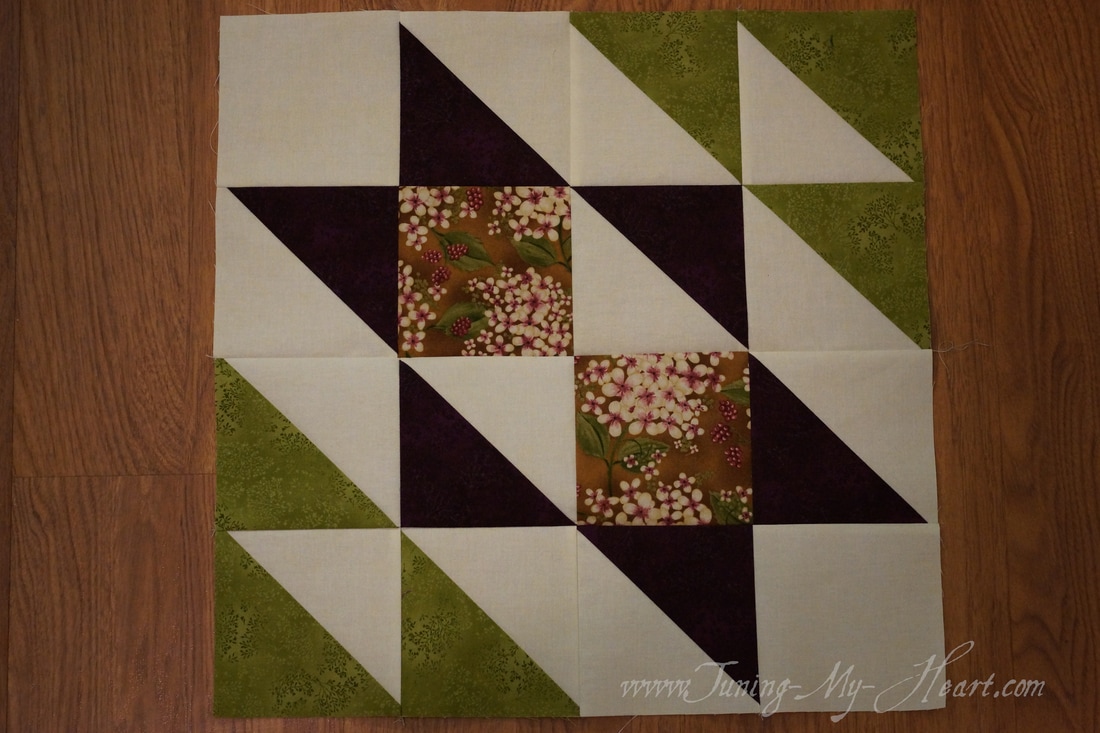 I hope this gives you encouragement as you try your hand at Block 1. If you have not signed up for this 9-week challenge you can learn more at National Quilter's Circle
Happy Quilting! Debra |

Welcome to the site of Debra Davis-a woman who loves the Lord and loves to quilt.
My other blog where I share about my walk of faith:
Sitting at His Feet 
|


 RSS Feed